Maximize Your Leaf Spring’s Performance For Better Handling & Increased Rigidity
If you want to improve your Tacoma’s suspension performance and ride quality, you’re in the right place. Replacing the factory shackle hangers yields improvements both on and off-road. DRT Fabrication has created a kit that you can install in your driveway. Now, it is a little more involved of an install, but with the right tools (and this guide) you should be able to knock it out.
Whether you’re trying to improve the articulation, add complementary mods to your new lift kit, or simply upgrade worn-out components, this article will walk you through removing your factory shackle hangers and mounting these upgraded ones. We will also cover in-depth the benefits of doing so.
Stick around to the end for my YouTube video!
This product works with the 2005-2023 Tacoma.
Why Upgrade?
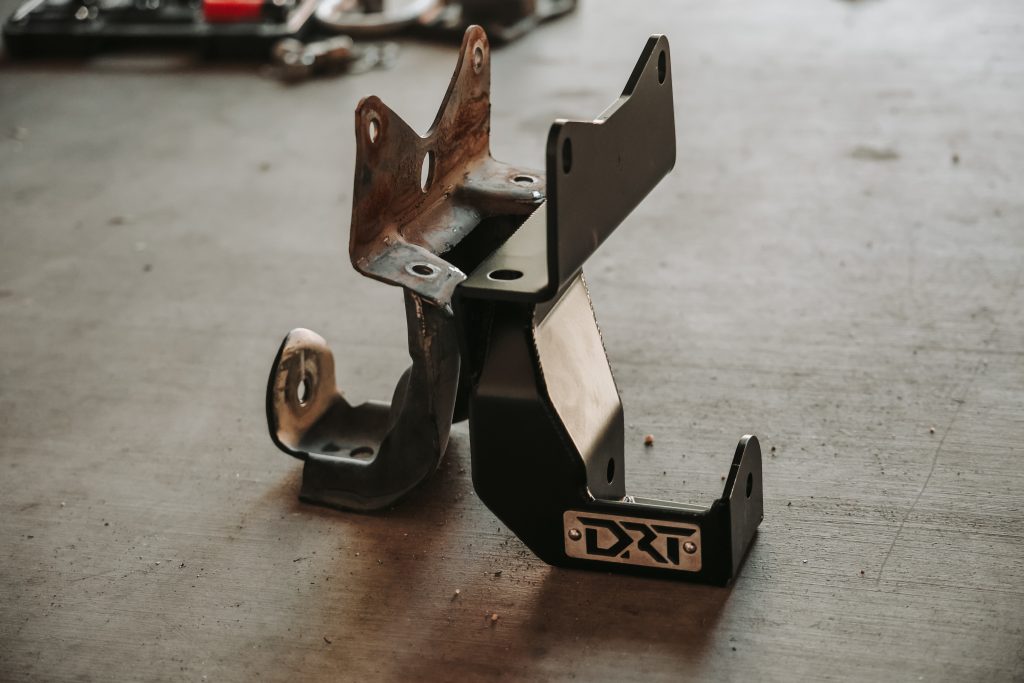
Improved articulation – Aftermarket shackle hangers offer more articulation and range of motion, improving your Tacoma’s capabilities.
Enhanced durability – The materials used on aftermarket options are typically stronger (thicker steel) than factory parts which is beneficial when tackling tough conditions that stress your suspension. Hangers also mount relatively low, and can drag on rocks with moderate to heavy wheeling. They bend very easily. DRT uses heavy duty steel.
Better handling and comfort – The increased steel thickness adds rigidity which increases stability and allows leaf springs to perform better and as designed. This results in a more planted feel and your suspension will be better equipped to smoothly cycle through the range of motion. Ultimately, you get a more controlled ride and better performance on the trails.
Quick Specs
- 1/4″ and 3/16″ steel
- Mig welded
- Satin black powder coat
- Stainless steel logos
- Grade 8 hardware
- Better geometry
- Boxed design
- Zerk fittings (greaseable bushings)
- 2″ x .250 machined DOM pivot tubes
- Optional crossbar brace
- Mounting spot for Baja rock light
Installation
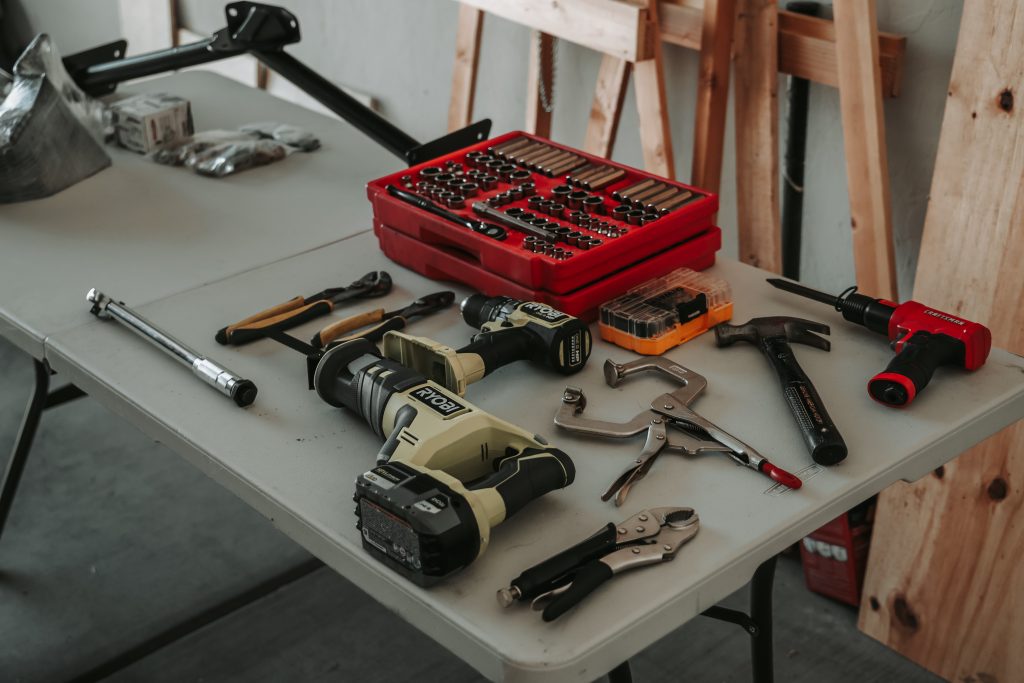
Tools & Materials
- (2) Jack stands
- Floor jack
- Angle grinder (sawzall is also very helpful)
- Eye and ear protection
- Drill and 1/2″ metal bit
- Mini sledgehammer or other metal hammer
- Prybar
- Air hammer with punch bit (can be done without, but using a manual punch is harder)
- Vice grips or C-clamps
- Grease gun
- 100 ft. lb. torque wrench
- (2) 19mm or 3/4 wrenches
- 13/16 & 7/8 wrenches
- 7/8 socket
- 19mm or 3/4 socket
- Socket extension
Step 1. Prepare For Removal
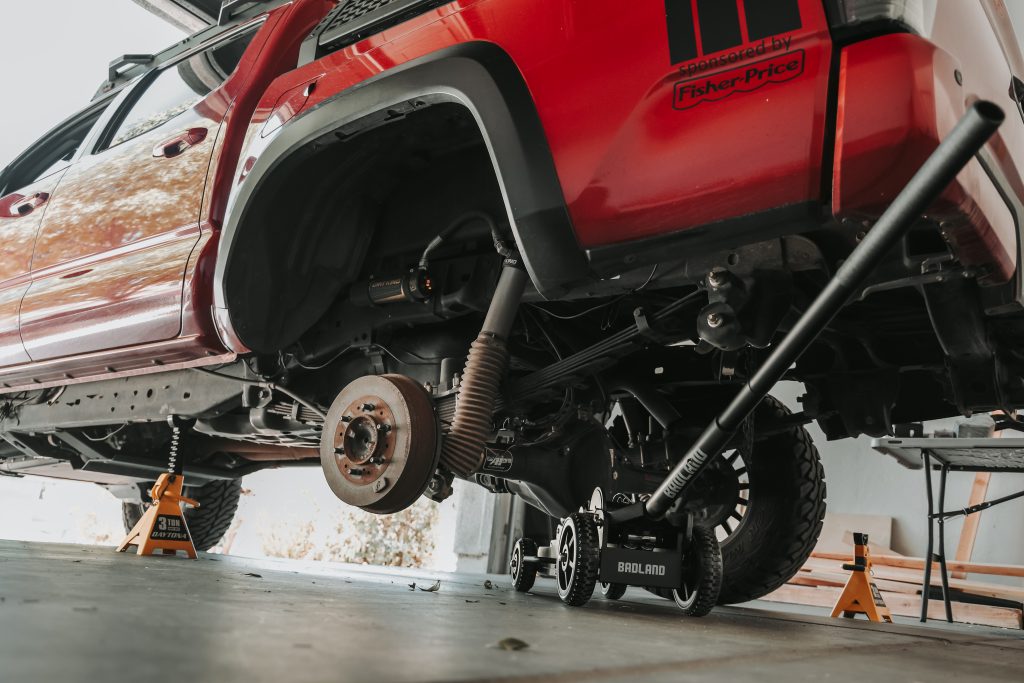
Park your Tacoma on a flat and level surface, engage your parking brake, and, just to be safe, place wheel chocks in front of both front tires. You can either lift one side at a time or you can lift the rear end and do both at the same time.
To make articulating the rear end easier, you might want to disconnect the lower end of your rear shock from the rear axle. I did not do this during my installation but it’s something to consider if you plan on pulling the leaf springs out of the truck for more working room as I did. This makes removing and installing the hangers much easier.
Alternatively, you can just disconnect the leaf springs.
Step 2. Remove Factory Hangers
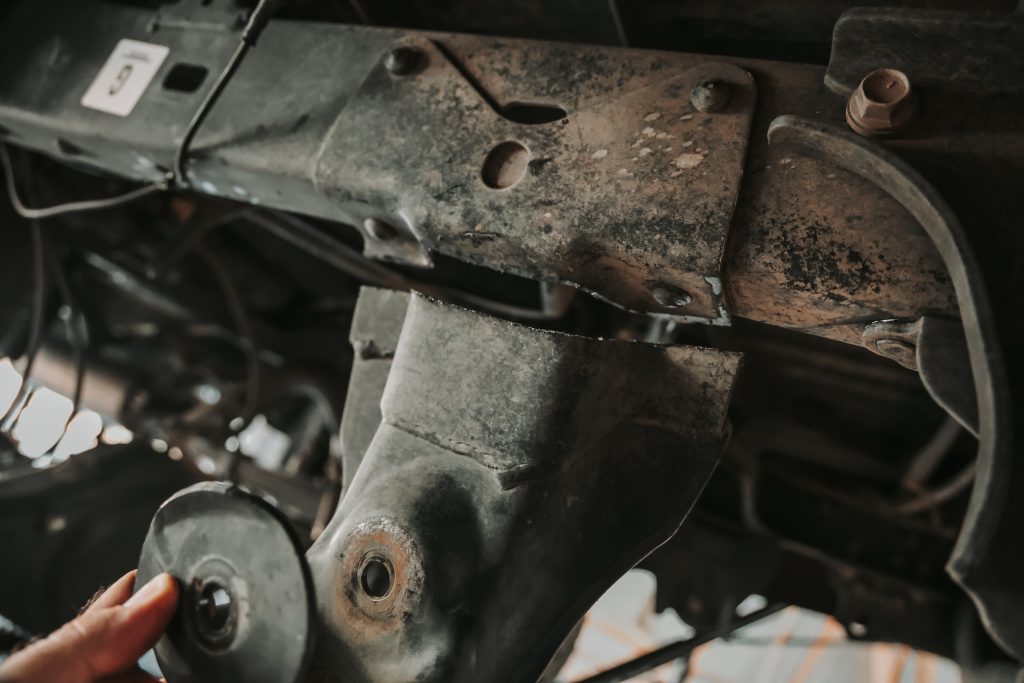
Here comes the fun and most energy-consuming part of this install, getting the factory hangers off the truck.
They are attached to the truck with (4) strong double-sided rivets. To make accessing the rivet heads easier, it’s best practice to cut them in half where it meets the truck frame (pictured above). To cut it, you can use an angle grinder or a sawzall.
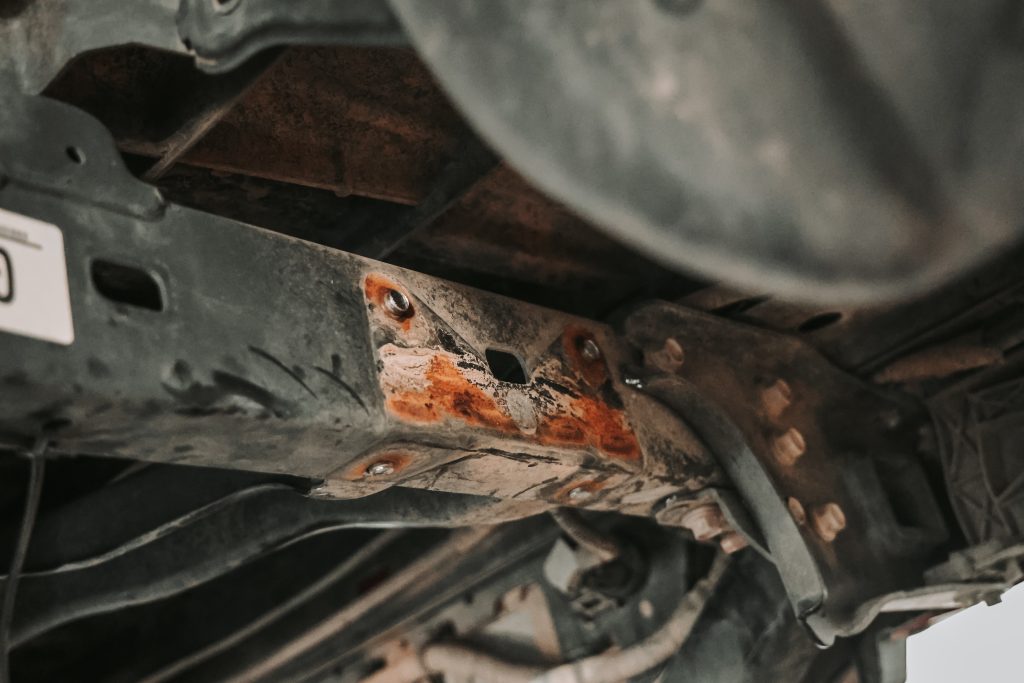
Once the hanger is cut in half, it’s time to start removing the rivets. Using a Sawzall again, cut off the bottom (2) rivets and then the top (2) rivets visible on the outer side of the frame.
Once you cut off all (4) rivet heads, use an angle grinder to grind down each rivet to make pulling it off easier. Then, use a prybar and a hammer to pry the bottom portion of the hanger away from the frame. Move around to the top until you have it completely removed.
Step 3. Remove Old Rivets
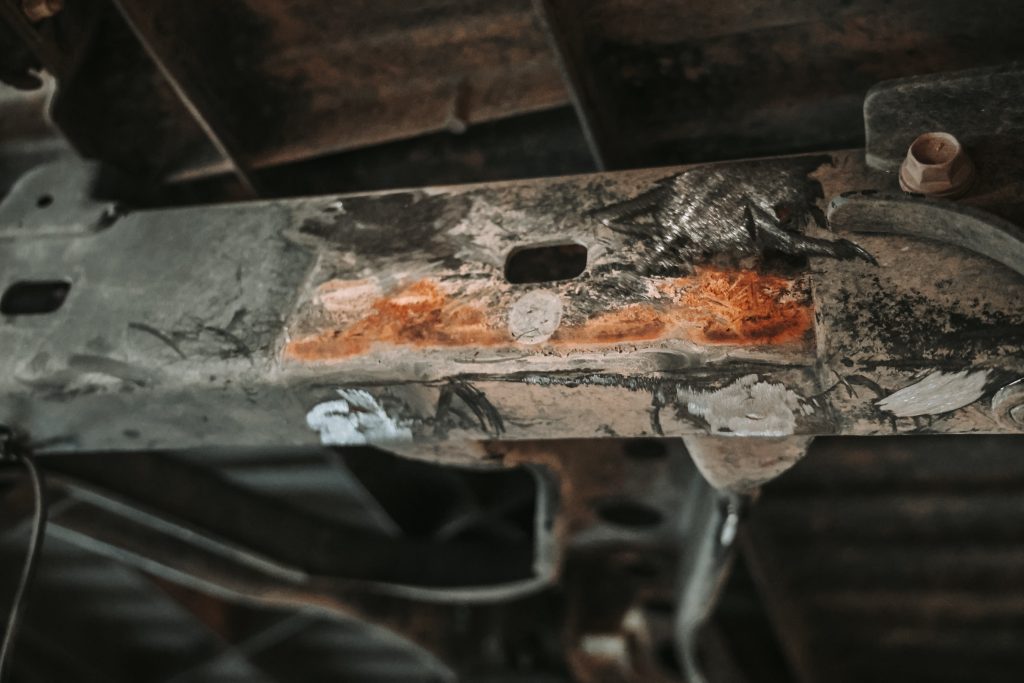
With the factory hanger removed, you can grind down the remaining rivets heads flush to the frame if needed. Using an air hammer, punch out the top (2) rivets. This can be done with a hammer and punch but the air hammer is much easier. Next, use a drill and 1/2″ drill bit to make the top (2) holes a little bigger for the new hardware.
The bottom rivets can not be punched out like the top were, and have to be drilled out with a 1/2″ drill bit. The bottom (2) rivets hold the hanger on the frame and connect that X-shaped cross member above the spare tire location.
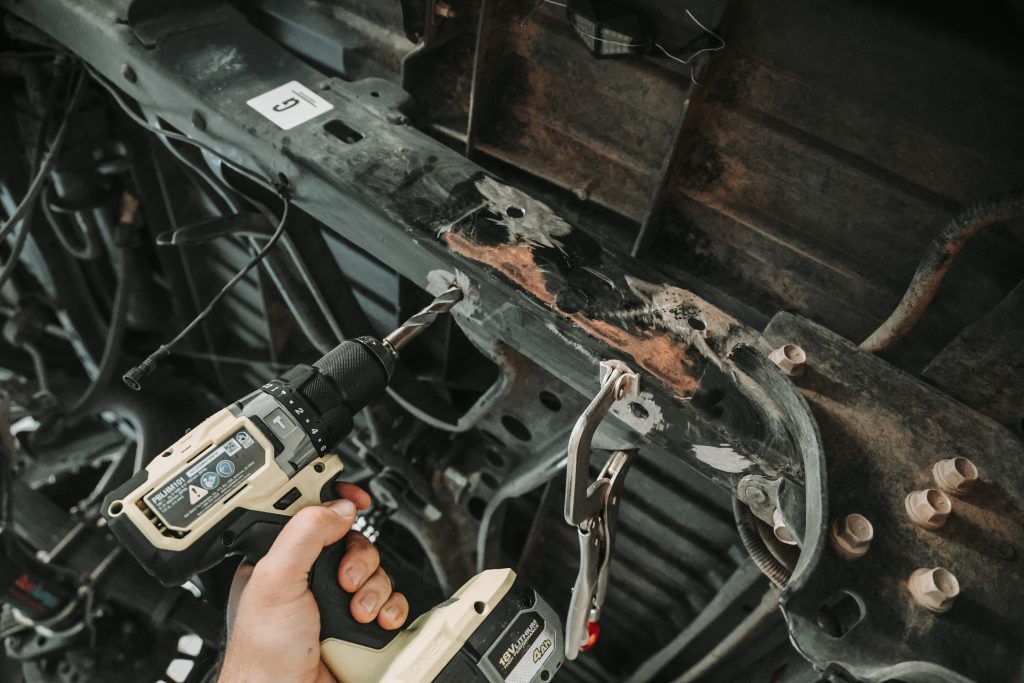
To properly remove these bottom rivets, use locking pillars or a c-clamp to pinch the frame and x-cross member together. If you don’t do this step when drilling out these rivets, the assembly can cause issues with alignment and potentially shift and damage your drill bit.
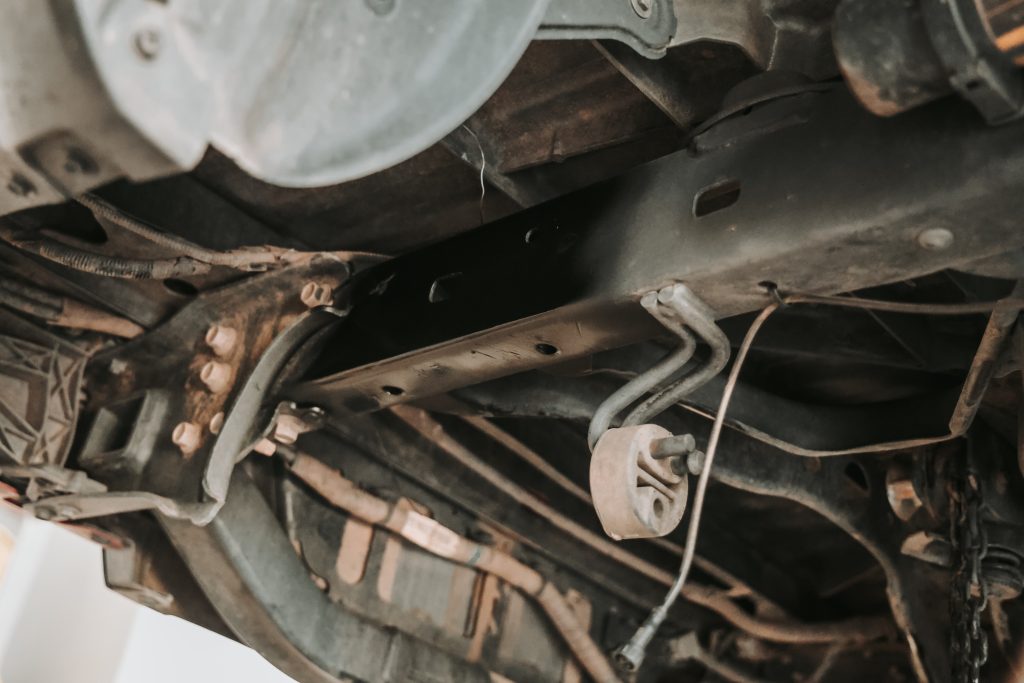
Once you have drilled out the last (2) rivets, the final preparation step is painting the bare metal in your work area to prevent rust to the frame.
Step 4. Install New Shackle & Hanger
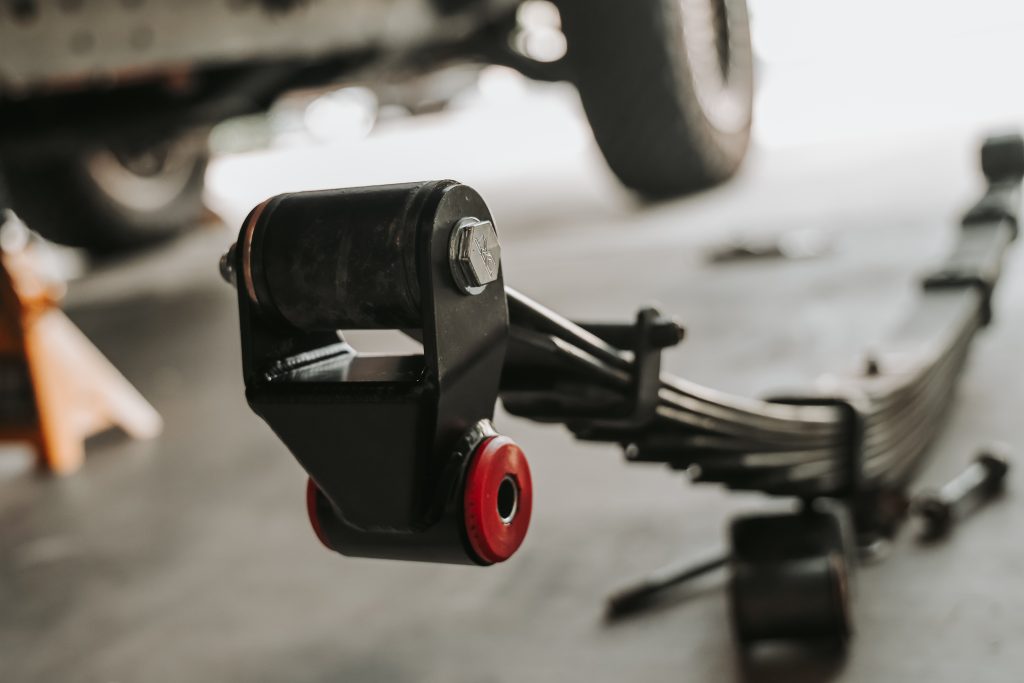
The first step for getting the new hangers on the truck is attaching the new shackle to your leaf spring. When attaching the shackle to the leaf spring, it is important to note the bolt threads need to point toward the bedside or there will be clearance issues and rubbing.
Next, grab the DRT hanger and install it onto the truck. Each will attach to the frame with (4) bolts and nylon locking nuts. These bolts will go through all four factory rivet locations that we drilled out to 1/2″.
With all (4) bolts and nuts attached, begin tightening them in the following pattern.
- Start with the most forward upper, then most forward lower, most rear lower, and lastly most rear upper.
Once all bolts and nuts are tightened, torque them to 80 ft-lbs.
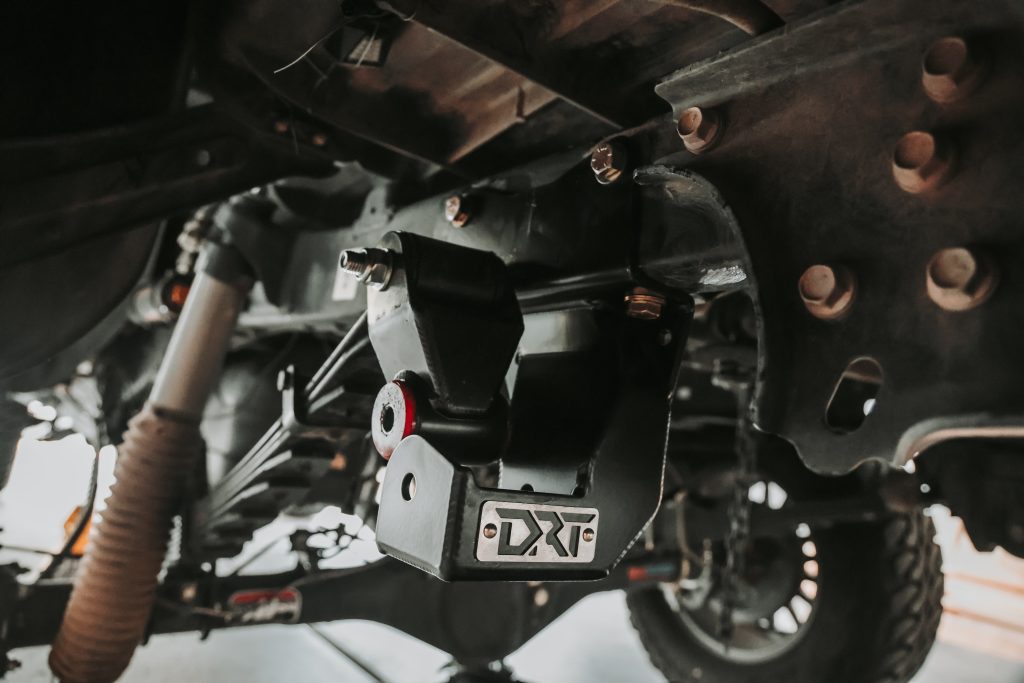
With the hanger installed onto the frame, get the leaf spring back into the truck and connect the shackle to the hanger. With the hardware that connects the shackle and hanger, the bolt threads will point toward the center of the truck.
The hardware can be torqued to 89 ft-lbs. after greasing. Use a grease gun to pump grease into the shackle until you see grease coming out the sides of the bushings.
Optional Crossbar
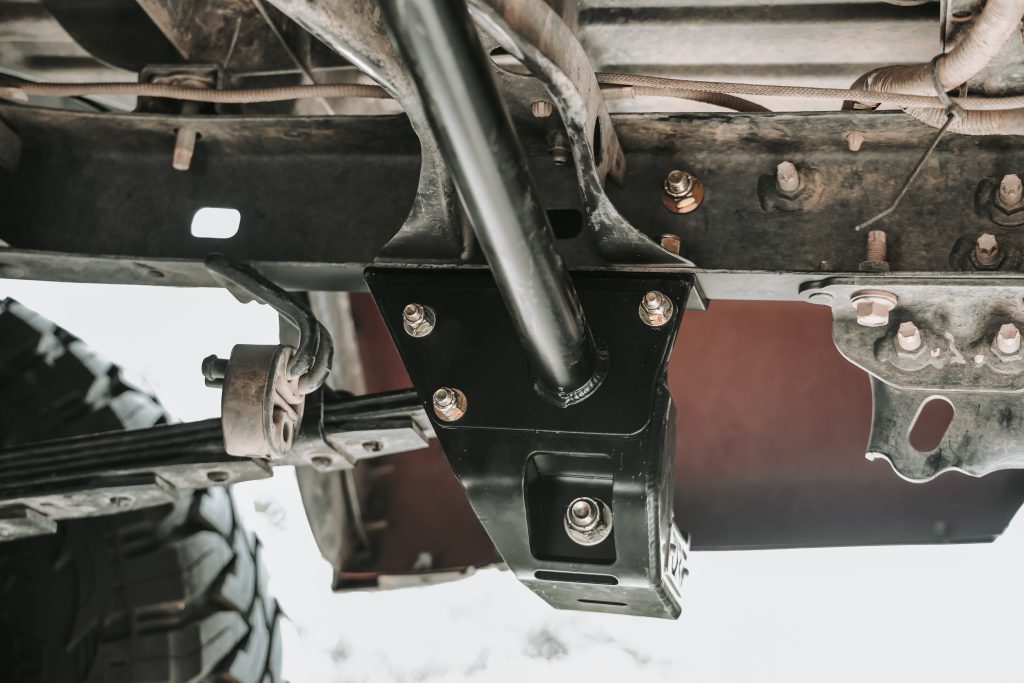
The cross bar helps to add even more structure and reinforcement to the rear end, similar to having an extra beefy sway bar. It helps keep your truck’s frame square, making it more stable on and off-road. This is super helpful on the Tacoma, which has a C-channel (non-boxed frame) from about the middle of the truck all the way to the rear end.
If you opted for this add-on, it’s pretty simple to install. The cross bar attaches to each hanger with (3) bolts and the X-shaped cross-member with (2) bolts. In production, these parts are bent slightly so they might not align exactly and you have to use a bit of force to line the bolt holes up to the hangers or the truck’s frame.
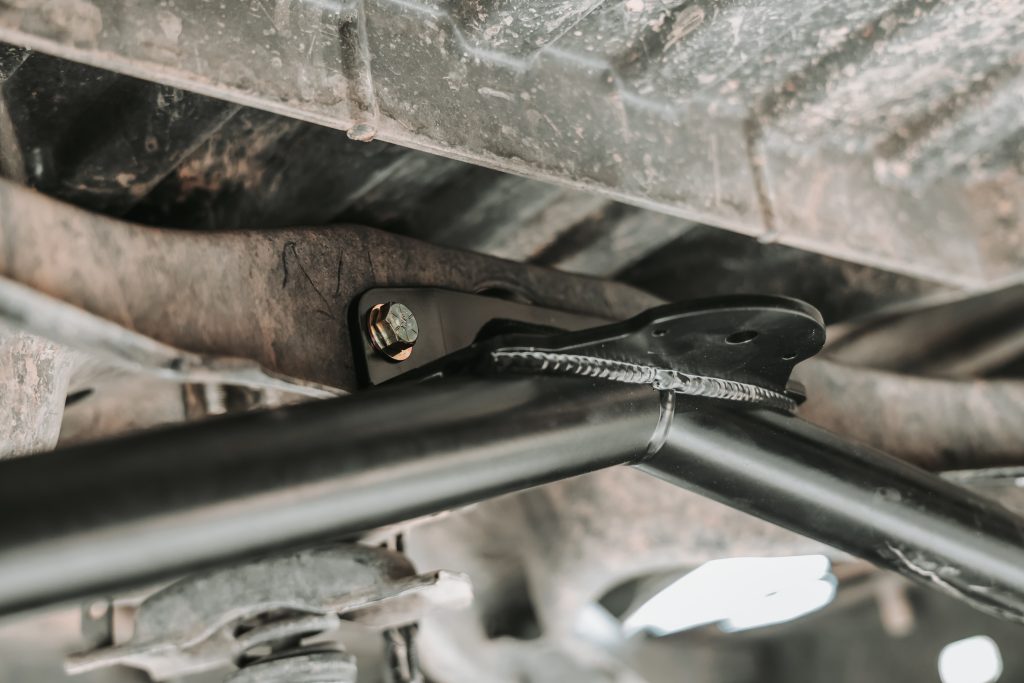
Work your way through each spot and install the bolts one at a time hand tight until you have them all in. Then you can fully tighten all (8) bolts.
Impressions
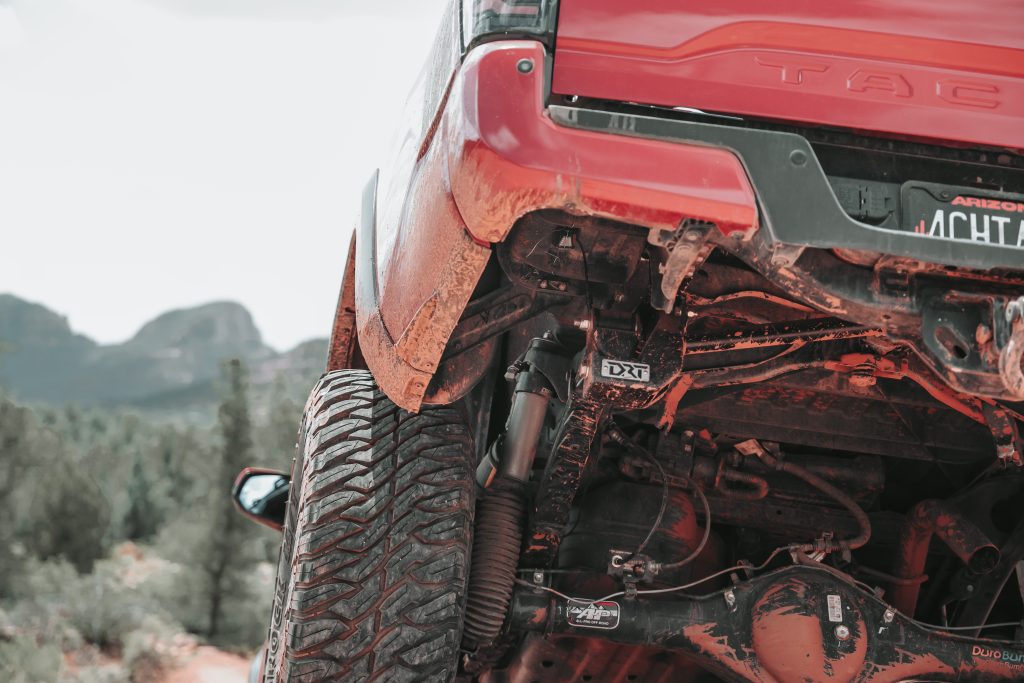
To be completely honest this install was a challenge but working on my truck never gets old. I love to challenge myself and expand my skills with the installs I have done. So, I hope this article helps someone who didn’t think they could install these on their own.
The weekend right after doing this install, I went up to Sedona to test it all out. Immediately, the rear end felt more stable and planted on the highway and during off-road articulation. These hangers paired with the optional crossbar stiffen up the rear end and allow the leaf springs to articulate more than the factory ones did. A more stable truck with better articulation is a win-win.
Final Thoughts
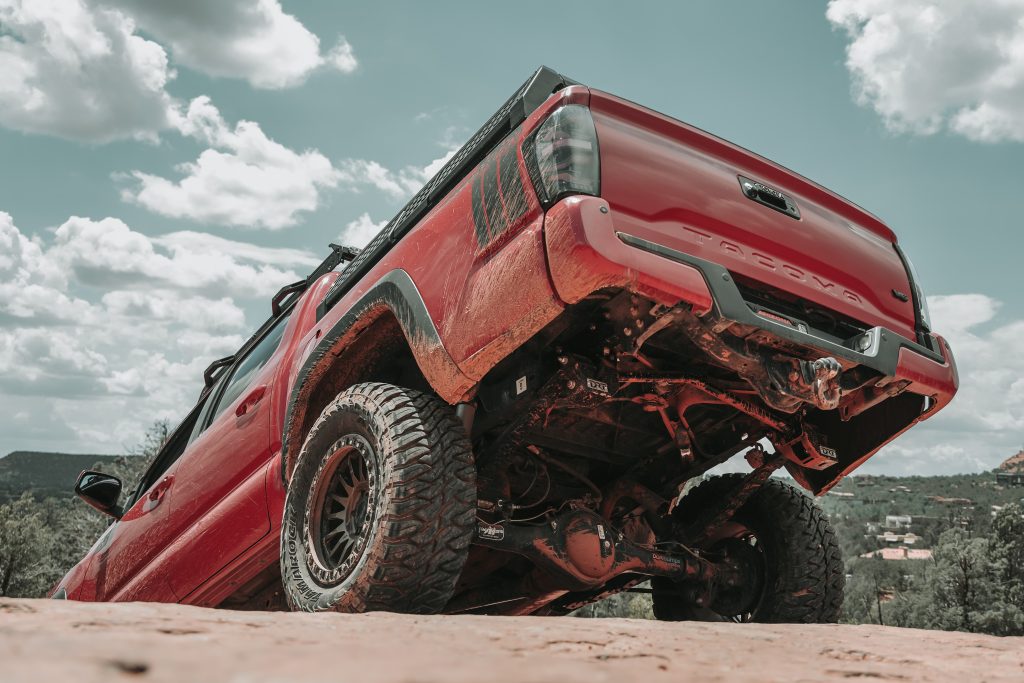
Upgrading your Tacoma’s shackle hangers can be a transformative modification that takes your suspension to the next level.
Feel free to drop a comment down below if you have done this install and have any tips or tricks I might have missed, or if this article was your guide to installing these let me know how it went.
