Tie-dye is one of those fun and easy craft projects anyone can have success with! In fact, the first time I tie dyed was at a slumber party in fifth grade (I was 12 years old). And I still love tie-dye today.
This class craft is easy to do, but you’ll have more success with some basic information and a step-by-step beginner’s guide.
Love tie dye? Then you may also want to try: Shibori Tie-Dye, Resist Dye Basics, and How to Double Dip Dye (similar to ombre).
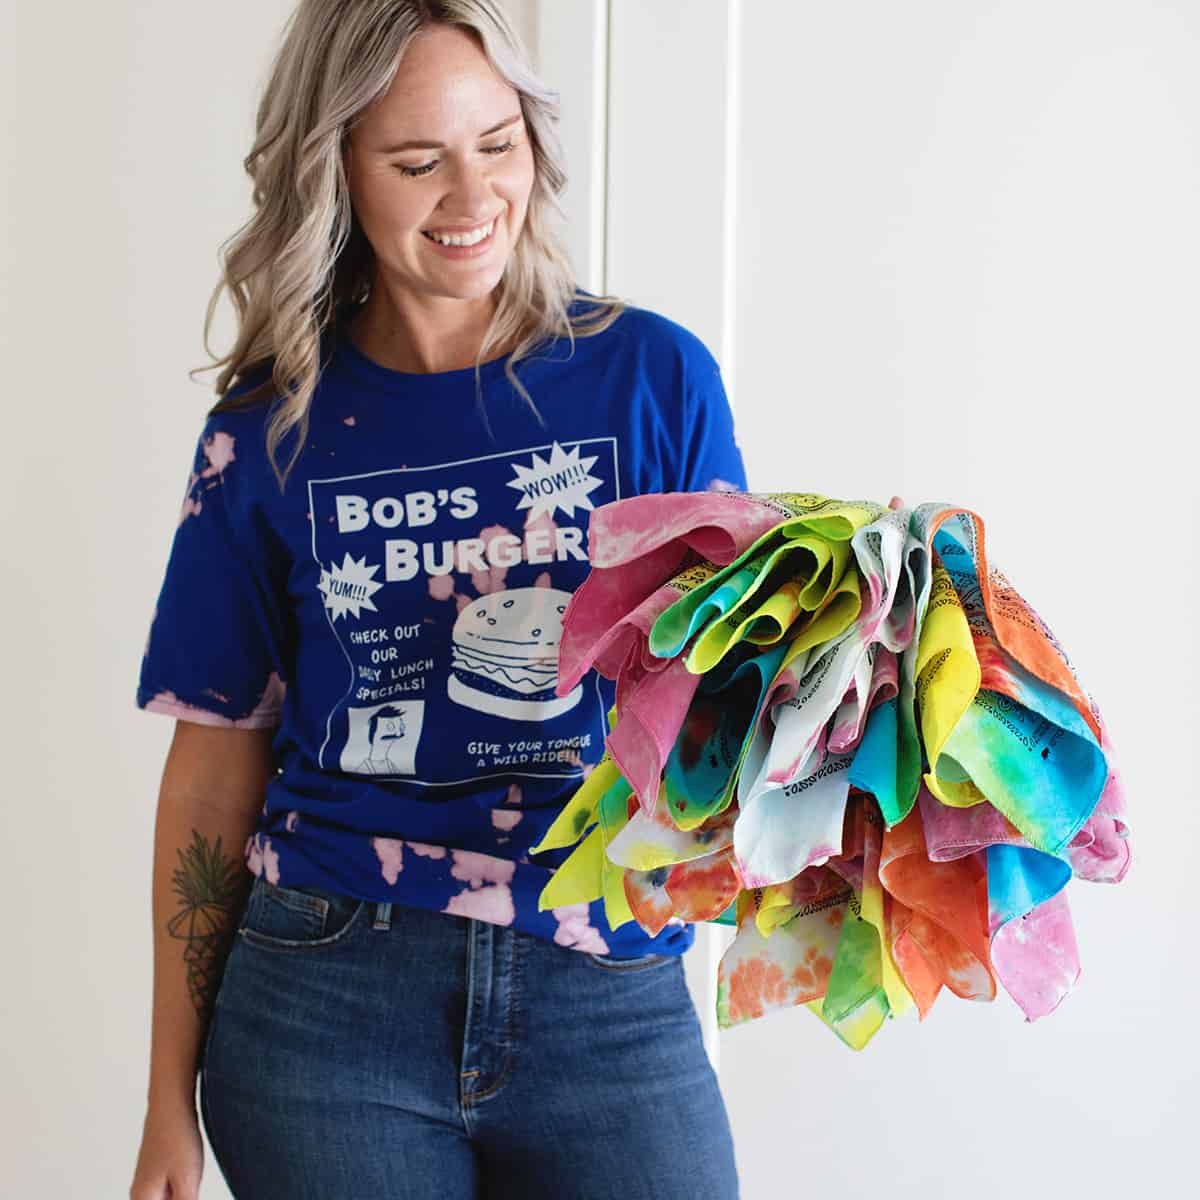
Tie-Dye Basics
The history of tie-dye dates back thousands of years, with evidence of similar techniques found in various cultures around the world.
However, the modern form of tie-dye that is most commonly associated with colorful patterns and designs on clothing emerged in the 1960s during the counterculture movement in the United States. I always think of the Grateful Dead when I think of tie-dye. 🙂
The basic idea is you cover areas of fabric by tying them off with rubber bands. Then, you dye the rest of the fabric, possibly in multiple colors. The tied-off areas do not get color, since they are not exposed to the dye.
There are many different patterns and variations of this basic technique. But the number one piece of advice I would give to anyone who is just trying out tie-dye for the first time is this: It will be imperfect.
Tie-dye, like many projects, is about experimenting and enjoying the process while also at times being surprised by the results. If you want a perfectly curated look, tie-dye is likely not the best option, as it’s meant to look messy, colorful, and fun!
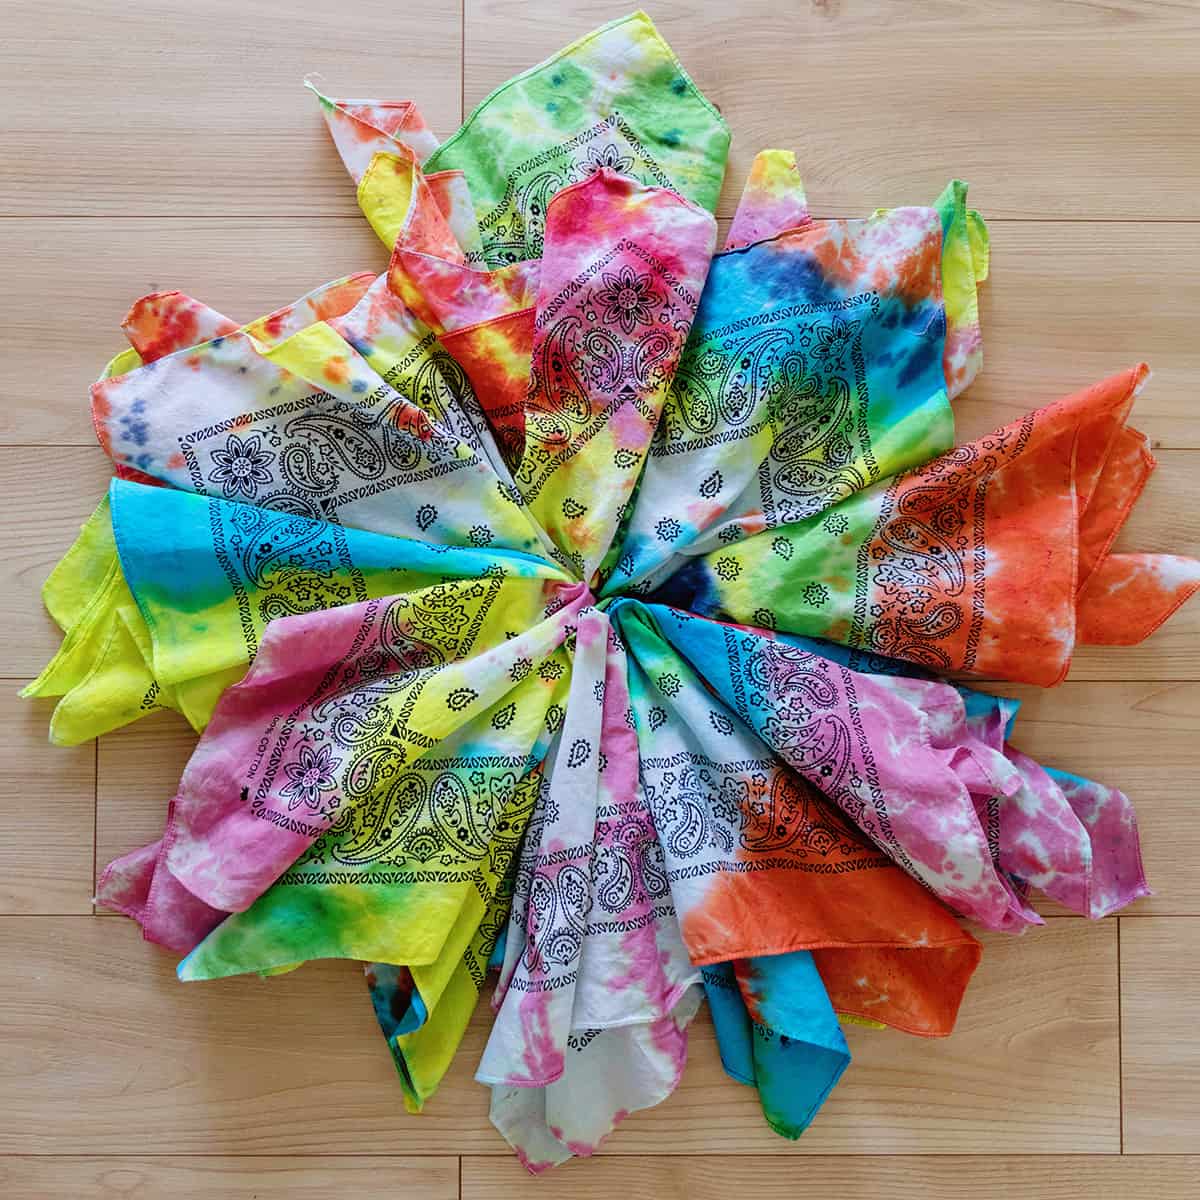
Classic Tie-Dye – How to
One you have gathered your supplies (more on this below), tie-dye has three basic steps: prepare your fabric, dye it, and then once done, wash it before use.
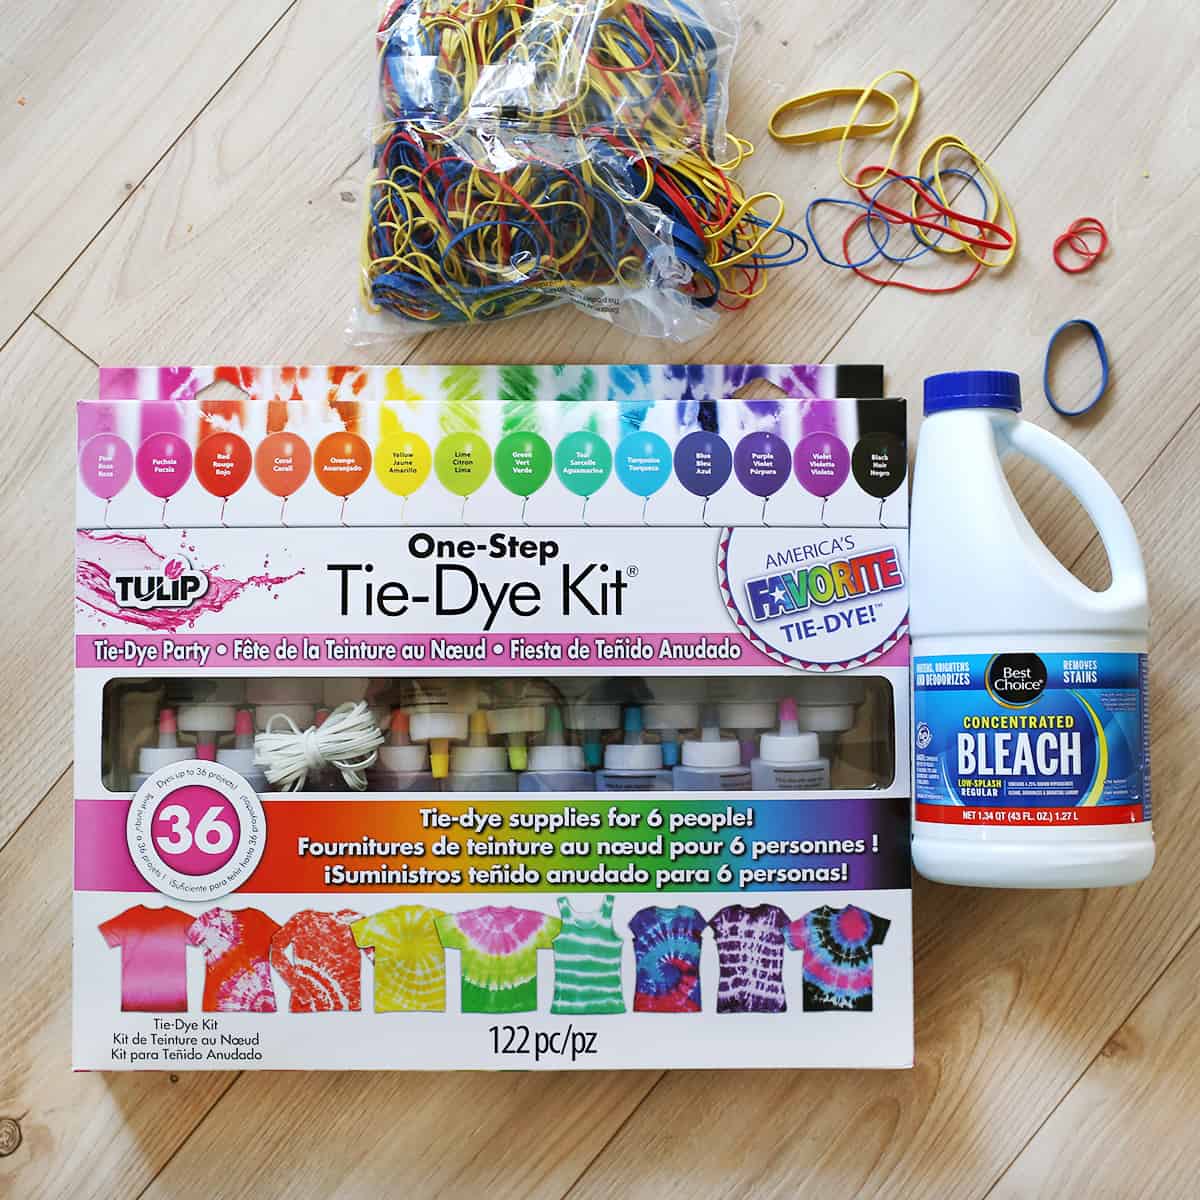
Supplies
- Dye – I love Tulip one-step dyes and the tie-dye kit. No soda ash or presoaking required. This is truly the best option for beginner’s IMO.
- Rubber bands
- Gloves & drop cloth to protect areas
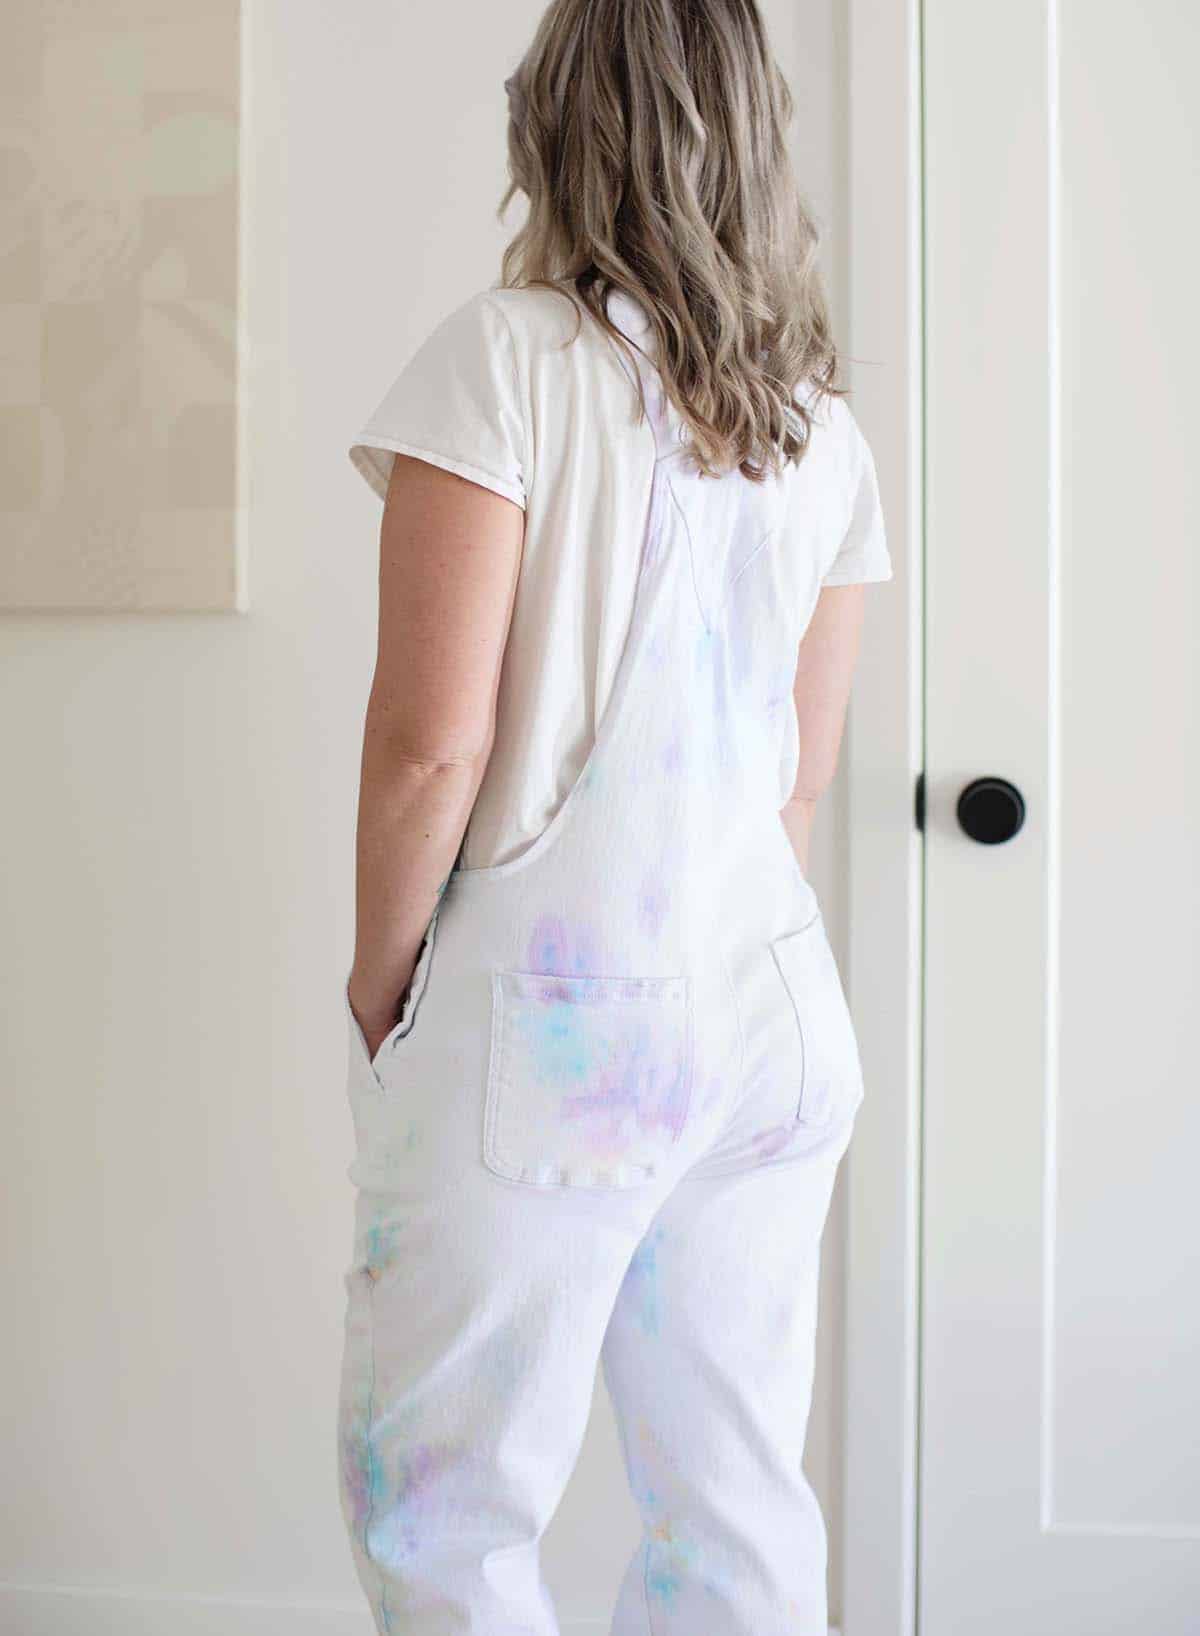
- Garments or items to dye – white cotton is best but other fabrics can work as well. You can tie dye so many different garments like sweatshirts, T-shirts, socks, bandanas, overalls, and more!
- Laundry detergent
Preparation
Begin by washing the garments you plan to dye. If they are things you already own and have washed before, you can skip this step. But anything new or if you are unsure (like an item you thrifted), go ahead and wash it as you normally would and fully dry before dyeing.
Dye
Scrunch up your item as desired and then add rubber bands. See below for patterns you can try.
Then, mix your dyes according to the package instructions (the kit I used had me simply add water to the bottles and shake).
Cover your area with a drop cloth to protect it from any dye spills. I also recommend wearing disposable gloves as you work to protect your hands.
Add dye to the prepared fabric and allow to soak for the recommended time. The dye I used suggested 4-6 hours.
Wash
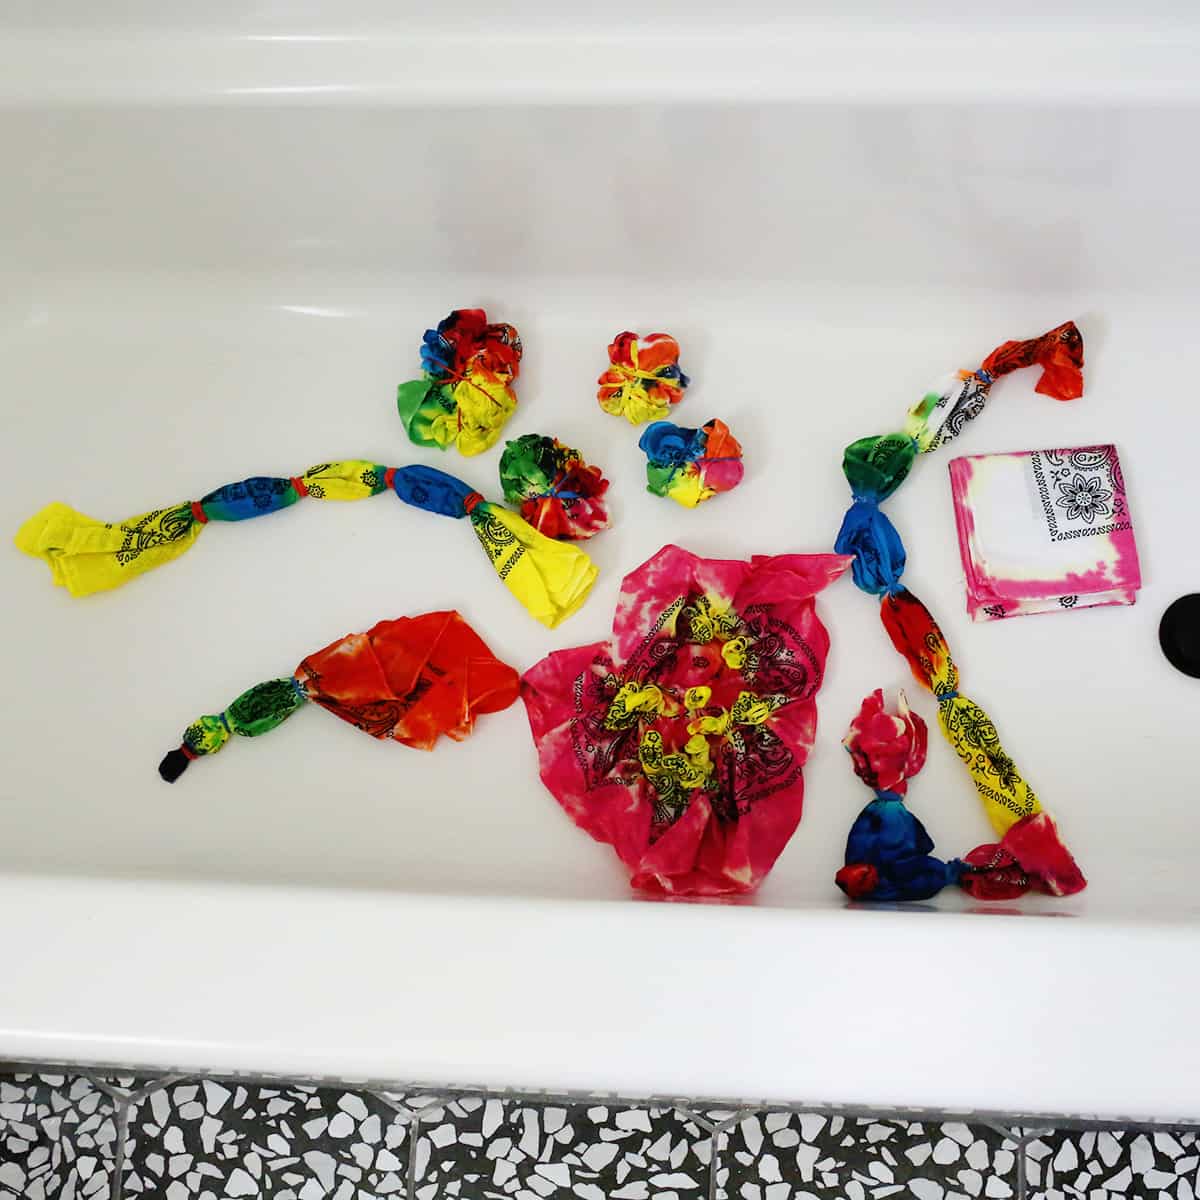
Before throwing your tie-dye garments in the washing machine, give them a good rinse in the bathtub or kitchen sink. I recommend wearing gloves again for this step. Remove the rubber bands and rinse until the water runs clean. Then, wash them in the washing machine, or as you normally would.
I know it may not seem necessary, but I do think it’s best to wash newly dyed items separate from other clothing the first time. Even if you rinse it well, the dye could ruin other clothing you are not wanting to dye.
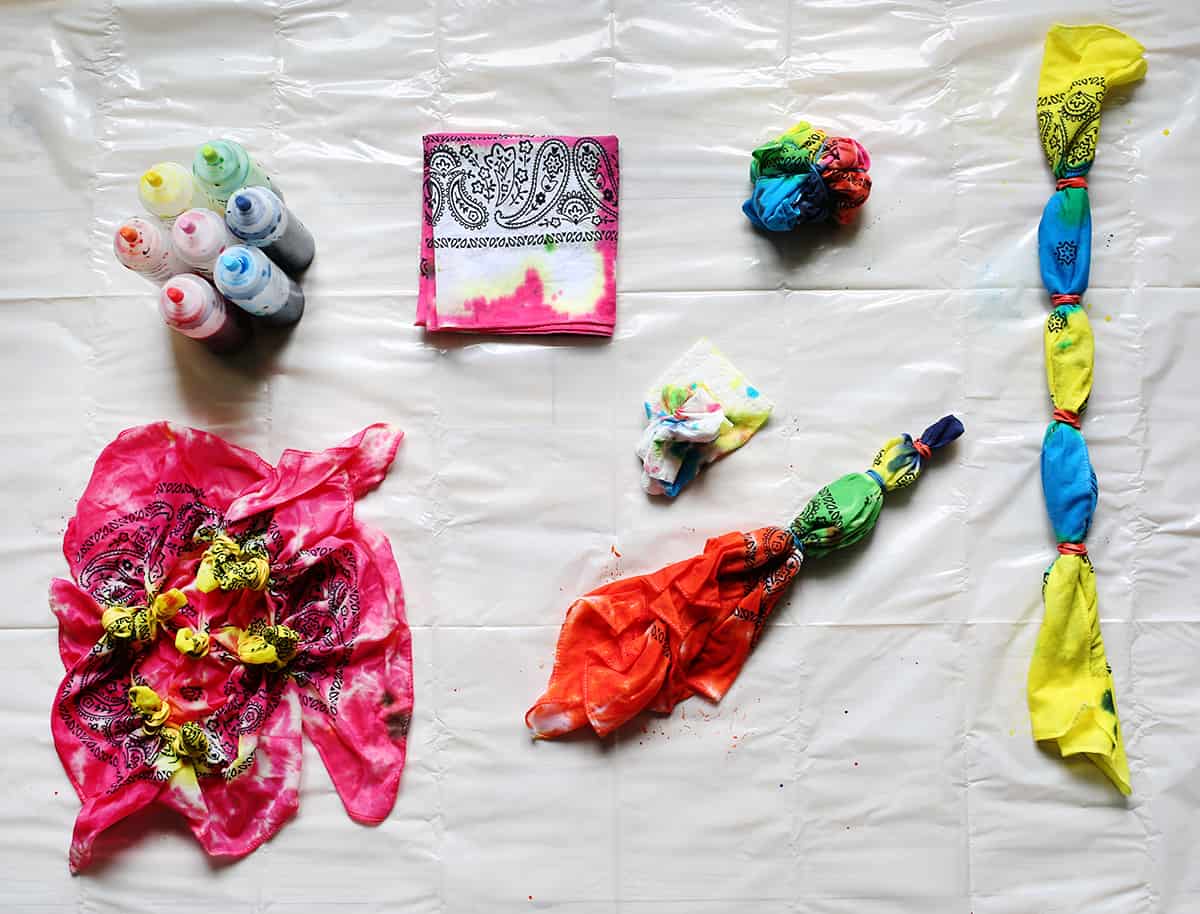
Tie-Dye Patterns
While I love to randomly bunch up my project and be surprised by the final results, it’s also really fun to create classic tie-dye patterns. Here are five basic patterns to try.
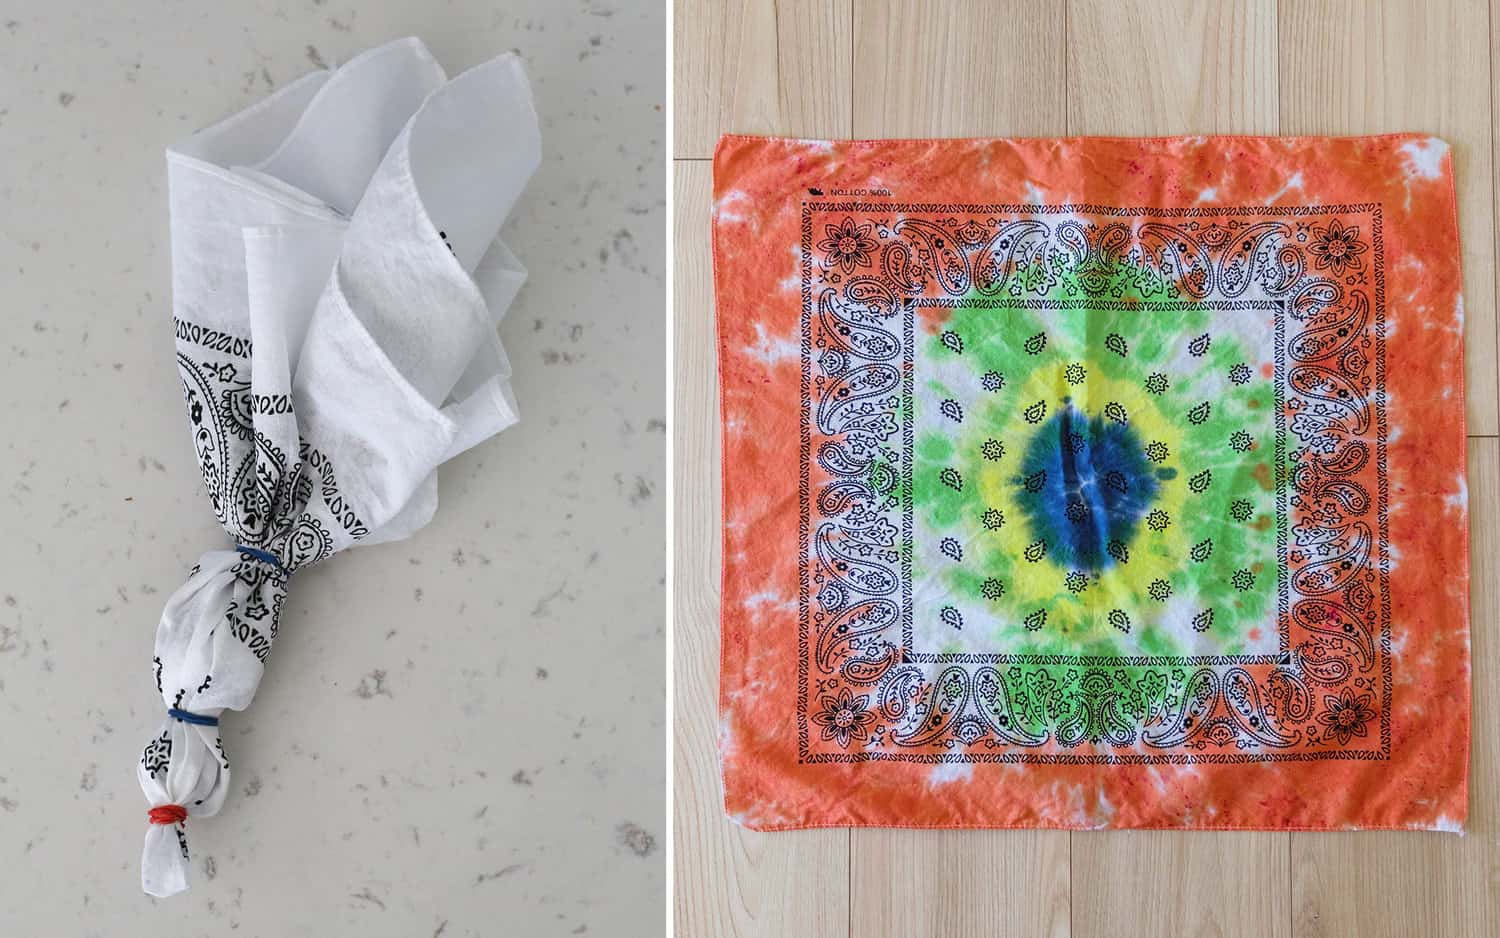
Bullseye
Pinch a section of fabric of the garment. Pull the fabric up to this point, creating a fabric cone. Wrap rubber bands around the cone of fabric.
You can add as many or as few rubber bands as you want. When you go to dye, add a different color to each section (between the rubber bands).
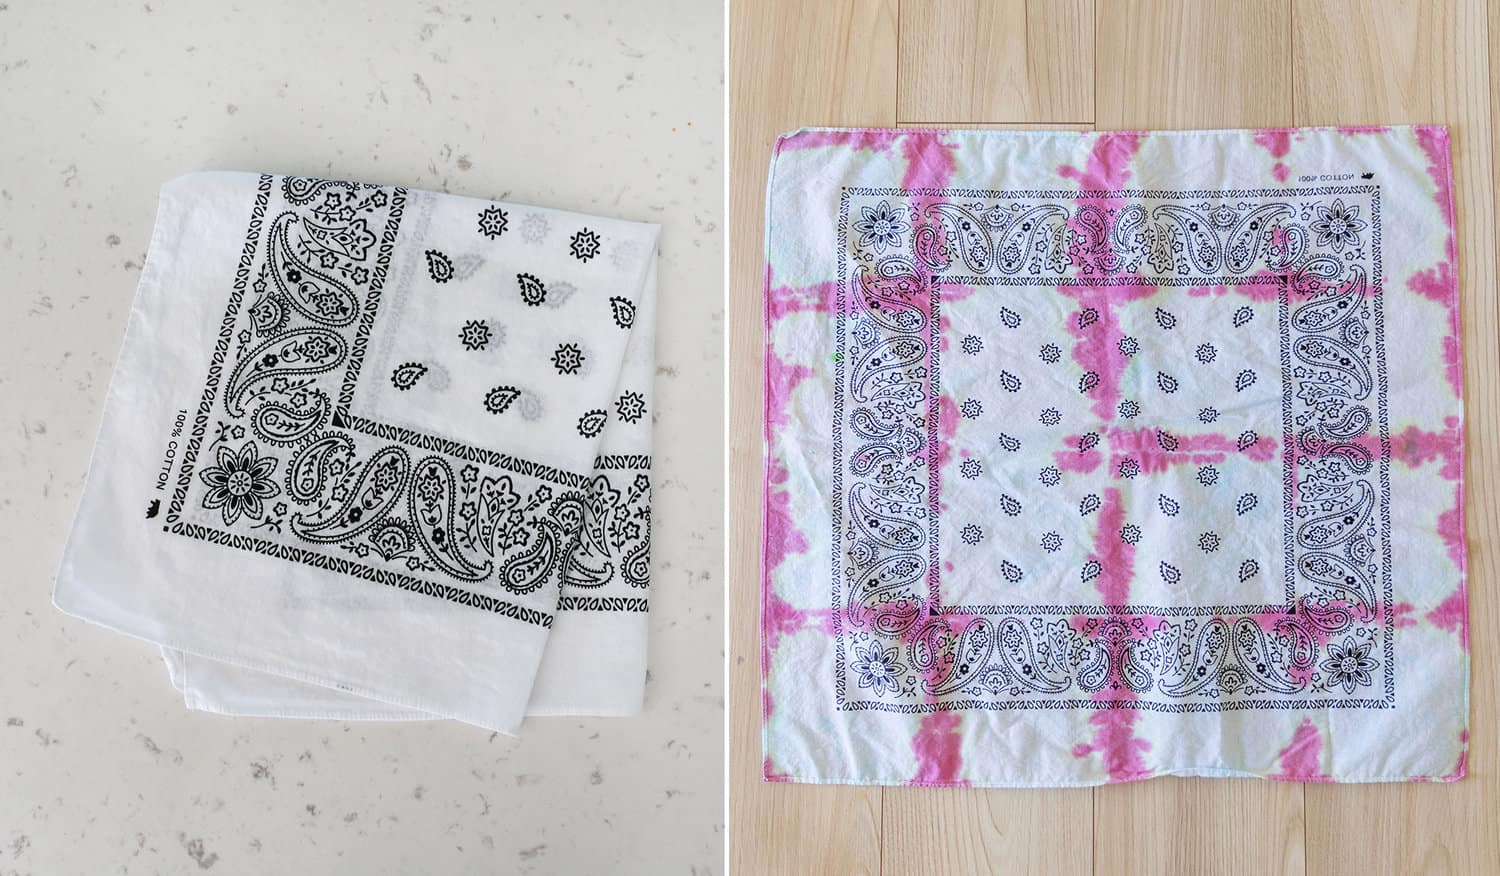
Folded
Fold the garment into a square or triangle, folding and condensing it down as much as you like. When you go to dye add color to the edges of the folds only.
This tie-dye pattern can use rubber bands or not—it’s up to you. If you want to add small pieces of cardboard in the shape of the fold (a square or a triangle) on each side, you can wrap the rubber bands around these before dyeing.
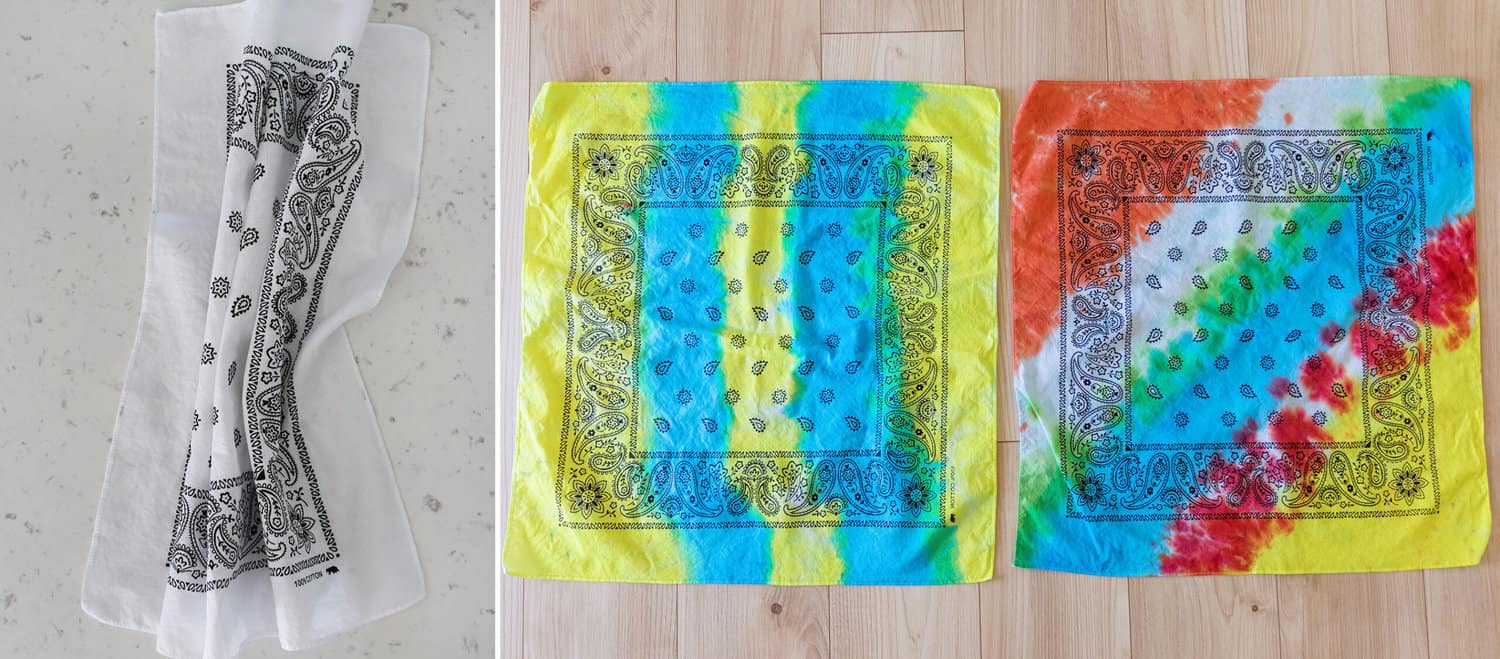
Stripes
Lay the garment flat. Starting from the bottom or one side, fold the shirt in a series of small accordion-style folds. Wrap the folded shirt with rubber bands. Depending if you start from, a side or top/bottom will create vertical, horizontal or diagonal lines.
When you go to dye, add color to each section (between rubber bands).
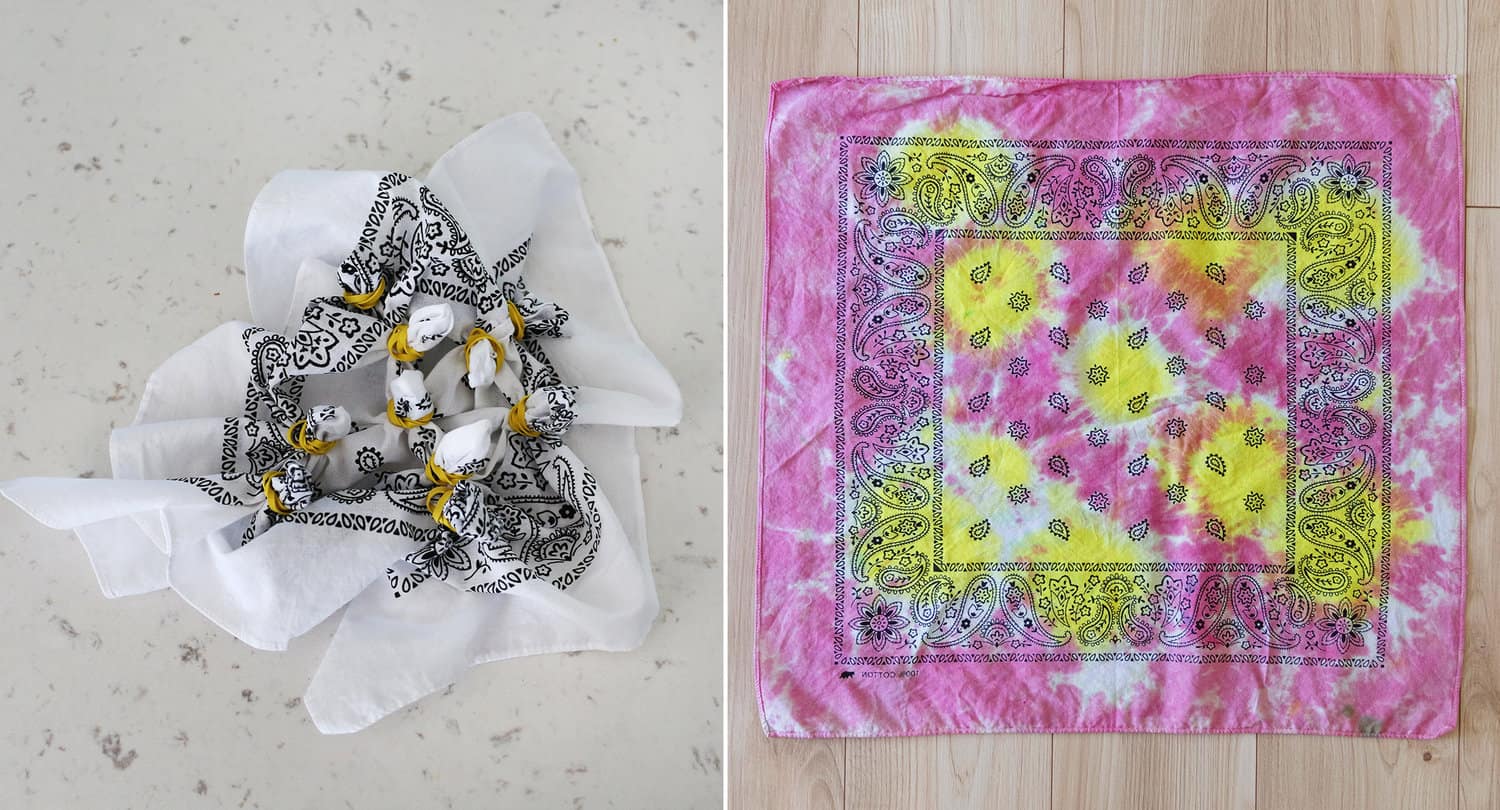
Sunbursts
Pinch a series of small sections and pull them up to create small, small cone shapes. Secure each with a couple of rubber bands. These kind of resemble cow utters. When you go to dye, add a color to the small cone areas and a different color for the rest.
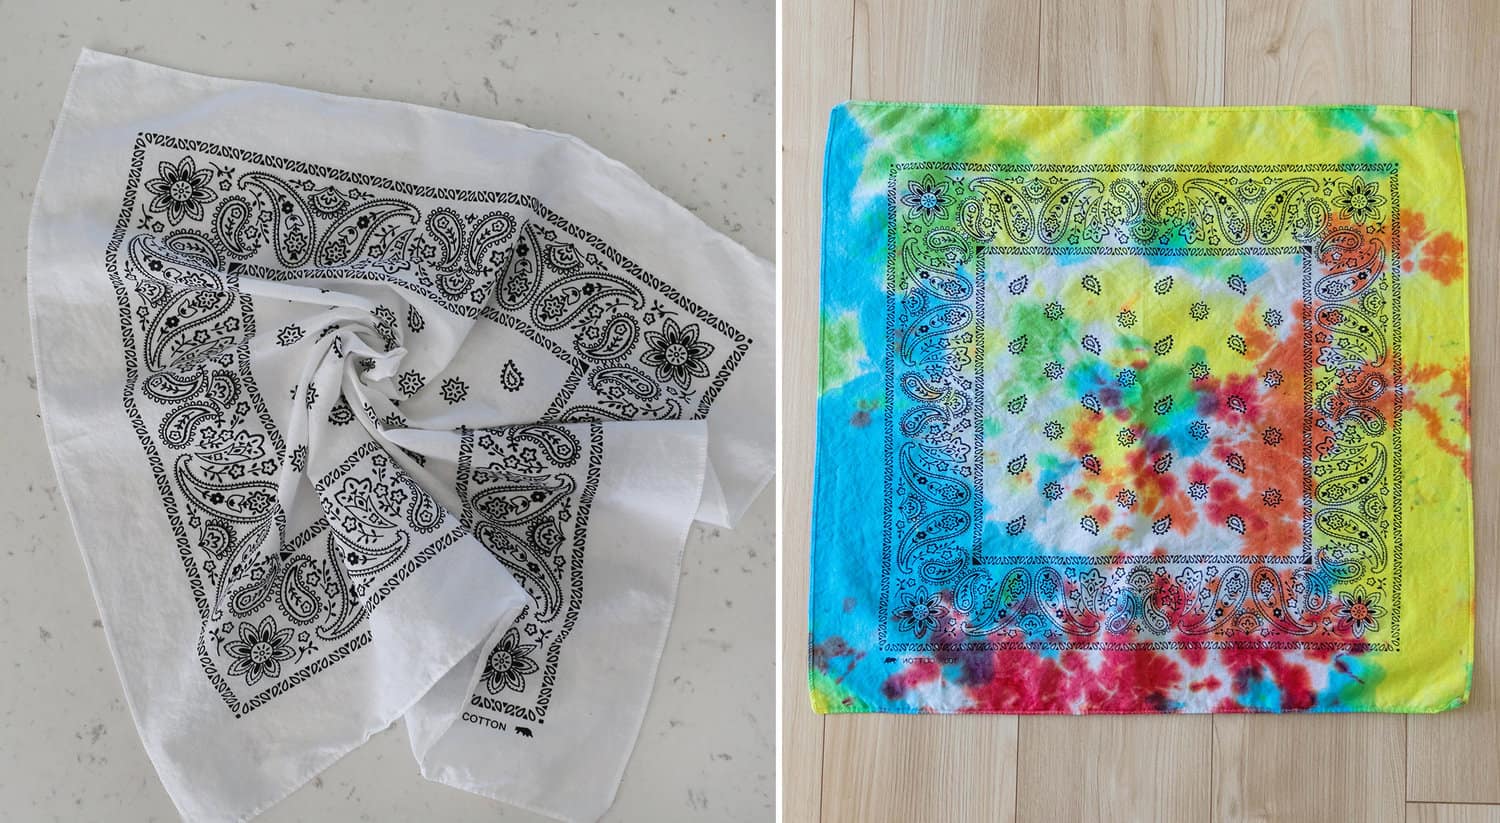
Swirl
Pinch a small section in the center of your garment. Twist the fabric around this point. Keep twisting, and the garment will become a disc. It think it resembles a cinnamon roll.
Secure the shirt with three or four rubber bands, crisscrossing them over the center of the disc. The tighter you bind the shirt, the more white there will be. When you dye, add color to each different section on the disc created by the rubber bands.
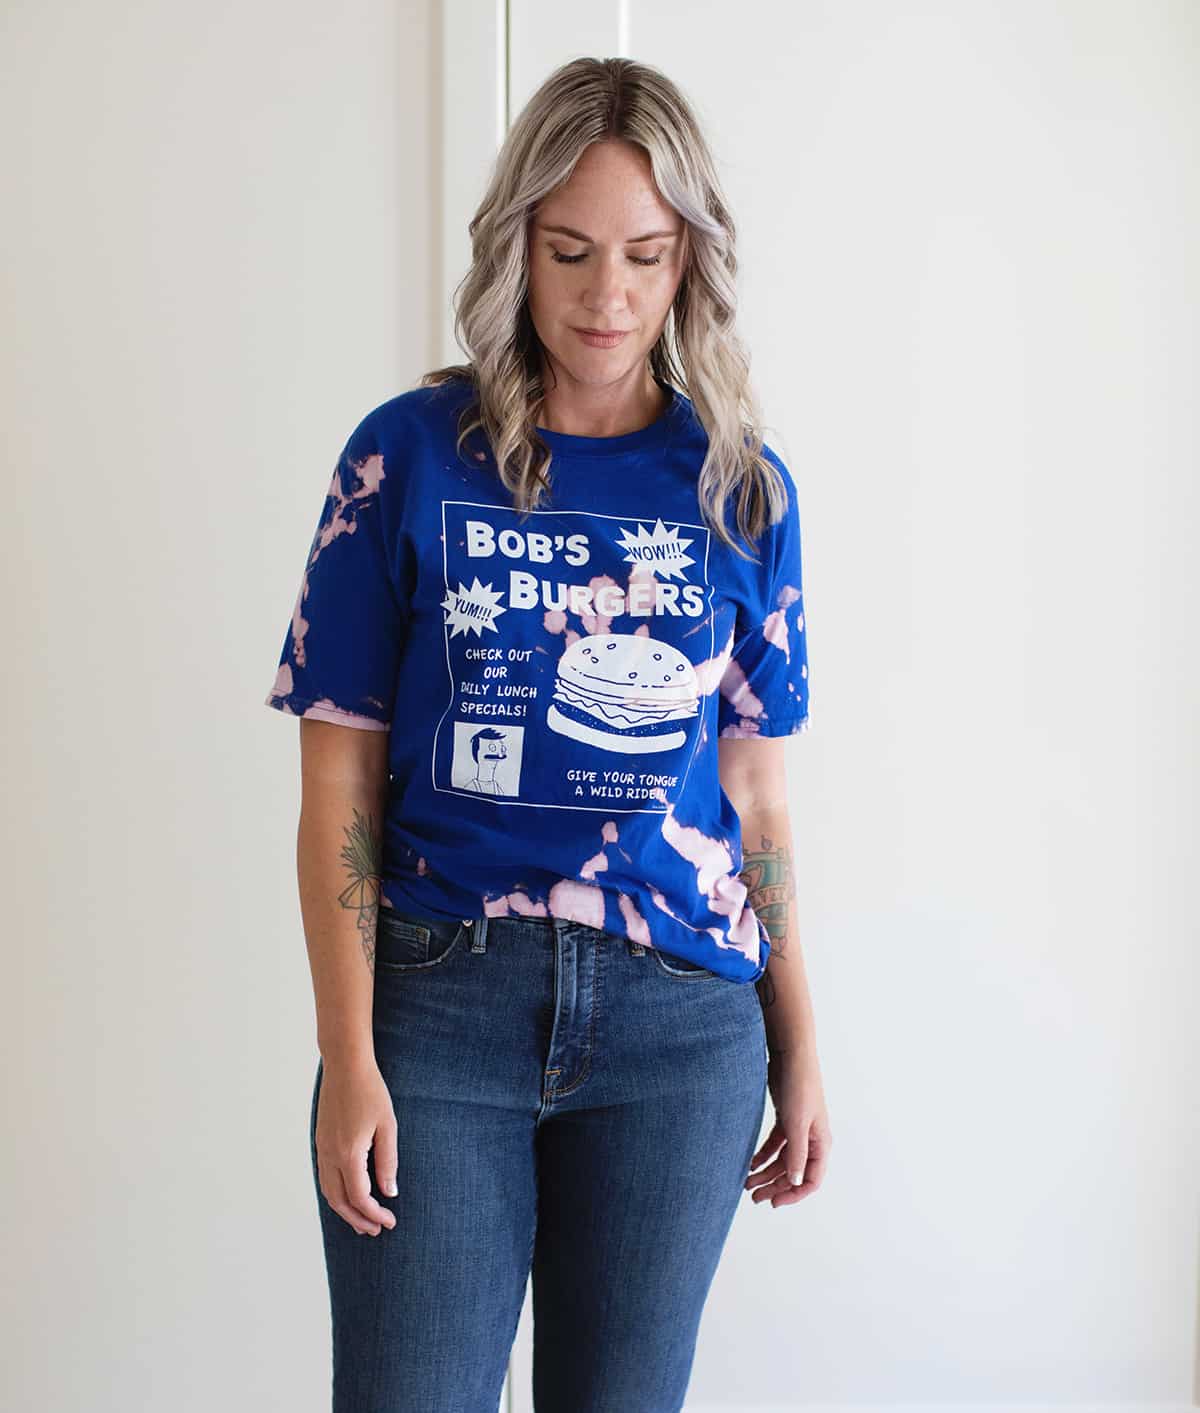
Bleach Tie-Dye
Using bleach to tie-dye is essentially the same technique but instead of adding color to a garment, we are looking to take color away (by bleaching it off).
All you need is: a colored garment (again, cotton is best but other fabrics can work as well), rubber bands, bleach, gloves, and a drop cloth to protect your hands and surfaces.
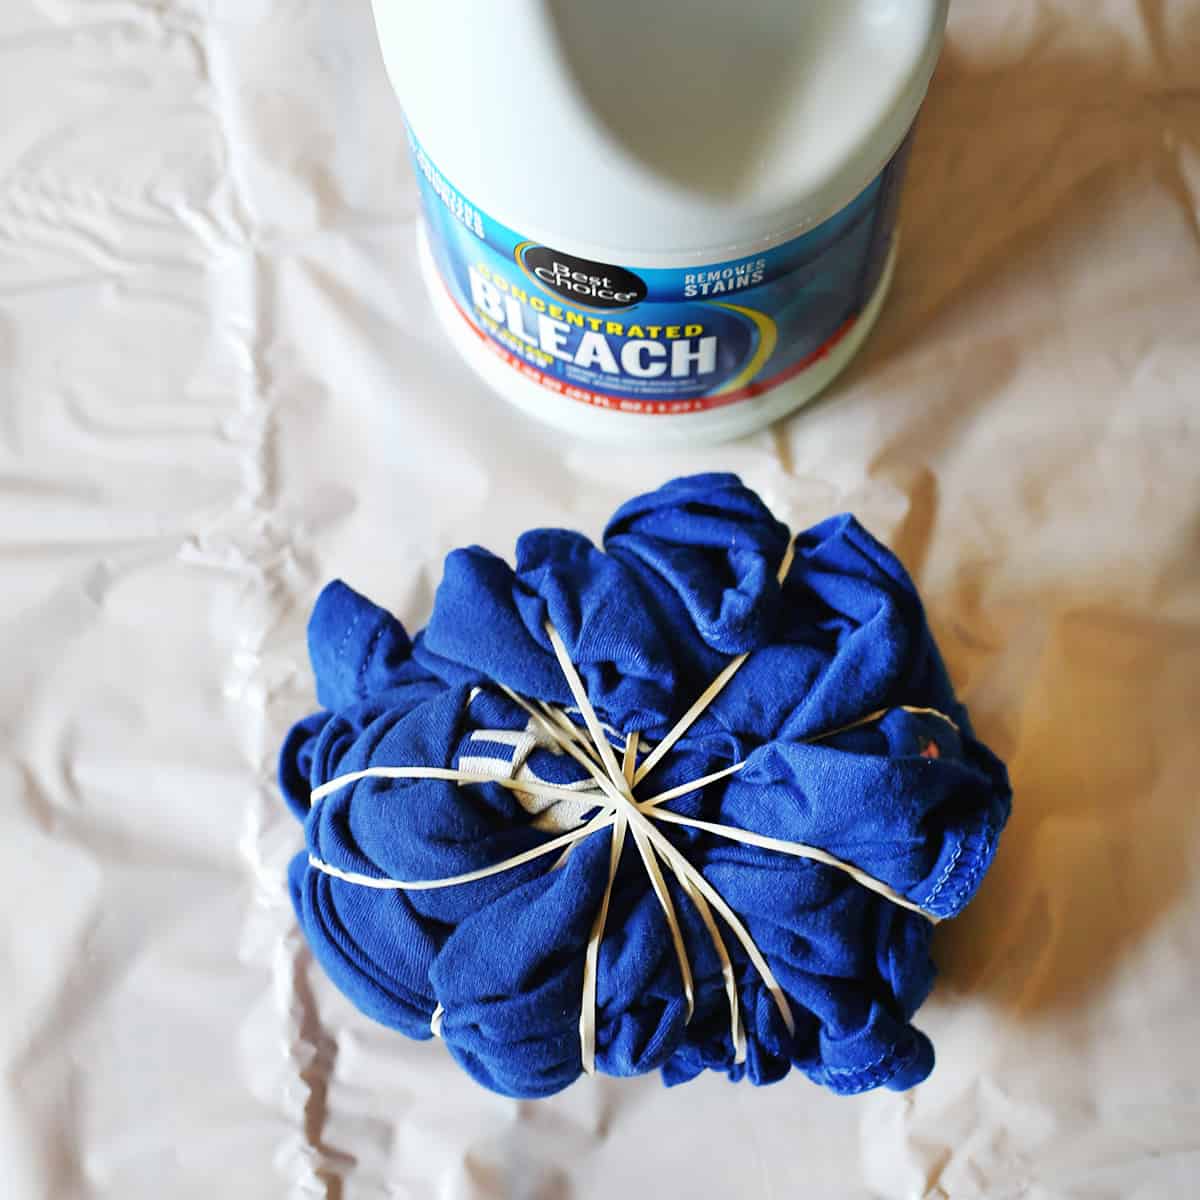
Fold or scrunch your garment and add rubber bands as desired. Then, carefully add the bleach to the entire garment or only sections—up to you.
You will be able to see the garment change color so you’ll likely know when it’s ready. I found that 1-2 hours is likely enough, but longer can create an even more intense bleached look.
Just like classic tie-dye, rinse the garment (with gloves on) and then wash separately the first time.

Ice Tie-Dye
Using ice cubes to tie-dye has become really popular in the last few years. The process is slightly different, and in my experience creates a softer, more subtle tie-dye effect than classic tie-dye.
You will still need a white or light colored garment (cotton is best), powder tie-dye (like the kit I used throughout this post), rubber bands, gloves, and ice cubes. I also think a cooling rack is useful.
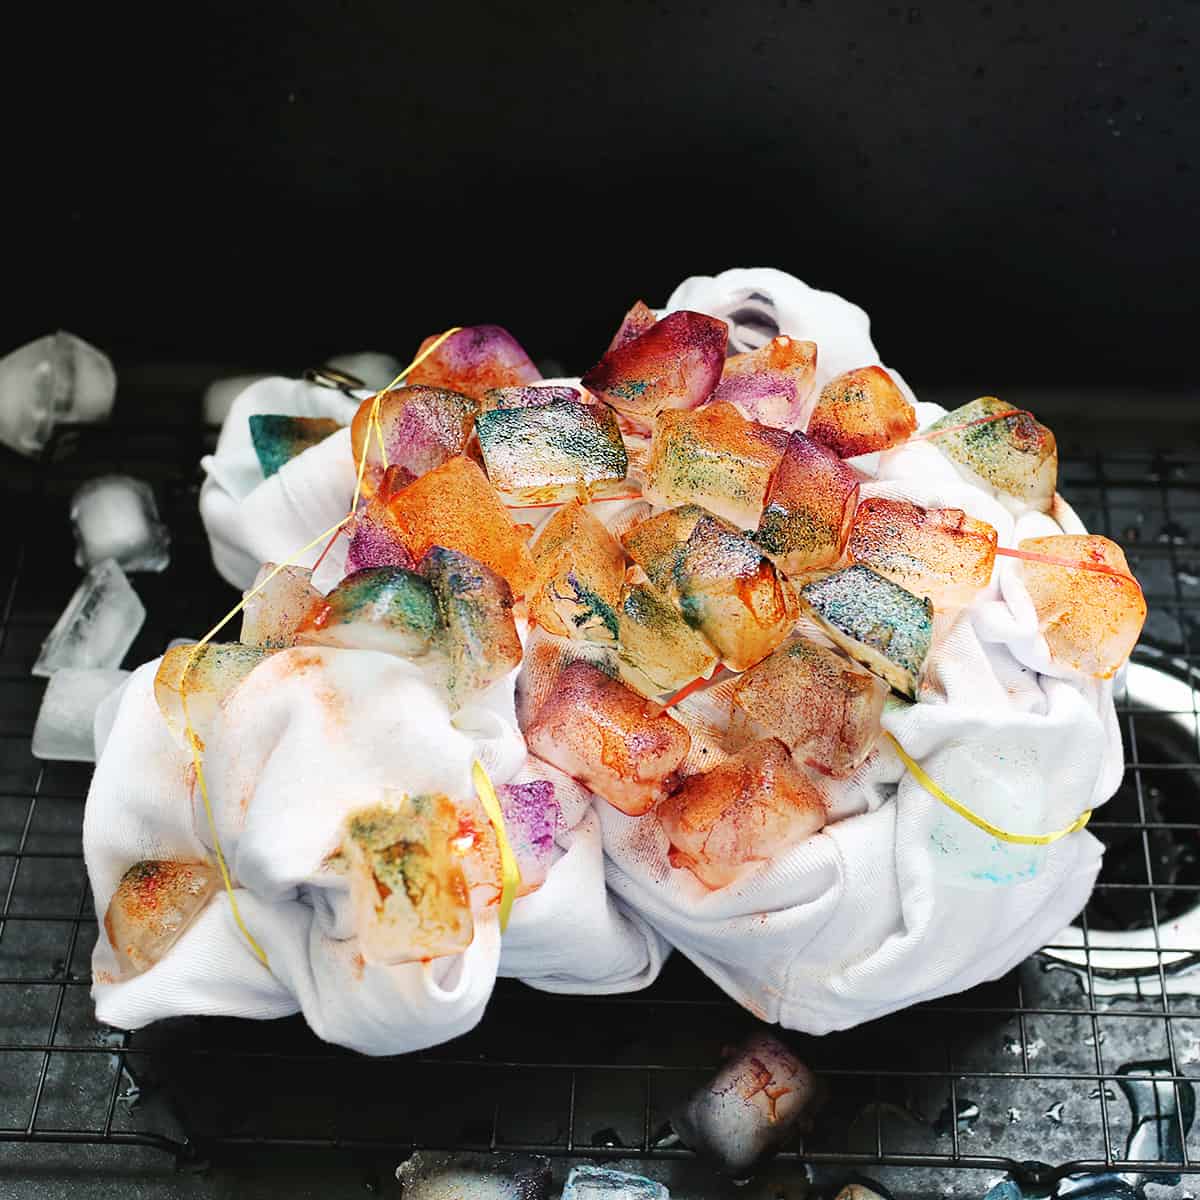
Fold or scrunch your garment and add rubber bands. Place in your kitchen sink on top of the cooling rack.
Then, cover the garment in ice cubes and sprinkled with colors of powdered dye. As the ice melts, it will dissolve the dye powders and saturates the fabric. Allow the ice cubes to fully melt.
Just like classic tie-dye, rinse with gloves on until the water runs clear. Then, wash separately the first time, so it doesn’t stain other clothing.
Frequently Asked Questions
Should fabric be wet when you tie-dye?
No. While it may depend on what type of dye you are using, but most beginner dye kits will encourage you to dye dry fabrics.
How long should tie-dye soak before rinsing?
For classic tie-dye, 4-6 hours is a good minimum, but you can allow the dye to set for longer for more intense colors.
Is it better to tie-dye wet or dry?
It’s best to wash a new garment first, and allow to fully dry before starting the tie-dye process. You can skip this step if you have already owned the garment and it’s been washed before.
More Craft Projects
If you have more questions about tie-dye projects, let us know in the comments and we can add to the FAQ section of this post over time. Happy crafting!
Love this post? Sign up for our newsletter for more ideas!

Get creative ideas for recipes, crafts, decor, and more in your inbox!
Get the How-To
classic tie dye technique
Instructions
-
Begin by washing the garments you plan to dye.
-
Scrunch up your item as desired and then add rubber bands.
-
Then, mix your dyes according to the package instructions.
-
Cover your area with a drop cloth to protect it from any dye spills.
-
Wear disposable gloves as you work to protect your hands.
-
Add dye to the prepared fabric and allow to soak for the recommended time. The dye I used suggested 4-6 hours.
-
Before throwing your tie-dye garments in the washing machine, give them a good rinse in the bathtub or kitchen sink. I recommend wearing gloves again for this step.
-
Remove the rubber bands and rinse until the water runs clean.
-
Then, wash them in the washing machine, or as you normally would.
Notes
- If the garments you are dyeing are things you already own and have washed before, you can skip washing them.
- See post for examples of different tie-dye patterns you can try.
- I know it may not seem necessary, but I do think it’s best to wash newly dyed items separate from other clothing the first time. Even if you rinse it well, the dye could ruin other clothing you are not wanting to dye.


