Long & Short Bed Options With Standard Top Plate & Kickout
Rock sliders are arguably one of the most important pieces of armor for your Tacoma when off-roading. They protect your body panels from irreversible damage from large rocks or other obstacles. While there are plenty of options on the market, it’s important to pay attention to materials and quality welding as not all of them are created equal.
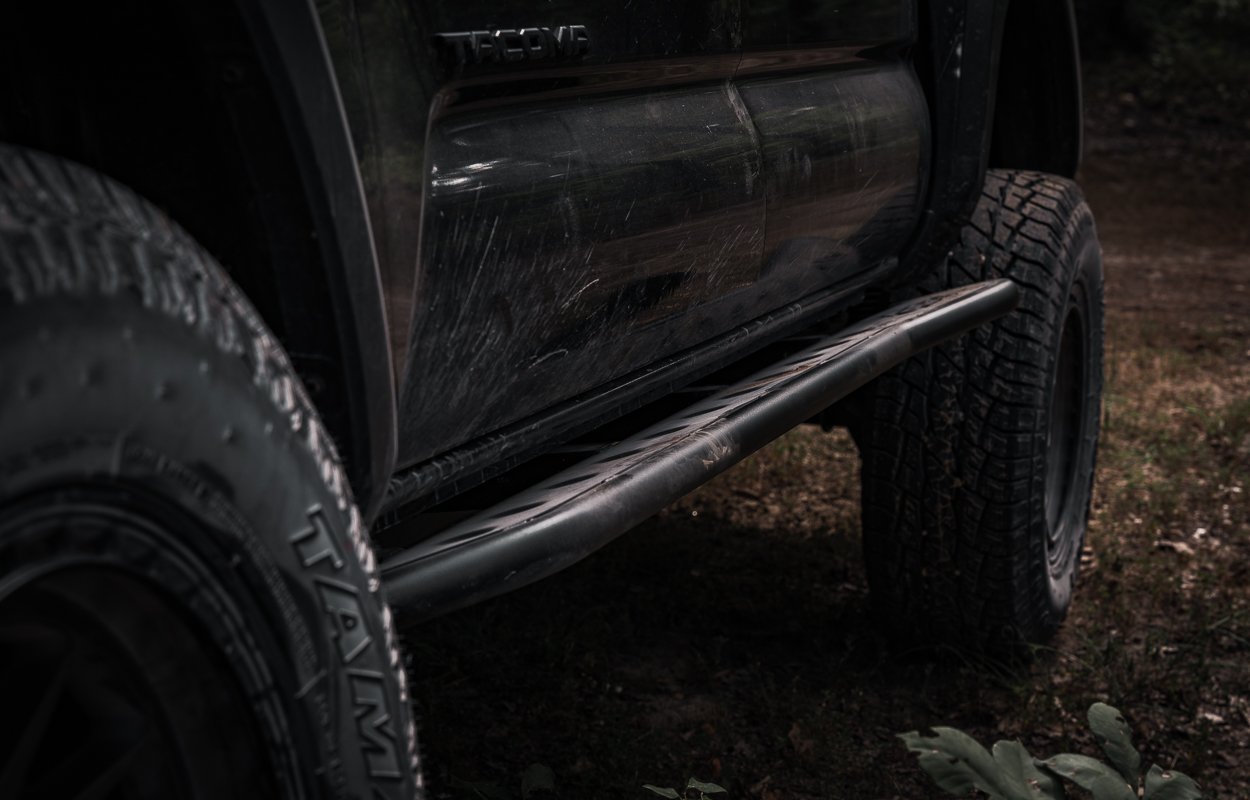
The APEX sliders are great for everyone from weekend warriors to hardcore rock crawlers. They’re built from heavy-duty steel, mount directly to the frame of your truck, and feature an 11-degree angled design to provide the most protection without sacrificing ground clearance and a clean look.
Discount Code
- Use code – TRAILCO – for 10% off!
Key Features
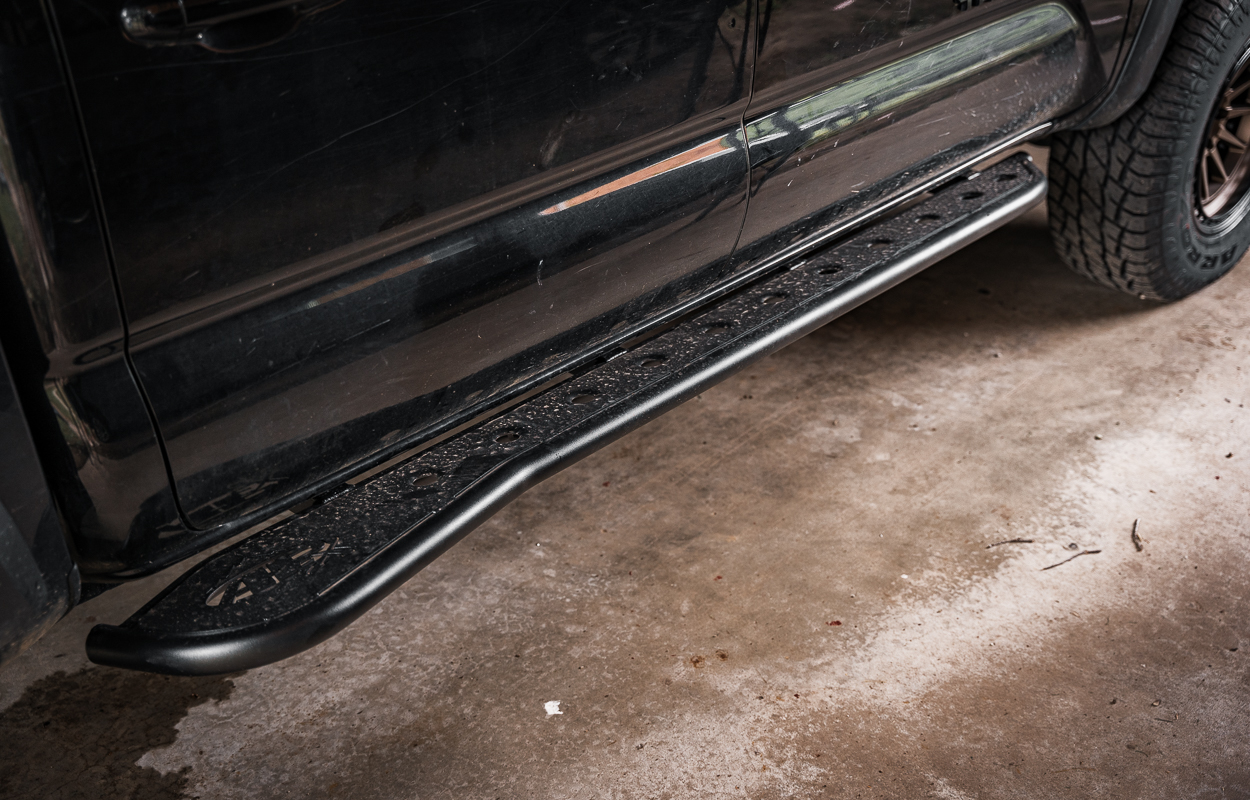
The All-Pro team tests their products on some of the hardest trails and these are no different. They are built from heavy-duty 1.75″ x .120 wall DOM tubing which is designed to take a beating and can easily support the entire weight of the vehicle. This also allows them to serve as an extra lift point for impromptu trail repairs. Square tubing paired with gussets also adds to overall strength.
An 11-degree angle provides maximum ground clearance and door protection to prevent expensive rocker panel damage. Alongside the angled design, they also feature a rear kick-out serving as a pivot point on tight trails. To cap it all off, a dimpled steel fill plate provides added strength to the top plate.
These sliders are available in a raw or a black powder-coated finish and for 2nd & 3rd Gens (2005-2023) with an access cab long bed, double cab short bed, and double cab long bed. Not all brands offer this, so it is nice to see.
Installation
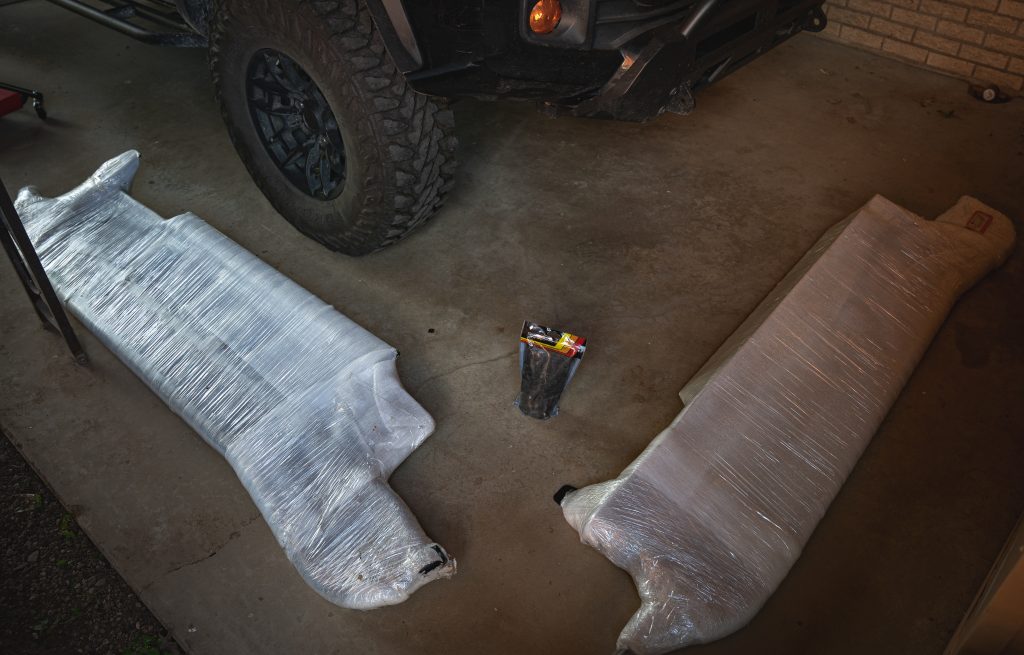
These rock sliders are mostly bolt-on but require minimal drilling to mount properly. The installation is pretty straightforward but I would recommend having two people and a pair of jack stands as they are heavy and can be awkward to hold in place solo. For this installation, I’ll start with the passenger’s side as it requires a few more steps.
If you purchase the raw version, prep and paint the sliders before installing them as they are made from steel and will rust.
Since I am installing these on a 3rd Gen, the instructions will differ slightly from a 2nd Gen. For installation instructions on that, check them out here.
Tools Required
- 2-3 Jack Stands
- Drill
- 7/16″ Drill Bit (suitable for metal)
- 5mm Allen Wrench
- 12mm & 14mm Sockets
- Ratchet Wrench
Included Hardware
- (8) Nut Plates
- (8) 3/8″ Lock Washers
- (16) 3/8″ x 1″ Hex Head Bolts
- (8) 3/8″ x 1″ Counter-Sunk Bolts
- (33) 3/8″ Flat Washers
- (17) 3/8″ Lock Nuts
Step 1. Position Sliders
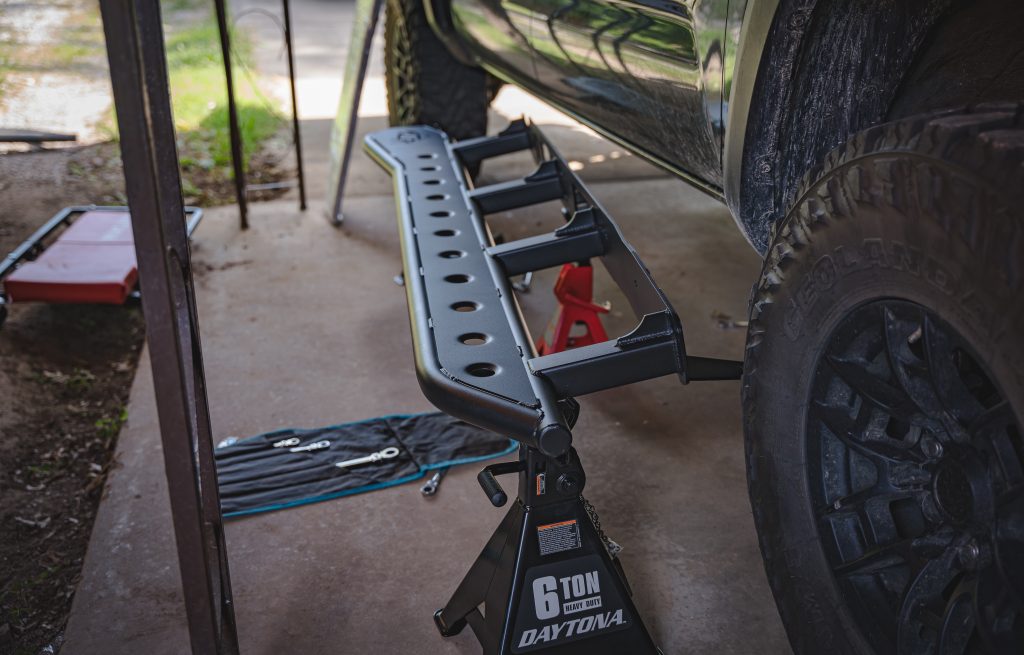
Position your slider against the frame where the holes and plugs in the frame line up with the pre-cut holes in the rock sliders. Once in position, use jack stands to hold it in place.
Step 2. Unbolt Passenger Side Box
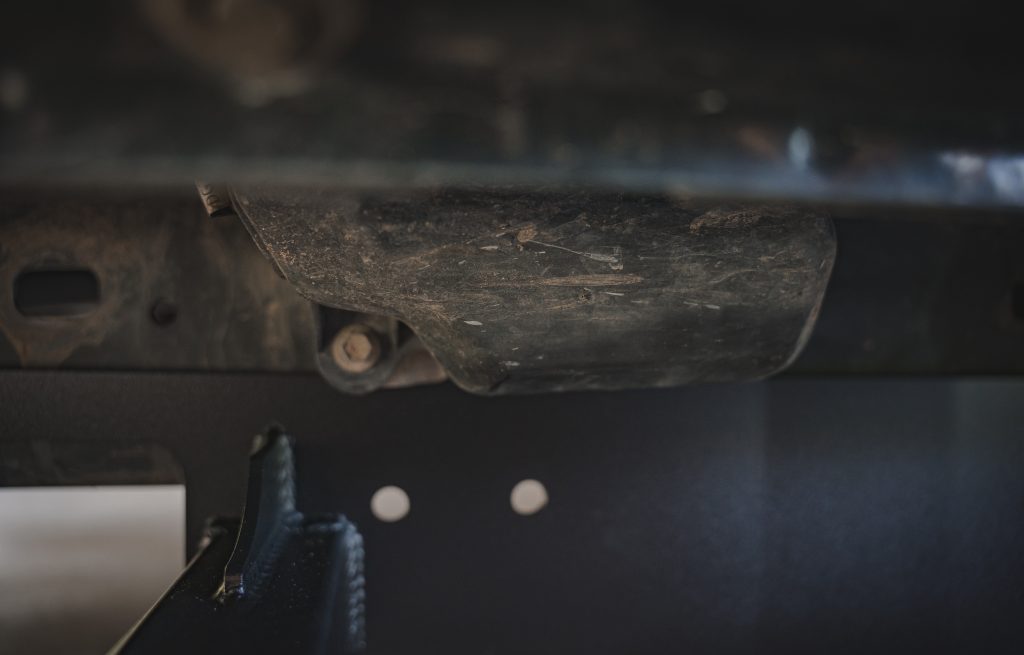
The wire connection box on the passenger side needs to be unbolted from the frame to make room for the rock sliders. Leave this unbolted until you finish mounting the sliders.
Once everything is installed, you can re-mount the connection box. You may need to trim the box or install it in the next hole if your rock sliders are in the way of the original mounting location.
Step 3. Install Nut Plates
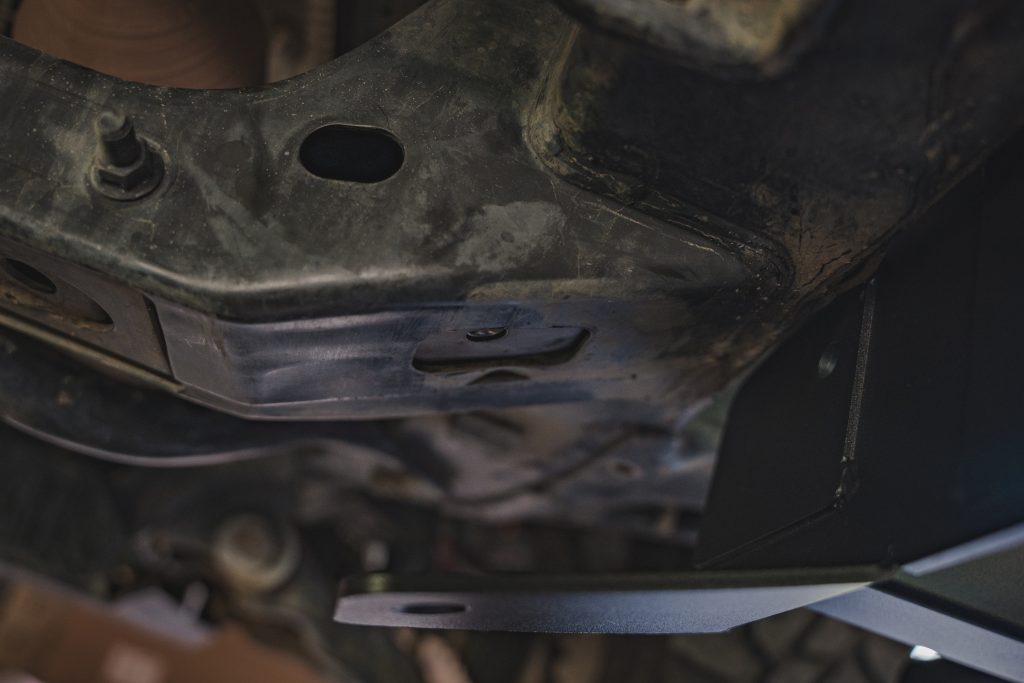
The sliders mount primarily using the existing holes in the frame however nut plates are used to attach the front (2) bolts. To position the nut plate, stick your fingers inside the frame cutout and hold the plate in place while threading the bolt through the slider mounting plate and frame. You will also use a nut plate in the hole on the frame cross-member.
In total, you will use (4) nut plates on each side of the vehicle. Once all the bolts, washers, and nuts are installed, fully tighten them down.
Step 4. Install Remaining Frame Bolts
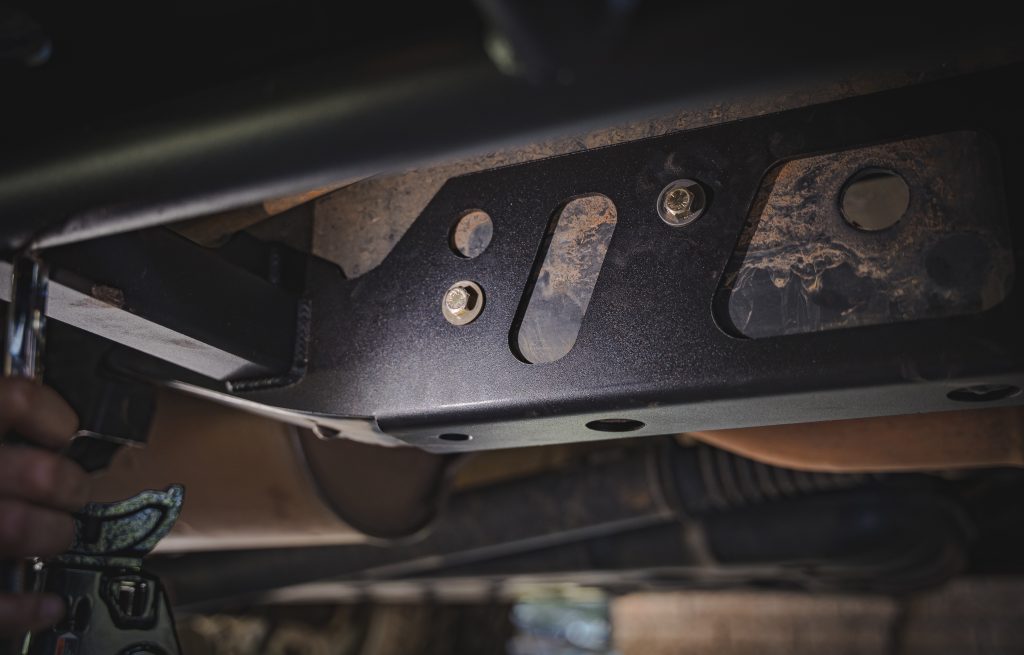
After the nut plates are bolted into place, install the remaining bolts on the side of the frame. Fortunately, Toyota pre-threads most of the holes you will use here. Make sure to fully tighten all bolts before moving to the next step.
Step 5. Drill Mounting Holes
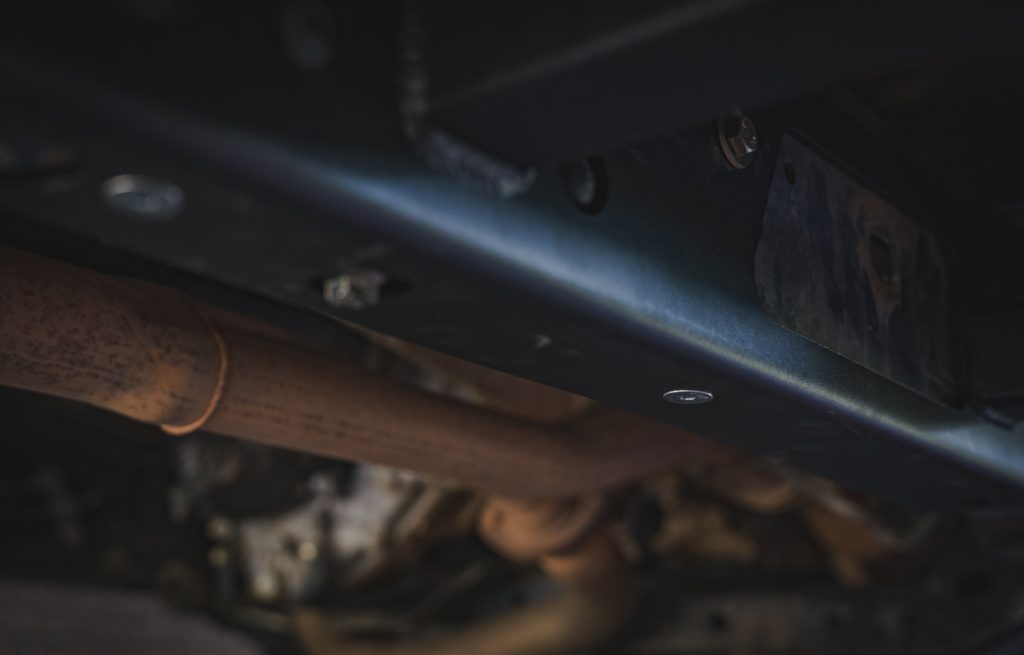
Use a 7/16″ drill bit, to drill out (5) of the remaining holes on the rock sliders. (4) drilling locations will be located on the bottom of the L bracket on the rock sliders. The last hole will be on the frame closest to the truck bed.
Once you have drilled the holes, insert the counter-sunk bolts and nuts and tighten them using a 5mm Allen wrench. Repeat the steps on the opposite side.
Initial Impressions
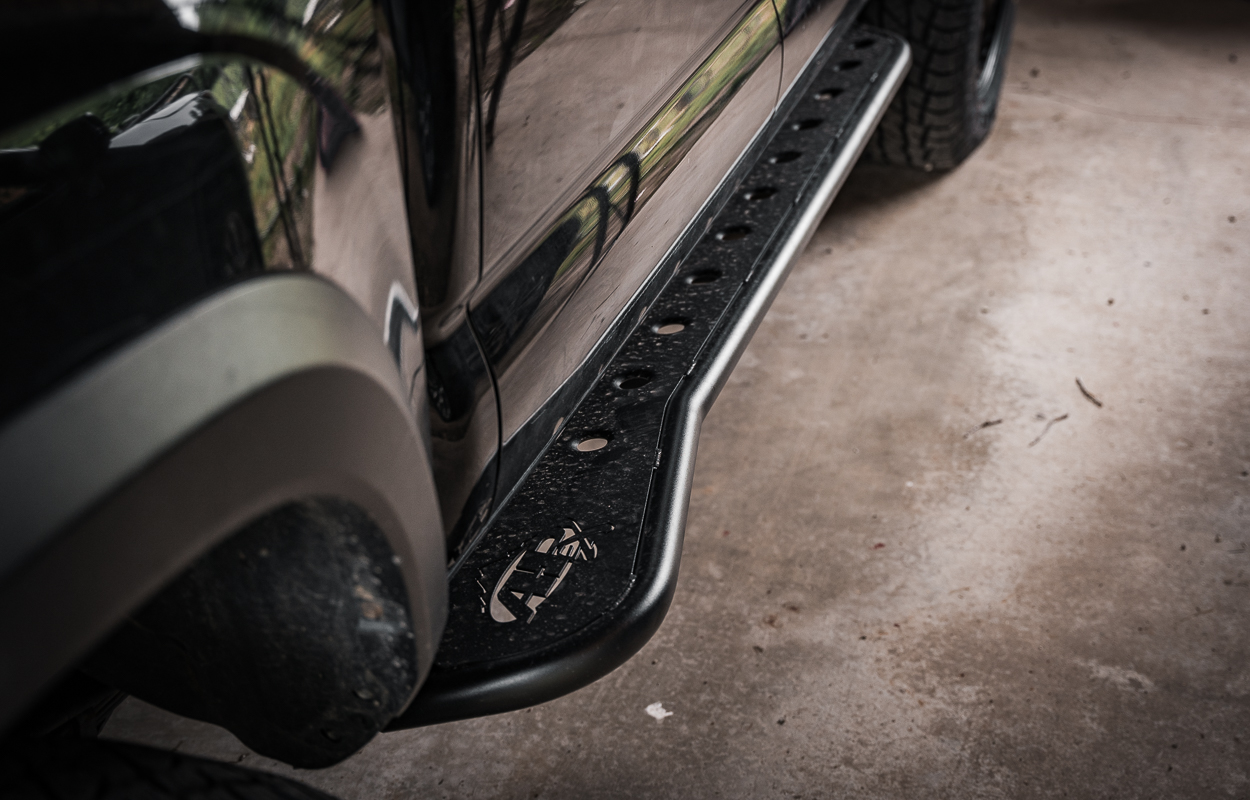
I previously had tested a set of flat, 0 degree sliders, but I wanted to try something with a little more angle. The flat step is awesome as a step, and gives you a lot of protection with how far it sticks out. These angles ones are a little more aesthetically pleasing and off-road more clearance. Both designs work, it really just depends on personal preference.
These rock sliders are also super sturdy. When using them as a jack point to lift my truck, there was no bending of any kind. That’s largely attributed to the DOM tubing, strong mounting plates and reinforcements, no doubt. The Allen bolts in the drilled portion help too. It’s nice to see them flush with the bottom to avoid getting damaged on the rocks.
The black powder coat I opted for was evenly applied and there were no major imperfections. That’s a shame though, as I fully intend on testing these sliders out on the trails. It’s nice to see that they started their life with a quality coating nonetheless.
Final Thoughts
If you’re in the market and want something that can handle anything you throw at them on the trails, I highly recommend looking at the APEX sliders. Not only are they super durable, but look great and don’t hurt your ground clearance when off-roading. Let me know if you have any questions!
