Easily Set Up Your Truck Bed For Camping & Hauling Gear
I’ve always slept in my truck bed, as it’s been my favorite way of camping. There’s no worry about uneven ground, nothing flapping around making noise, no animals or bugs and hard walls surrounding you.
However, the big caveat to sleeping in a short bed is the space. Being stuck between the wheel wells is terrible. It’s equivalent to sleeping on a twin bed, so forget about sleeping with two back there. You must also remove everything from your truck bed to sleep in it, which is a pain for overnighters or when constantly moving.
The BamBeds Solo Platform aims to fix these issues (and others unrelated to sleeping, like storage) by letting you easily switch between bed camping, hauling gear, and even both simultaneously.
I’ll be covering this product on my 3rd Gen, but the same system is available for the 2nd & 4th Gen.
Check out their sliding storage trays too, a complementary mod – Custom BamBeds Slider Storage Setup.
Installation
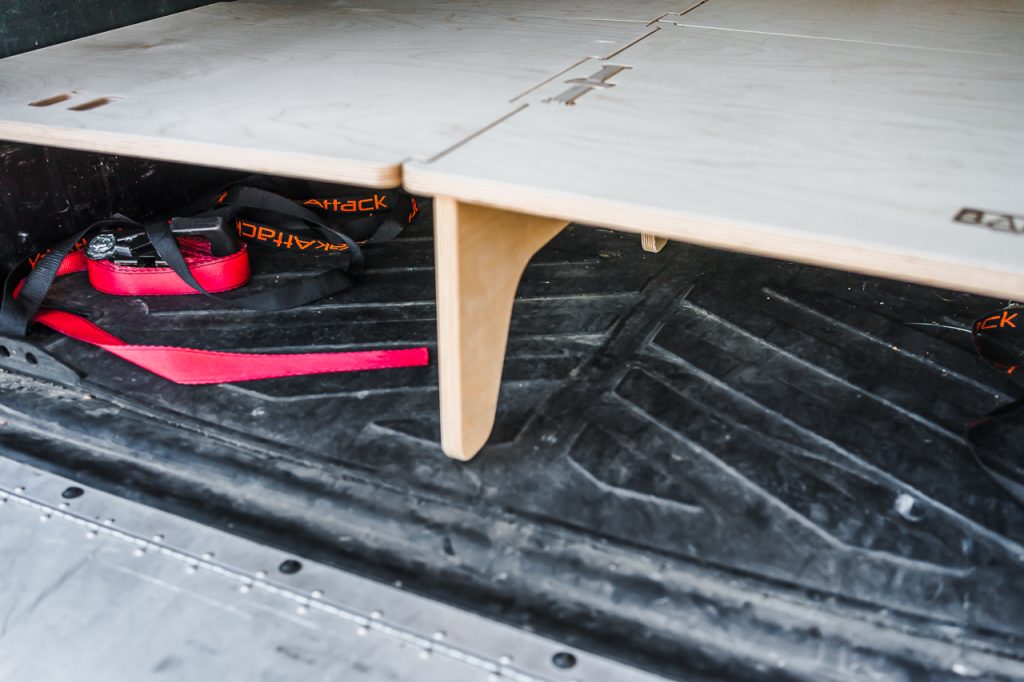
Assembling and installing the Solo Platform is simple and requires no tools. This is essentially a giant LEGO set. You should be up and running in less than 15 minutes (less if you only purchased a single side).
Step 1. Assemble Passenger’s Side
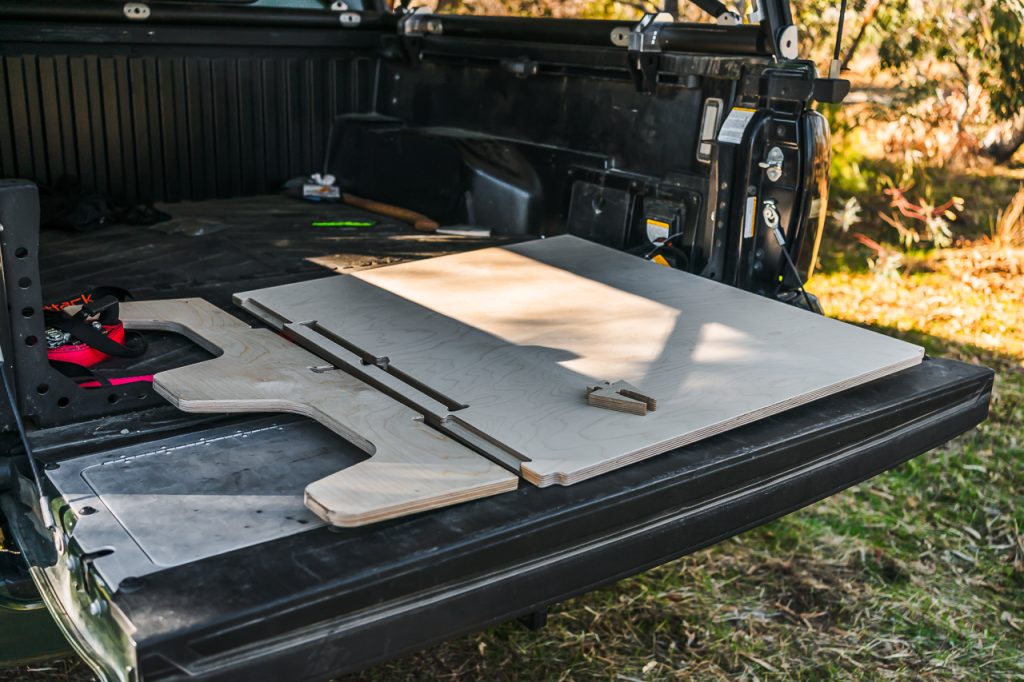
The first platform section has (3) pieces: the large top platform, a locking piece that attaches the platform to the stand, and the stand itself. You’ll need to start with the passenger side.
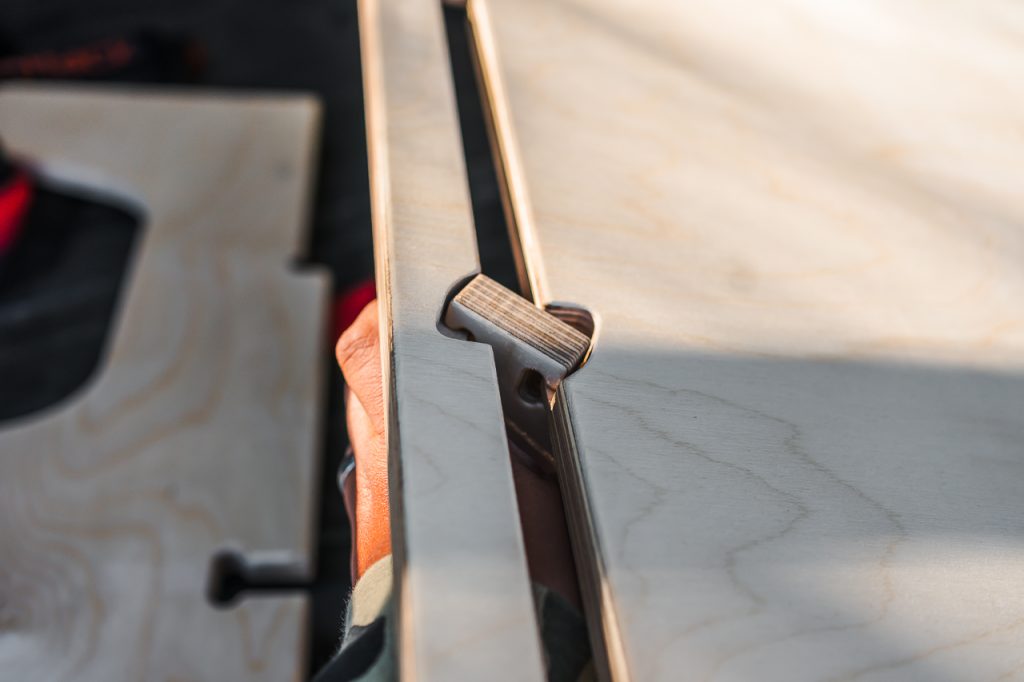
Next, take the locking piece and place it under the large platform. Twisting the lock into place takes a little finesse, but it shouldn’t need to be forced in.
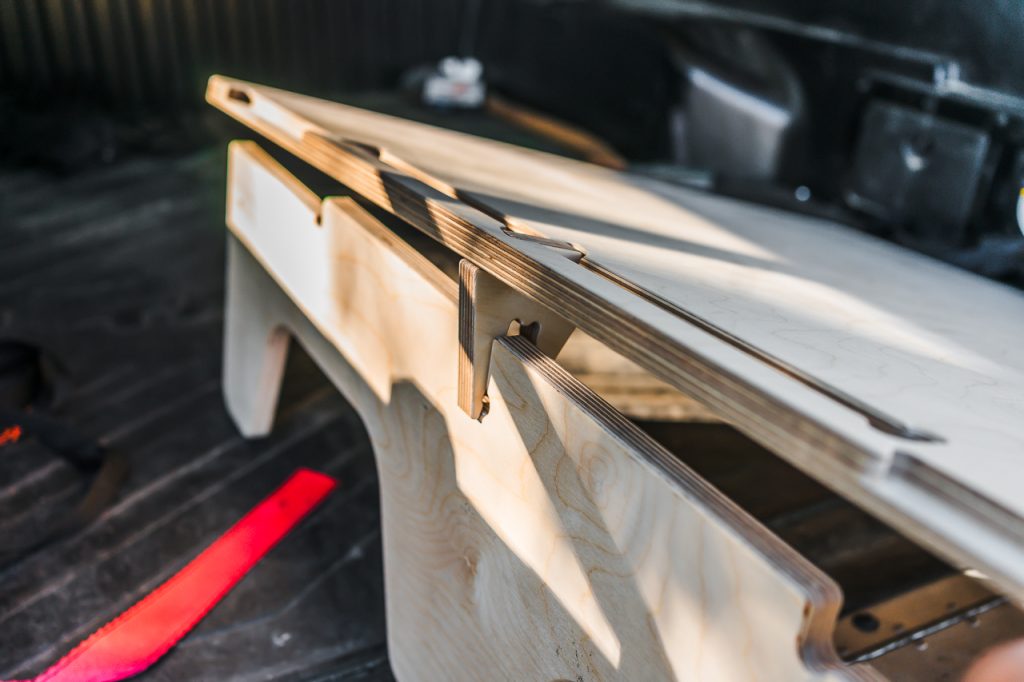
From here, place the Platform onto the stand. All the pieces should just fall into place.
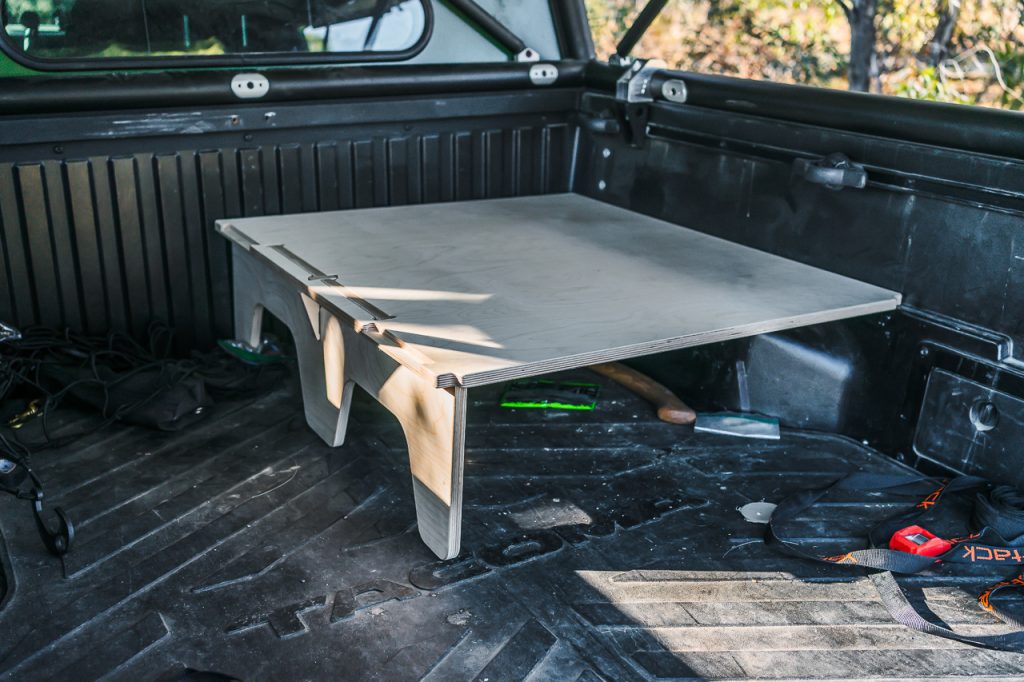
Then, rest the whole platform onto the passenger wheel well and push it back as far as possible.
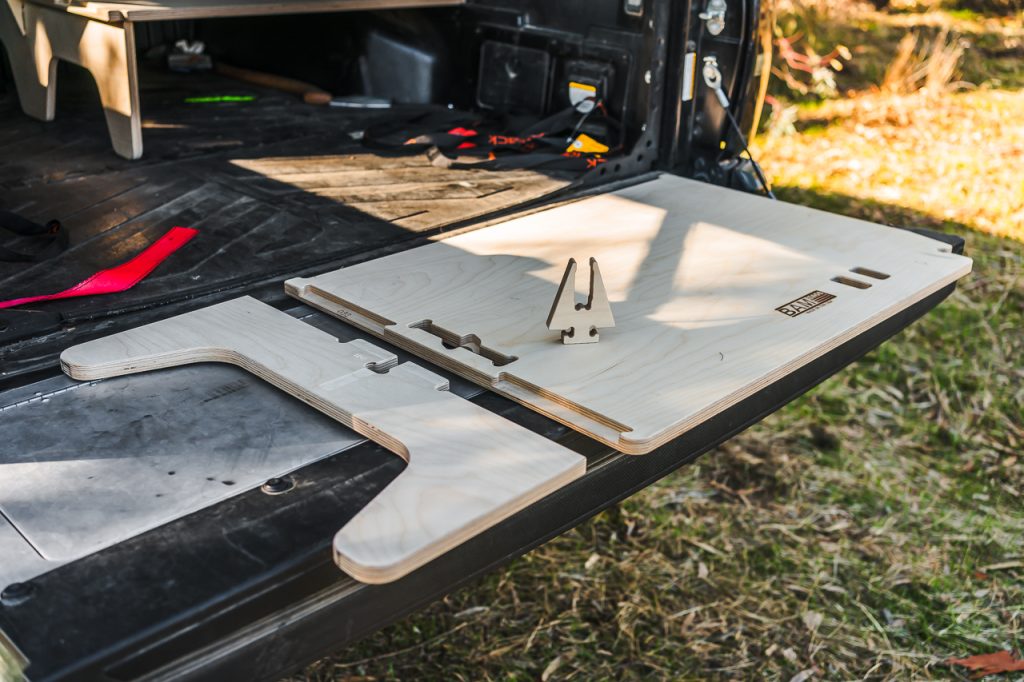
Like the first section, there are (3) pieces to the second half of the passenger side. These pieces will assemble in the same fashion as mentioned above.
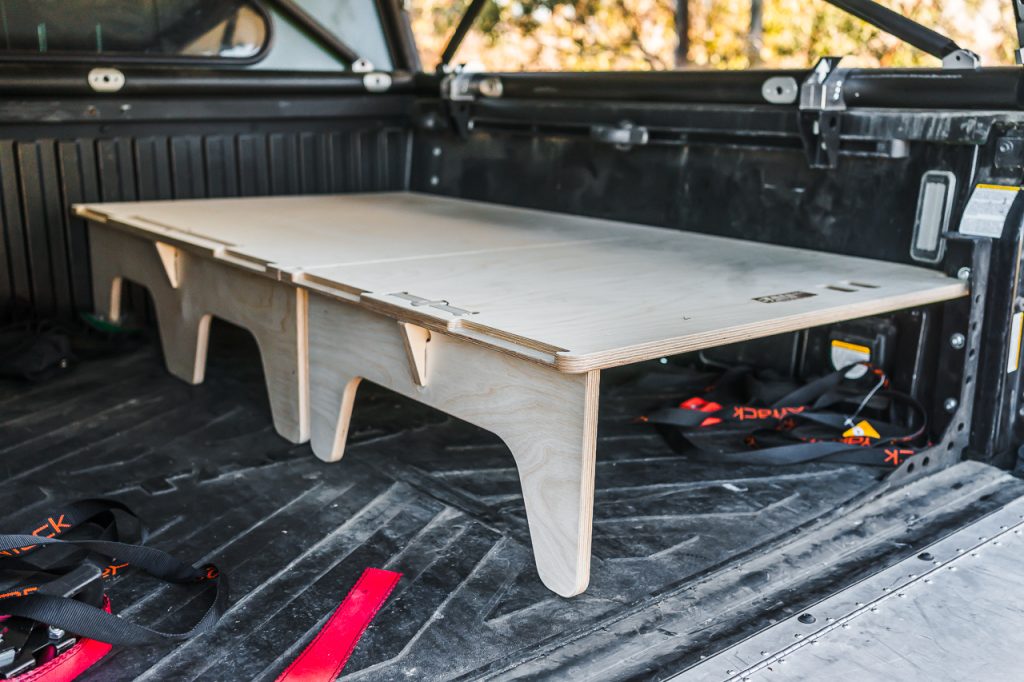
Finally, place the second section next to the first. If you only bought the Solo side, you’re done. Secure the platform while driving using ratchet straps or putting gear on top.
Note: If you’re running bed stiffeners, they might interfere with the top panel. In that case, you’ll need to notch out the platform. Also, if you’re using a bed mat, there might be a slight rise under the stands. The Solo Platform was designed to sit between the grooves of the OEM bed.
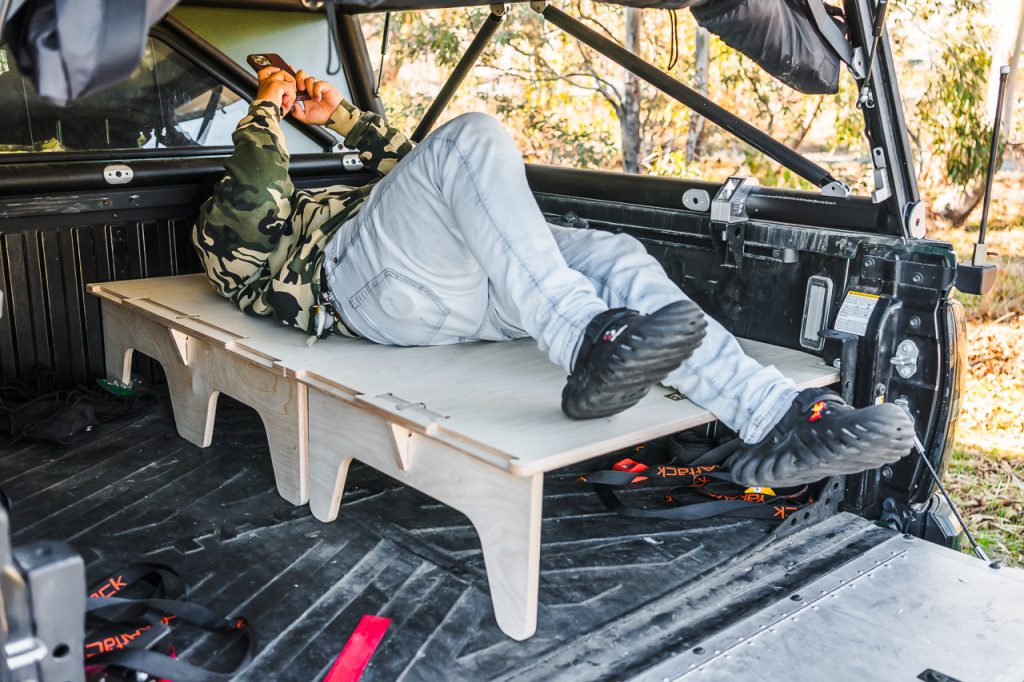
This might not be the ideal setup for short-bed Tacomas. I highly recommend buying both sides of the platform to utilize the whole bed width.
Step 2. Assemble Driver’s Side
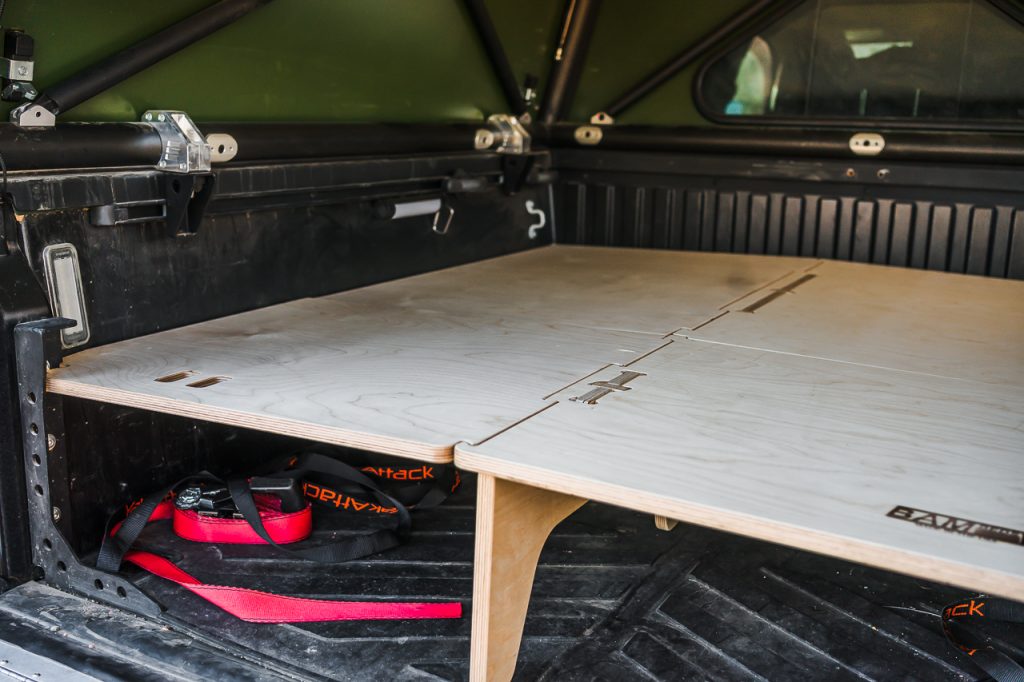
Setting up the driver’s side of the platform is simple. You only need to lay the two panels down over the wheel arch and the legs from the passenger-side platform.
Note: If bed stiffeners are installed, you may need to trim the corner, as with the passenger side.
Step 3. Sleeping Area Set Up
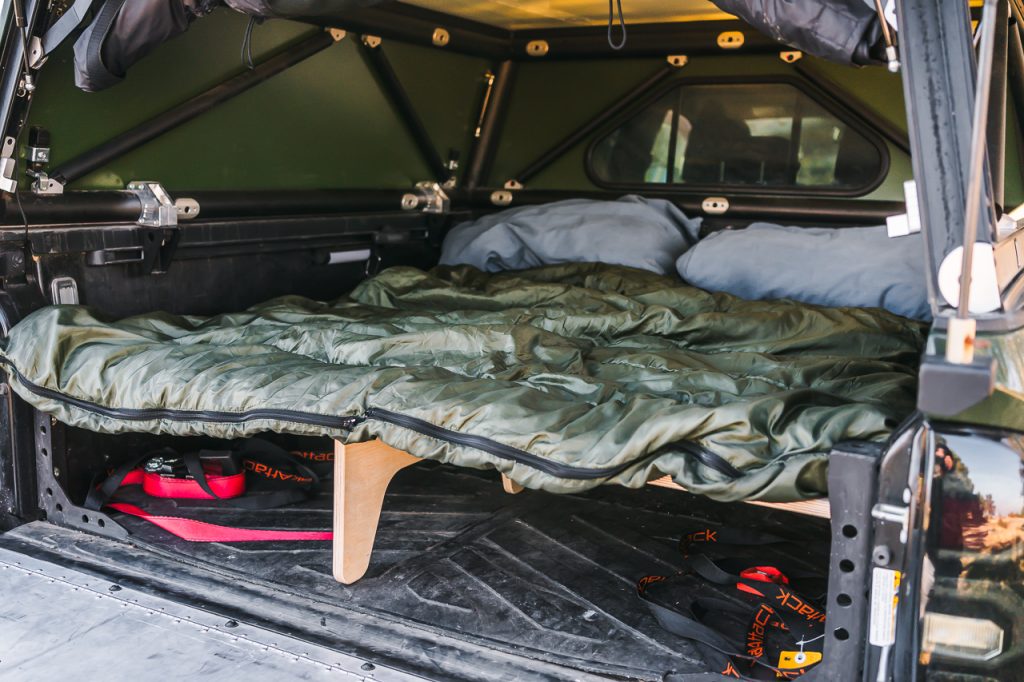
From here, you can place whatever bedding you want. I typically just throw in a bed mat, a sleeping bag, and a couple of pillows.
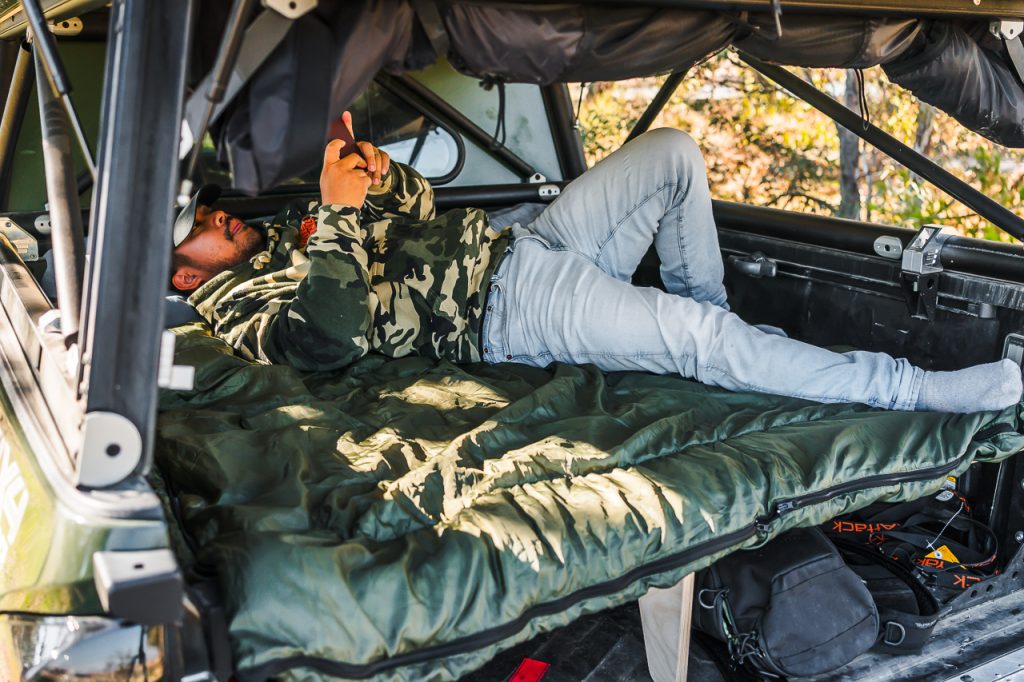
For reference, I’m 5’5″, but there’s plenty of room in my 5′ short bed to sleep diagonally. There’s also tons of space under the platform to put bags or gear, such as my ROAM 83L case.
Final Thoughts
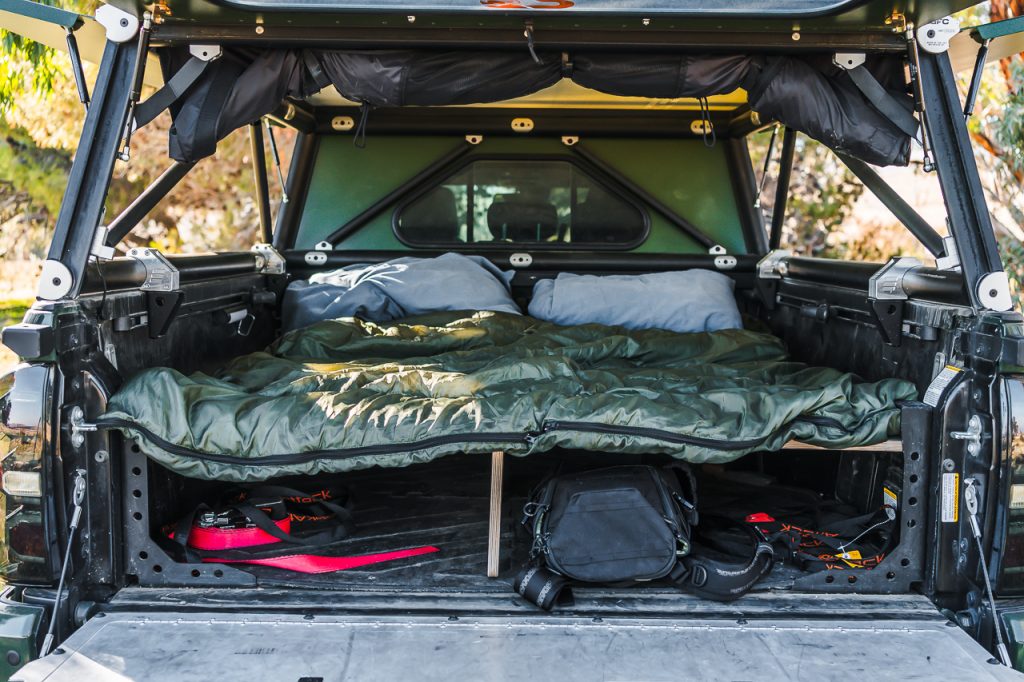
The Solo Platform by BamBeds has been a key player in my camping setup. I love the ability to easily remove it when I need access to my entire truck bed. No more fetal position while trying to sleep between the wheel wells! Now, I can use the whole width of my Tacoma’s bed and gain a ton of storage space. I can also sleep with my legs stretched fully out, even with the tailgate up, and be comfortably surrounded by my bedside and GFC topper.
The underside of the platform has plenty of space for gear, so I don’t have to shuffle around gear while setting up camp. With a max load capacity of 1500 lbs., I don’t need to worry about the weight of gear on the platform. My overall organization with gear has massively improved with this setup, and I highly recommend it to anyone looking for a simple sleeping setup.
