
Simple Mod To Use Your Factory E-Locker In 4-Hi Or 2WD
Have you ever been in an offroad situation where you wished you could activate your factory e-locker without being in 4-Lo? Maybe you wanted to do some donuts in the snow… With the BlackOps Offroad Anytime Locker, you can lock your rear differential in 4-Hi or even 2WD.
This simple plug-and-play wire harness gives you full control over your rear end. With it, you’ll have more fun with your truck than ever before (like doing donuts).
Note: Adding this kit will disable your OEM button.
Reminder: Locking your differentials on dry pavement can damage them, only use this feature on loose or uneven terrain.
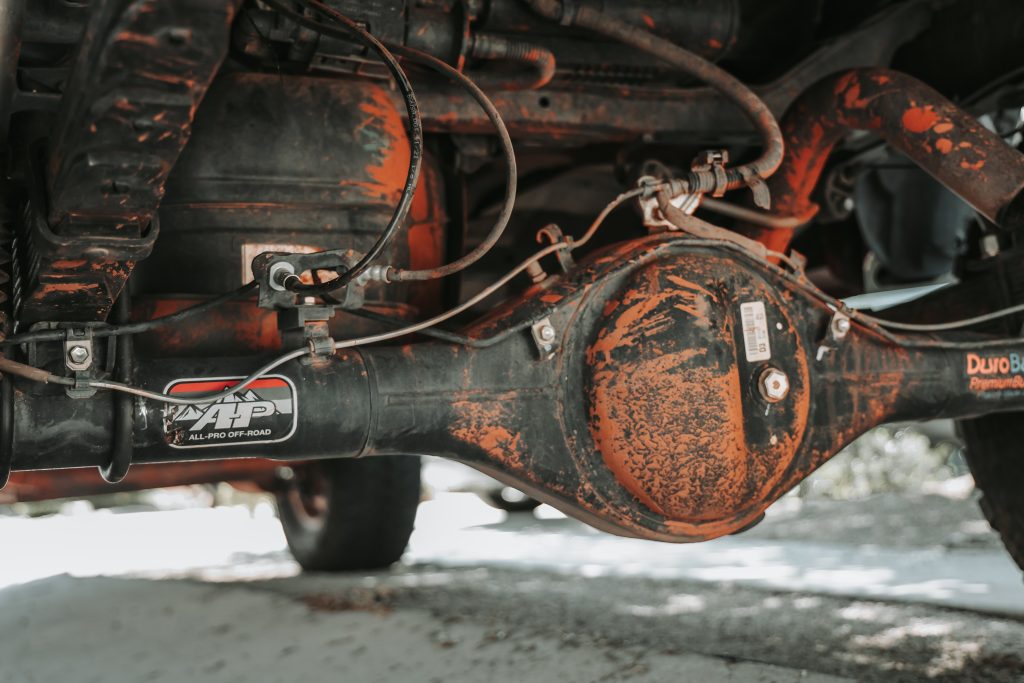
Factory Lockers In Tacomas
Most Tacomas come with an open rear differentials. However, certain models (especially for 2016-2023), came with an electronic one from the factory. This applies to the TRD Off-Road and TRD Pro trims. It is typically only able to be engaged in low range gearing and at a low speed. This is mainly done with the intention of protecting the rear end from inappropriate use or activation that can result in damage. The typical use case scenario is for bad traction off-road.
“Anytime” Modification
This mod is used to bypass any factory protocols and allows you to engage your locker whenever you need, regardless of the mode your truck is in.
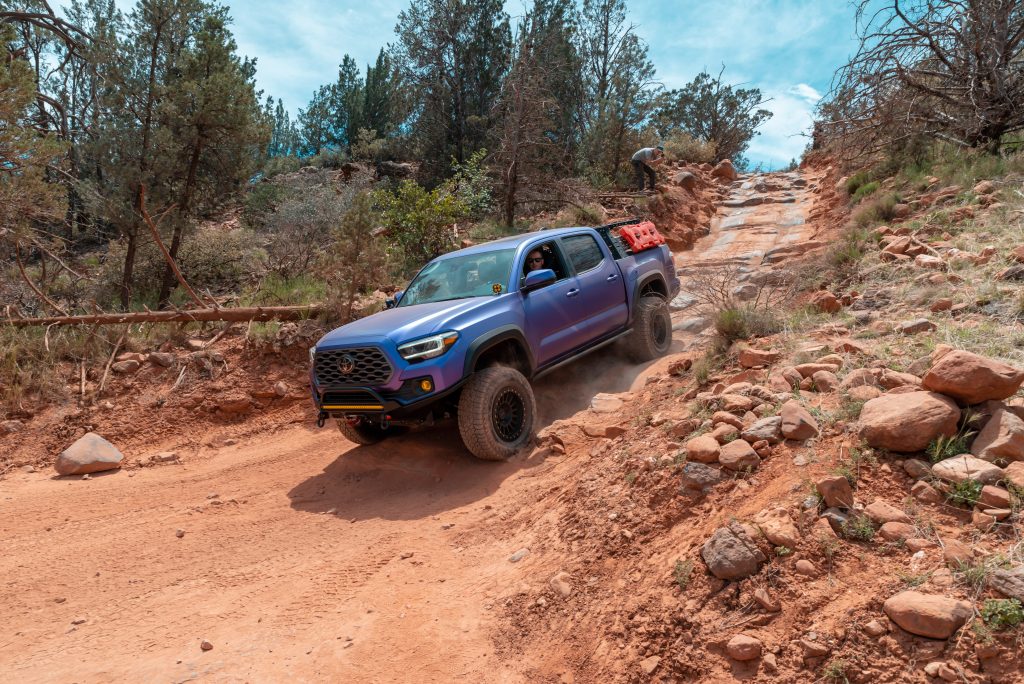
But where is this most useful? The answer is two parts. One, you can use it in high speed situations in 2WD or 4-Hi where you might be travelling on a loose gravel road, a large incline, or in the sand (especially deep sand). Or like I mentioned earlier – you want to do some donuts in the snow. Less applicable, but still fun and nice to have, haha.
How Do They Work?
Unless you’re an electronic wizard and have the ability to splice factory harnesses (not for the inexperienced), there was no immediate and easy way to add this function. Sure, if you dig deep enough, someone tried and was successful. Or worst case, they had issues and error codes or a non-functioning locker.
Now, with the kit I’m highlighting, you can easily bypass the limitations set by Toyota. In this case, it involves adding a new wire harness and a switch to control everything. It really is plug and play and gives you full manual control.
Things To Consider
As with any mod, you have to think about the risks. The factory setup is built that way for a reason, mainly to protect your truck from improper use and damage. Now this kit has been shown to be safe, but you’re still responsible for using it the right way. Engaging in the wrong setting can cause problems or expensive repairs. Depending on the situation, a dealer might try and use it as an excuse in a situation where a warranty claim comes up.
To clarify, I am not talking down or badly about the product, but educating you on the proper usage – which applies to anything. Although you could shift from drive to reverse on the highway, certainly doesn’t mean you should. It’s just common sense. Use good judgement and do your research, everything will be just fine. Plenty of people have done something like this, whether it’s a DIY or a tested kit like this one.
Installation
Tools Required
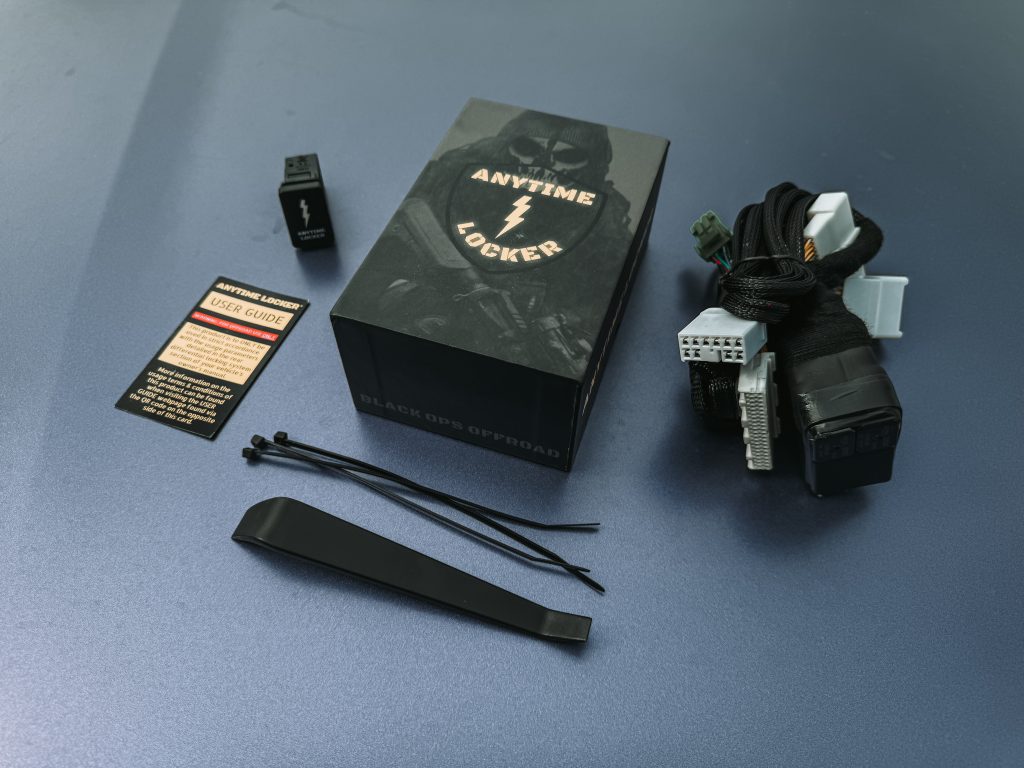
- Panel pry tool (included with the kit)
- 3/8″ or 1/4″ Ratchet
- 8mm & 10mm socket
- Phillips head screwdriver
Step 1. Disconnect Battery
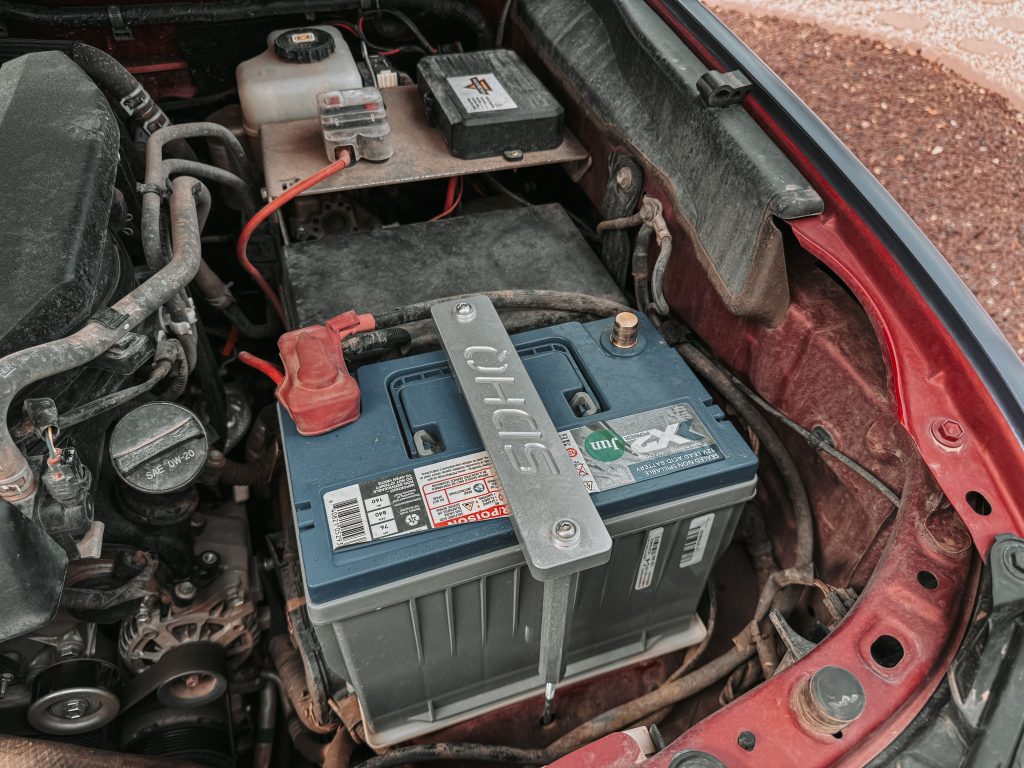
First, disconnect your battery by removing the negative battery terminal connection with a 10mm socket or wrench. Since we will be dealing with electronics, doing this will protect your system.
Step 2. Remove Trim Pieces
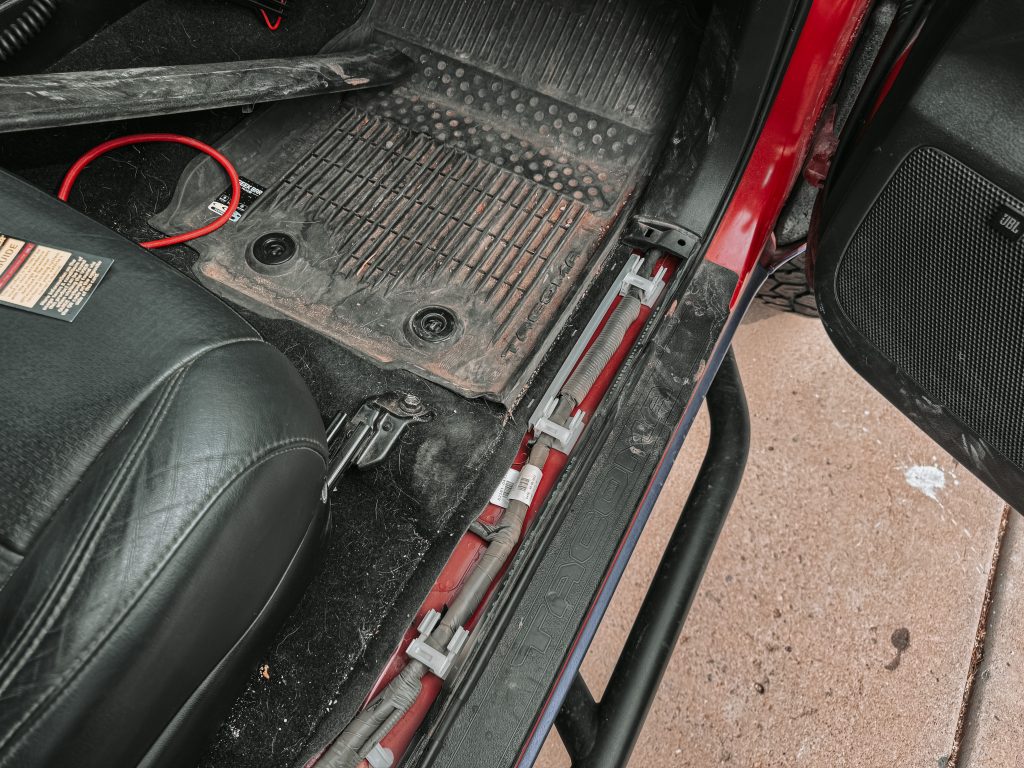
On the passenger front compartment, (4) plastic trim pieces need to be removed to access the bolts holding the glove box. As seen in the photo above, the first trim piece is at the base of the door. This piece comes off by gently prying upward.
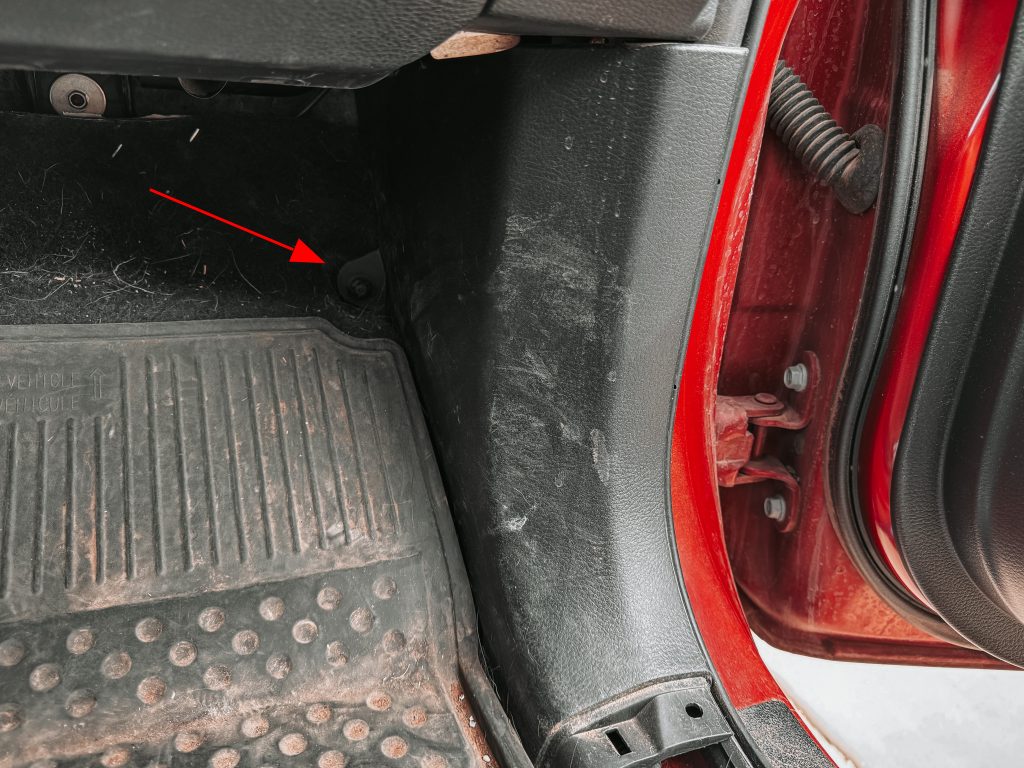
Next is the kick panel seen above. At the top of the floor mat, you can see a small stud on the kick panel that has a plastic thumb screw. Remove this thumb screw and pry the panel towards the center of the truck.
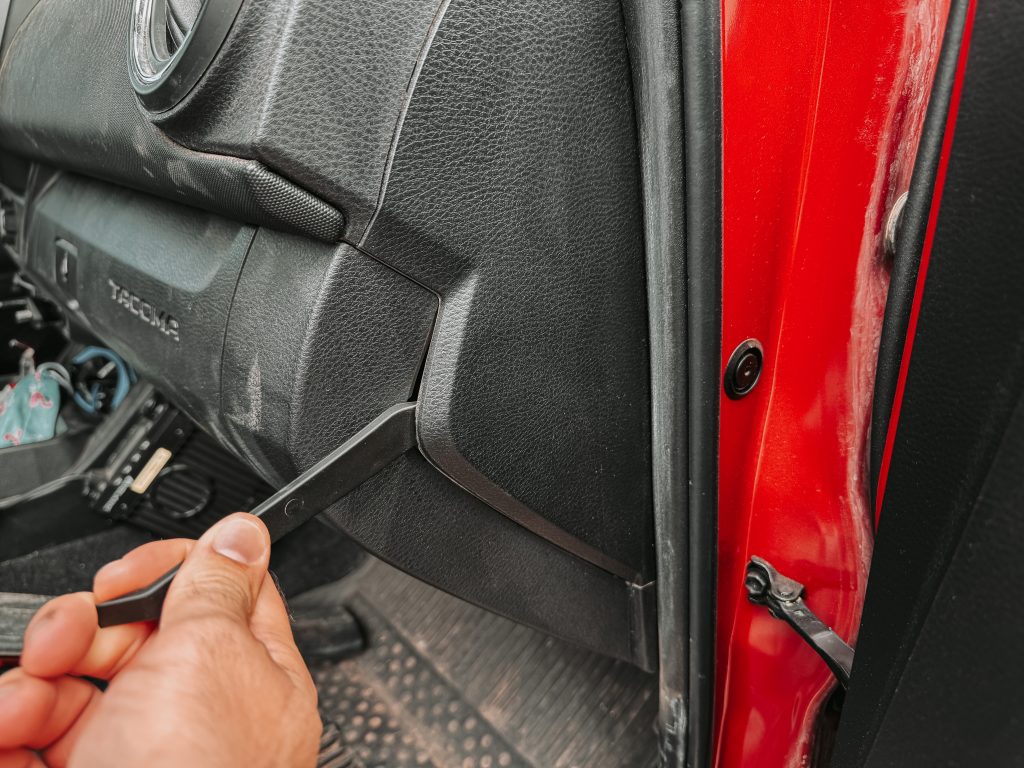
The third trim piece can be removed using the supplied pry tool. After removing that, you can access the fourth trim piece (seen just to the left of the pry tool in the photo above).
The fourth trim piece is just held in with small clips. Gently pry the last panel back towards the passenger seat and it will come off.
Step 3. Remove Glove Box

With all the plastics removed, we can pull out the passenger’s knee airbag to expose a few 10mm bolts securing the glove box. The knee airbag has (3) bolts to remove, (1) on the left and (2) on the right. When removing the airbag, be careful not to damage the yellow wire. I did not unplug my airbag and laid it off to the side during the installation.
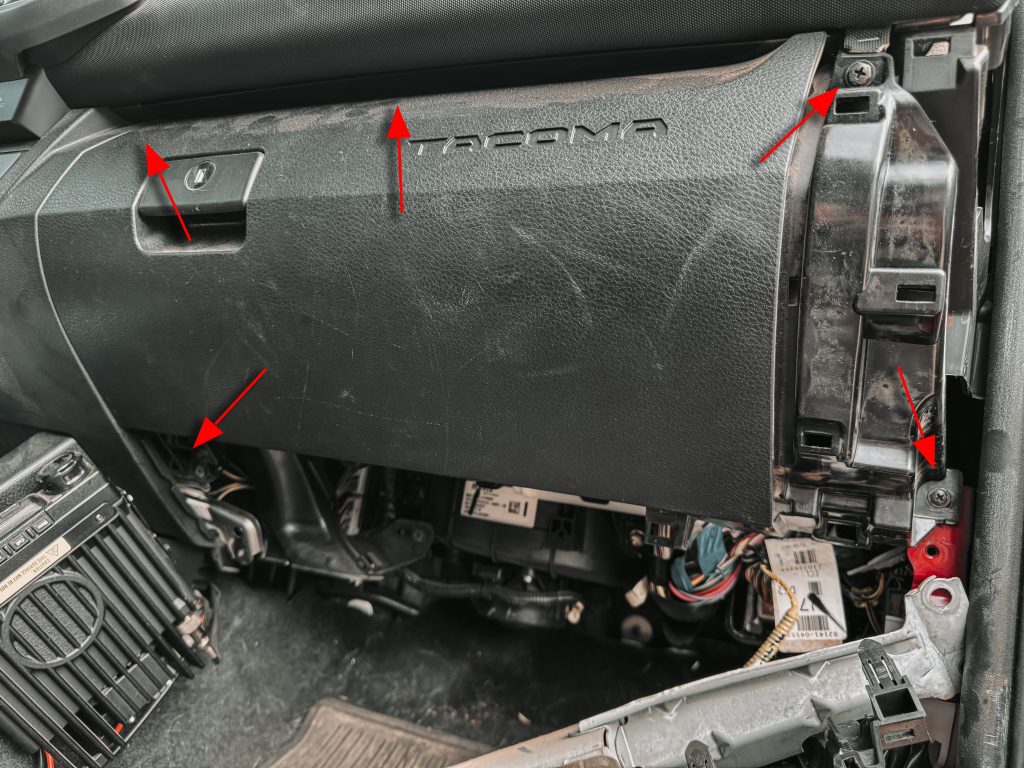
The glove box will have (5) 8mm bolts to remove, (2) at the bottom, and (3) at the top. The two top bolts can be accessed inside the glove box with the door open. Once the bolts are removed, pull back on the glove box and pull it out of the truck.
Step 4. Connect Harness
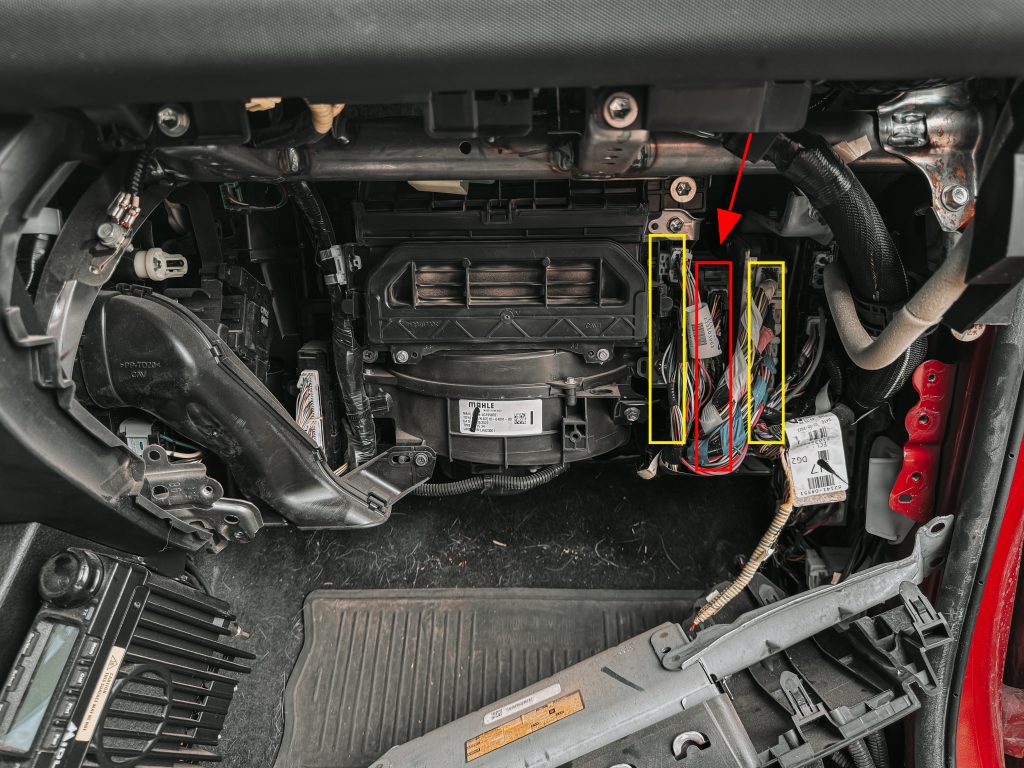
With the glove box out, pictured above is the view into the guts of your dash. In the center of the photo are components of your AC system, and to the right of that is the group of wires we need to focus on. This group of wires has three vertical sections with the center section being the 4WD module we will be connecting the plug-and-play harness to.
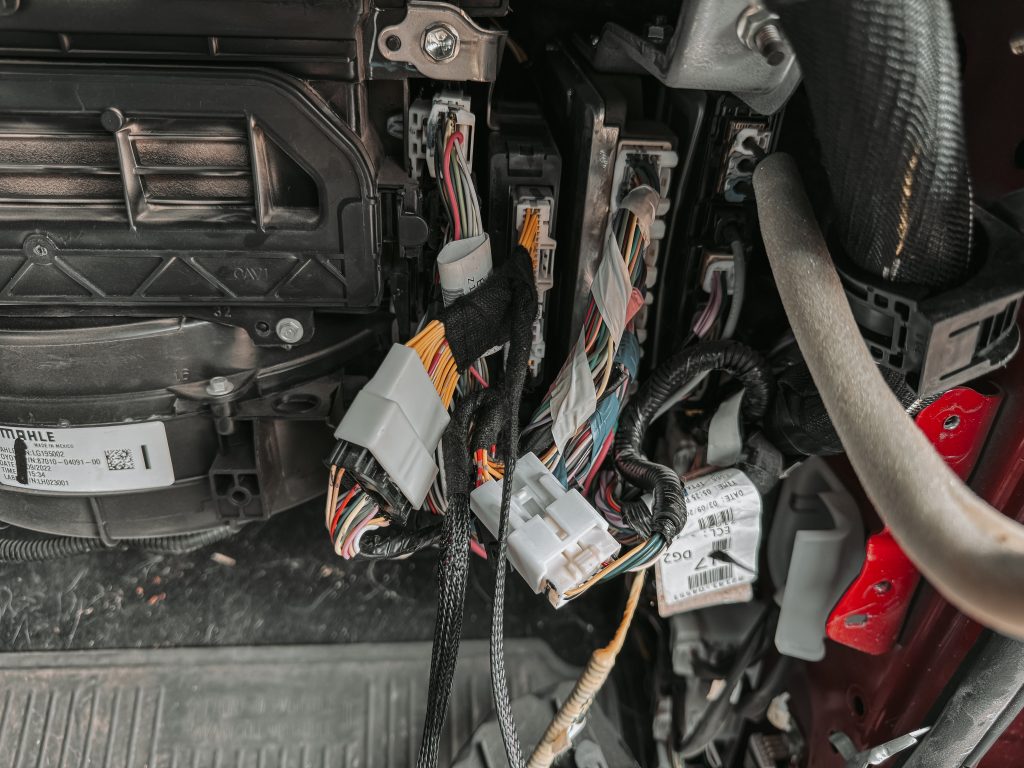
The 4WD module has two plugs that need to be disconnected. The BlackOps harness has two male and two female ends that match the connectors. Connect it between the module and your Tacoma’s wire harness.
Before putting the glove box back together, reconnect the negative battery cable to test that everything is working. Once you have tested that there are no issues and the truck is functioning properly, reassemble the glove box and trim pieces.
Step 5. Install Switch
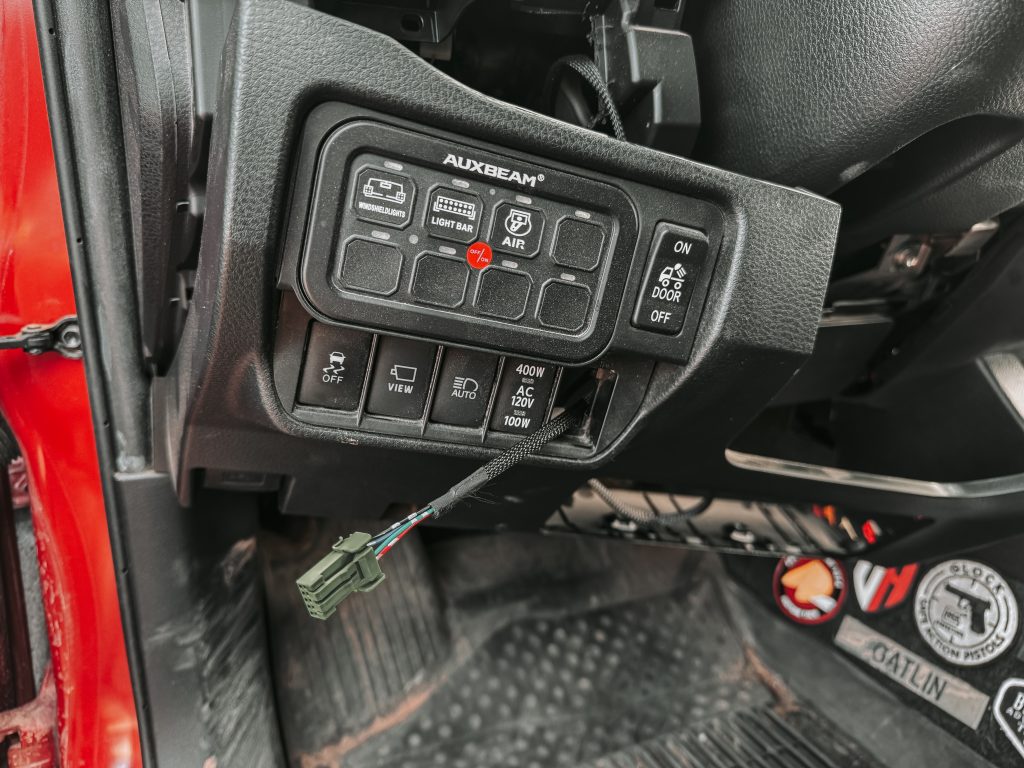
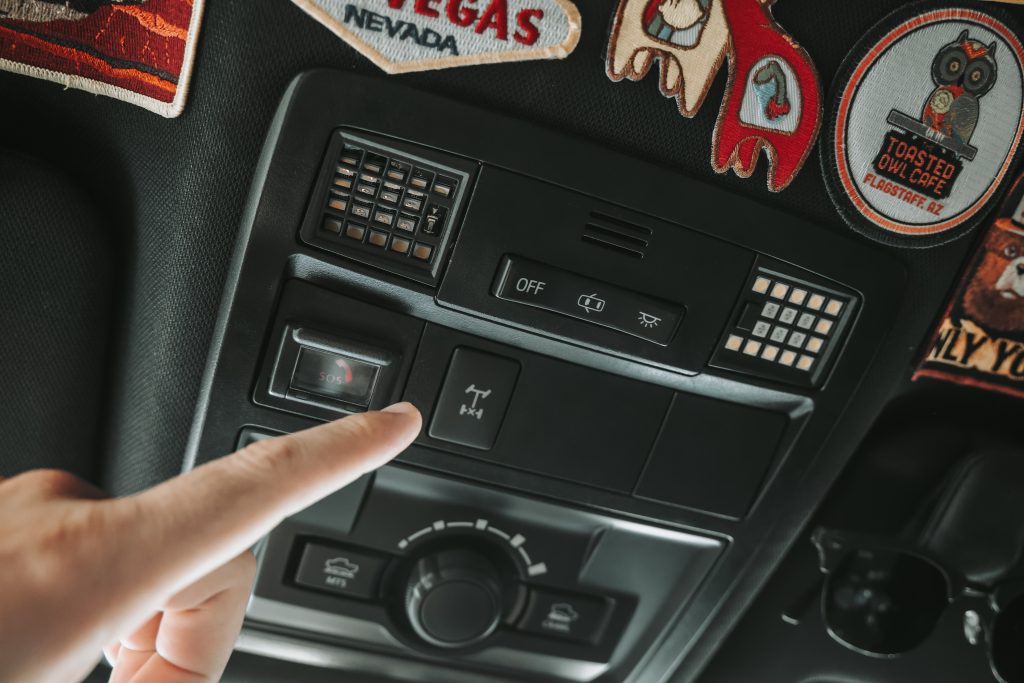
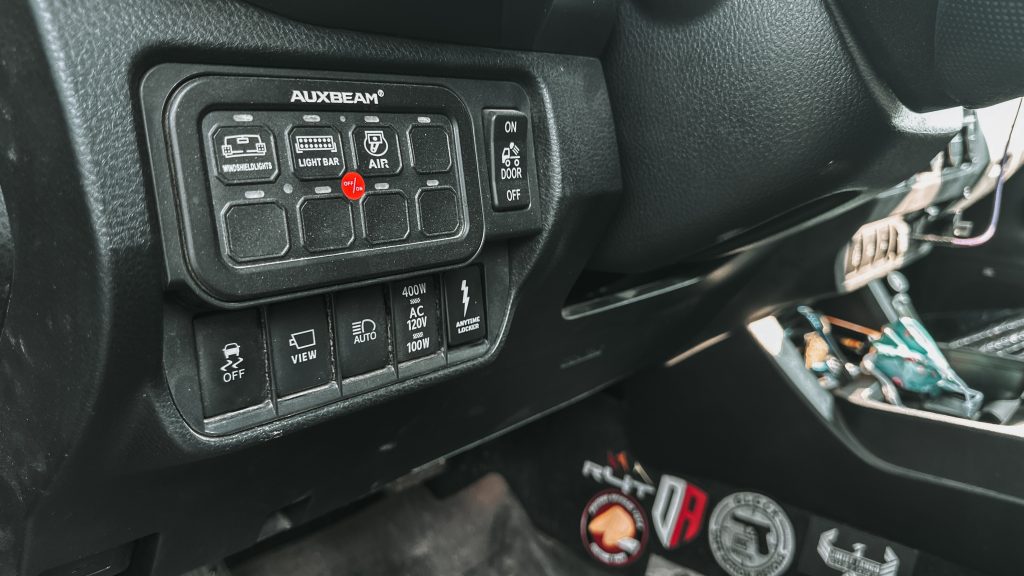
Finally, there is a long control wire from the harness you can run to wherever you want to install the button. I ran this wire through the dash, over to the driver’s side, and installed the switch into the factory panel left of the steering wheel.
Final Thoughts
Overall, the installation was not very difficult – it just takes a little time with all of the bolts and screws.
Not only is it awesome being able to do proper donuts in a Tacoma, but engaging the rear locker in any drive mode is a major upgrade. Activating it is as easy as pressing the new button and the backlight on the switch will flash until your locker is engaged. Once it is activated, the backlight will stay solid.
If you want to fully unleash your Tacoma’s capabilities or just want to have some more fun, this upgrade is something you will use in a practical manner.