
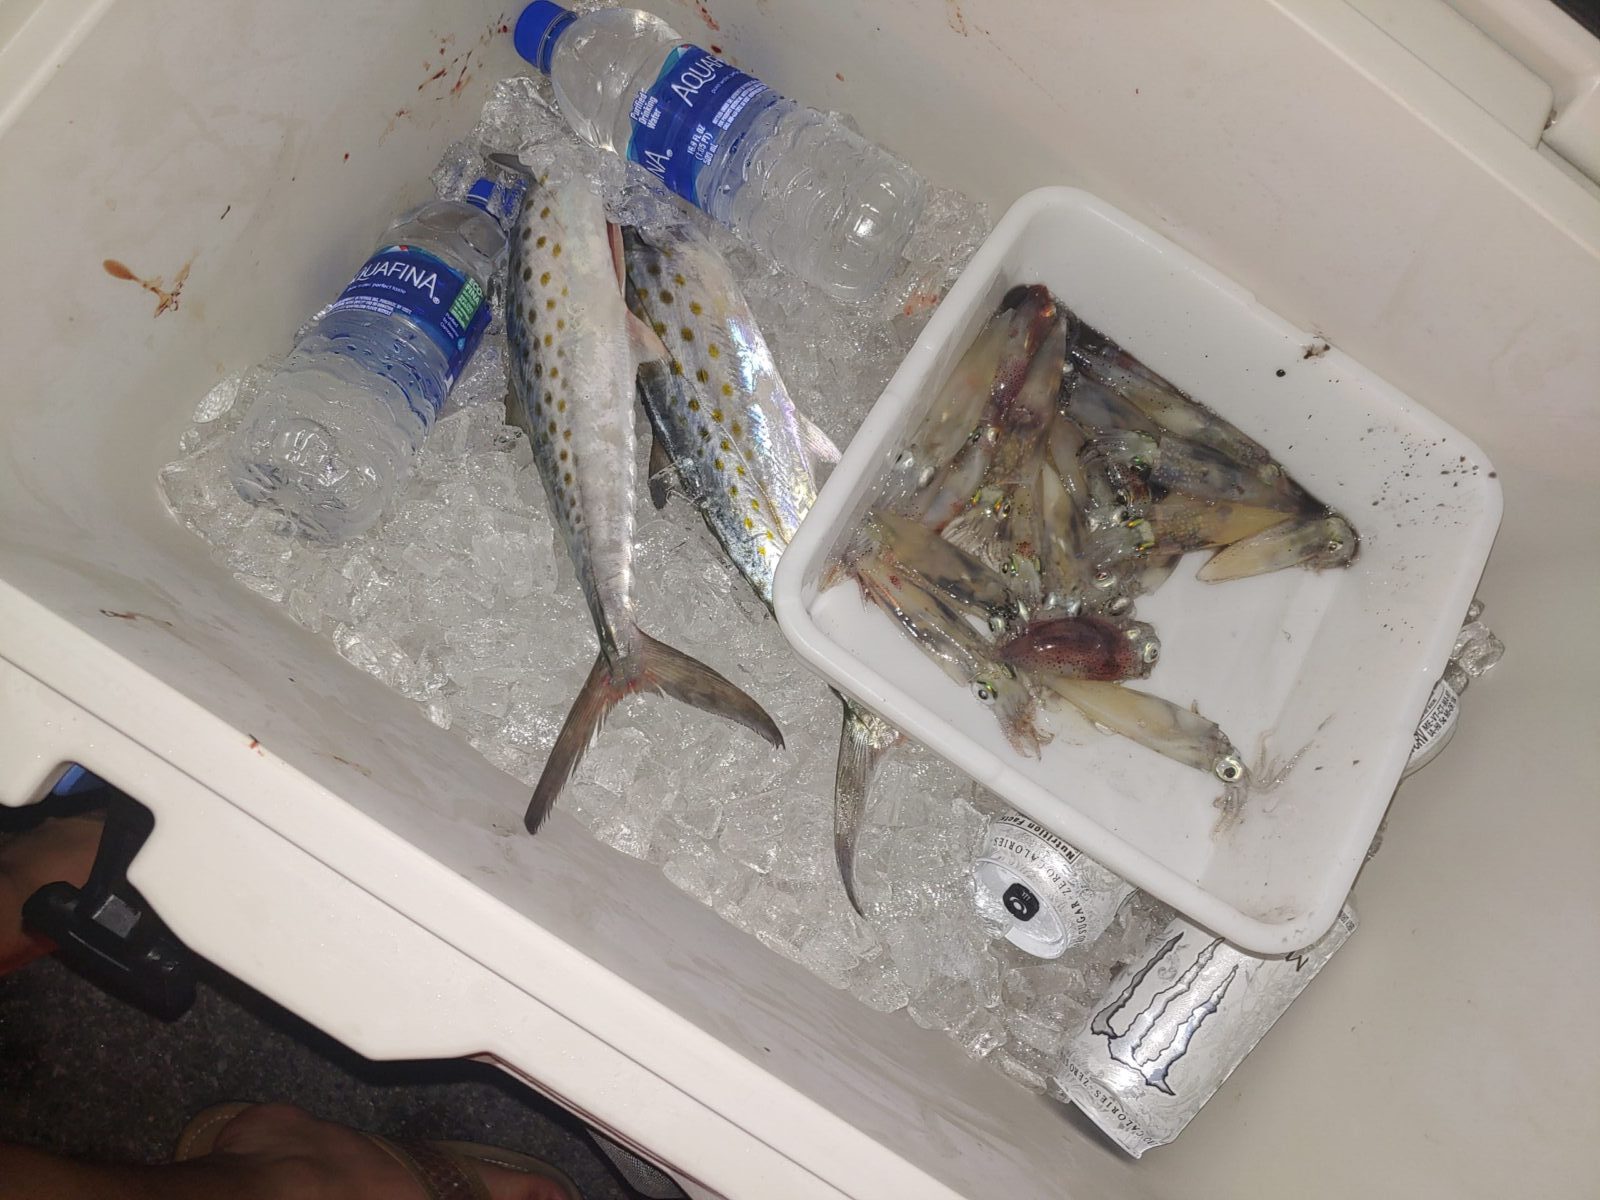
On the piers along the Emerald Coast, one of the first signs of Spring’s arrival is the squid showing up. As the days get longer and the water temperatures start creeping up the squid start coming in from deeper water into the shallows around the piers and marinas at night. They arrive before most of the baitfish show up and are often a top pick for fresh or live bait. Starting around February to about the end of April the squid(calamari) can be commonly caught, any later than that the Spanish mackerel and other predators make fishing for squid too difficult to be worth it.
To catch squid on the piers you really don’t need much, a light spinning rod spooled with monofilament. A bait rod works, you don’t want a heavy setup here because this is more finesse fishing. The lures you need are squid jigs, some glass or glow beads strung up on a bit of stainless steel wire that has a squid hook attached to the bottom. Squid hooks differ from standard fish hooks by looking more like a grappling hook with all the needle points sticking up to snag squid tentacles.

Rigging wise you want to make a chicken rig about 3 to 4 feet long with two or three dropper loops, to attach the jigs. At the bottom of the rig, we put a weight, usually 1 ounce or lighter depending on the surf conditions. The squid fishing starts around sundown and goes on until everyone’s tired and cold usually. Often times you’ll see the regulars bring out DIY electric LED lanterns that they set pointing into the water to attract the squid. If the squid are thick you can see people filling up gallon bags and 5-gallon buckets with fresh squid. While they make great bait, I honestly prefer taking them home and cooking them up.
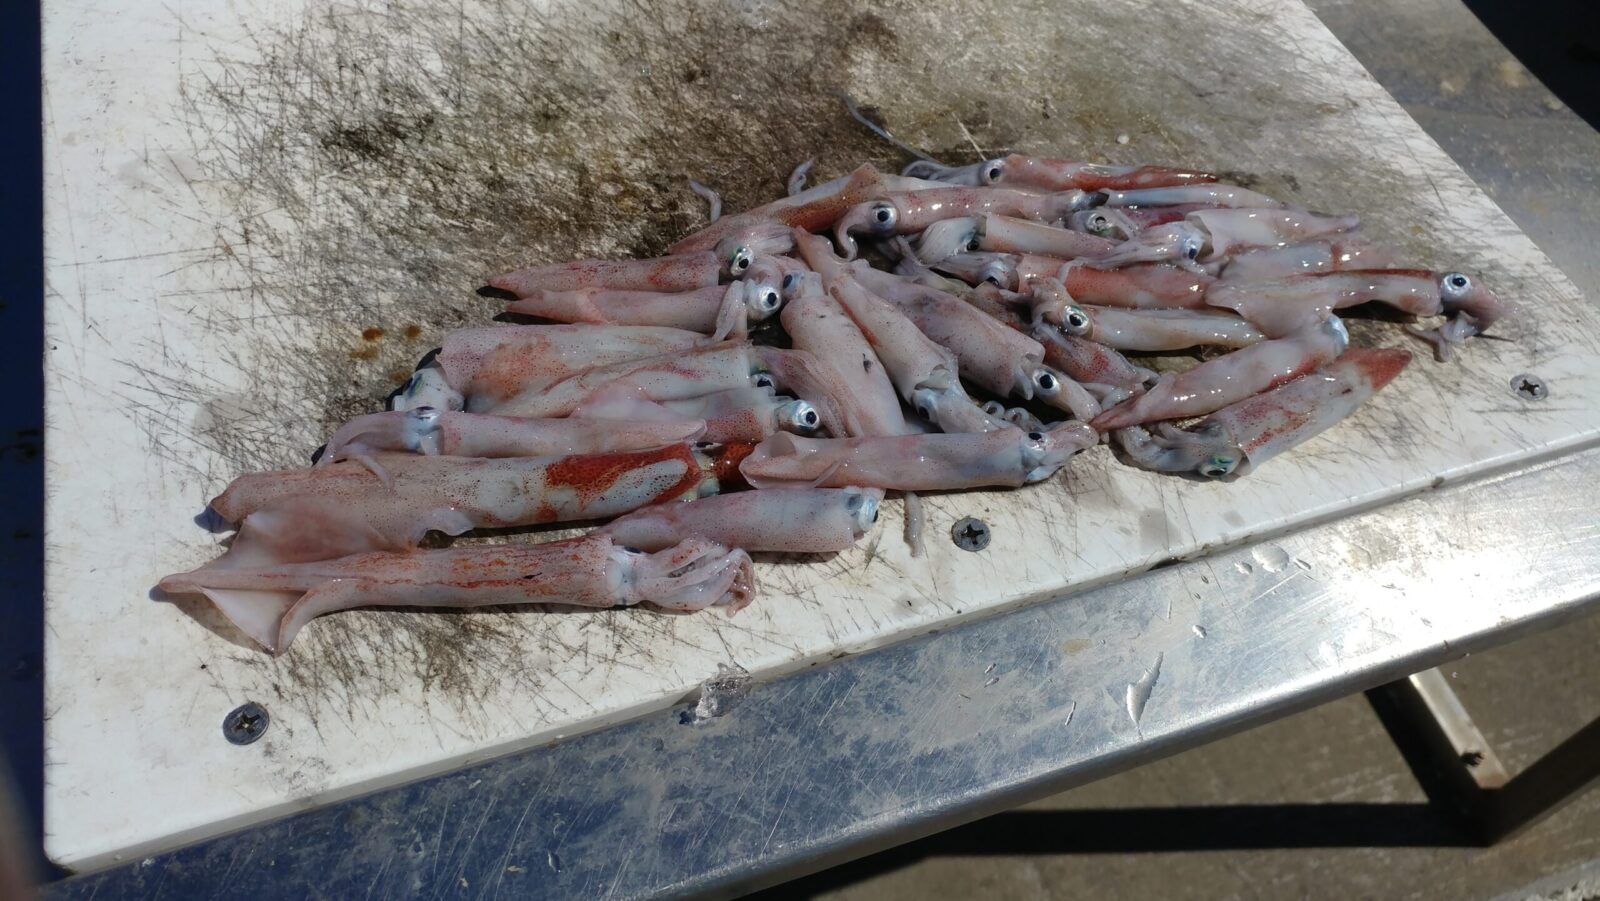
A squid is made up of two parts, the tube/mantle, and the head with all the tentacles. To start the cleaning process of a squid the first step is to take the head off the tube. Find the small point on the edge of the squid tube that is hard.
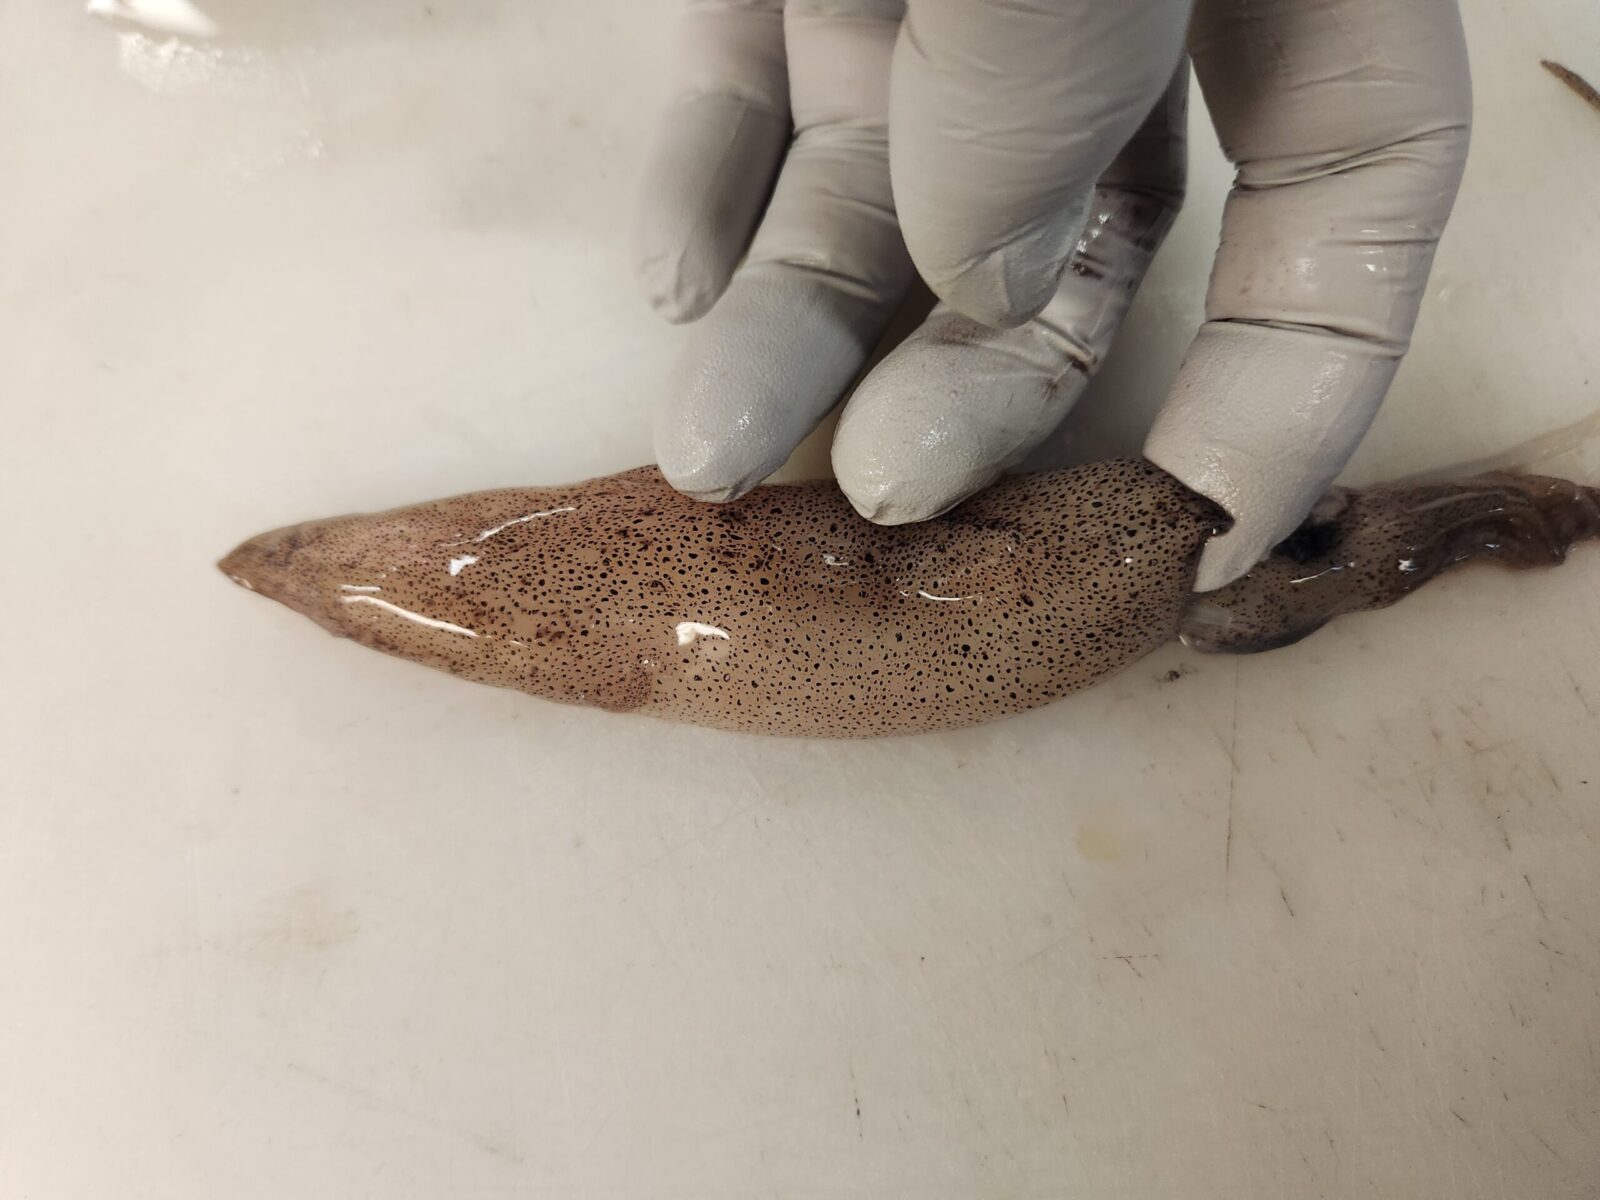
This is the quill of the squid, sort of a backbone for the squid. Once you find that spot you can slide your finger slightly into the mantle to split the guts/head from the mantle.
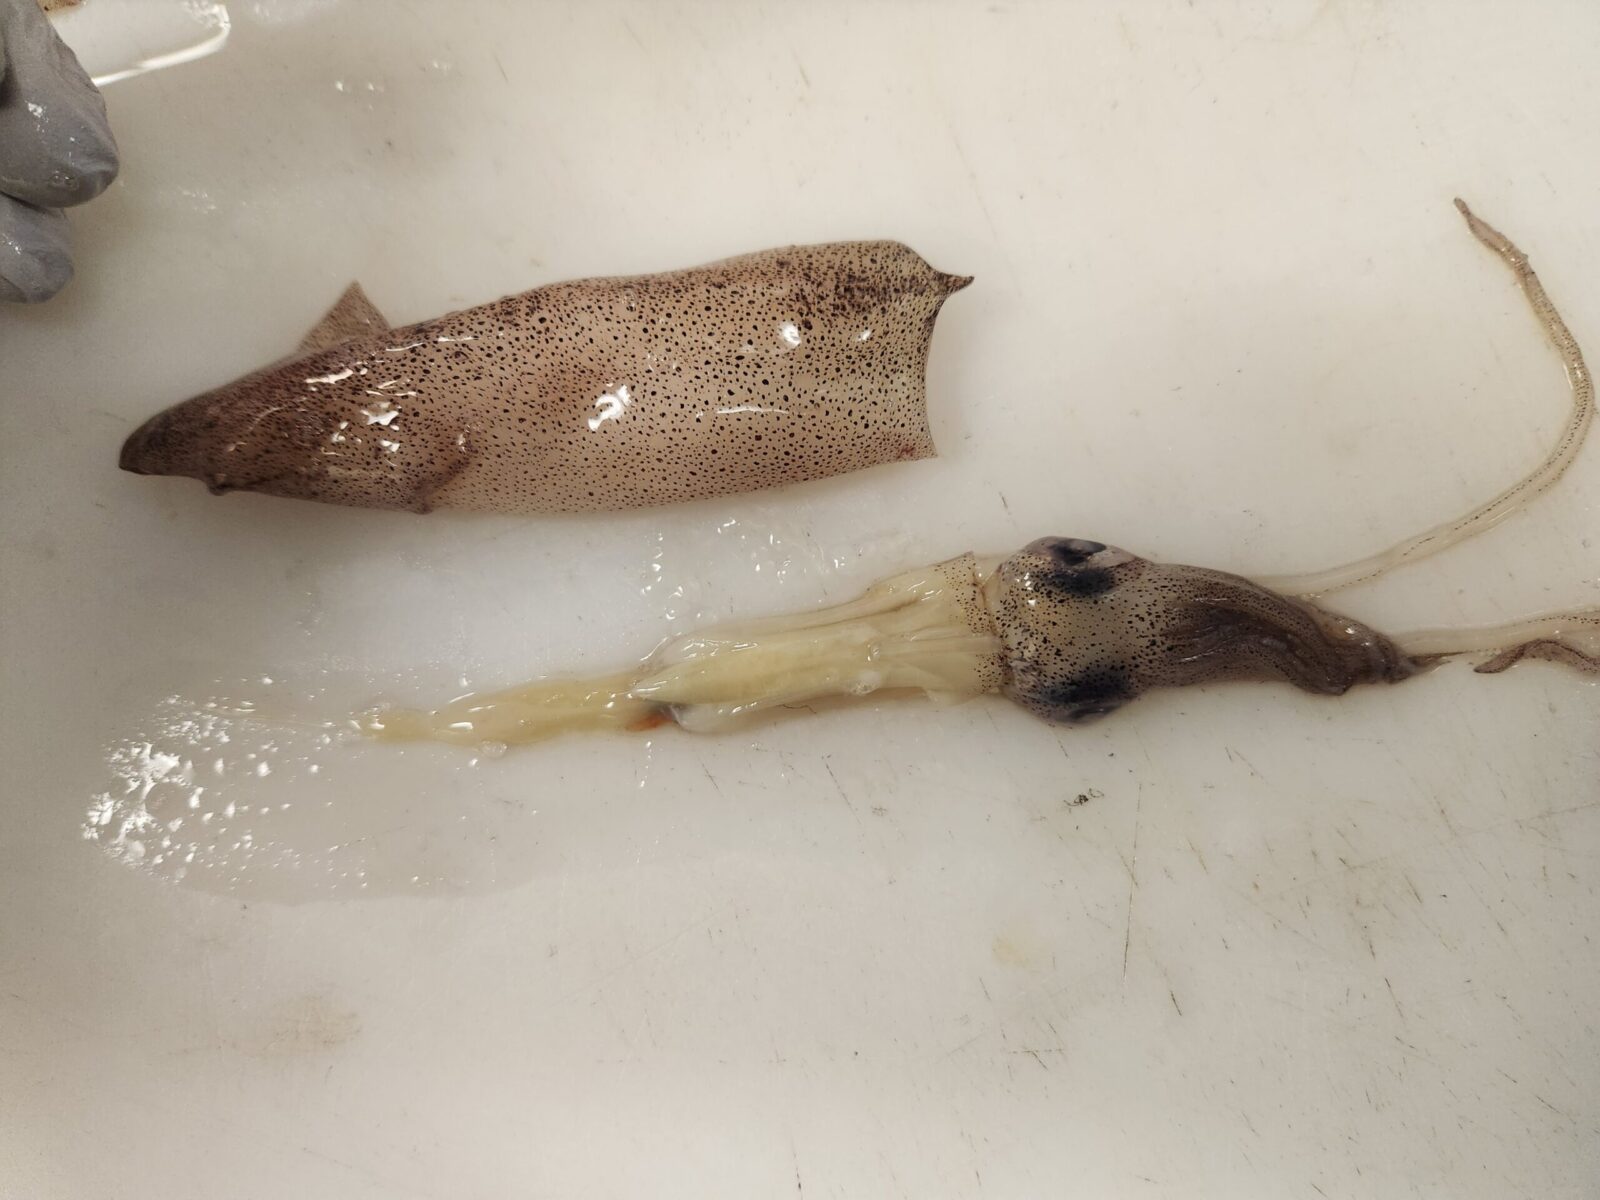
Once that is done you can just pull on the squid head and pull most of the guts out of the tube. I recommend to do each of these steps for all the squid in batches, so behead and gut all the squid before moving on to the next step, it makes cleaning a whole bunch of squid faster and more efficient. Put the squid tubes to the side on ice or the fridge once separated from the heads.
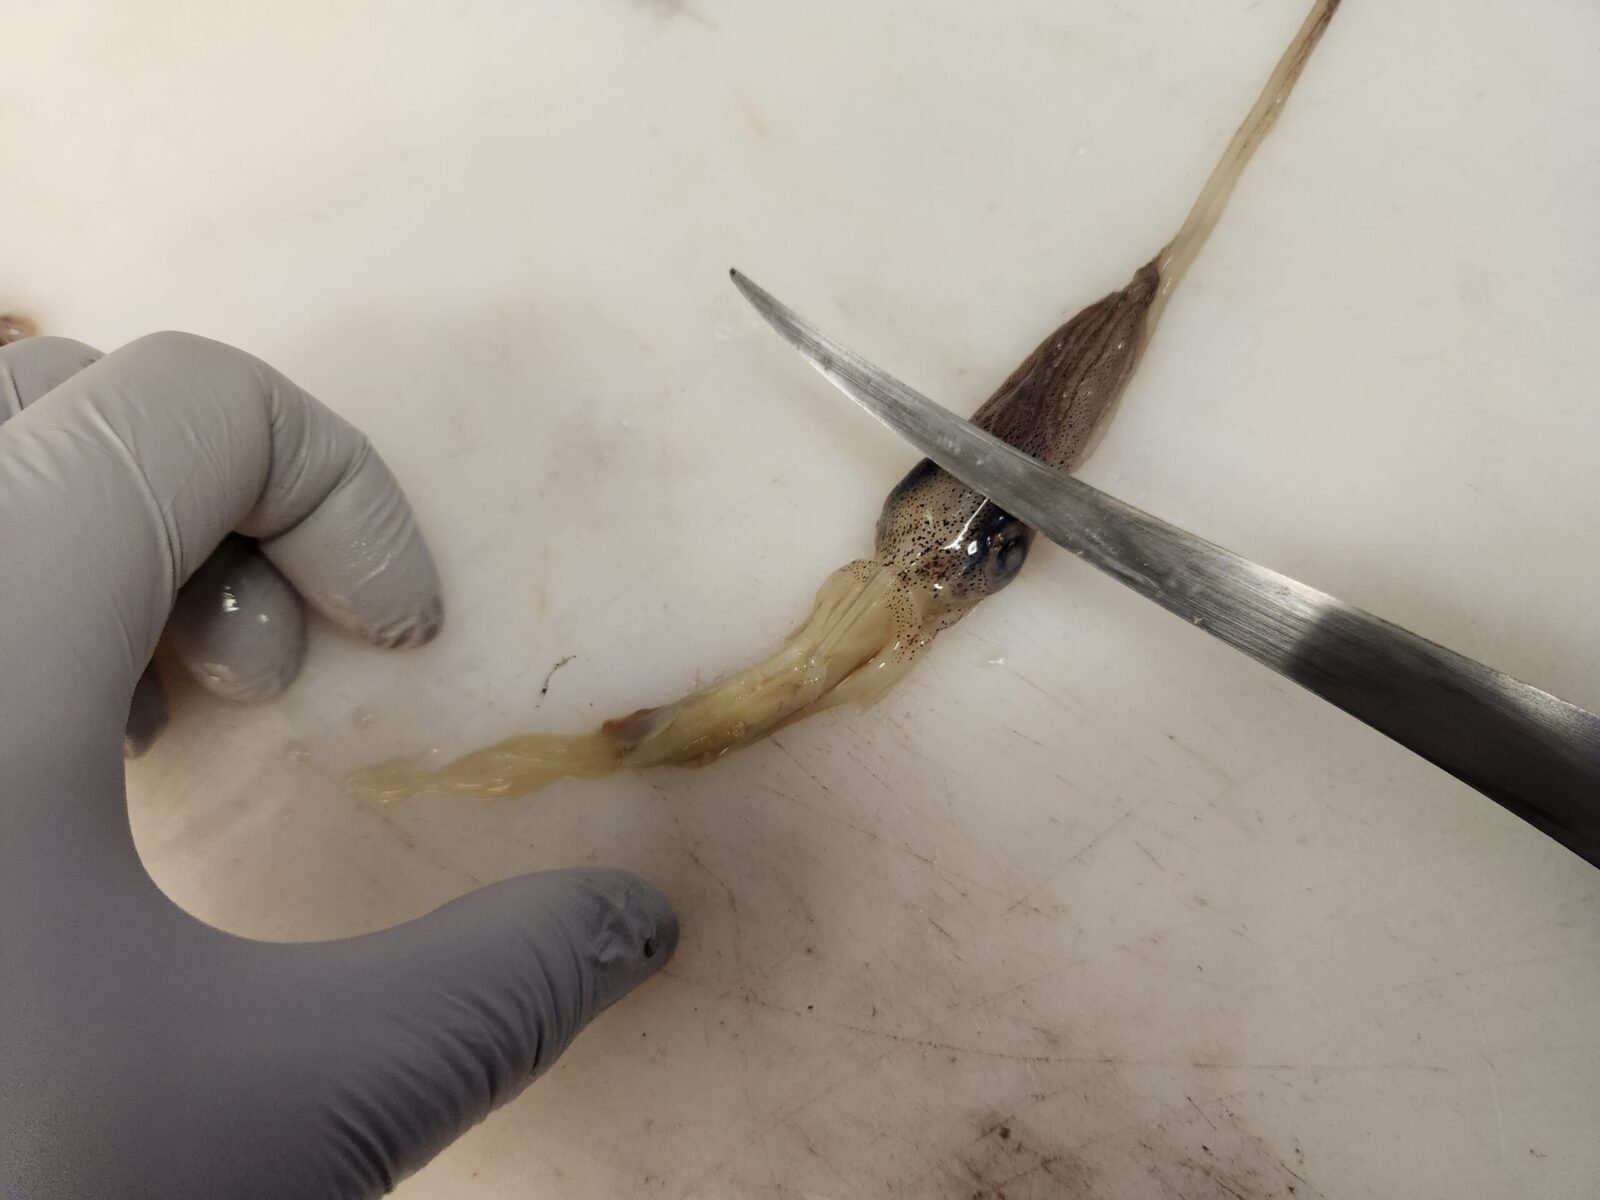
Now we have the heads separate you want to use a sharp knife to cut right under the eyes of the squid’s head closest to the tentacles. Now you have the tentacles give them a squeeze to push the beak of the squid out from the center.
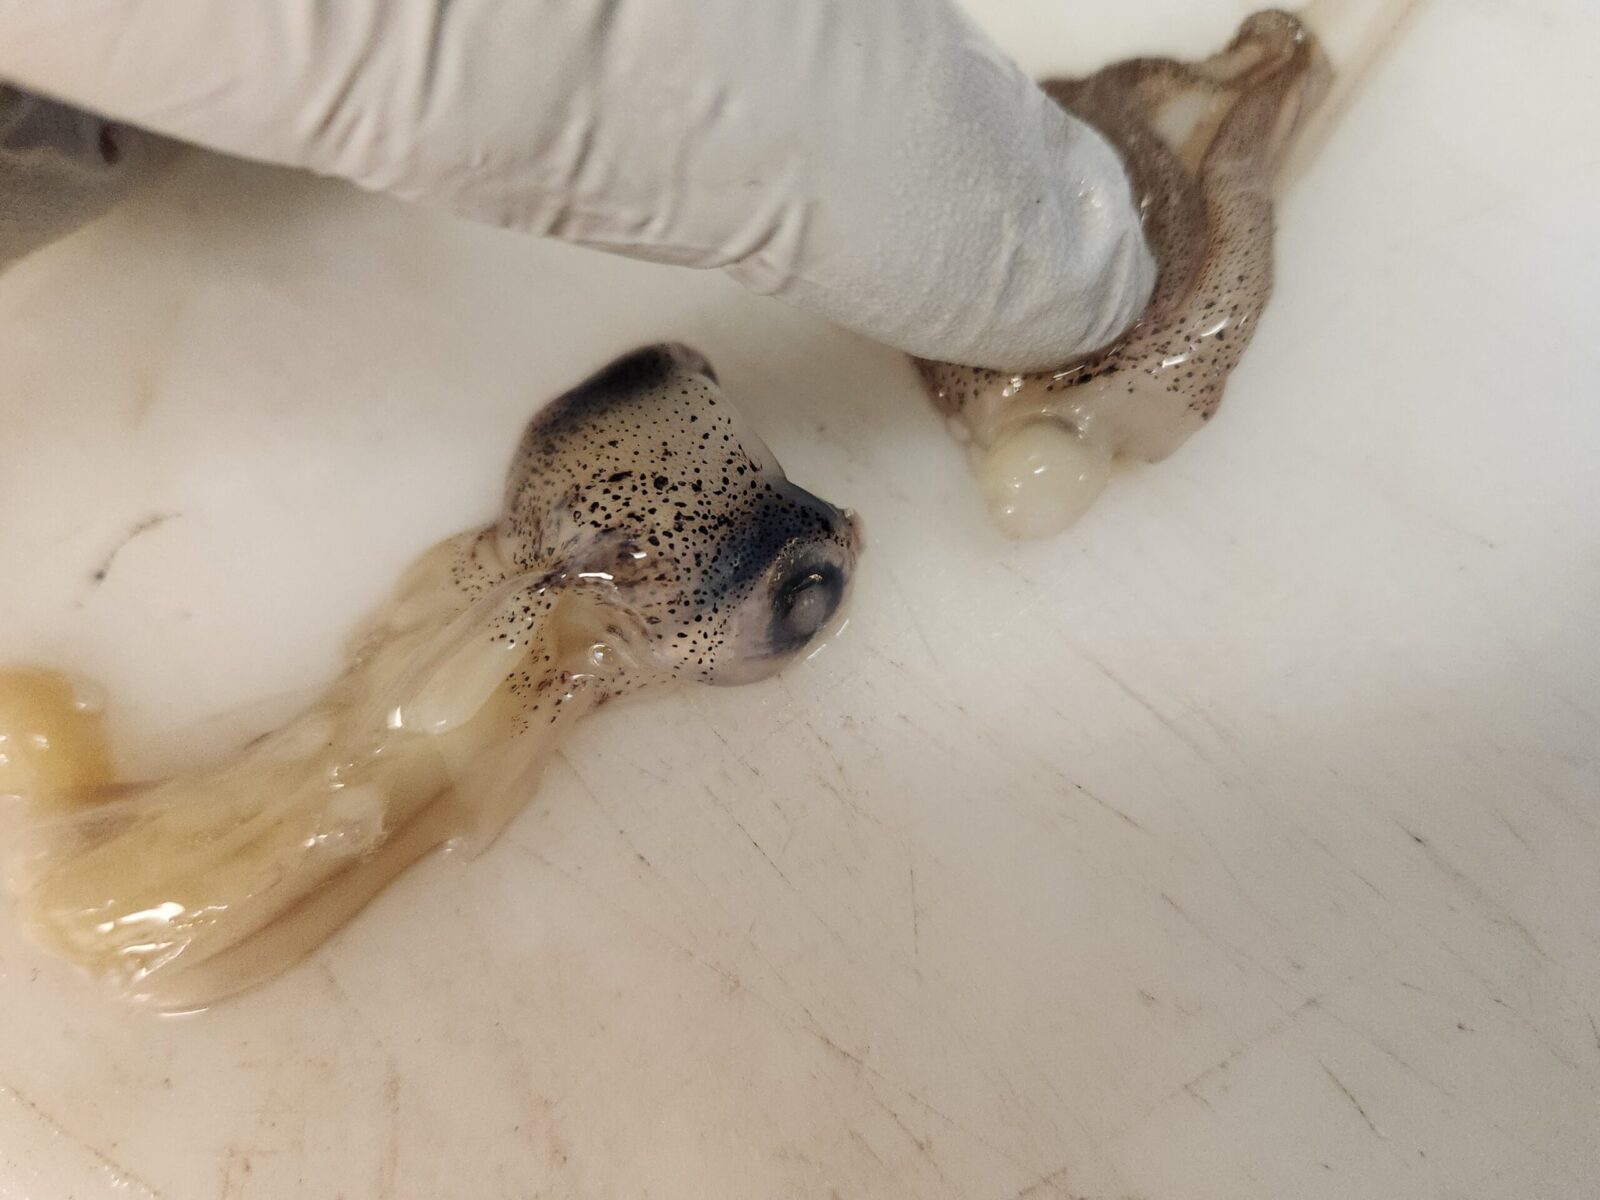
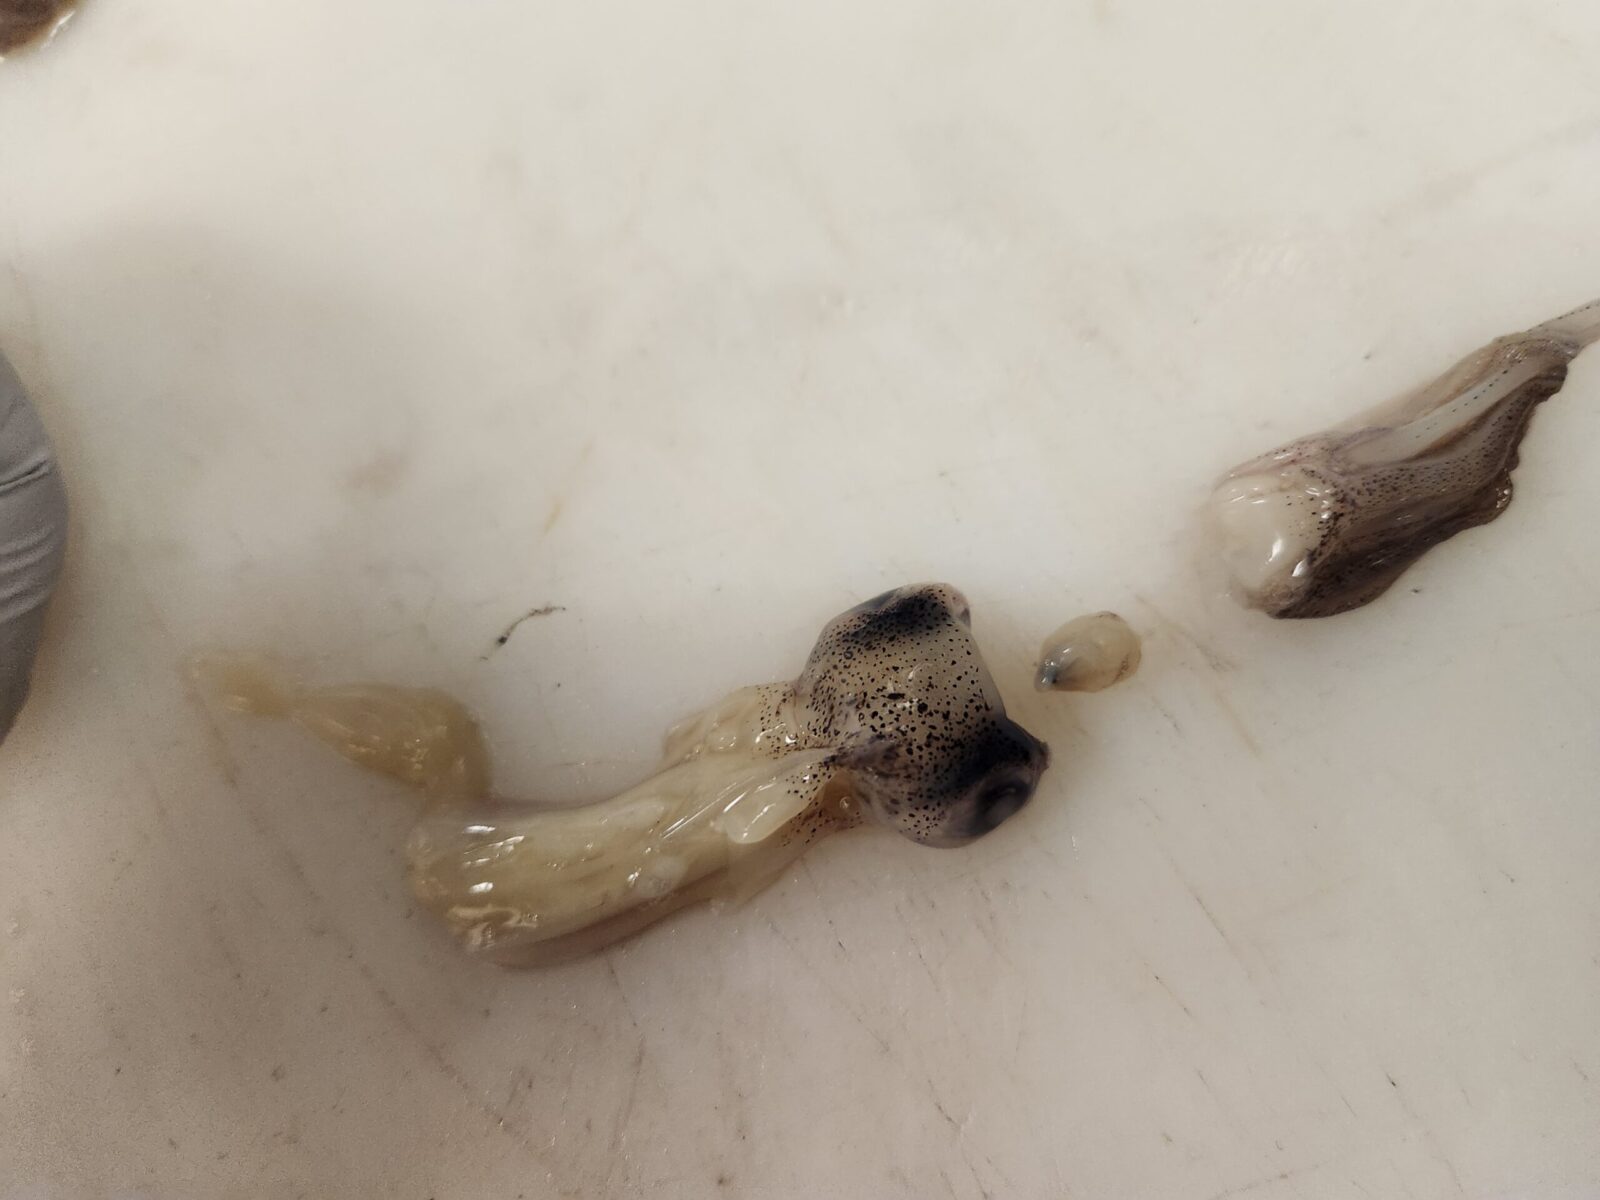
It is like a small hard ball that should just pop out once pressure is applied. With all the beaks out give the all tentacles a rinse and put them on ice, you’re done with them until it’s time to cook.
Now back to cleaing the squid tubes, first thing is to “debone” the tubes. Use your fingers you can lift up or pinch the quill from the mantle and then pull it straight out of the tube.
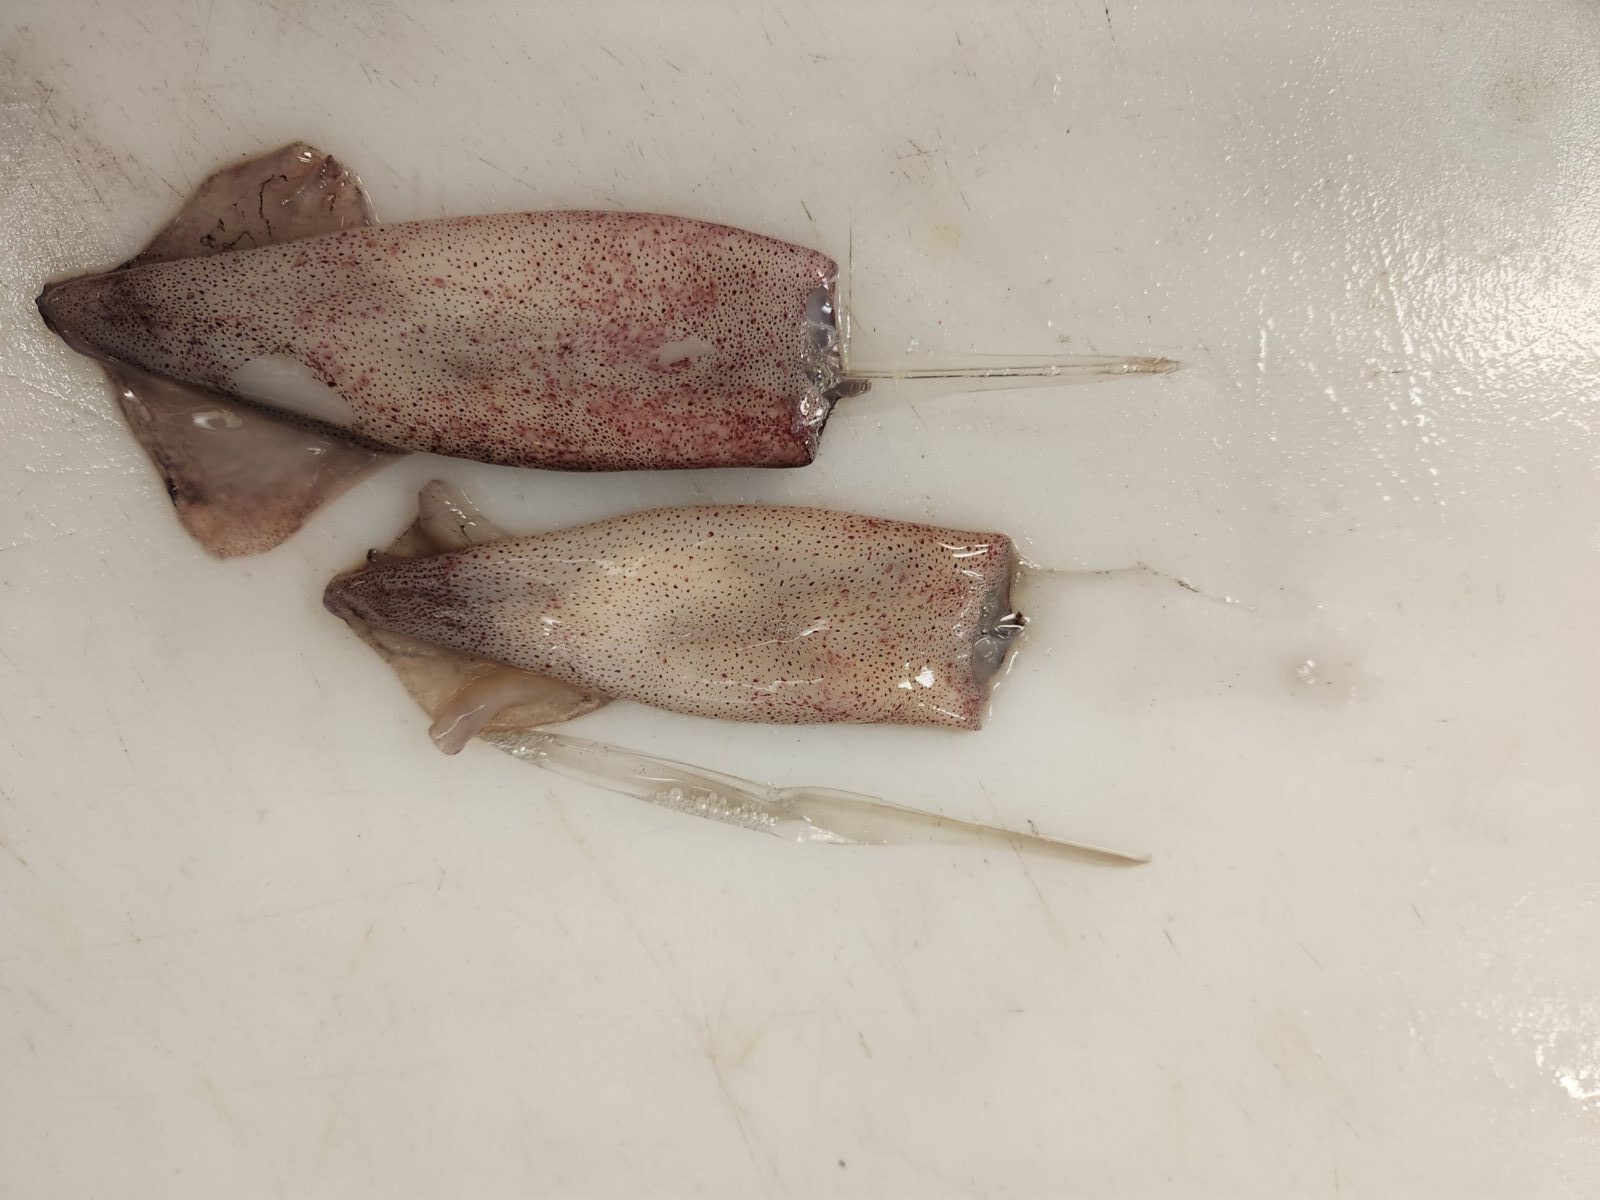
Once the quills are all out, you want to take the skin off the tubes. The skin is a thin layer of loose skin on the mantle that turns red when cooked. This skin is what lets squid change their colors so much when alive, but often will stain whatever sauce you’re cooking the squid in pink.
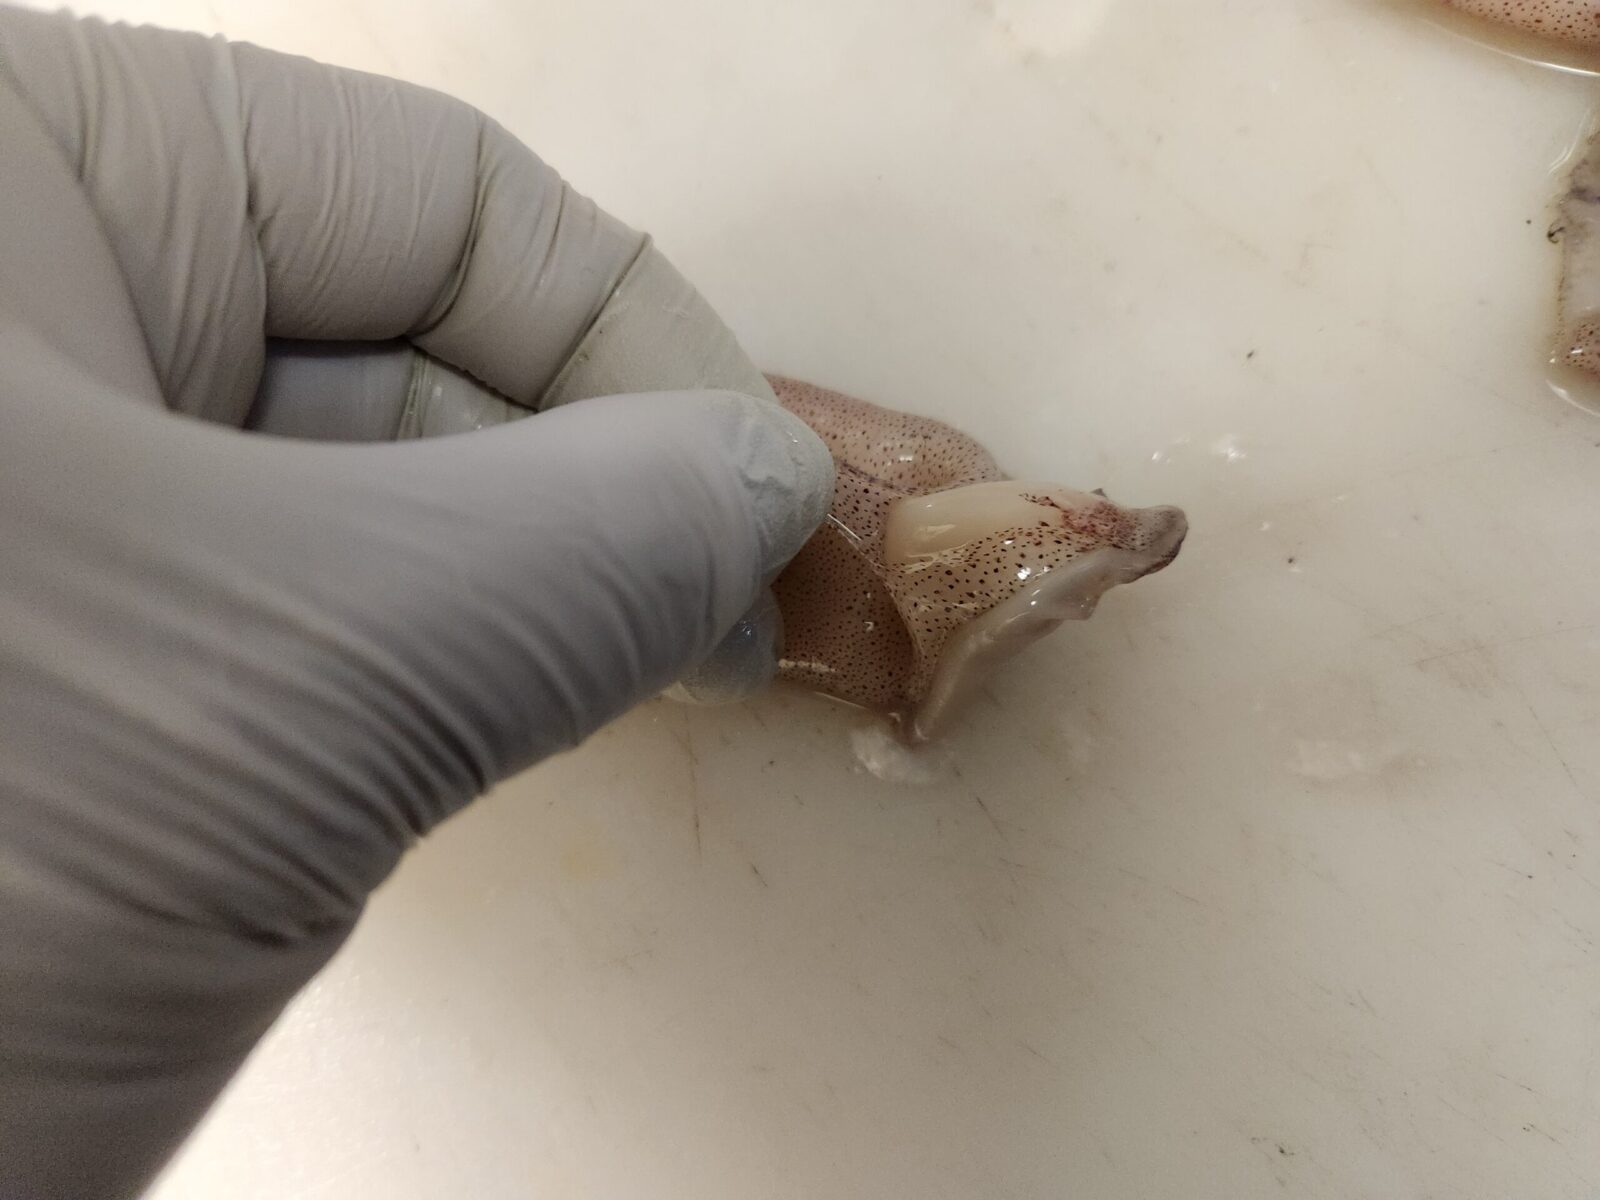
Skinning the tubes isn’t 100% necessary, but if you want those picture-perfect tubes you should skin the tubes. This is pretty easy to, just pinch the skin and peel the tubes, and it’ll come right off, just will take a bit of time to do.
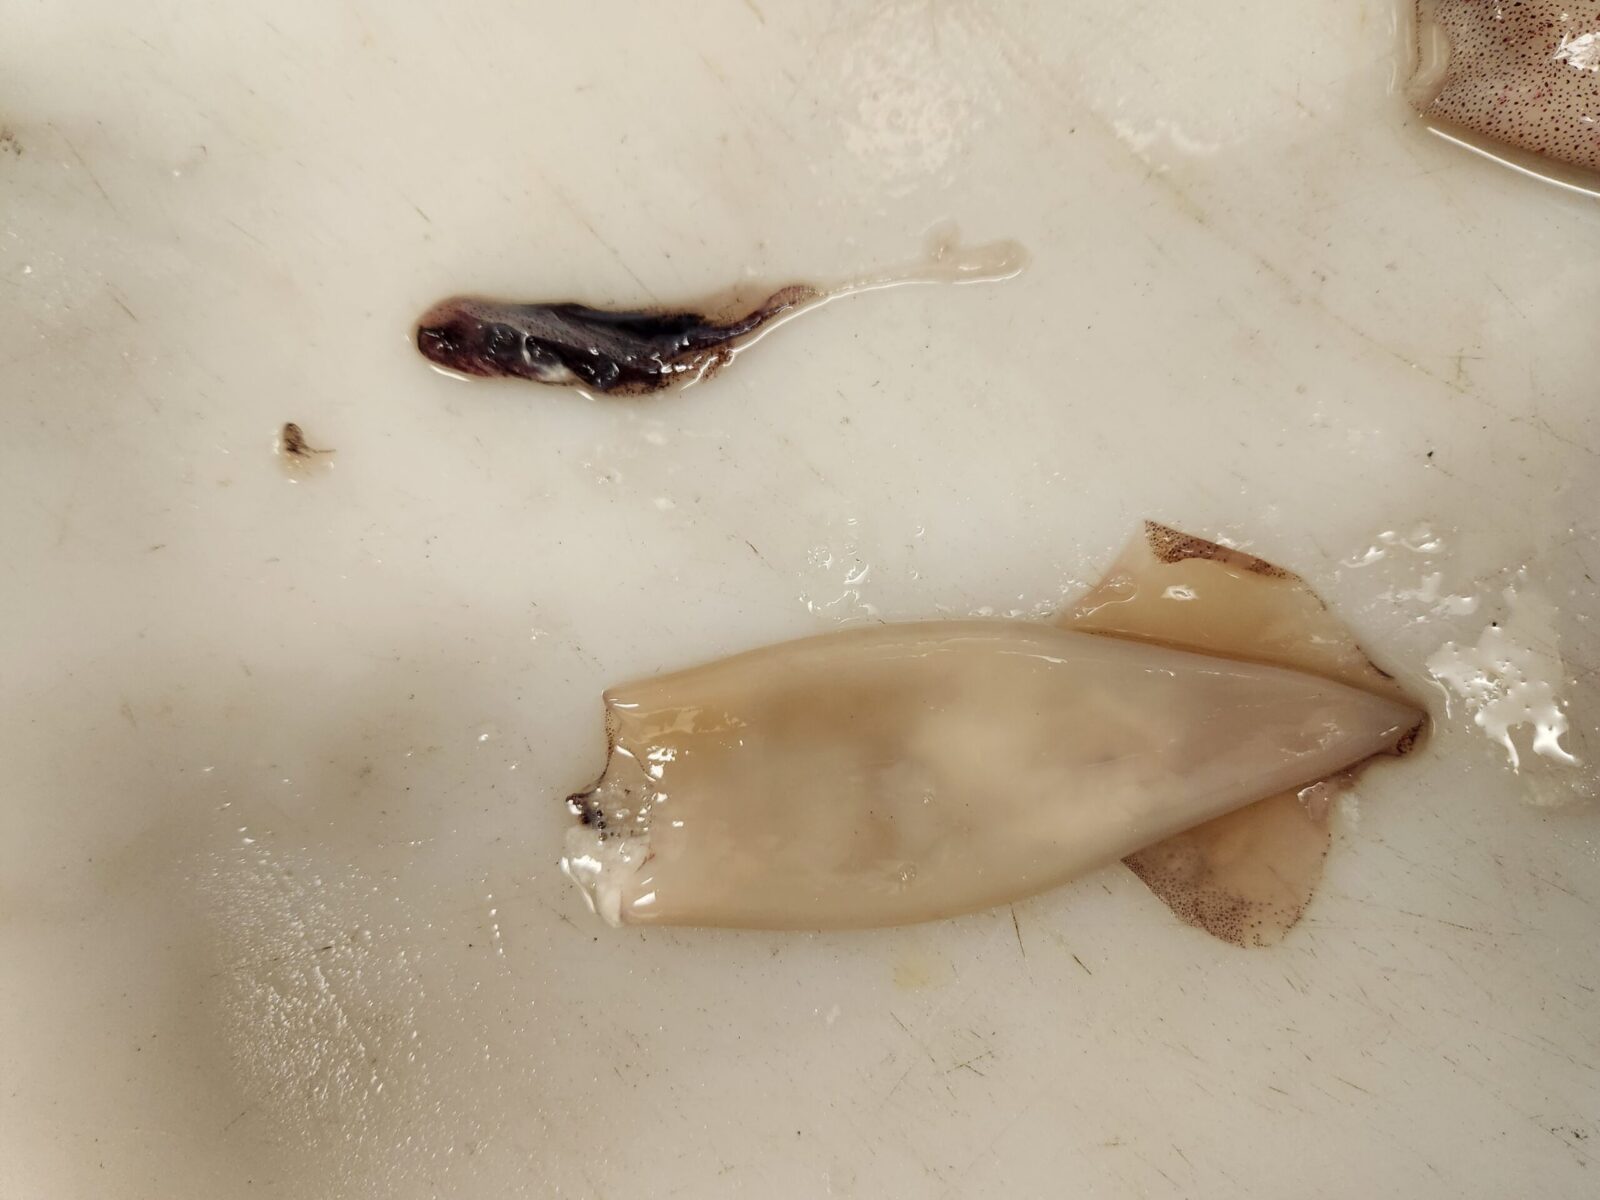
Now with the tubes skinned and quills removed, the last step is to turn the squid tubes inside out and clean out the remaining guts. Use your pinkie and push the tube inside out from the point. Once the tube is inverted scrap off whatever guts are left and give them a rinse in cold water.
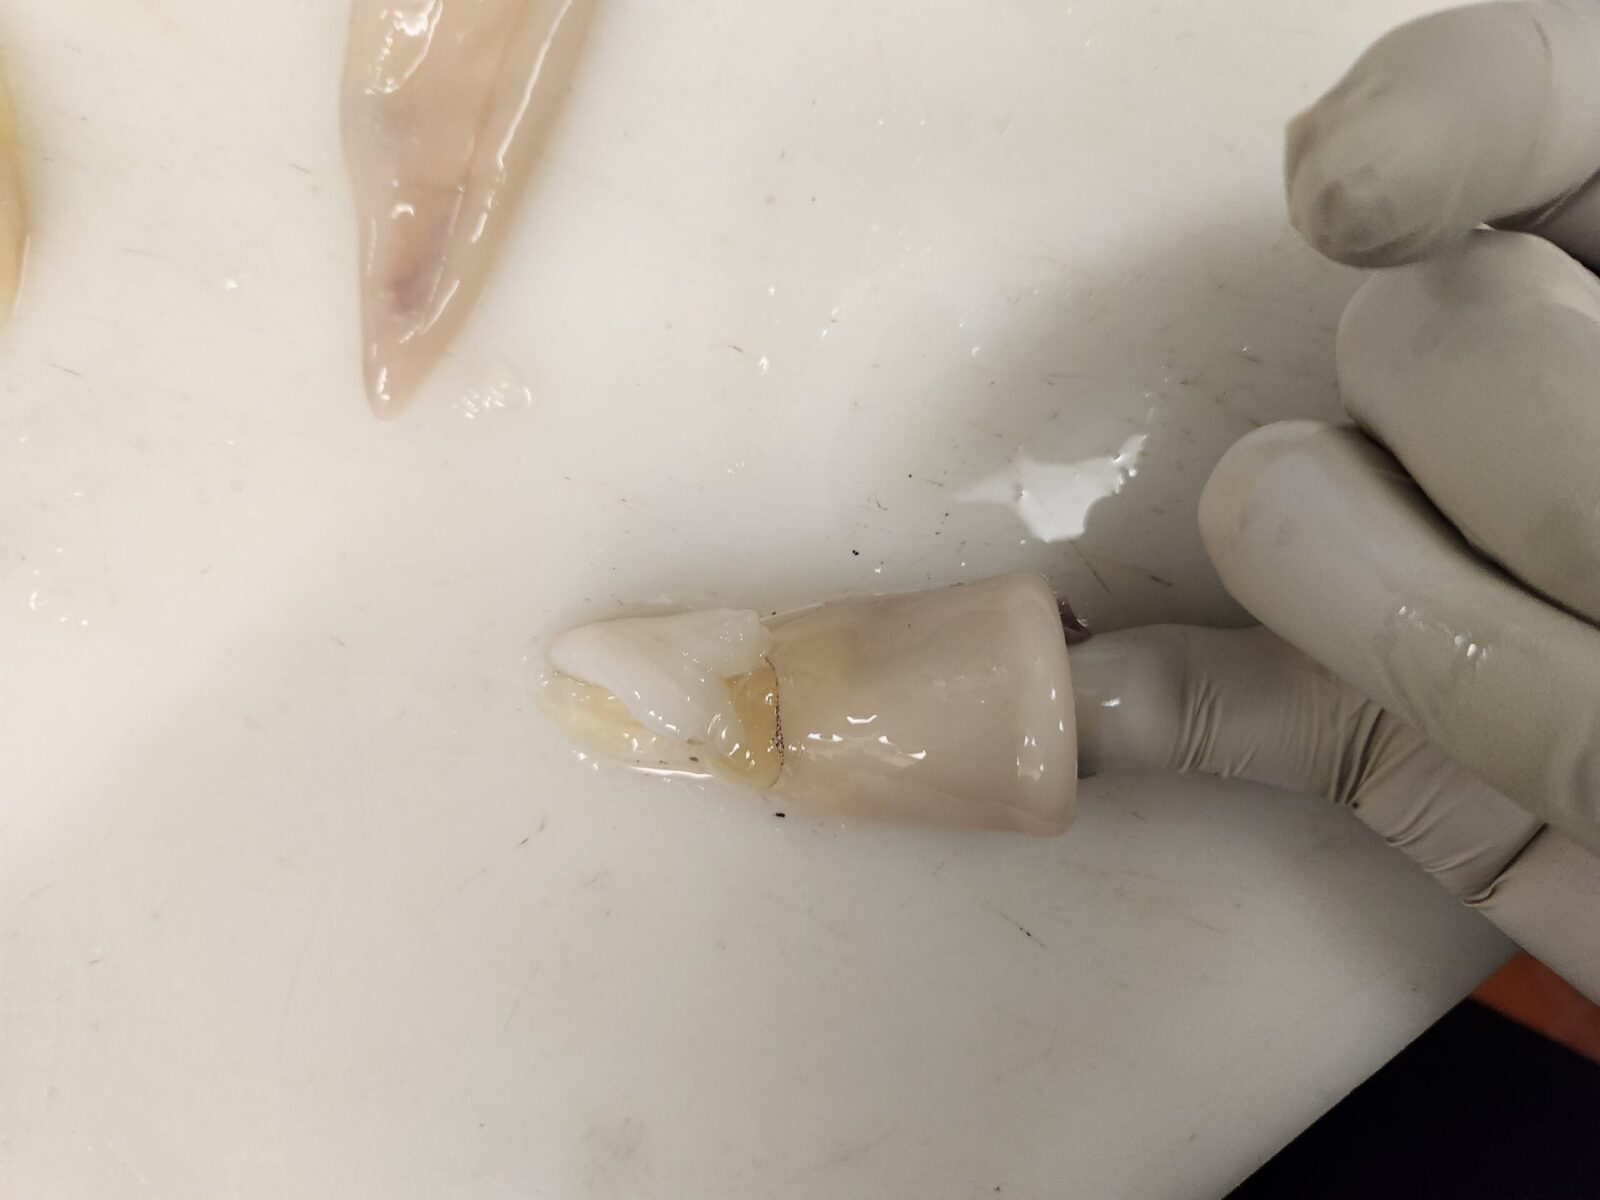
This is the last step of cleaning. You can then cook these however you want. Squid is very versatile in the kitchen. As whole tubes, you can stuff them with seafood and then braise them in tomato sauce.
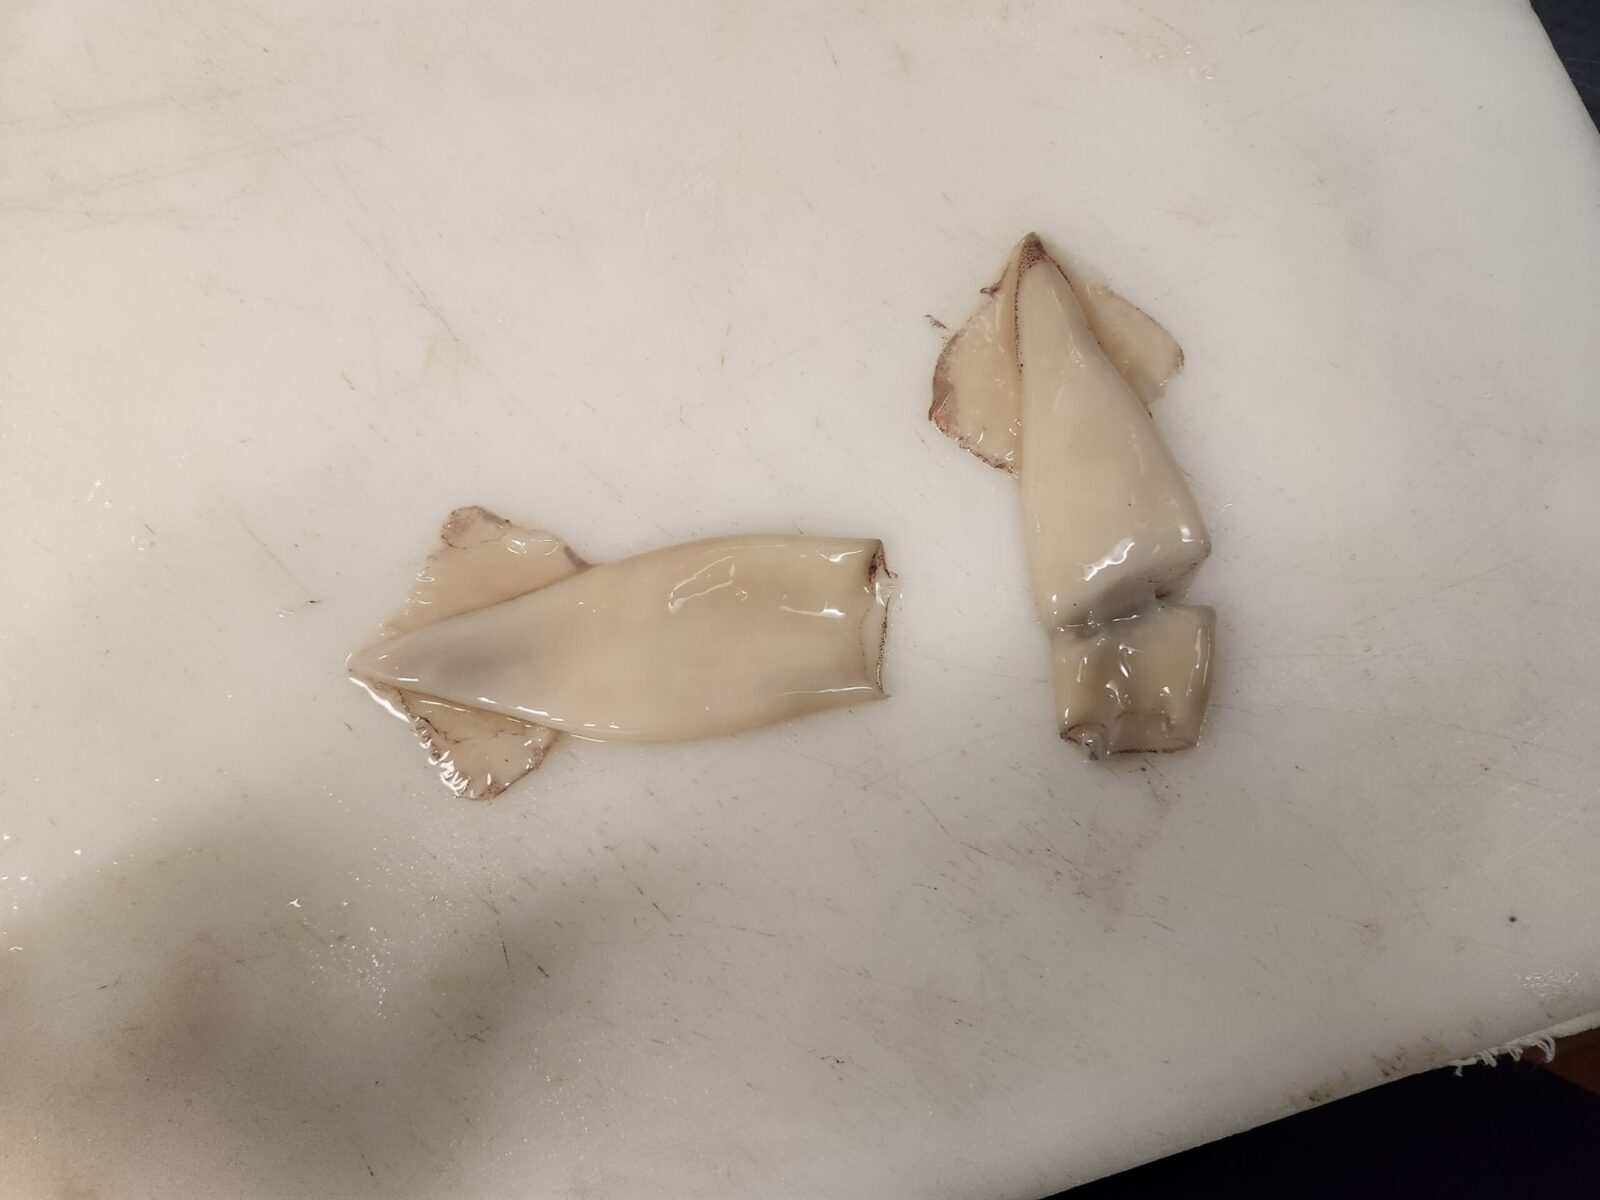
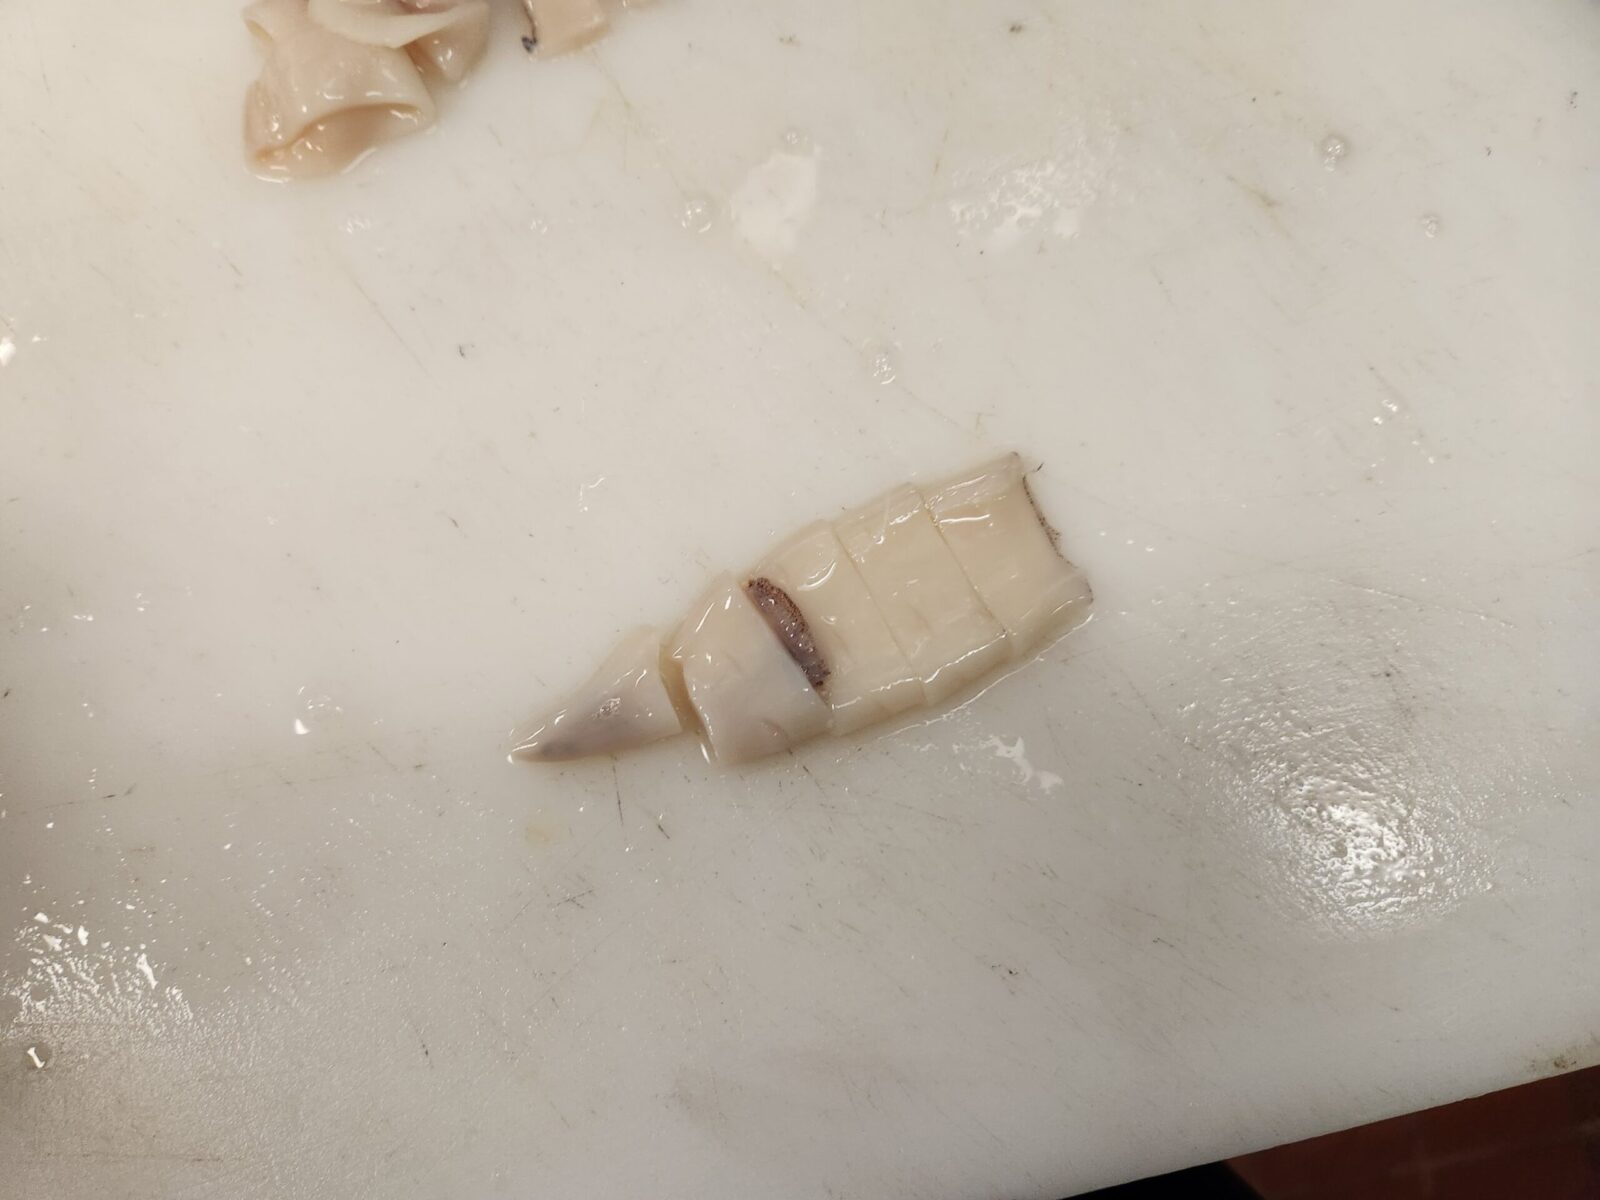
Or you can slice them into rings or strips to make crispy calamari or sauteed calamari, or throw them into a seafood soup like a cioppino. Just know calamari should be cooked for a very short time or a very long time. Anywhere in between and it’ll be like eating a tire innertube.
Ingredients – Sauteed Calamari
- Cleaned Calamari
- Cherry Tomatoes
- Minced Garlic
- Butter
- Parsley
- Green Onion
- Lemon
- Salt and Pepper to Taste
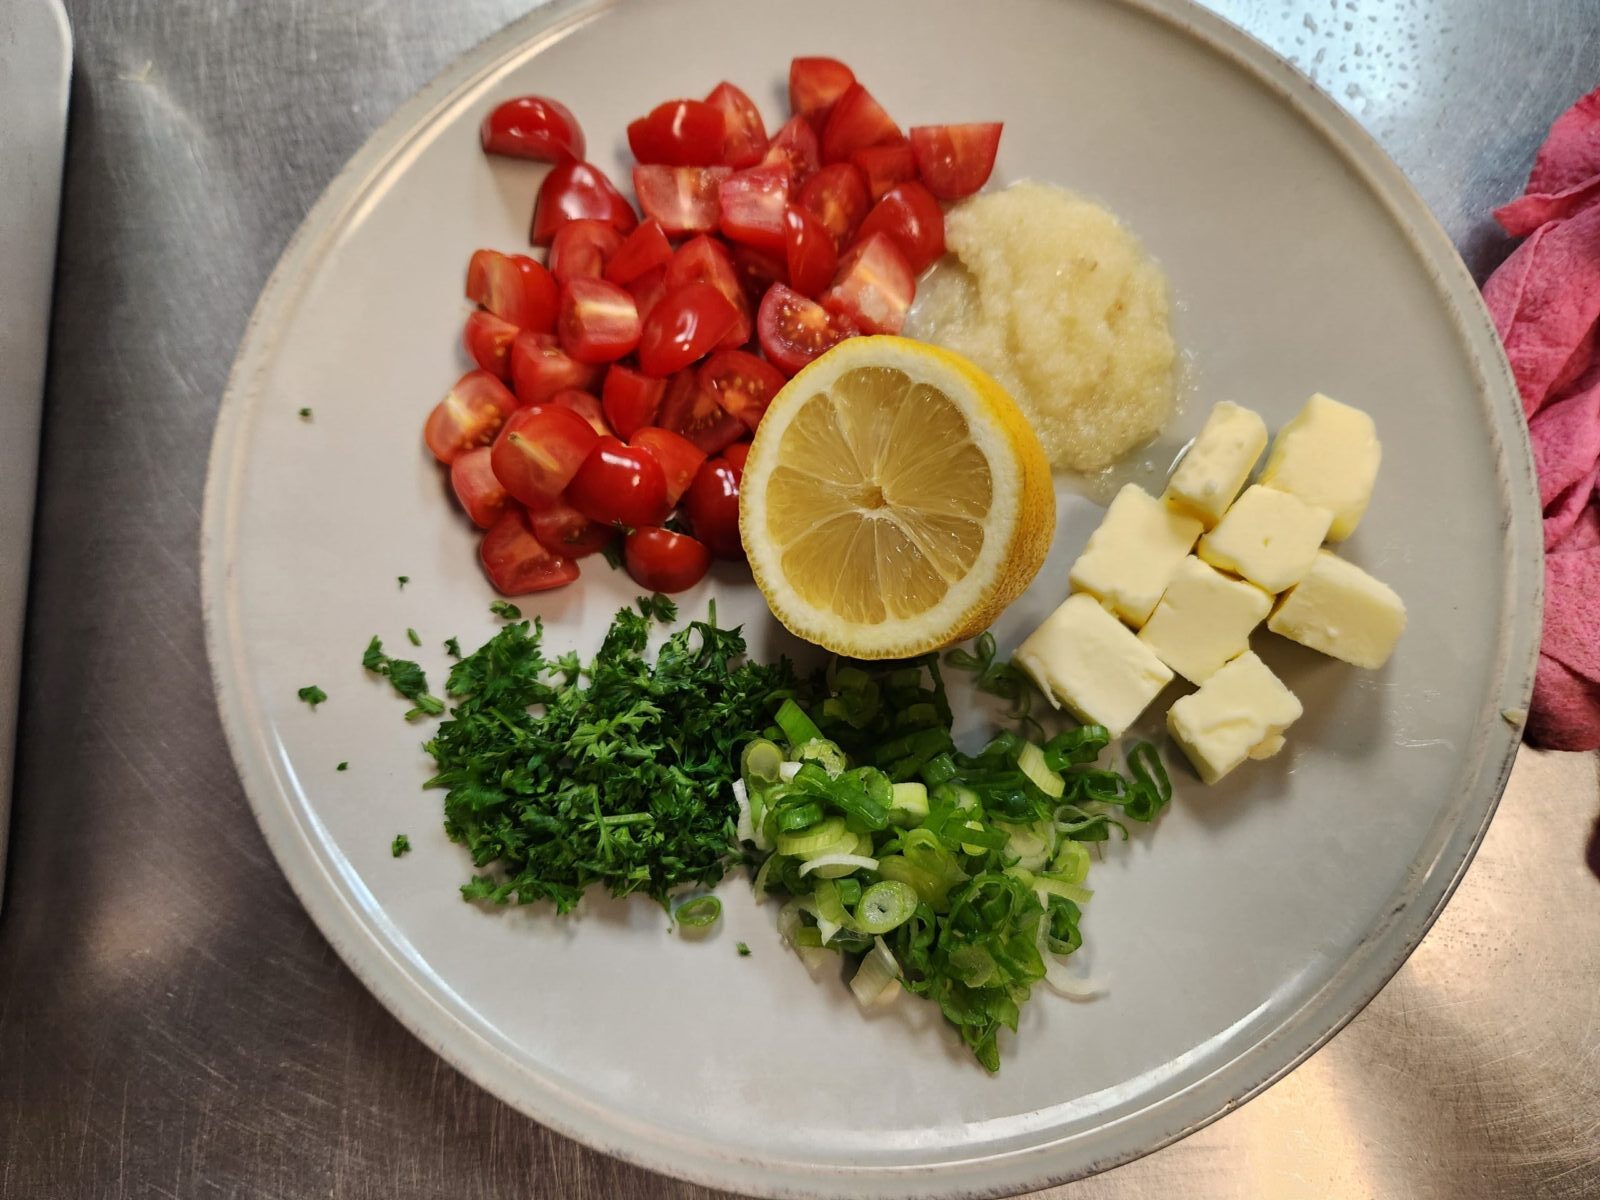
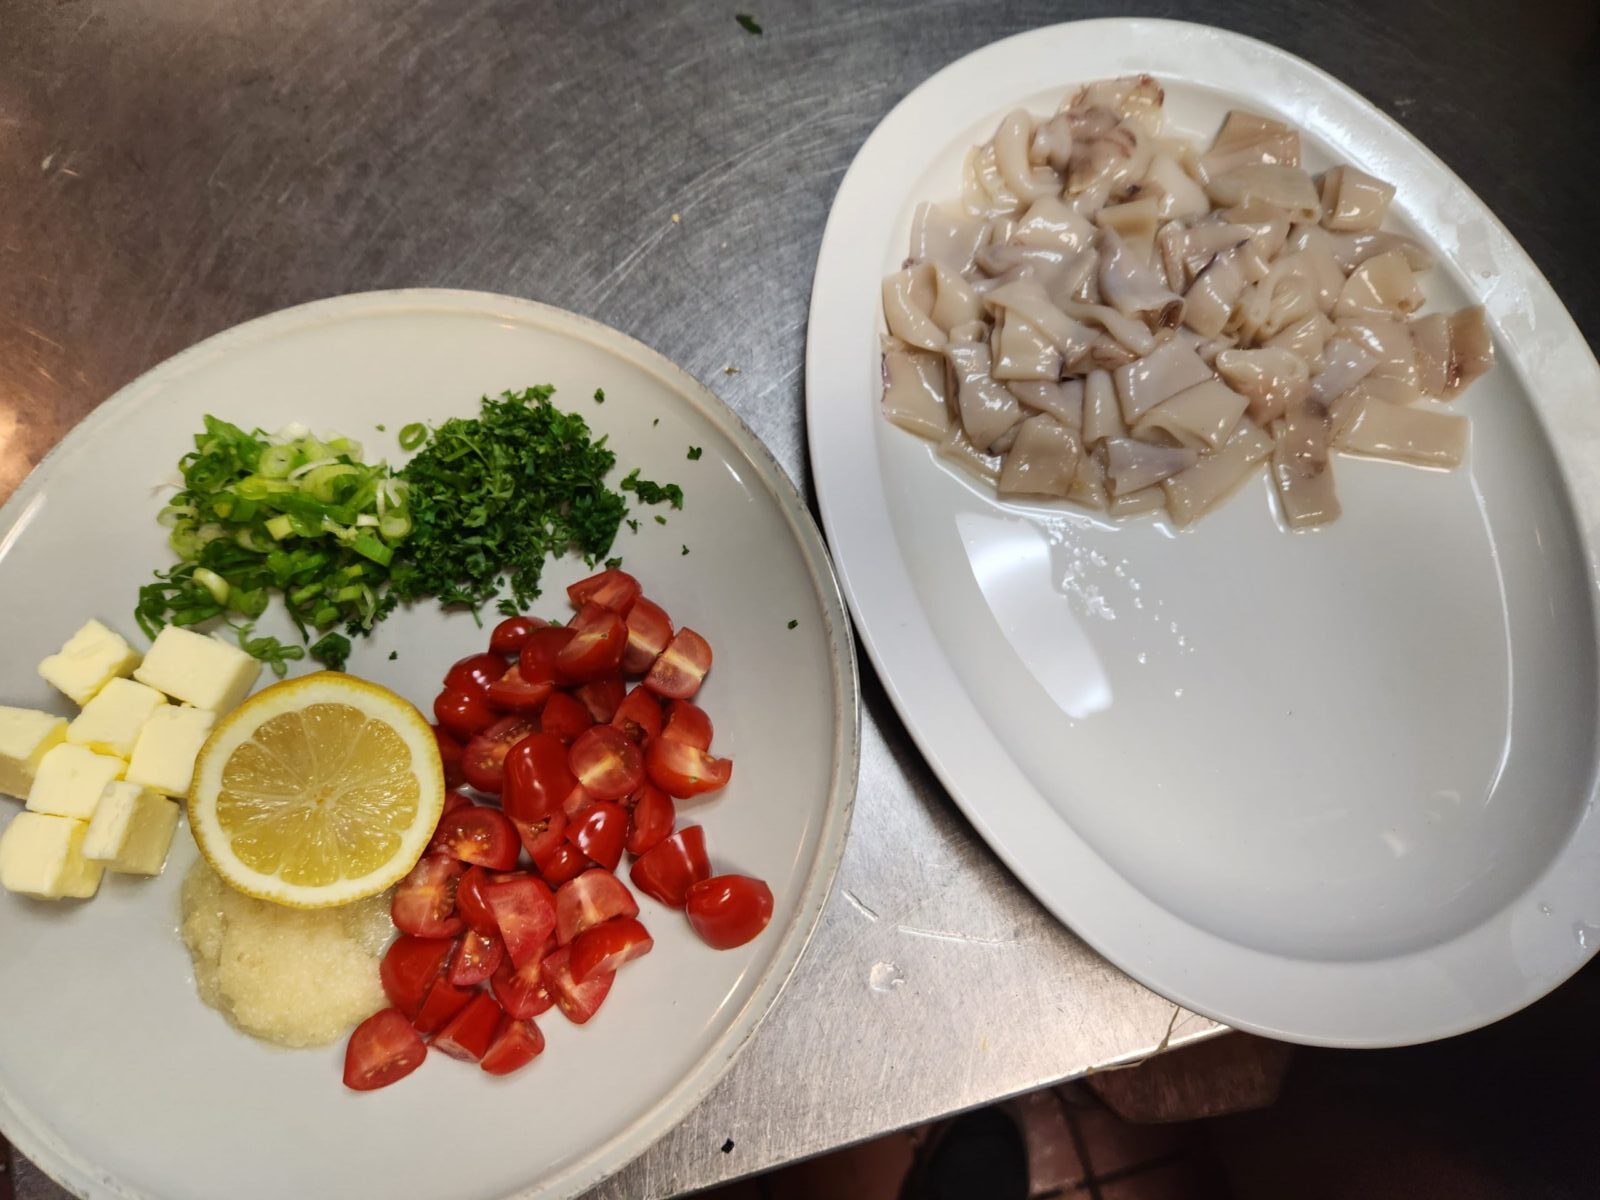
Ok this is a very quick recipe so you want to have everything ready to go before you start cooking. Start with a pan or wok and add your butter. Once its all melted add the minced garlic and cook for a little bit till fragrant. You don’t want to brown the garlic too much or it’ll be bitter.

Once that’s done add in the calamari rings and sautee for 30 seconds before adding in the cherry tomatoes. Stir to combine then season to taste. After another minute or two on the heat, take the wok or pan off the heat, and add the green onions, lemon, and parsley.

Give the pan a final mix and taste then plate, and enjoy with crusty bread if you have any on hand. Total cook time shouldn’t be more than a few minutes, the rings will go gummy if overcooked, and you want the tomatoes to be only slightly cooked for a fresh taste.
