DIY sled tow bar
Whether behind a snowmobile or ATV, some form of solid tow bar is a requirement on the ice. Ropes are not legal, and pose a significant safety hazard when your sleigh or portable fish hut sways back and forth or even worse, comes crashing into the back of your machine when it stops. Between a hardware store and your local dump or recycling centre, you can fabricate a sturdy, long-lasting hitch system easily, and for far less money than you might think.
What you’ll need:
- Two equal lengths of sturdy, hollow pipe or tubing that can be compressed and drilled through — 5 to 6 feet in length is perfect
- Standard drop-style hitch pin
- Two load bearing, self closing clips
- Large washer
- Shop vise
- 3/4-inch steel drill bit and drill
- Ream, file
How to build it:
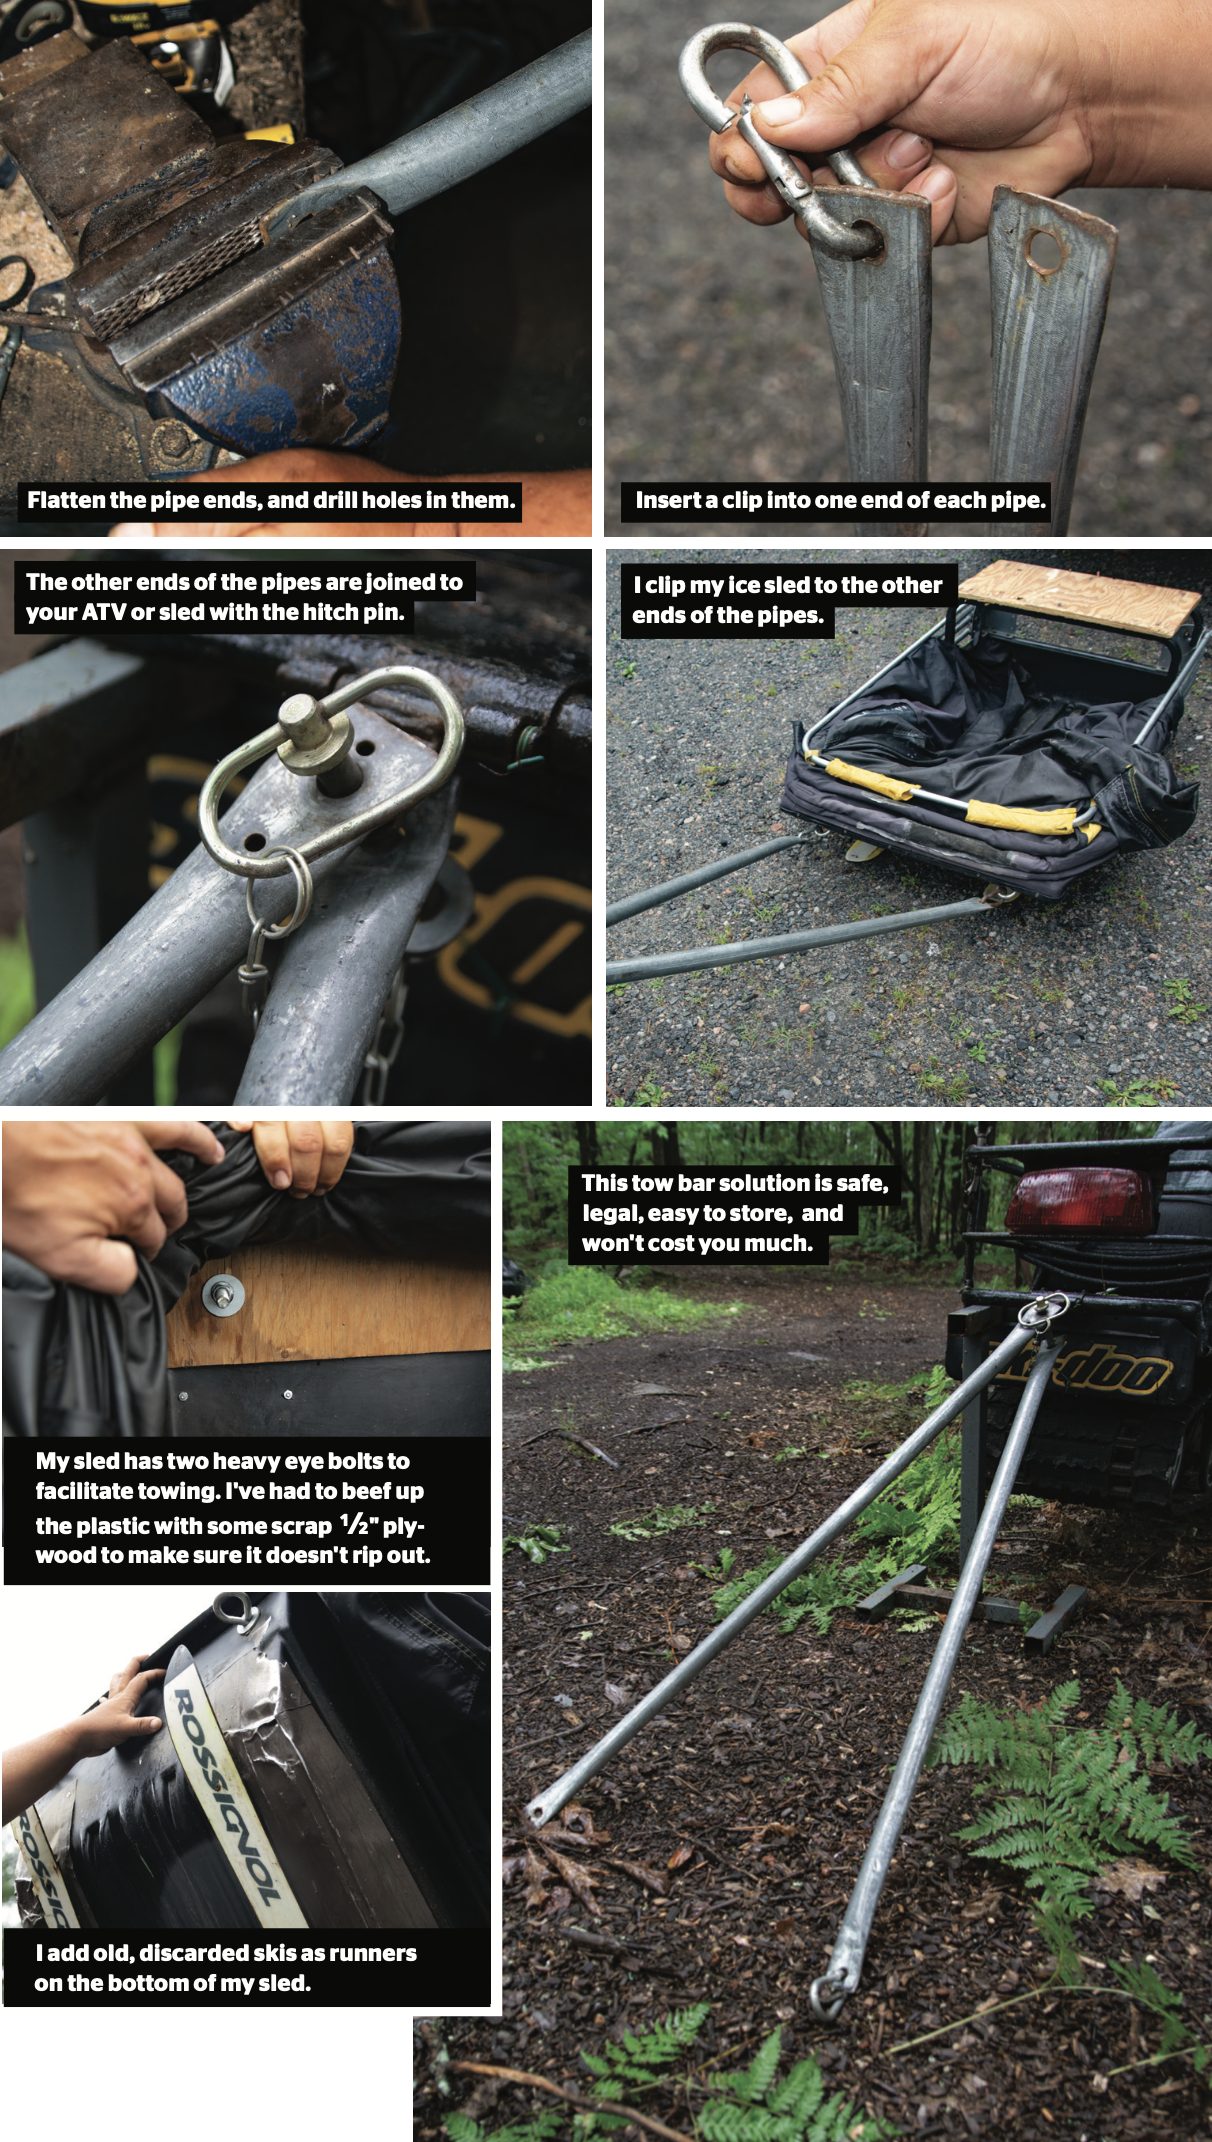
1. Use a vise to squash the last four to five inches of each pipe flat.
2. Mark and drill each end 1 1/2 inches from the tip. Use the ream and file to remove all burrs.
3. Add snap clips to the ends that attach to your sleigh or hut.
4. Overlap the other ends of the pipe and use the hitch pin to secure them to a flat or ring-style hitch receiver. Add the washer before securing the retainer pin on the drop pin.
5. The hitch is fully articulated and not rigid, creating a smoother ride and far less torque and stress on the pull points. It can easily be removed or added as needed, without the use of tools.

Baby that battery
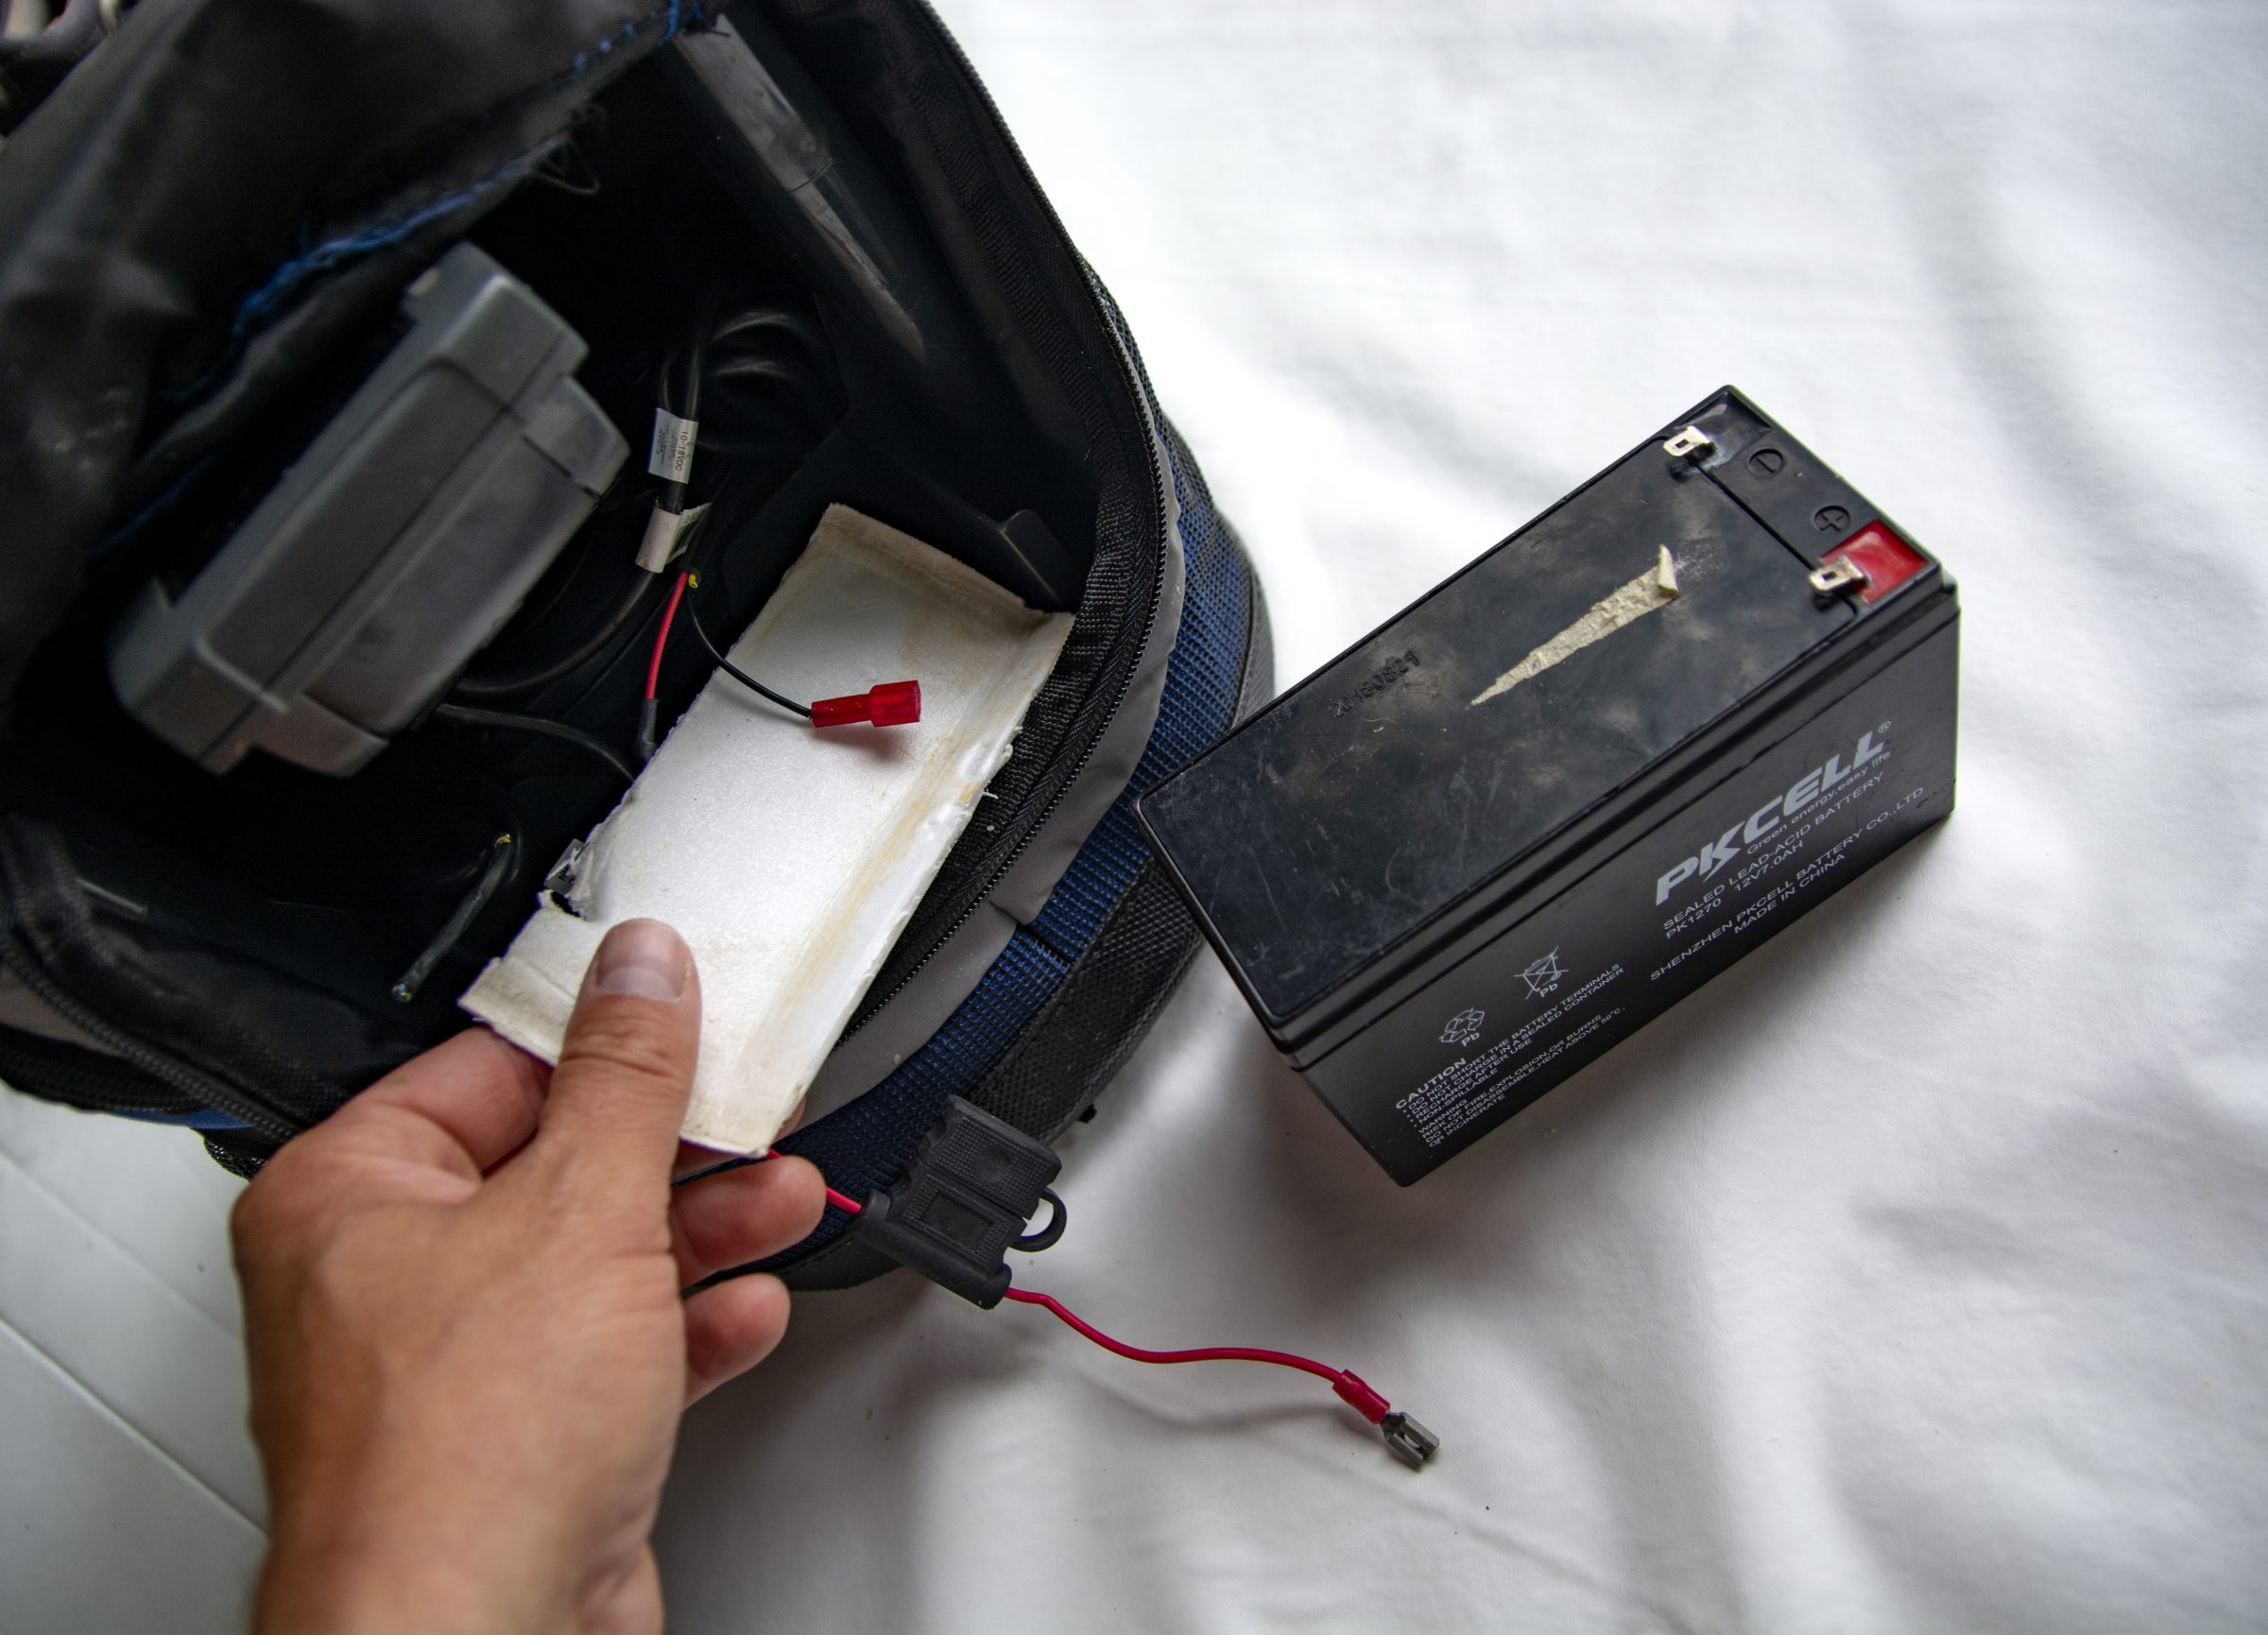
Nothing saps the life of an ice sonar or camera’s battery like cold. For those running and gunning spots in open air, there’s a really easy way to create an insulated barrier between the ice and your unit’s battery tray. Simply use light foam, like a meat tray from the grocery store. Cut it to fit the battery tray and place the battery on top of it. You can set your unit directly on the ice as you fish fast now, without trimming precious minutes off your battery life.

Rubber hand saver
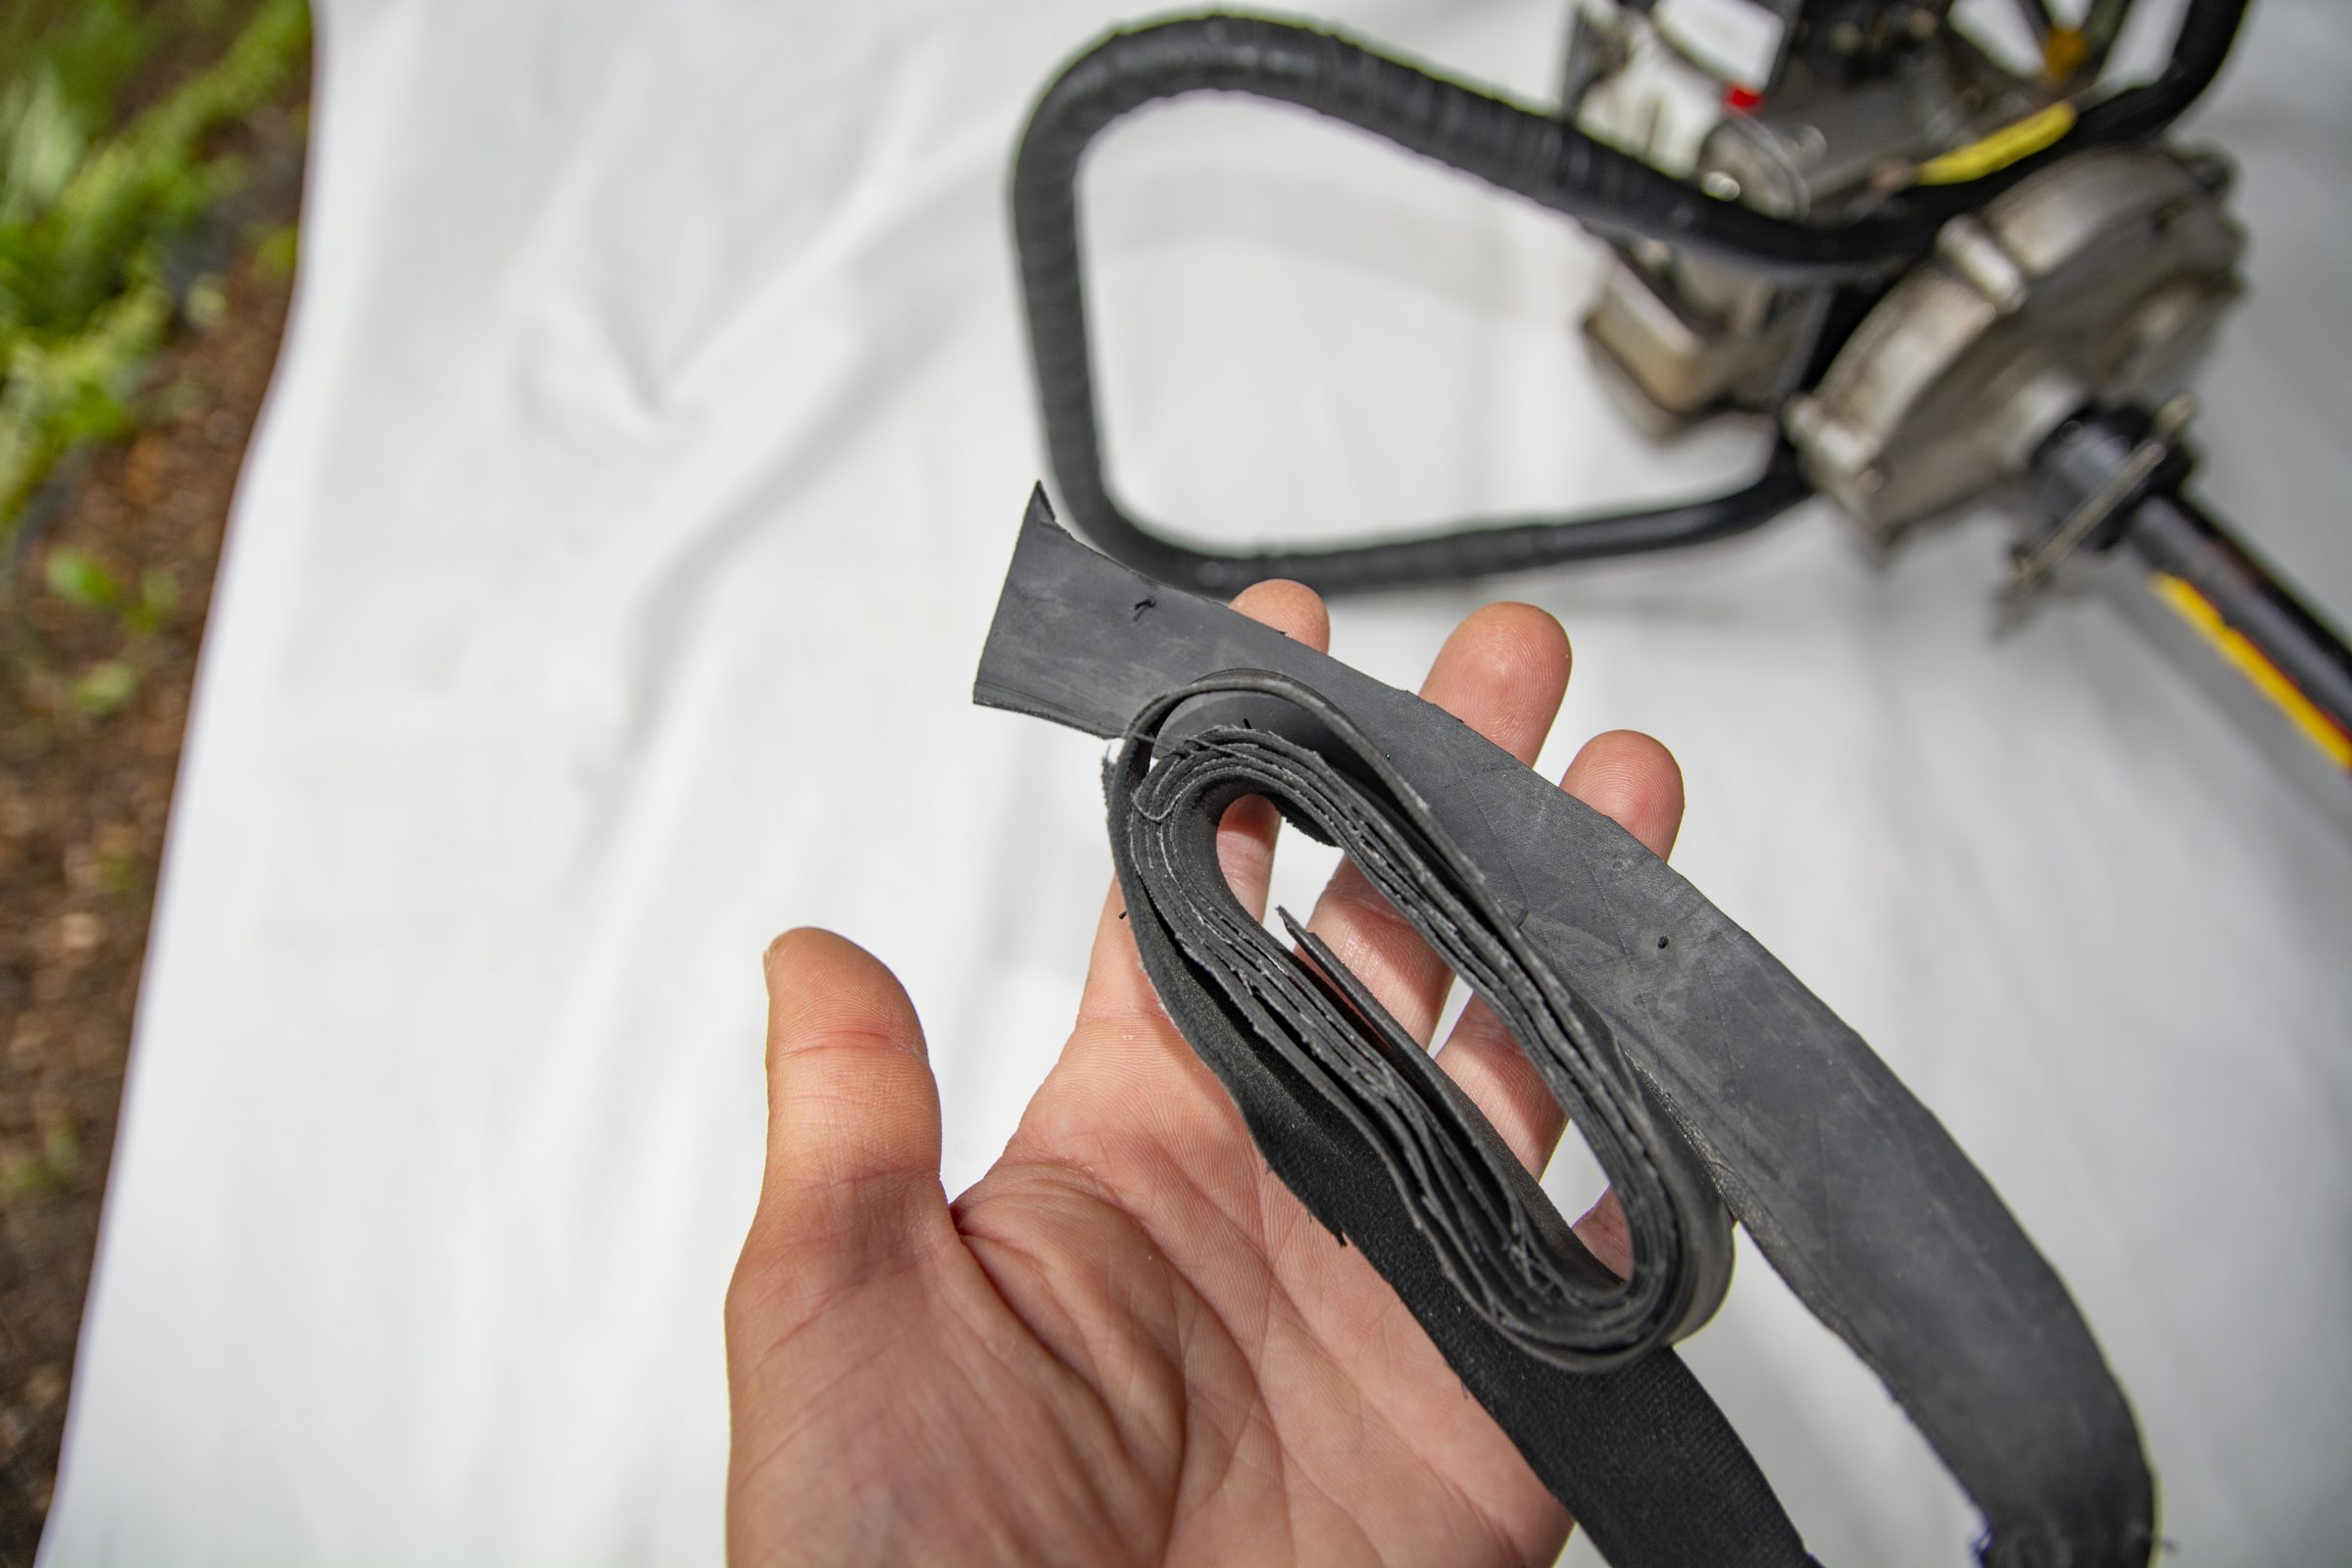
Anything steel gets cold in winter. Really cold. From auger handles to ice scoops and chisels. Here’s a cheap and easy way to keep your hands from freezing while using them: rubber. Bicycle shops often dispose of inner tubes from damaged tires, and this material is pure gold for the outdoors person. Lightweight, durable and usually free, inner tubes make a great insulating wrap. Being black sure doesn’t hurt, either. Black draws solar energy and warms quickly in any kind of sunlight.
Simply secure the start and end point of your rubber wrappings with electrical tape and you’re done. You’ll appreciate the difference immediately.

Seal it up on glare ice
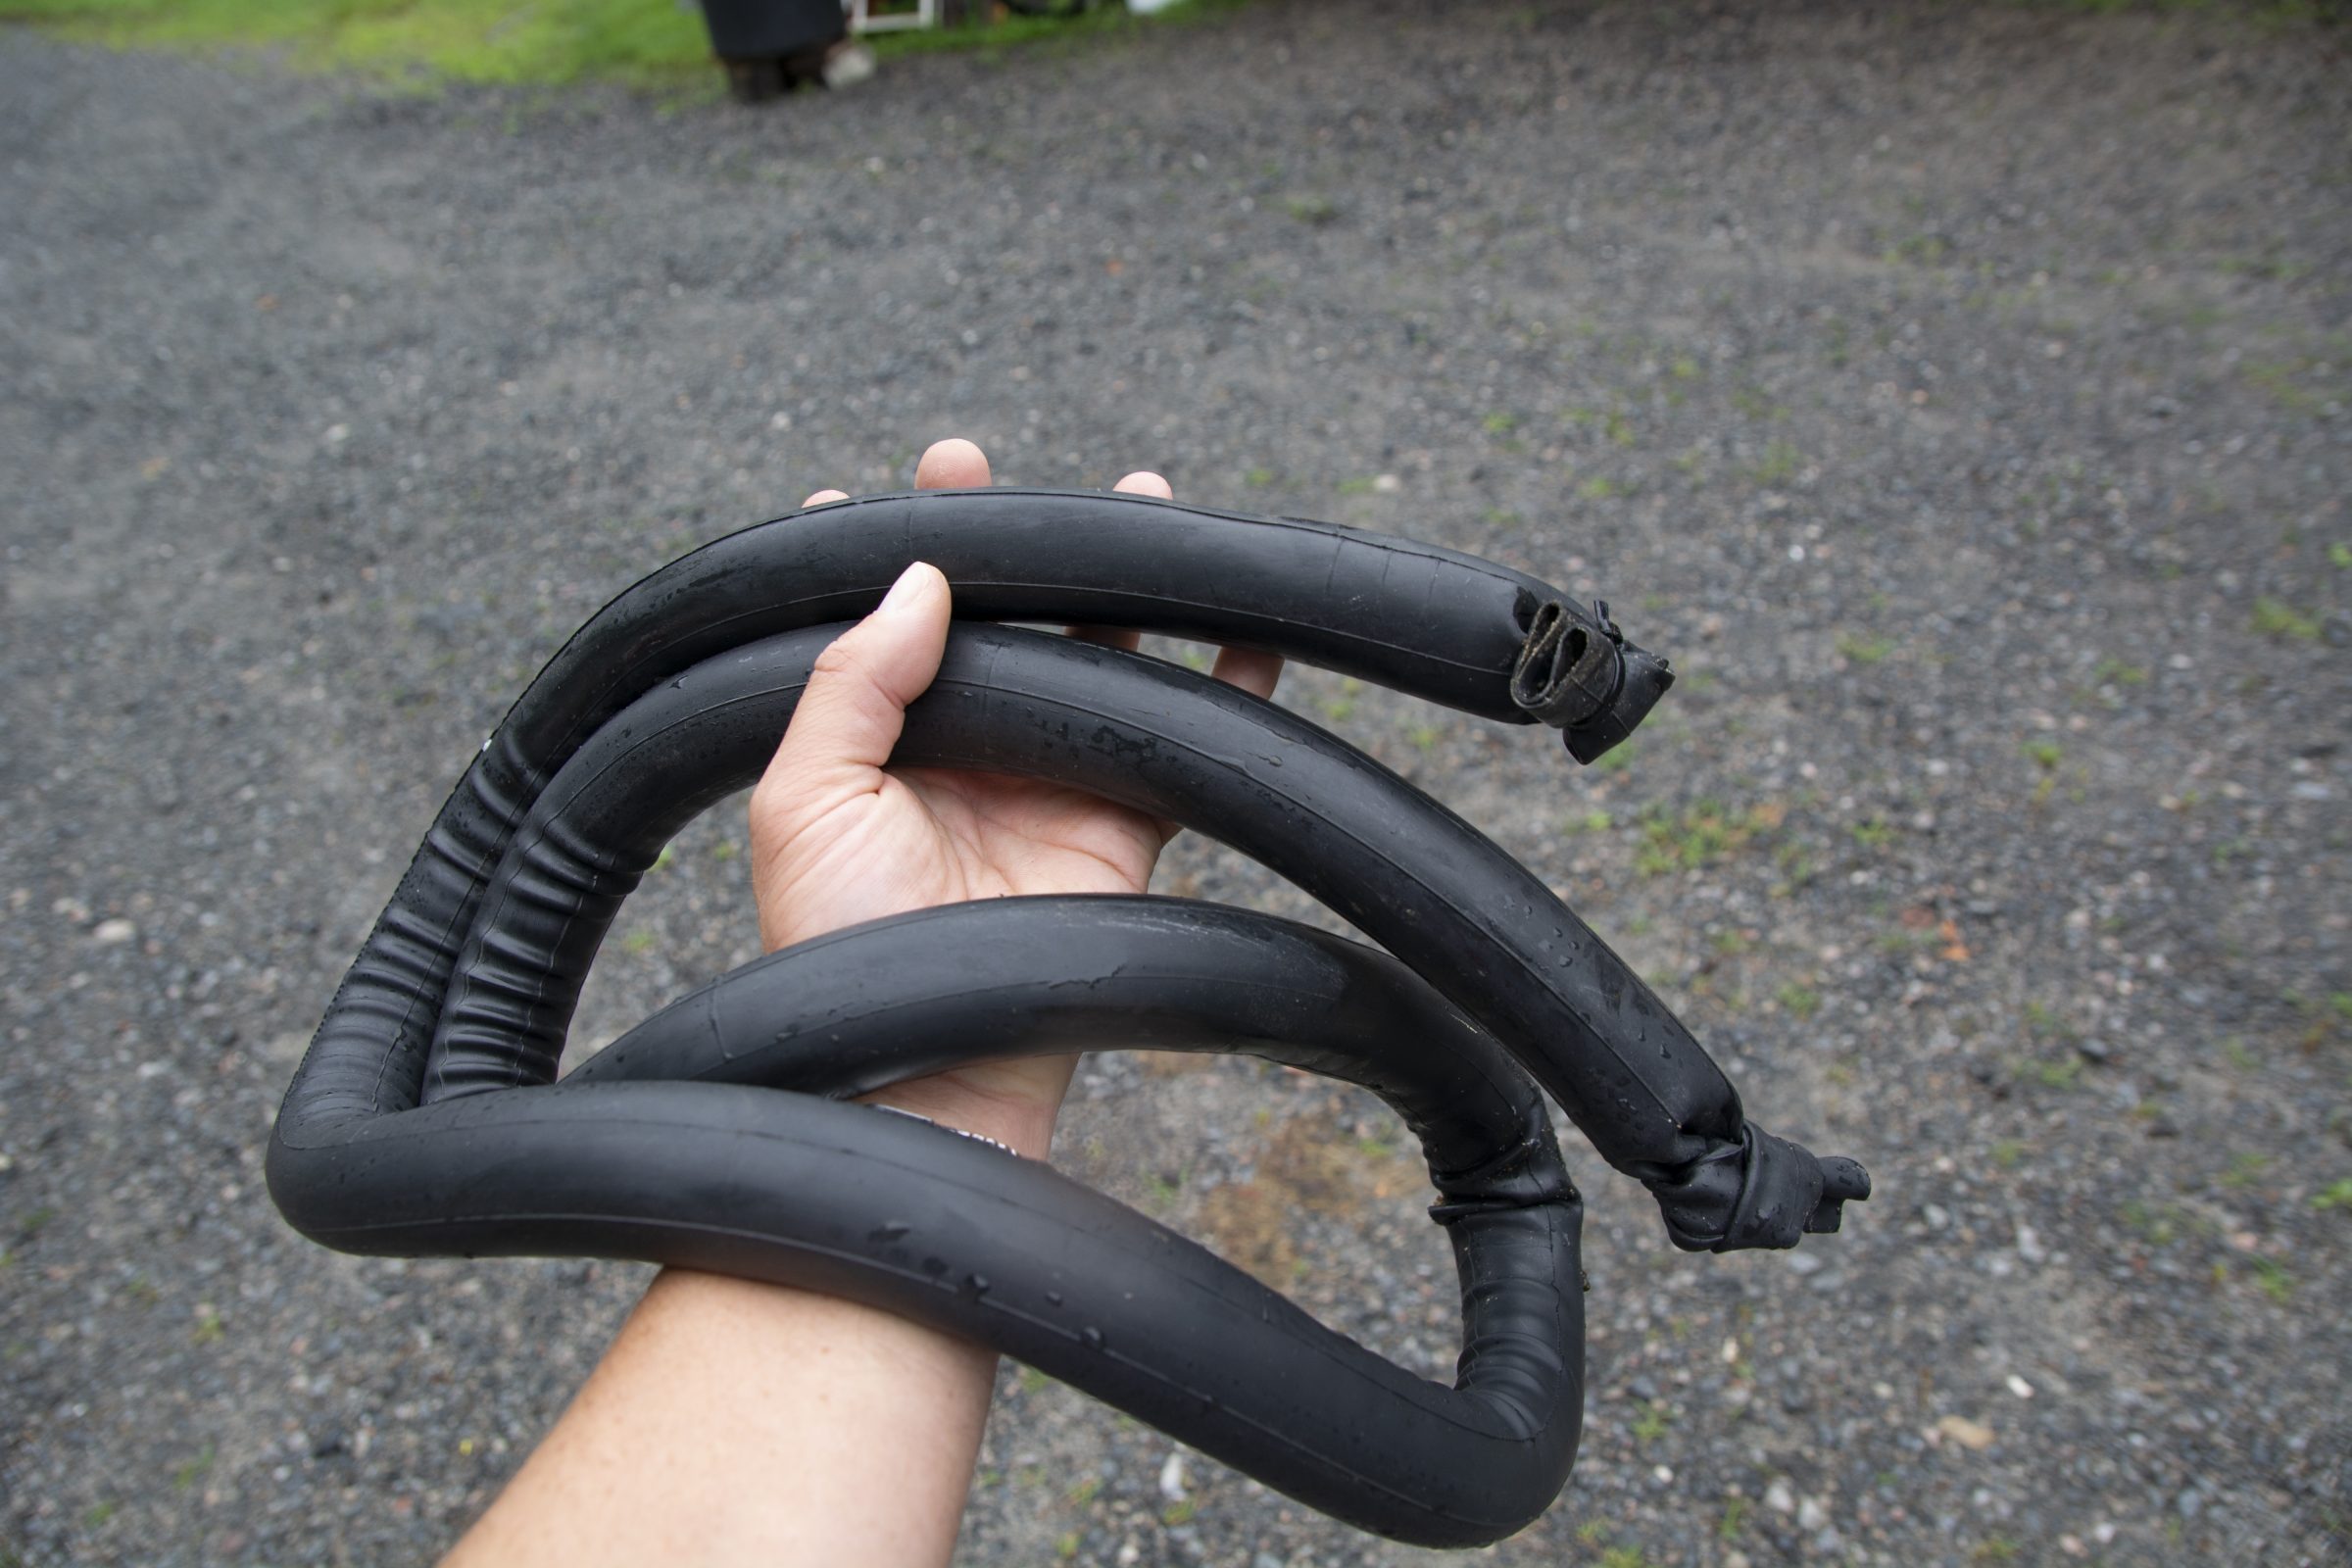
Here’s another use for those old inner-tubes. Instead of cutting them into strips, fill them with sand and zip-tie each end shut like a sausage casing. On bare ice, it’s nearly impossible to find enough material to pack down the skirt on a portable hut, to seal out wind and keep heat in. Problem solved. Simply lay the sand-filled tubes along the hut’s skirts and you’re sealed up.
In a pinch, you can also cut the sand-filled tubes open and use the sand for traction to help stuck vehicles. That one helped me one time along the north shore of Lake Simcoe, when a car had its front wheels down a small incline. A little weight and a little grit goes a long way on glare ice.

Recycling 2.0
Highly durable in freezing weather and watertight, household plastic food jars make excellent winter containers. Oversized lids are easy to get on and off with mitts or gloves on. Latches on standard tackle organizers can get brittle and break in the cold, and can also be hard to see on ice and snow. Whether you use mayonnaise jars (blue lid) peanut butter jars (green lid) or a host of others, these handy items show up well and you’re less likely to leave one on the ice.
On my ATV and snow machine, I’ve always got one with spare AAA and AA batteries, a lighter, knife sharpener, small tool kit, spare spark plugs, fishing line, and other items.

Originally published in the Jan.-Feb. 2022 issue of Ontario OUT of DOORS
