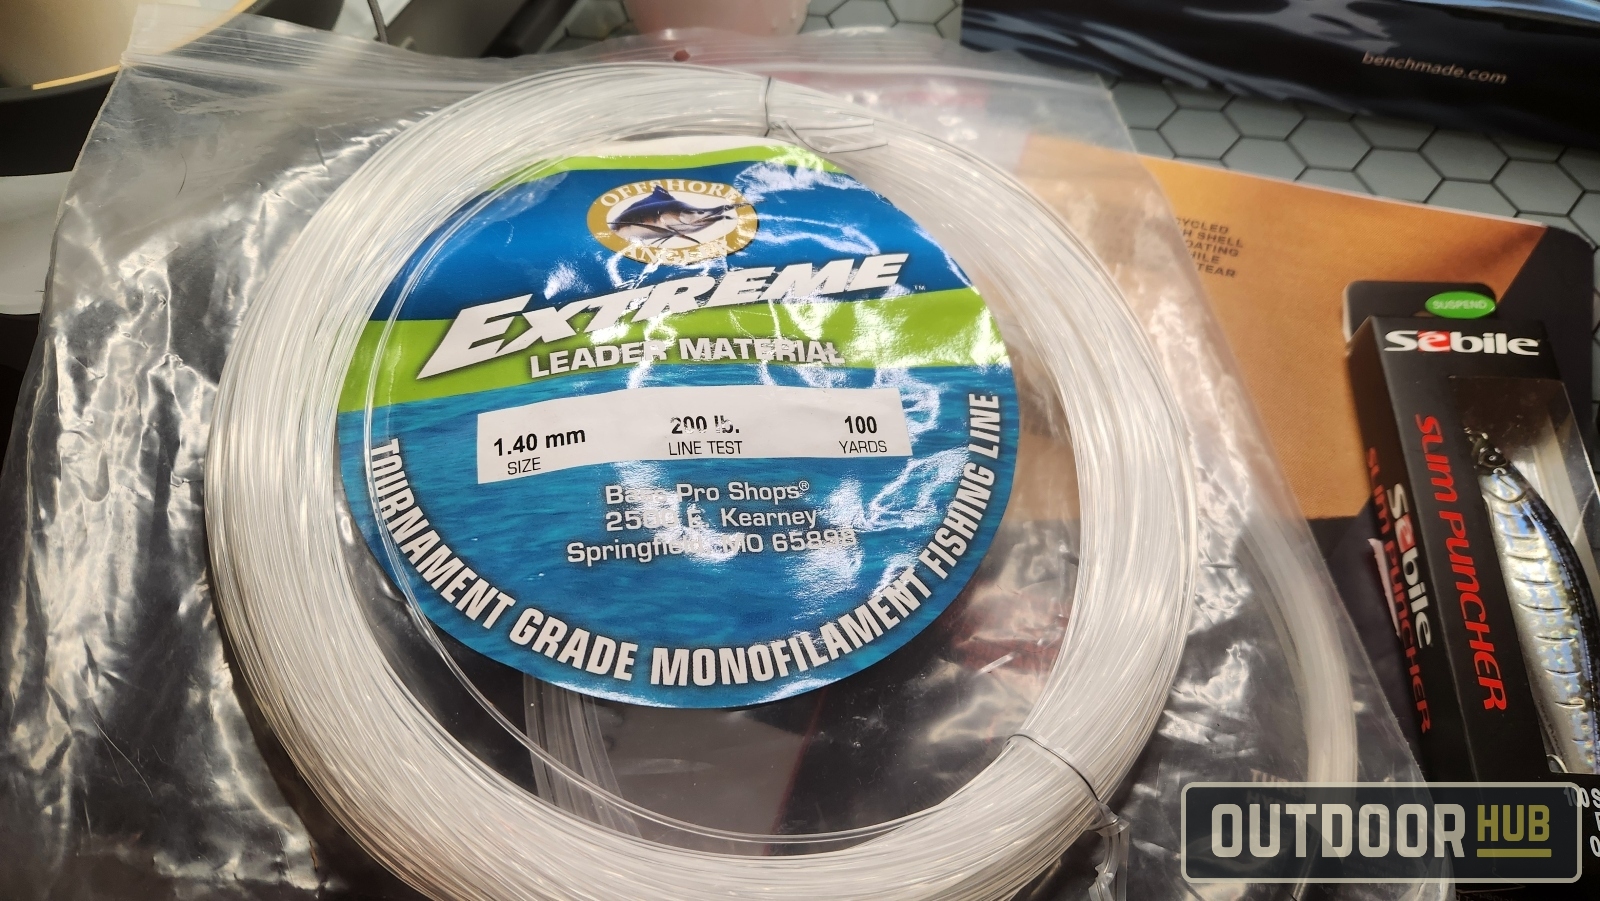
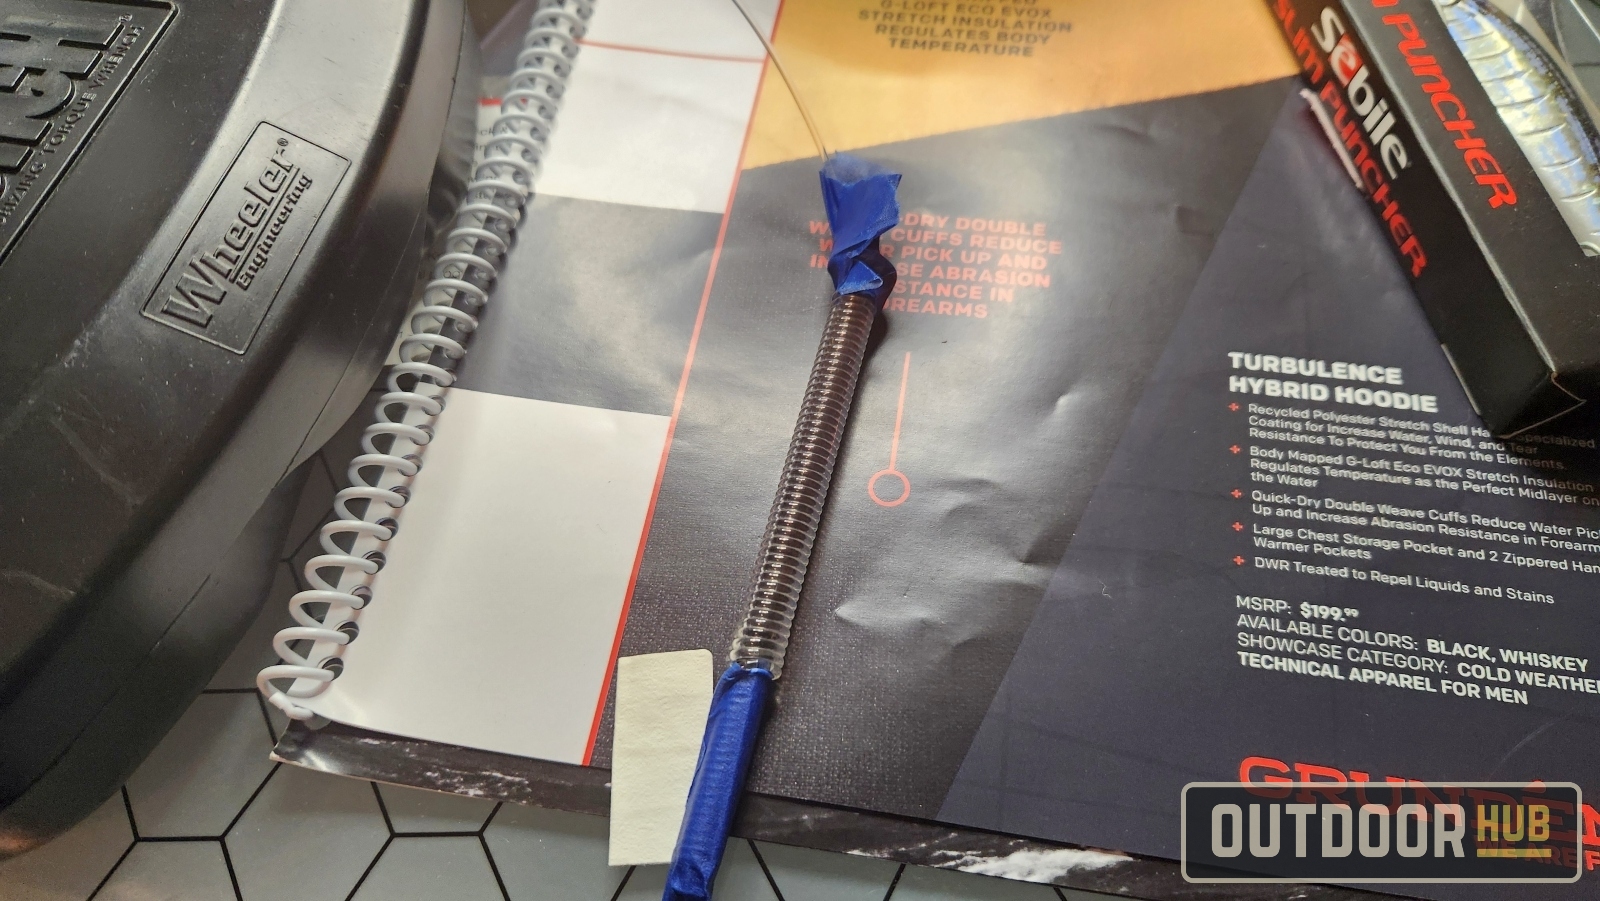
Having tools like a dehooker handy while fishing is always a good thing. So is having a tool lanyard that makes sure that your dehooker stays in the boat and stays on your person. This is an easy quick DIY project to do if you are short on time and don’t have the time to get a premade lanyard from the store. You need a few things to make a fishing tool lanyard at home, most of which you might already have if you fish offshore; tape, heavy monofilament, a thin rod, a kettle, crimps & crimping pliers, and snaps. The first thing you need to do is get a length of heavy mono, in this case, I’m using 200lb monofilament that I already have for leader material. Cut about a 2 to 3-foot length of monofilament off and get a thin rod. In this case, I used a long bolt I found in the toolbox.
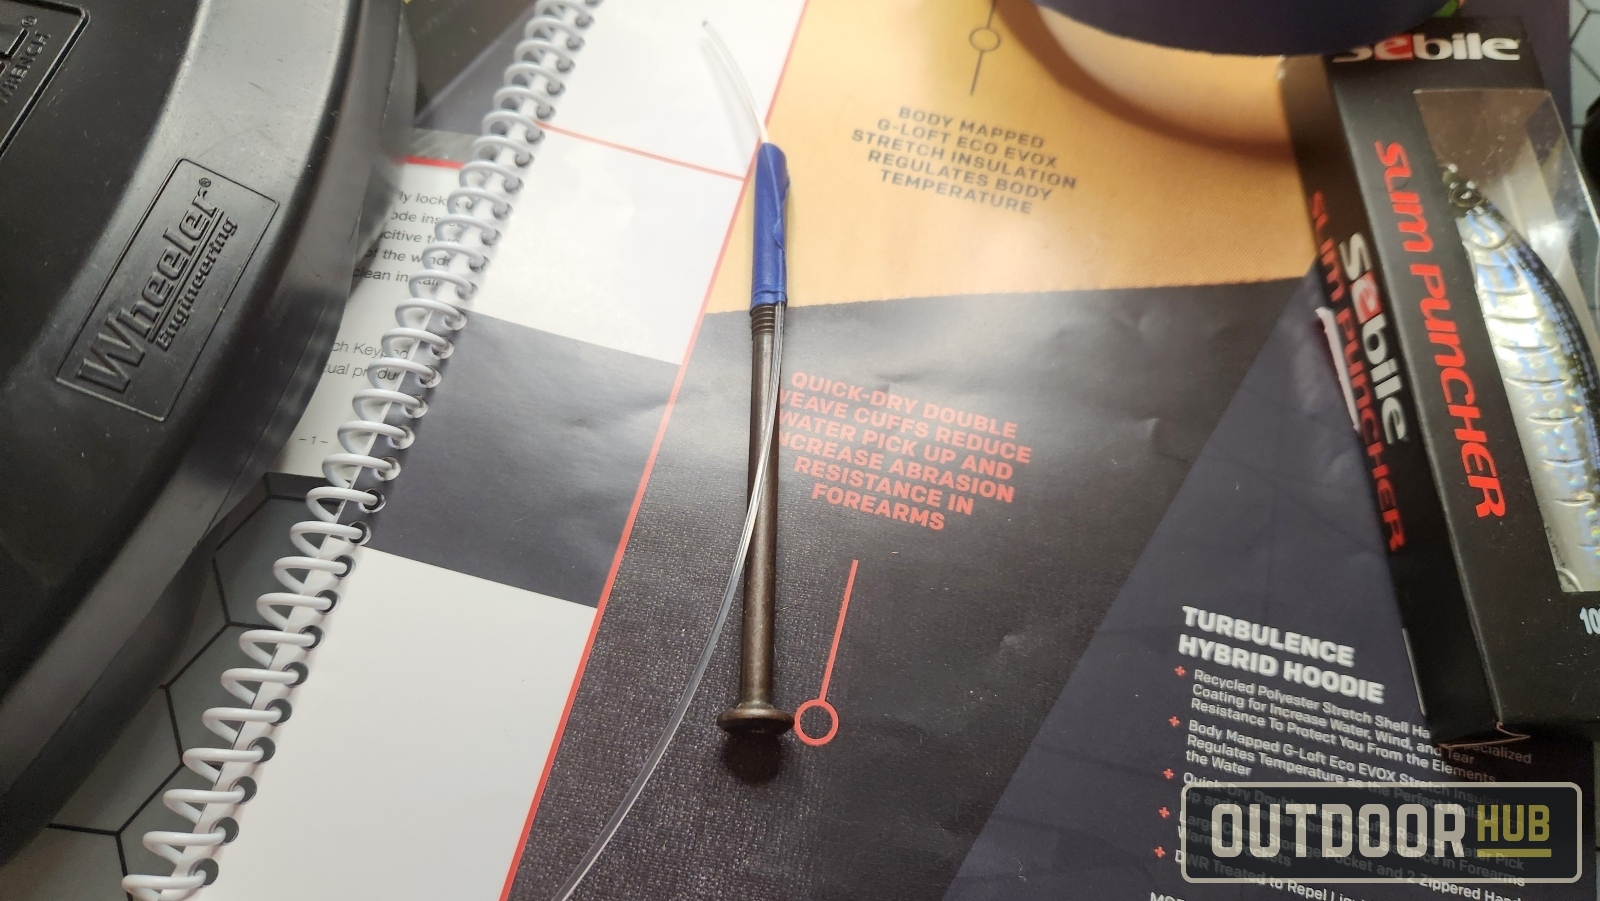
Take your monofilament and tape it to the rod (bolt) leaving a few inches past the tape to use later for attaching your tool to the tool lanyard and snap. Pull off another piece of tape off the roll and leave it ready to use once you roll up all the monofilament line on the bolt or rod. You want to make tight and even wraps that line up right next to each other as you do this.
Make sure to keep a good grip on both the bolt and line, there is a lot of tension in the line as you wrap it around the rod and it will spring loose if you give it slack. If this happens its not a problem even with the memory in the line, you just have to start again.
Once you get to the end of the rod use that piece of tape I told you to have ready earlier and tape down the end of the line to the other end of the bolt. Again you need to have a few inches of tag past the tape to use to connect to the tool.
After you finish wrapping the monofilament line around the rod, start boiling some water. A kettle is a bit safer than a pot as it lets you control pouring the scalding hot water better.
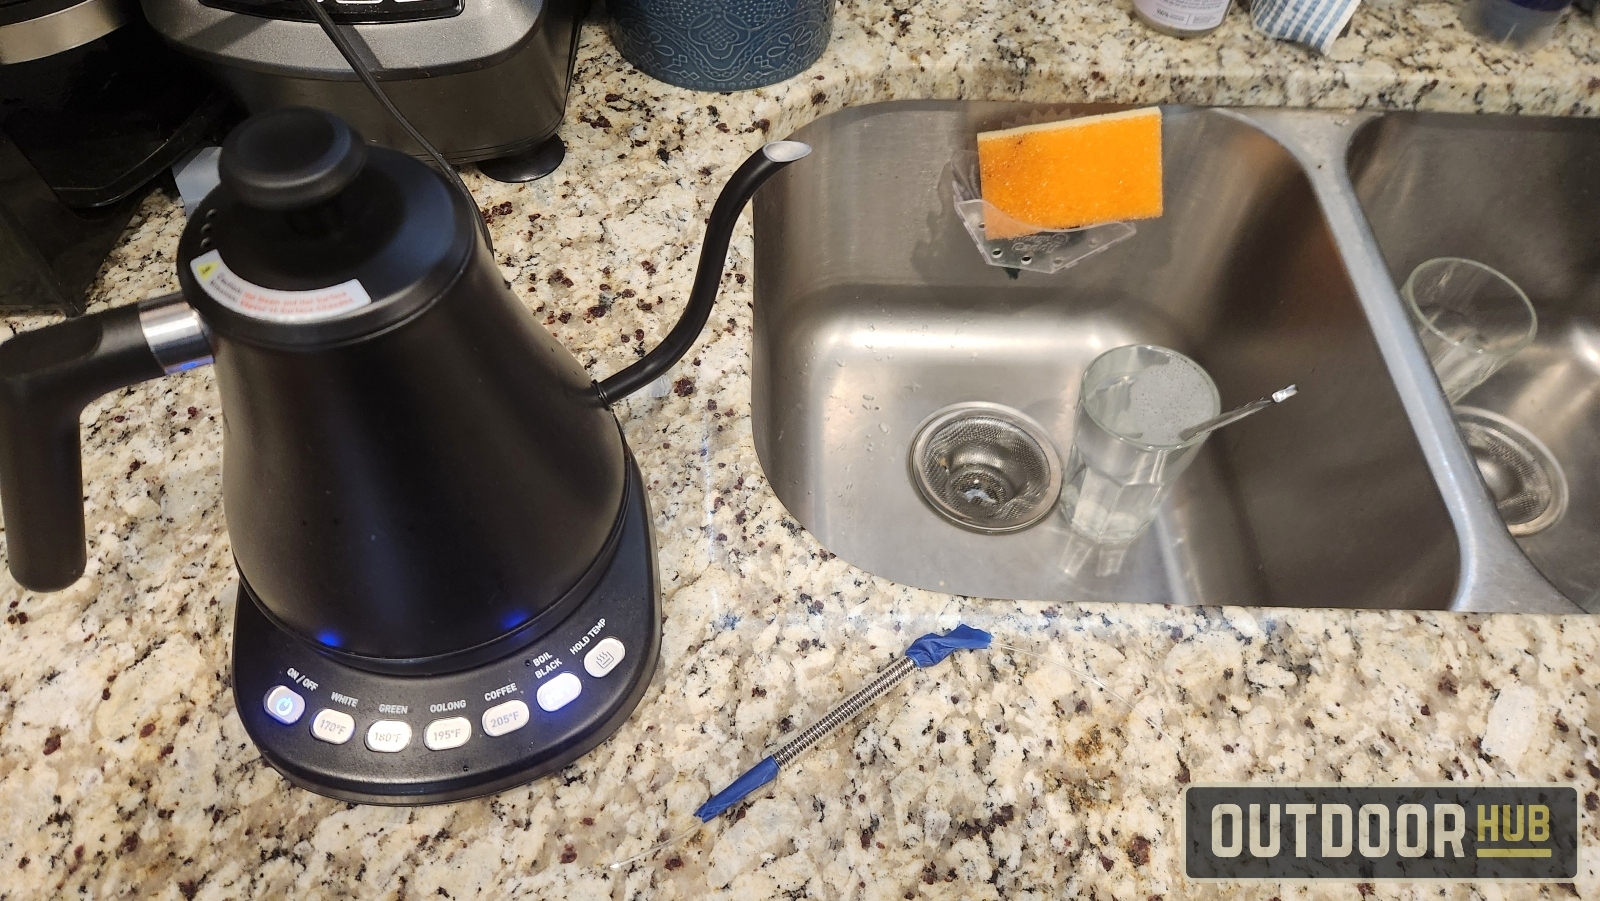
Once the water is boiling, start pouring it over the wrapped line. Be careful to not burn yourself as you do this. When I made this one, a single pot of hot water was enough to set the memory of the line.
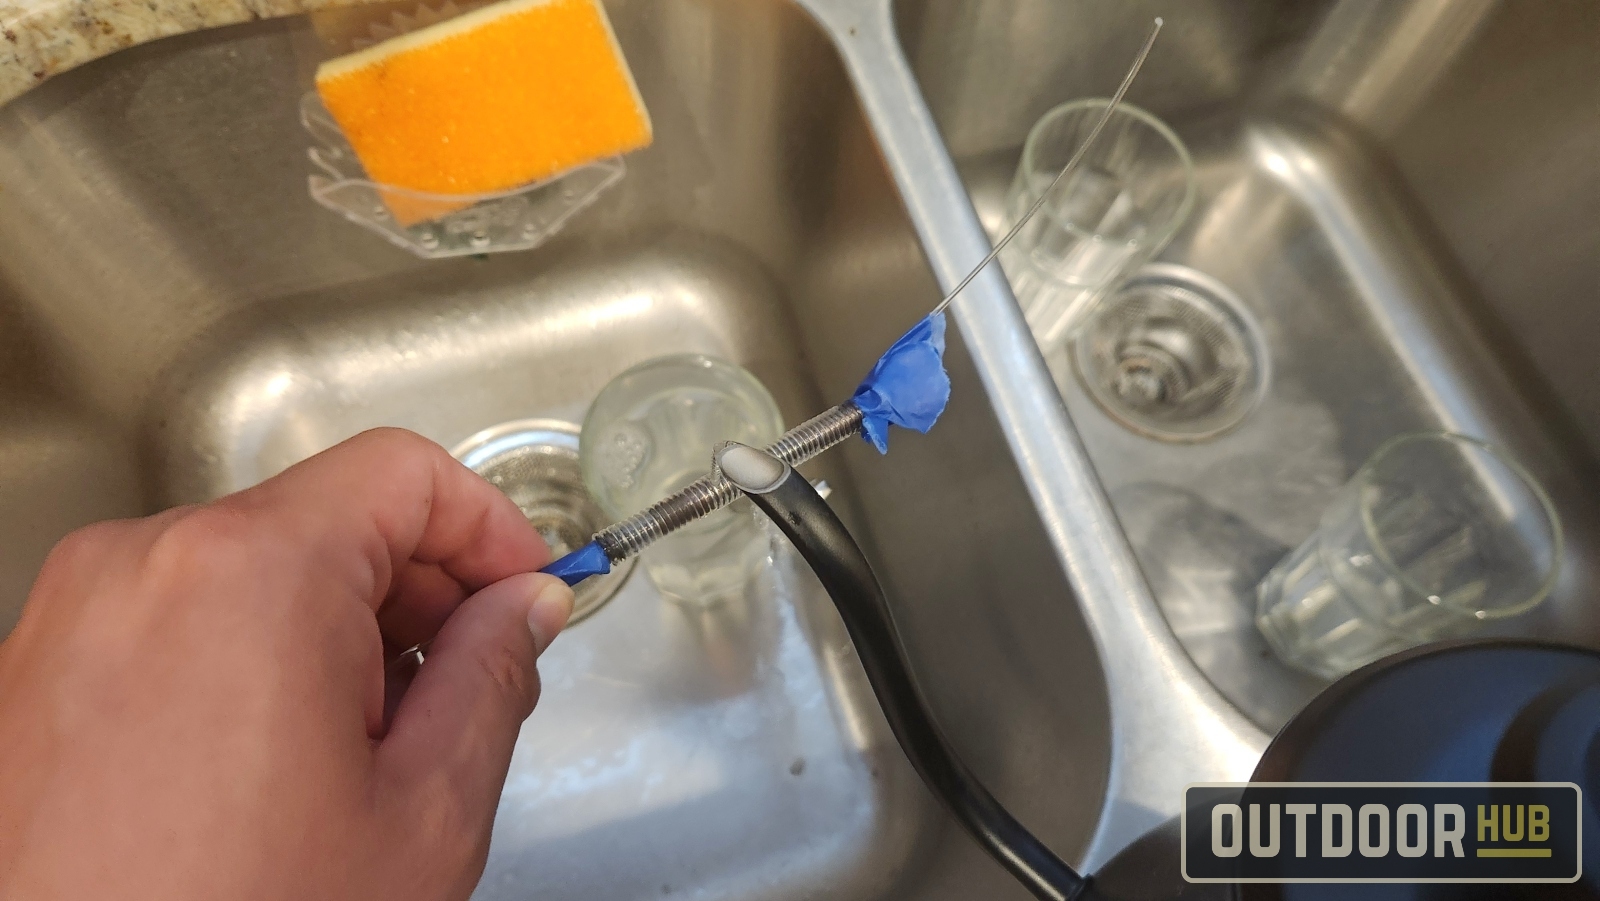
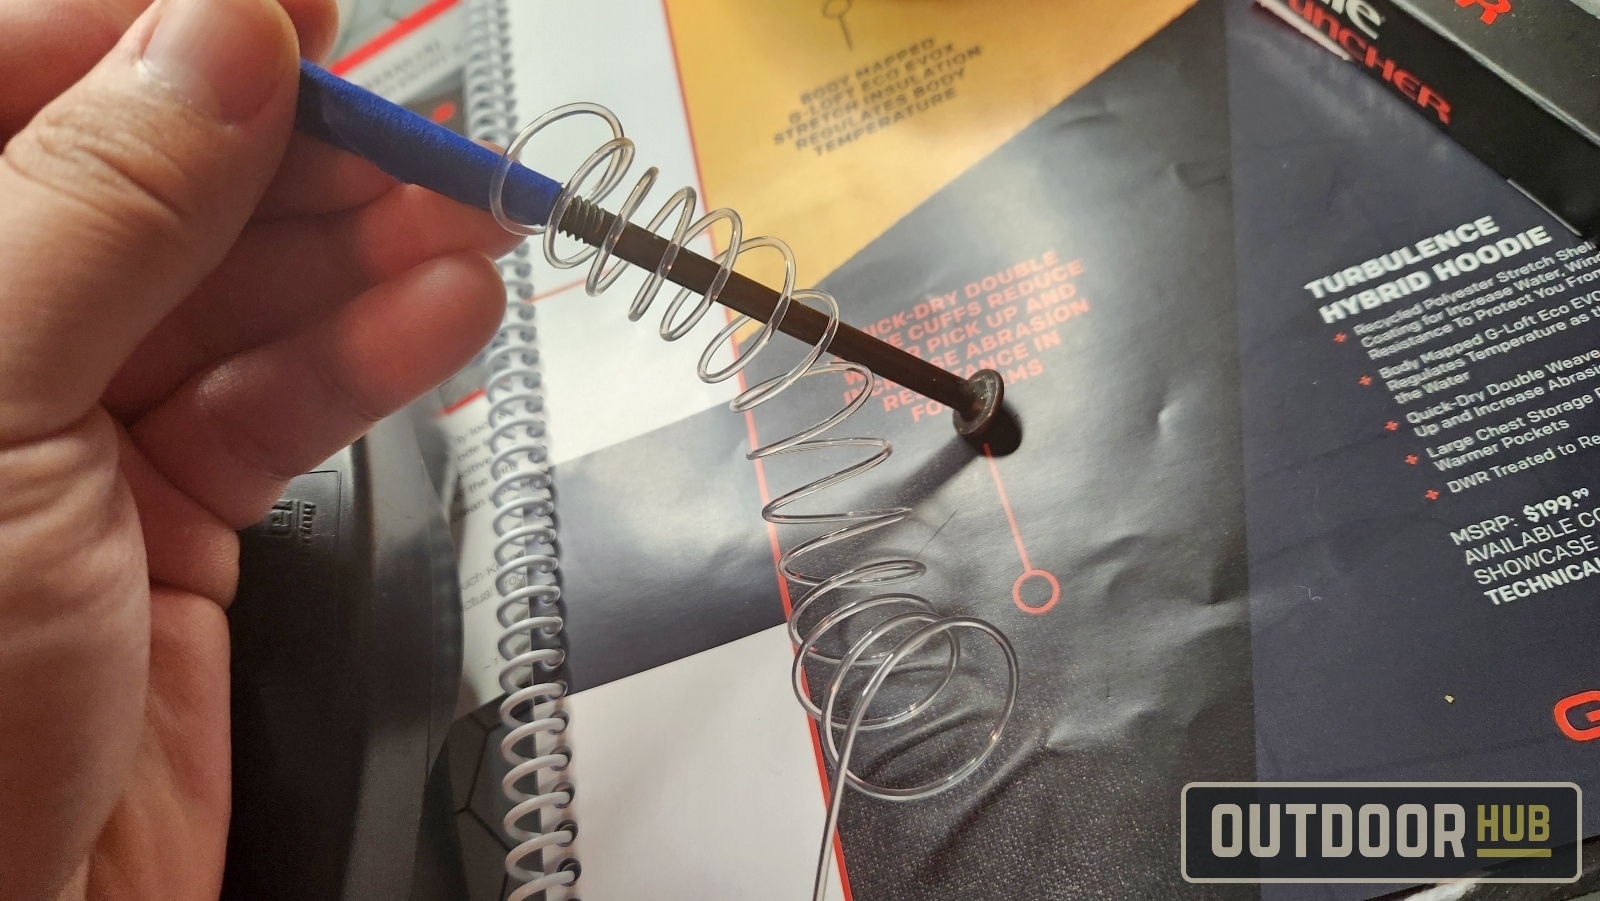
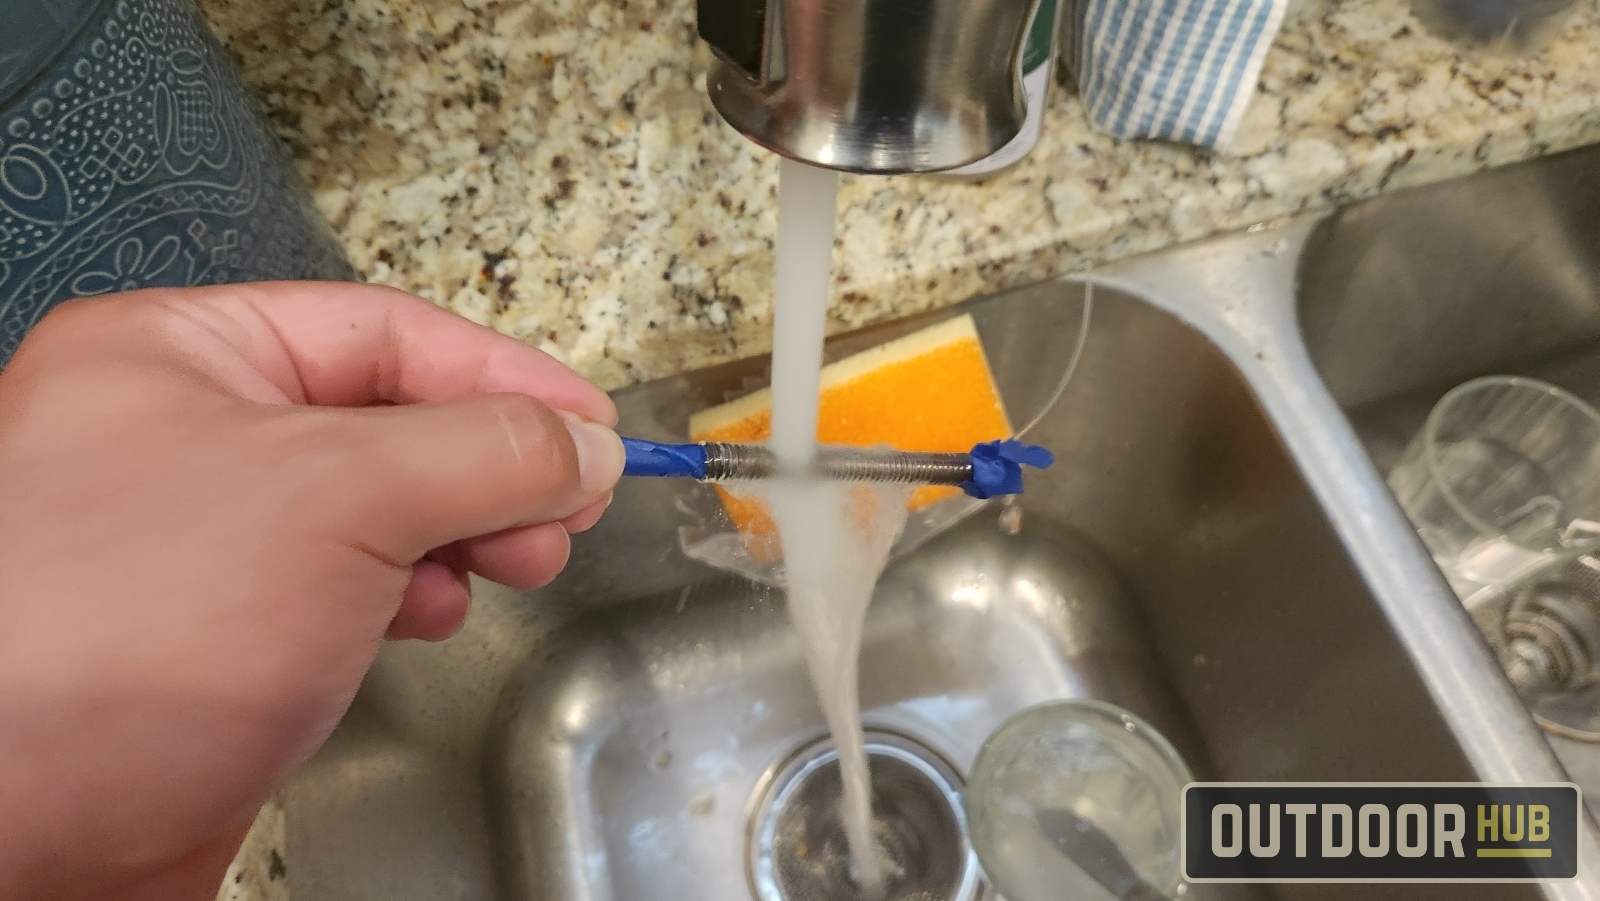
After pouring all the boiling water over the taped-up and coiled monofilament, cool down the line using some cold water. You want to make sure the line is cold before you take the tape off the line/rod. Once the whole length of monofilament is cold to the touch you can take the tape off and remove it from the rod/bolt.
Now you have a nice and tight spring of monofilament line to act as the base of your tool lanyard.
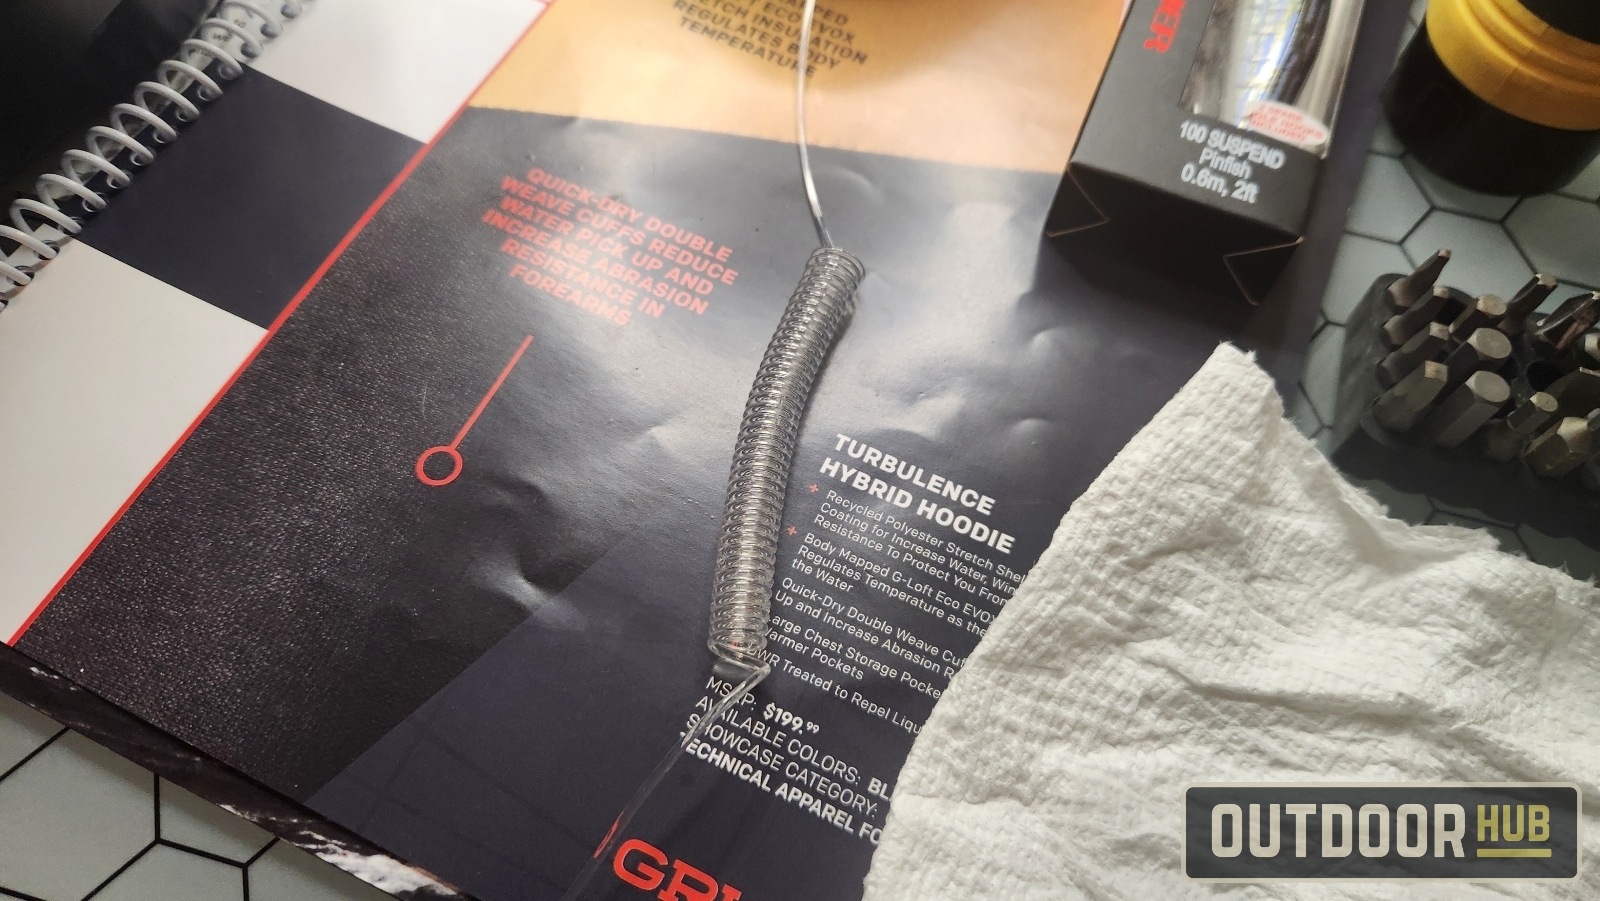
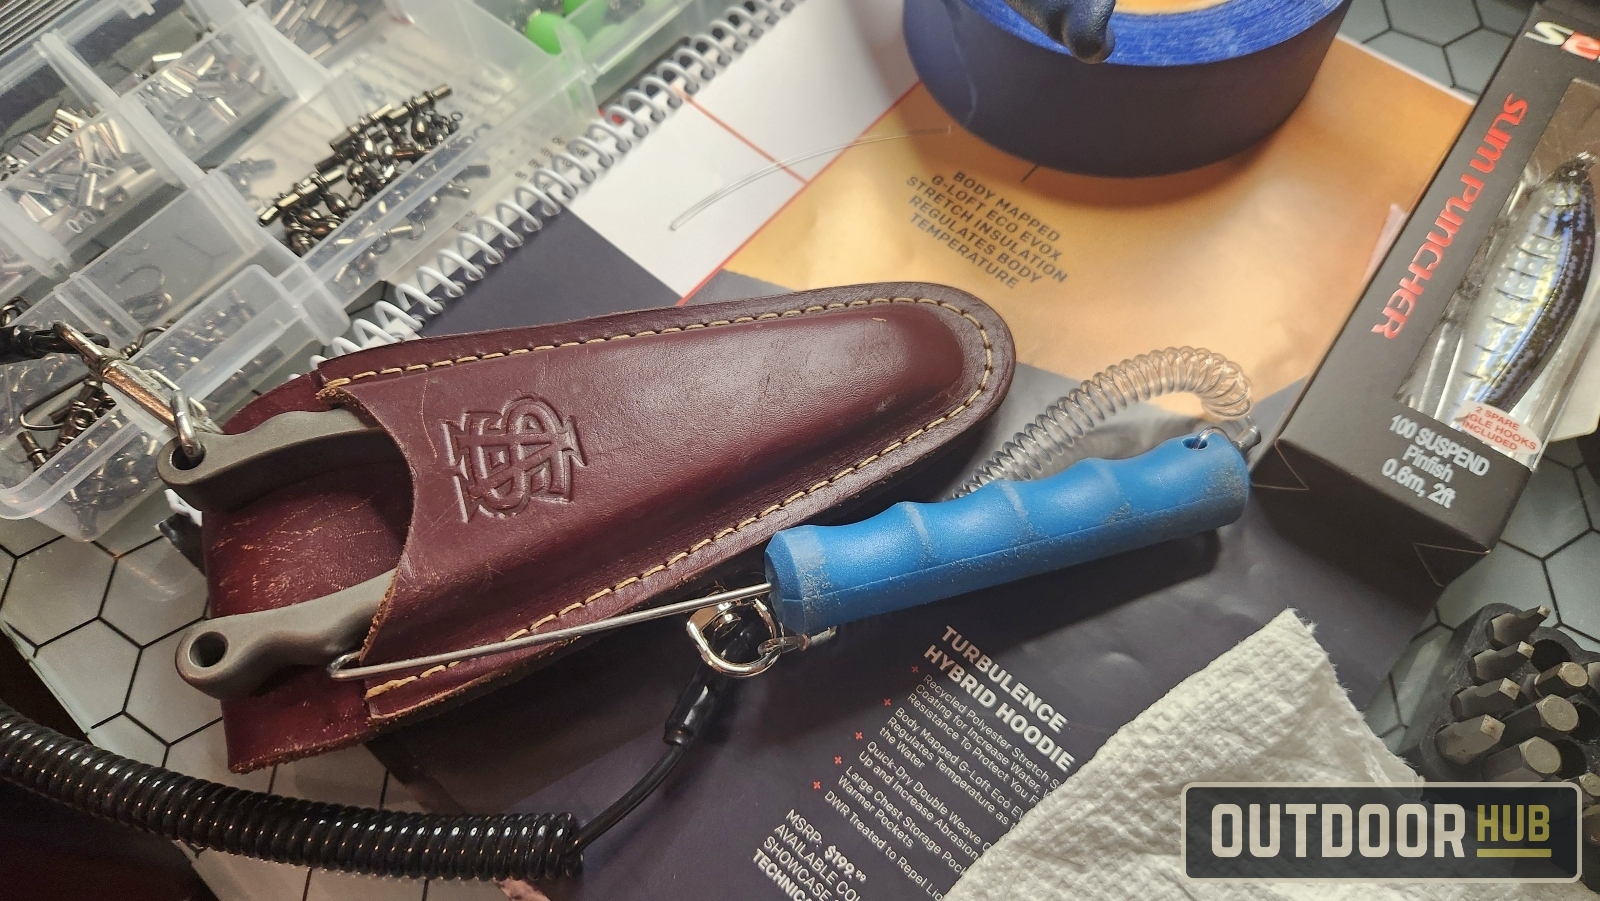
Now it is time to assemble the lanyard, I had some cheap bolt snaps for 50 cents a piece at Walmart in the toolbox for projects like these. If you don’t have bolt snaps available, snap swivels work just as well and might even hold up better over time to the salt. The Danco bait dehooker is just an old one I had rolling around but often forgot like I did on my snapper trip in Destin last time. I drilled a small hole into the handle to run the monofilament line in.
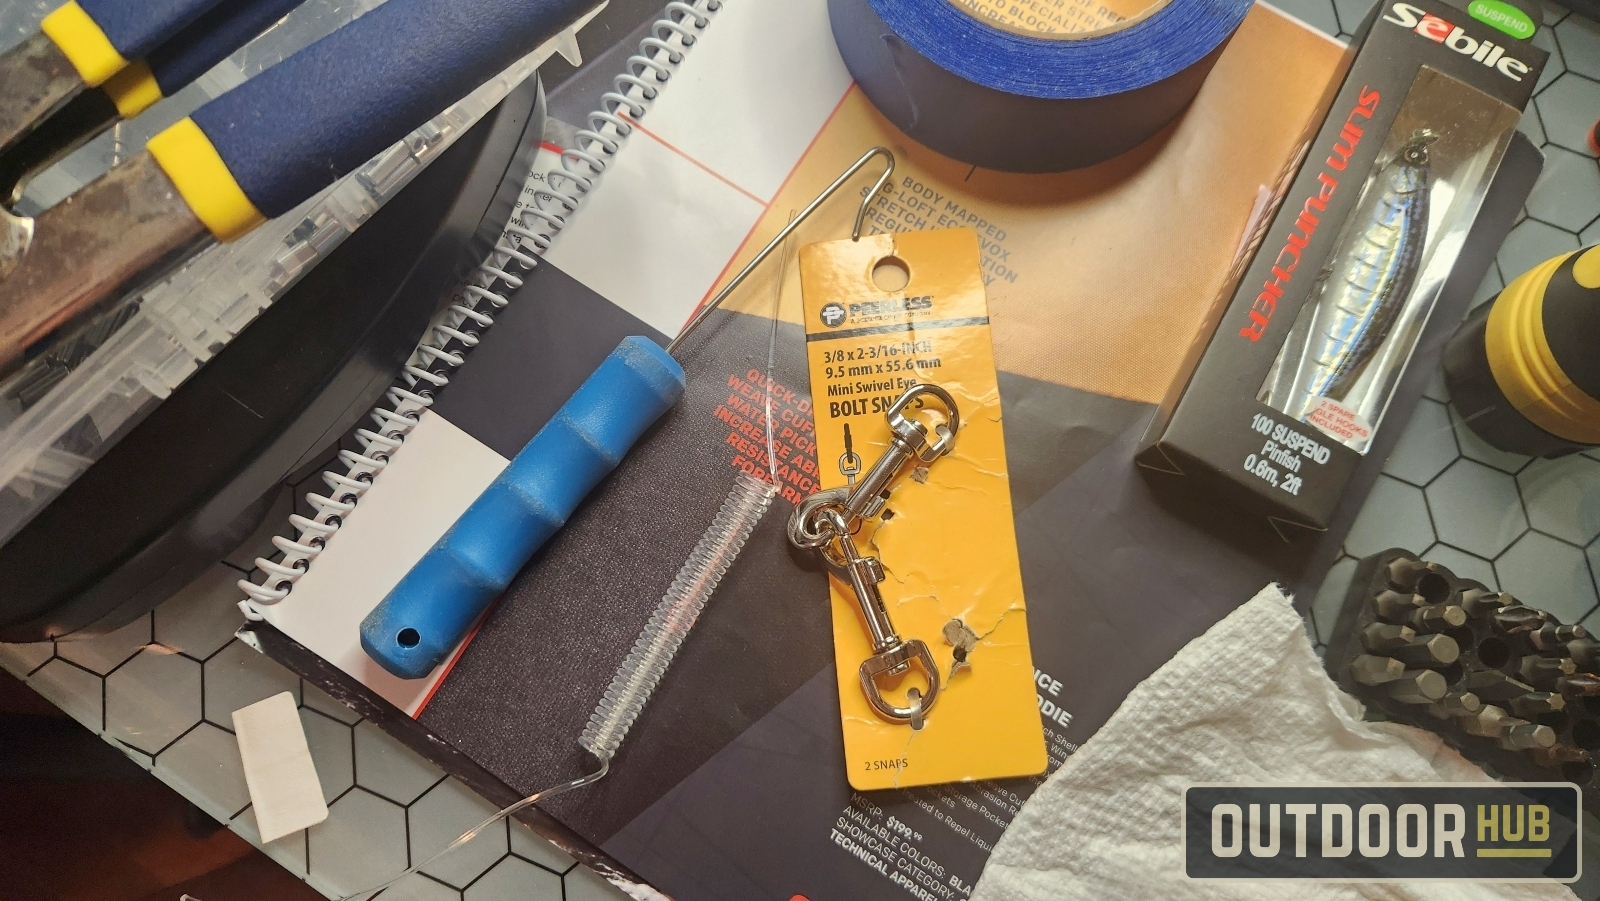
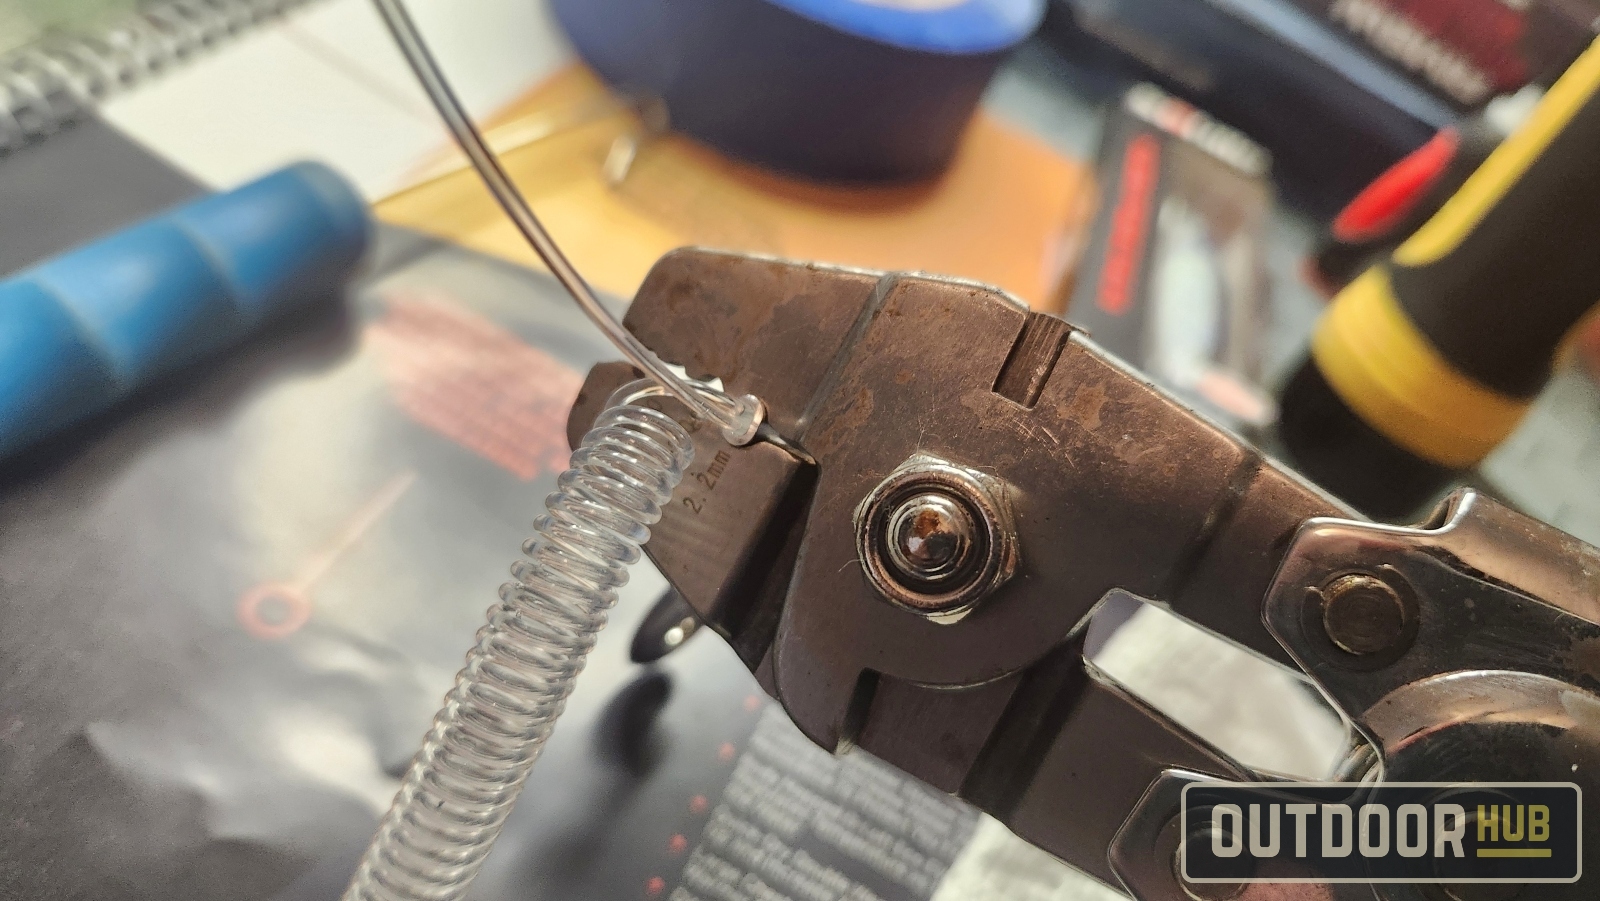
Get your appropriate-sized crimps and put them on both tag ends of the tool lanyard line.
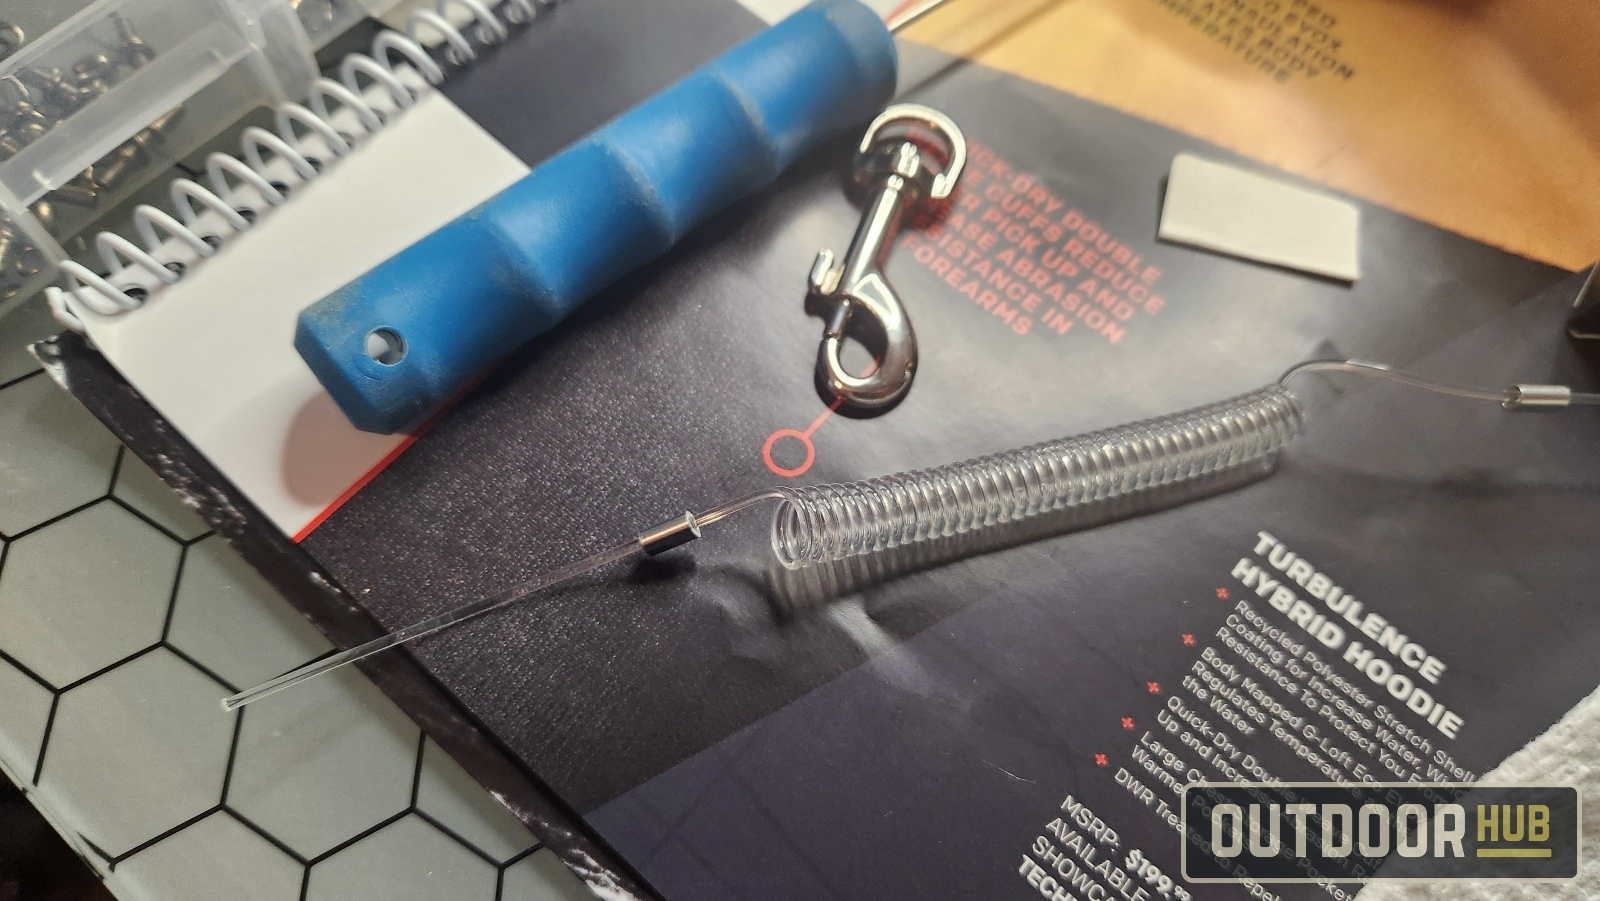
Then attach the bolt snap by running the tag of monofilament through the loop and back into the line crimp. You want to snug it down close but still leave a bit of space to let the bolt snap to be able to move freely.
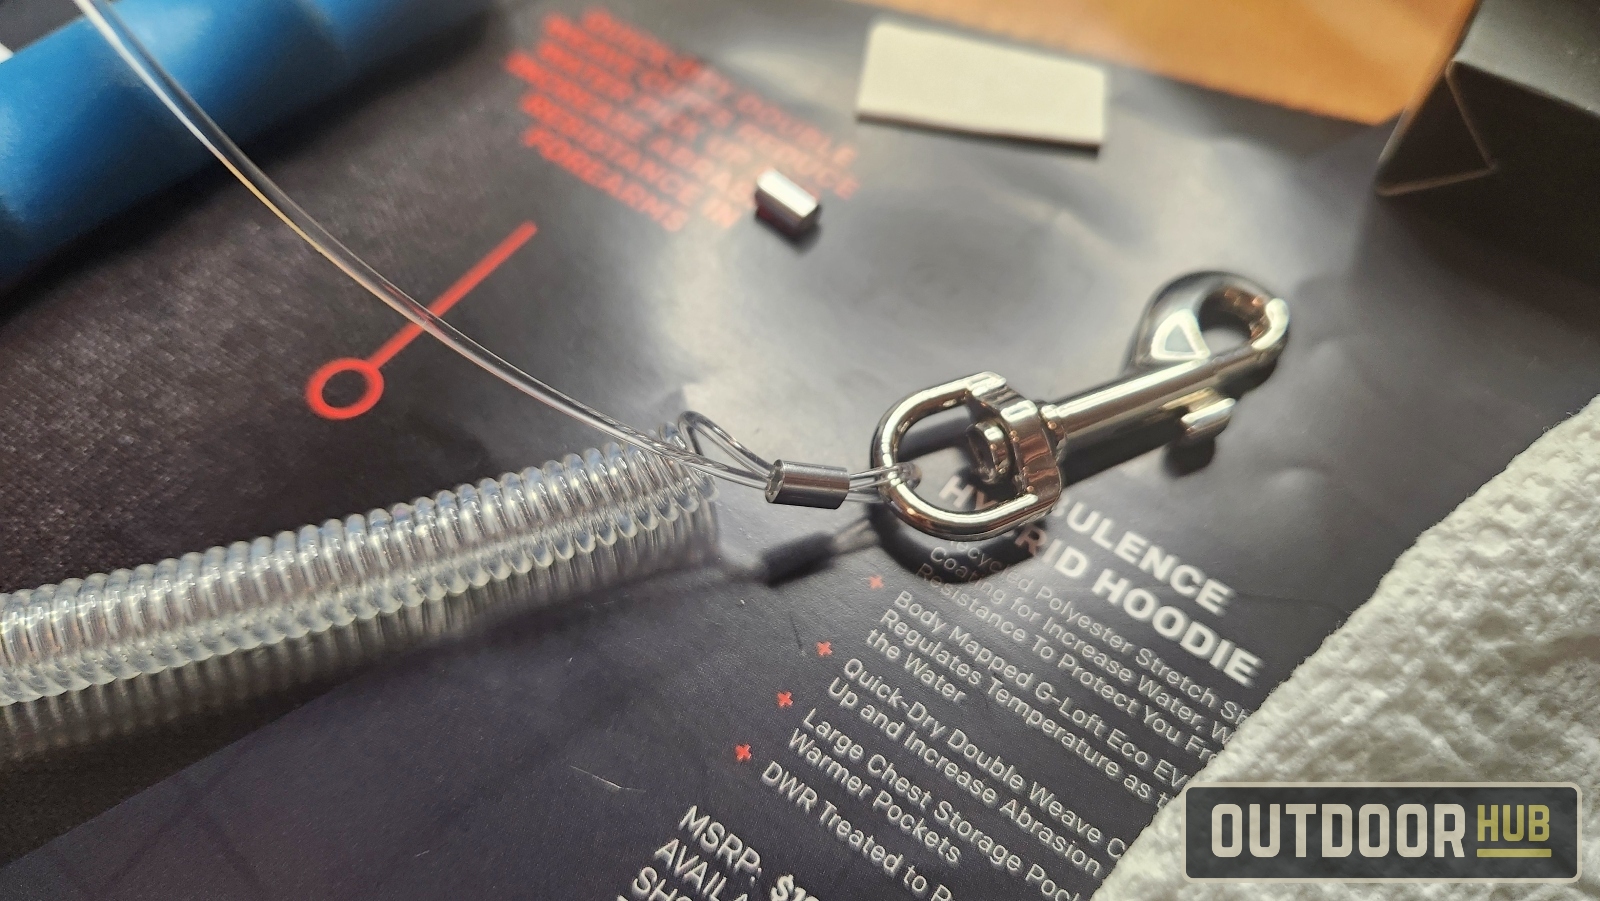
Then take your crimping pliers and place the crimp in the appropriate size crimping spot. Make sure the crimp has material extending out of both sides of the plier jaws. You don’t want to push the edge of the crimp into the monofilament. This will weaken and cut into the monofilament. Once the first side of the tool lanyard is crimped, just repeat the steps for the other side. You can attach the tool like I did, or you can attach another bolt snap or snap swivel, It’s up to you.
Heres the finished product, a dehooker that I won’t be able to lose. I clipped the bolt snap onto the back of my plier sheath, you can just attach it to your belt loop if you don’t have a sheath. That way you never have to go looking for a dehooker while swinging around a sabiki rig loaded with bait. This project pretty much costs you nothing if you already have heavy monofilament and offshore leader-making materials.