The Flatirons Overland Attic Storage Net For 2nd & 3rd Gen (2005+) Tacoma: A Quick & Cost-Effective Interior Storage Mod – Install & Review
Are you tired of searching through that growing pile of gear in the backseat? Do you constantly need to clear space just to accommodate a rear passenger? That was me until I found the innovative attic storage net by Flatirons Overland.
Storage solutions can be a struggle for any overlander, especially those with trucks due to less cabin space. Flatirons Overland has designed its attic storage net for both the 2nd and 3rd Gen Tacoma to store many daily necessities and overland gear.
Find It Online
- Flatirons Overland Attic Storage Net (Tacoma): Check Price
Flatirons Overland Attic Storage Net
Overview

The Flatirons Overland attic storage net features a super simple design and installation. The net measures 12″L x 36″ W, perfectly sized for both the 2nd and 3rd Gen Tacomas.
The net is adjustable to suit your gear needs and features two rows for added strength. There’s also a pocket to separate items and better organize your gear. In the box, you get the Flatirons Overland Tacoma Attic Net, four headliner clips, and installation instructions.
I’ll add an installation video at the end of this post for reference as well.
Installation

Tools Needed:
If you do not already have a set of trim tools, I highly recommend getting one. The installation is possible without them, but I would advise against it as you’re likely to scratch and break trim pieces during removal. Not to mention, you’ll get frustrated without the proper tools.
Step 1. Prepare Your Net

Installation can be completed in 15 minutes. To start, find the pocket opening in the net. This side will face the front closest to the driver’s side.
You’ll also see the Flatirons Overland tag, which should be on the driver’s side face down. Next, I recommend unfolding the net and laying it across the rear seat.
Step 2. Attach Net To Grab Handle

Locate the plastic caps above your rear passenger handle. Grab your pick tool or other fine-pointed object and fold down the handle. Insert the point into one side of the cap and pull it toward you. Once there is a gap, put your fingernail or another pick in to hold the gap. Then, use your pick to pull the other side out to remove the cap.
Now, grab needle nose pliers and squeeze both the top and bottom of the hinge retaining clip while pulling towards you to disengage the handle assembly from the headliner. Take the front corner of the attic net and place the loop around the hinge and reinsert the retaining clip and cap. Repeats this process on the passenger side until the two front loops of the attic net are secure.
Step 3. Mount Headliner Clips

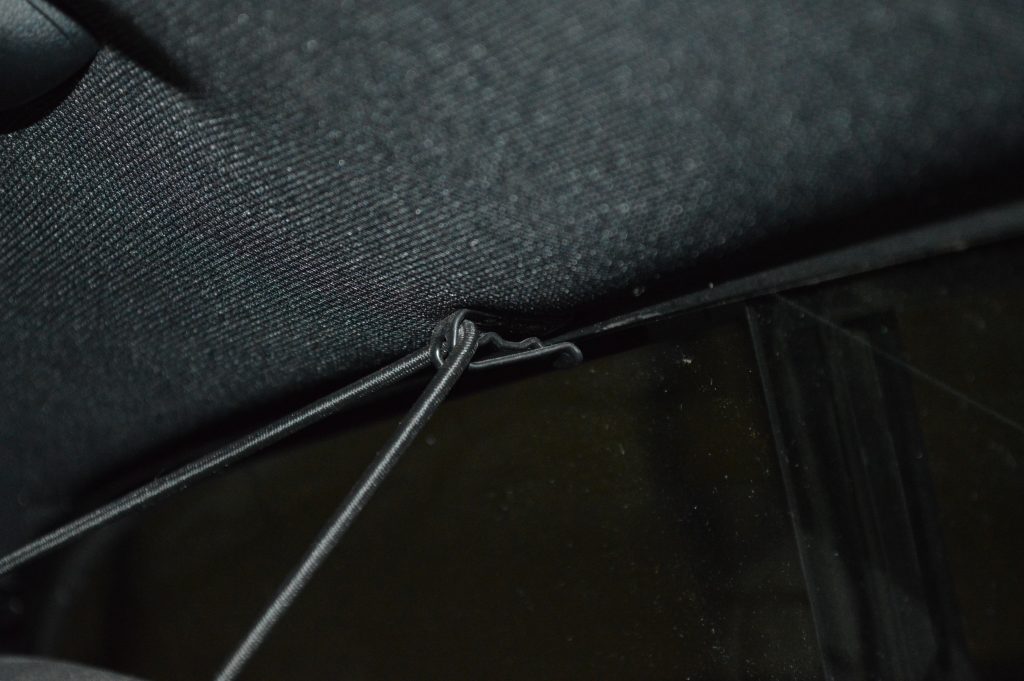
Once this is done, grab the included headliner clips and locate where the headliner meets the rear window. Using one of your curved panel tools, carefully pry the headliner away from the window. Next, slip the larger end of the clip onto the end of the headliner.

Space the clips out so that they are even on both sides: two on the very end and two in the middle so that the weight in the attic net will be evenly dispersed.
Step 4. Attach Net To Headliner

Once all four clips are installed, take the two back corners of the attic net and attach them to the two clips on the ends. This will ensure the net is not lopsided when you hook the net to the middle two clips.
New Quick Release Straps

If you often have tall passengers, Flatirons Overland has now upgraded the kit to include two quick-release straps shown above. Simply wrap the Velcro around the passenger grab handles and use the carabiner end to clip to the attic net.
Note: This option will decrease the net’s payload slightly. However, it’s incredibly convenient to be able to quickly take the net up and down to fit your needs.

While not intended by the manufacturer, I like to use these clips in addition to the in-handle mounts to add tension and prevent sagging when I have heavier loads.
Final Thoughts

Overall, this attic net is well worth its weight in gold. I love using it for easy access for snacks on the trail, to store extra jackets, and is the perfect place to put your hats in so they don’t get squashed. I don’t recommend putting heavier items in the net as this will wear the elastic out over time.
Depending on the amount and weight of the items you put in the net, you may experience some “droop” that obstructs the view out of the rear window. This droop may also be a result of improper installation. However, I’ve got a bed rack that blocks my rear window anyways.
At the time of writing, I have had this storage net installed for a little under a year and it’s held up great
YouTube Install Video
