To make it, you only need five pantry staple ingredients: flour, salt, sugar, yeast, olive oil (and a pinch of patience). I’ll admit: Despite having a culinary degree, making bread is something I don’t do regularly; it tends to feel like a cumbersome task that requires way too much planning and anticipation. (And those close to me know that patience isn’t exactly my virtue—I prefer to whip together a tasty meal à la minute.)
That said, my sheer obsession with bread made it enticing enough to try this recipe out, and boy, was it worth it. This focaccia bread recipe takes no longer than twoish hours to make and is absolutely dee-licious. Will I make it again? Plain and simple: YES.
How to make a mini loaf pan focaccia with just five pantry staple ingredients
Making a freshly baked loaf of bread is unquestionably rewarding, but the idea of having to do so—and wait several hours in between rises—is usually enough to kill the fun… until now. The beauty of this mini loaf pan focaccia recipe (you can find the full recipe on The Practical Kitchen’s website) is that it doesn’t take long to make. It took me no more than a little over two hours, and the majority was hands-off. The key is that you’re working in small batches (hence the mini), making the whole process much quicker.
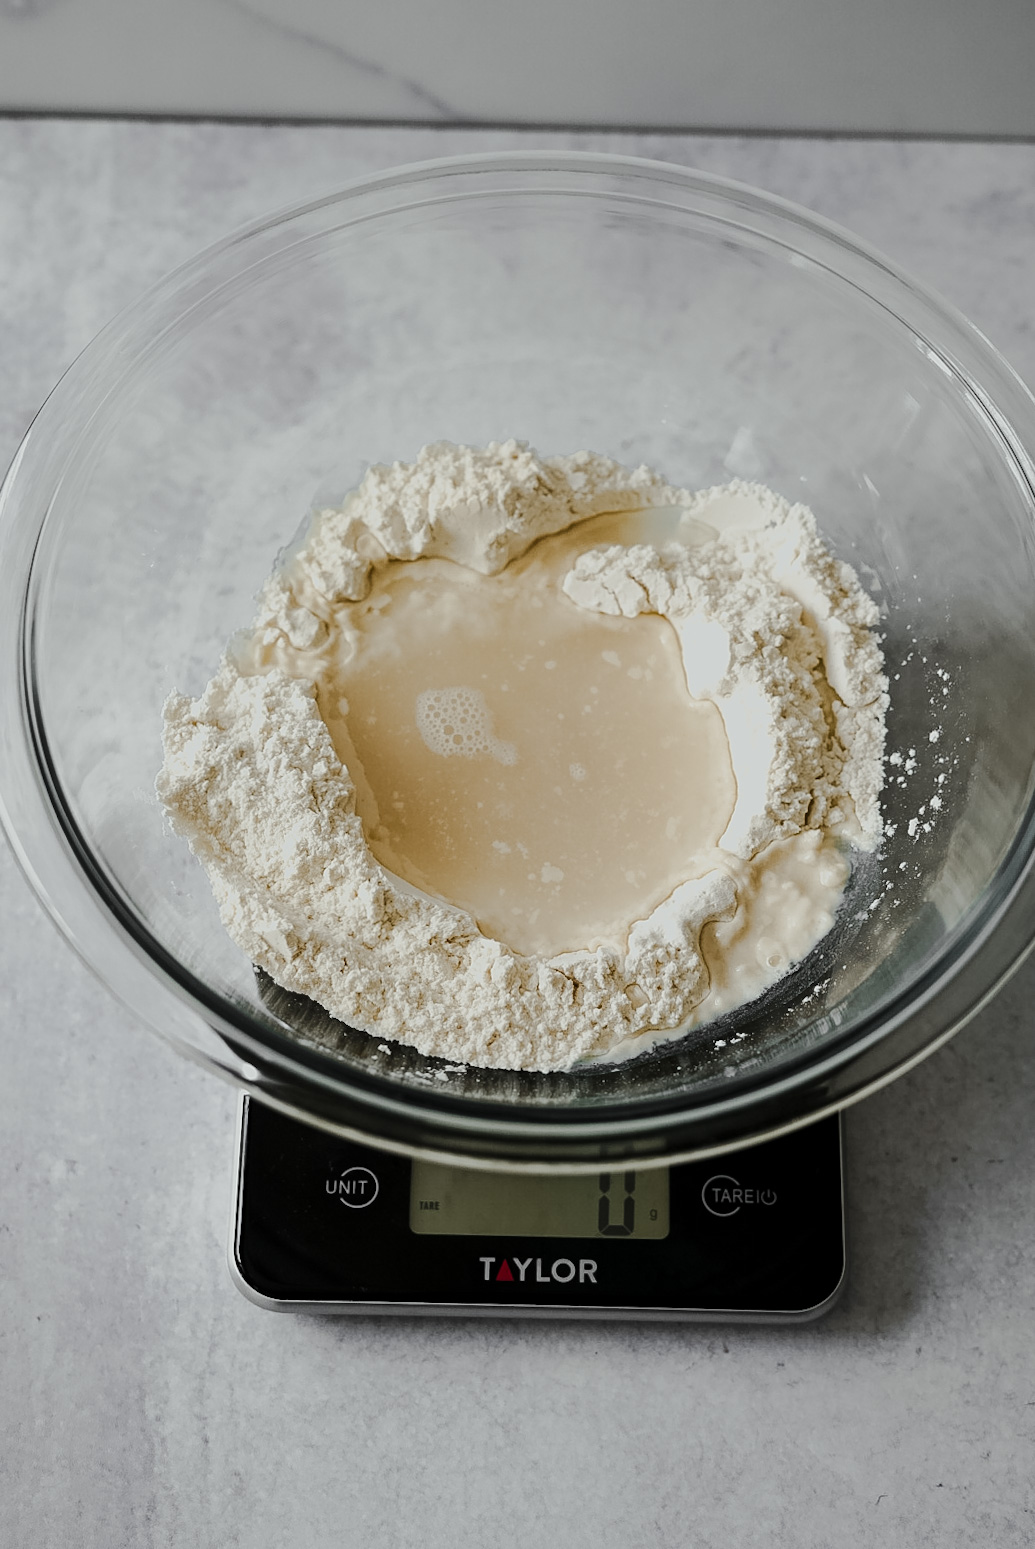
The first step is weighing out your ingredients. Pro tip: Use a food scale to make your measurements as precise as possible and spare yourself cleaning additional dirty utensils. In a small bowl placed on top of a scale, I measured 120 grams of all-purpose flour, five grams of salt, and five grams of sugar (using the tare feature in between to avoid having to do any sort of math). I gave the dry ingredients a quick stir and proceeded to form a small well in the center. Then, I added 90 grams of lukewarm water and three grams of dry active (instant) yeast and let it bloom (aka activate the yeast) for just about a minute. And lastly, I added 10 grams of olive oil on top of everything.

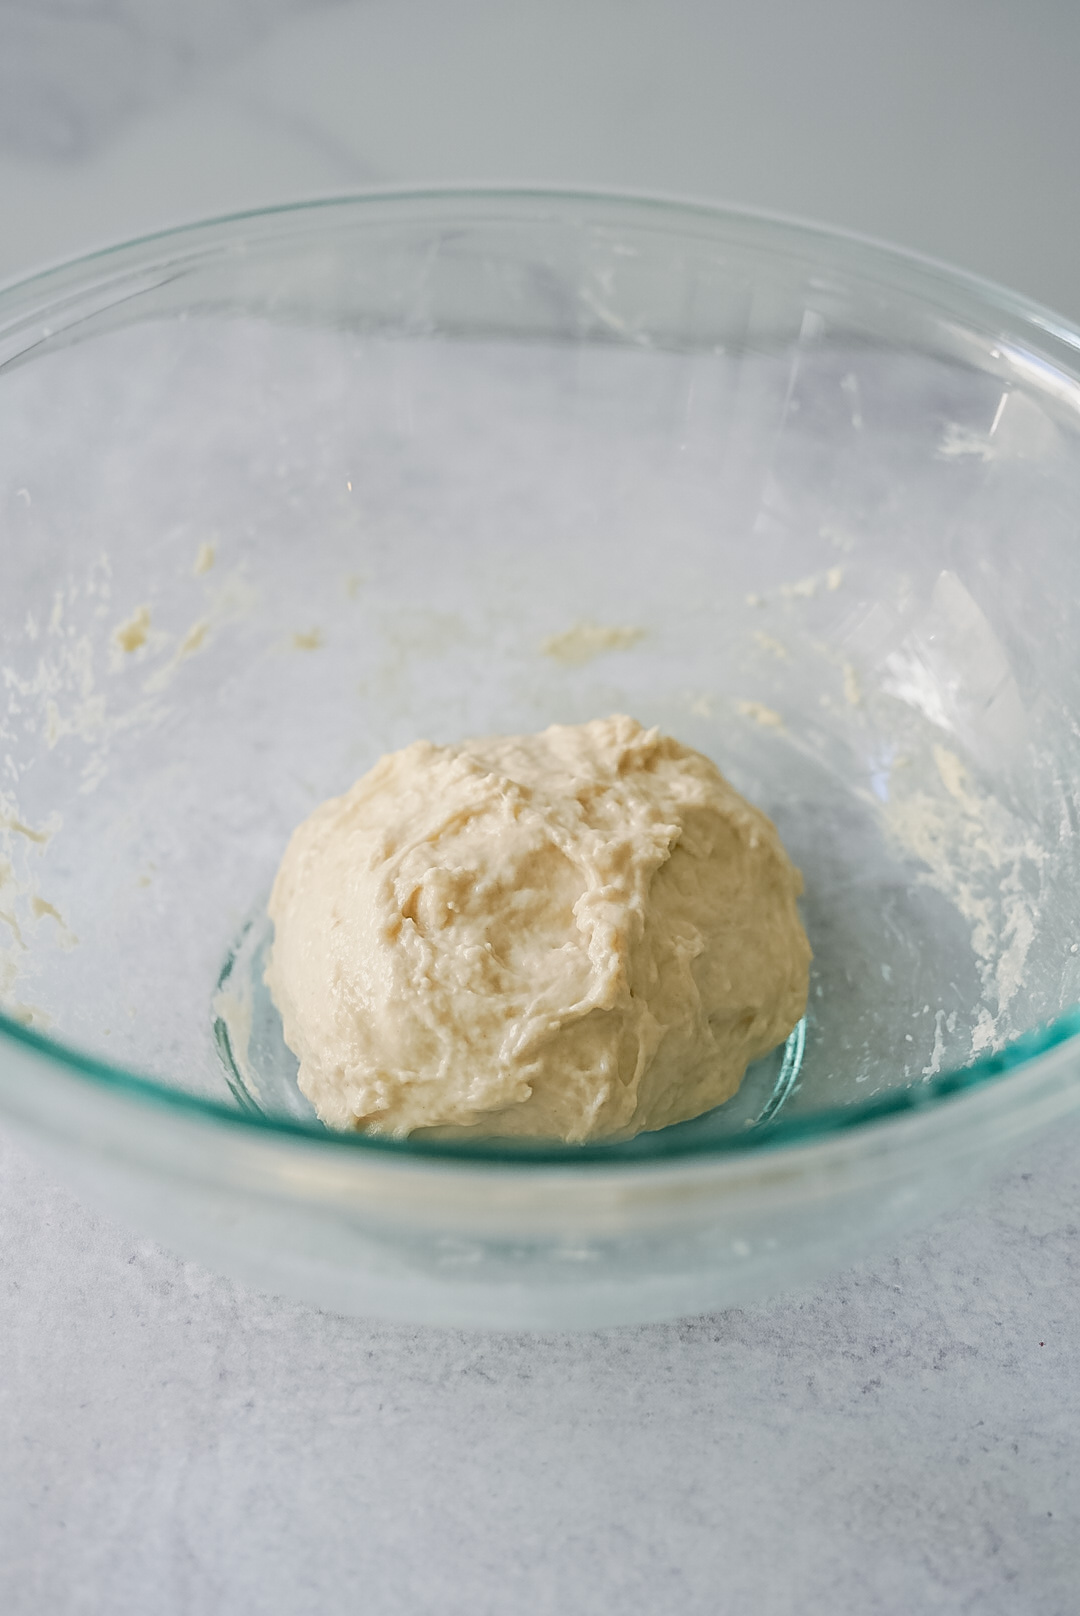
Up next, the fun part: mixing the dough. Using a spoon, I gently combined the ingredients until it formed a shaggy dough ball (it was pretty sticky). At that point, I switched to using a bowl scraper to collect any leftover bits from the sides until it formed a more unified and lump-free ball. I covered it with a clean kitchen towel and let it sit and rise for 15 minutes.
After waiting, I performed a version of the classic baking technique: slap-and-fold. I dampened my hand with water and scooped the dough into my palm, then slapped it down into the bowl and folded it away from my body, repeating the process about six times to help strengthen the gluten in the dough. Then, I covered it with a towel and let it rest for an additional 15 minutes. (And repeated this step one more time.) But after the second time, instead of covering the dough again, I transferred it into a mini loaf pan that I had previously greased with a generous amount of olive oil (roughly a tablespoon or two).

I shaped the dough in the pan with greased fingers, pressing it into the edges though it would retract once I let go (which is normal). After this, I let it sit for an hour (covered) and waited until it about doubled in size, which made it further expand into the edges. Once ready, I drizzled more olive oil on top and dimpled the surface using my fingertips, pushing the edges to fill the corners as best as possible. I then added a sprinkle of Italian seasoning and flaky sea salt for flavor overtop before baking it at 400°F for about 25 minutes.

After 25 minutes, I noticed that the bottom was browning far quicker than the top—though it was cooked all the way through. To prevent it from burning on the bottom, I switched the oven to the broiler setting, and keeping a close eye, I cooked the loaf for a few minutes longer until the top turned golden brown. Once ready, I removed it from the pan and let it cool for about 15 minutes before eating.
Why I’m officially obsessed with this mini loaf pan focaccia recipe
The TL; DR? This focaccia recipe is virtually foolproof and ideal for bakers at any level of experience. It’s beyond easy to make and calls for ingredients you likely already have on hand. Plus, the portion size is perfect for a quick snack.
Also important: The best part about eating bread is when it’s warm, steamy, and fresh out of the oven, right? The focaccia recipes I’ve made in the past yield large quantities—like a half-sheet pan and bigger. Meaning that by the time I get around to eating the last pieces, it’s likely lost its freshly-baked quality and can even start to get stale. However, a mini loaf this size guarantees that it’ll be gone before you know it.
Find the full recipe on The Practical Kitchen’s website.
The easiest (and most delicious) banana bread recipe ever:
