
To understand the Alberto knot, one must first understand the Albright knot. Invented more than half a century ago by famed Florida Keys fly fishing guide Jimmy Albright, the knot’s purpose was to join two pieces of line with different diameters. More critically, the connection point had to be neat and slim enough that it would easily slip through a fly rod’s guide without getting hung up. This was important when battling fish like tarpon, where it was common to taper a heavy leader down to a light leader to give small flies a natural presentation. The Albright is also the most popular knot for connecting thin Dacron backing to thick fly line. But the Alberto knot isn’t for fly fishing at all.
How to tie the Alberto knot.
As braided fishing line grew in popularity in the 1990s, it created a problem for noted Northeast surfcaster, “Crazy” Alberto Knie. Because it was so thin and slick, splicing it to heavier monofilament or fluorocarbon leader was risky. Knots would often slip under the tension of a heavy striped bass. His solution was a simple modification to the Albright.
Read Next: The Best Saltwater Fishing Rods, Tested and Reviewed
Whereas the wraps in an Albright only go one direction before the knot is cinched tight, Knie began wrapping once down the leader, then back up with equal turns. When tightened, the thin braided line closed similarly to a Chinese finger trap, squeezing down on the leader so hard that slippage would not occur.
When to Use the Alberto Knot
Of course, the Alberto knot isn’t the best choice for connecting any two lines together. To maintain strength, you must be using thin braided line and a leader significantly thicker than that braid. As an example, it’s perfect for connecting 30-pound braid to 50-pound leader. It looks complex but it’s actually very simple to master, so if you need a knot you can trust to handle heavy-hitter fish, this is it.
How to Tie the Alberto Knot, Step-by-Step
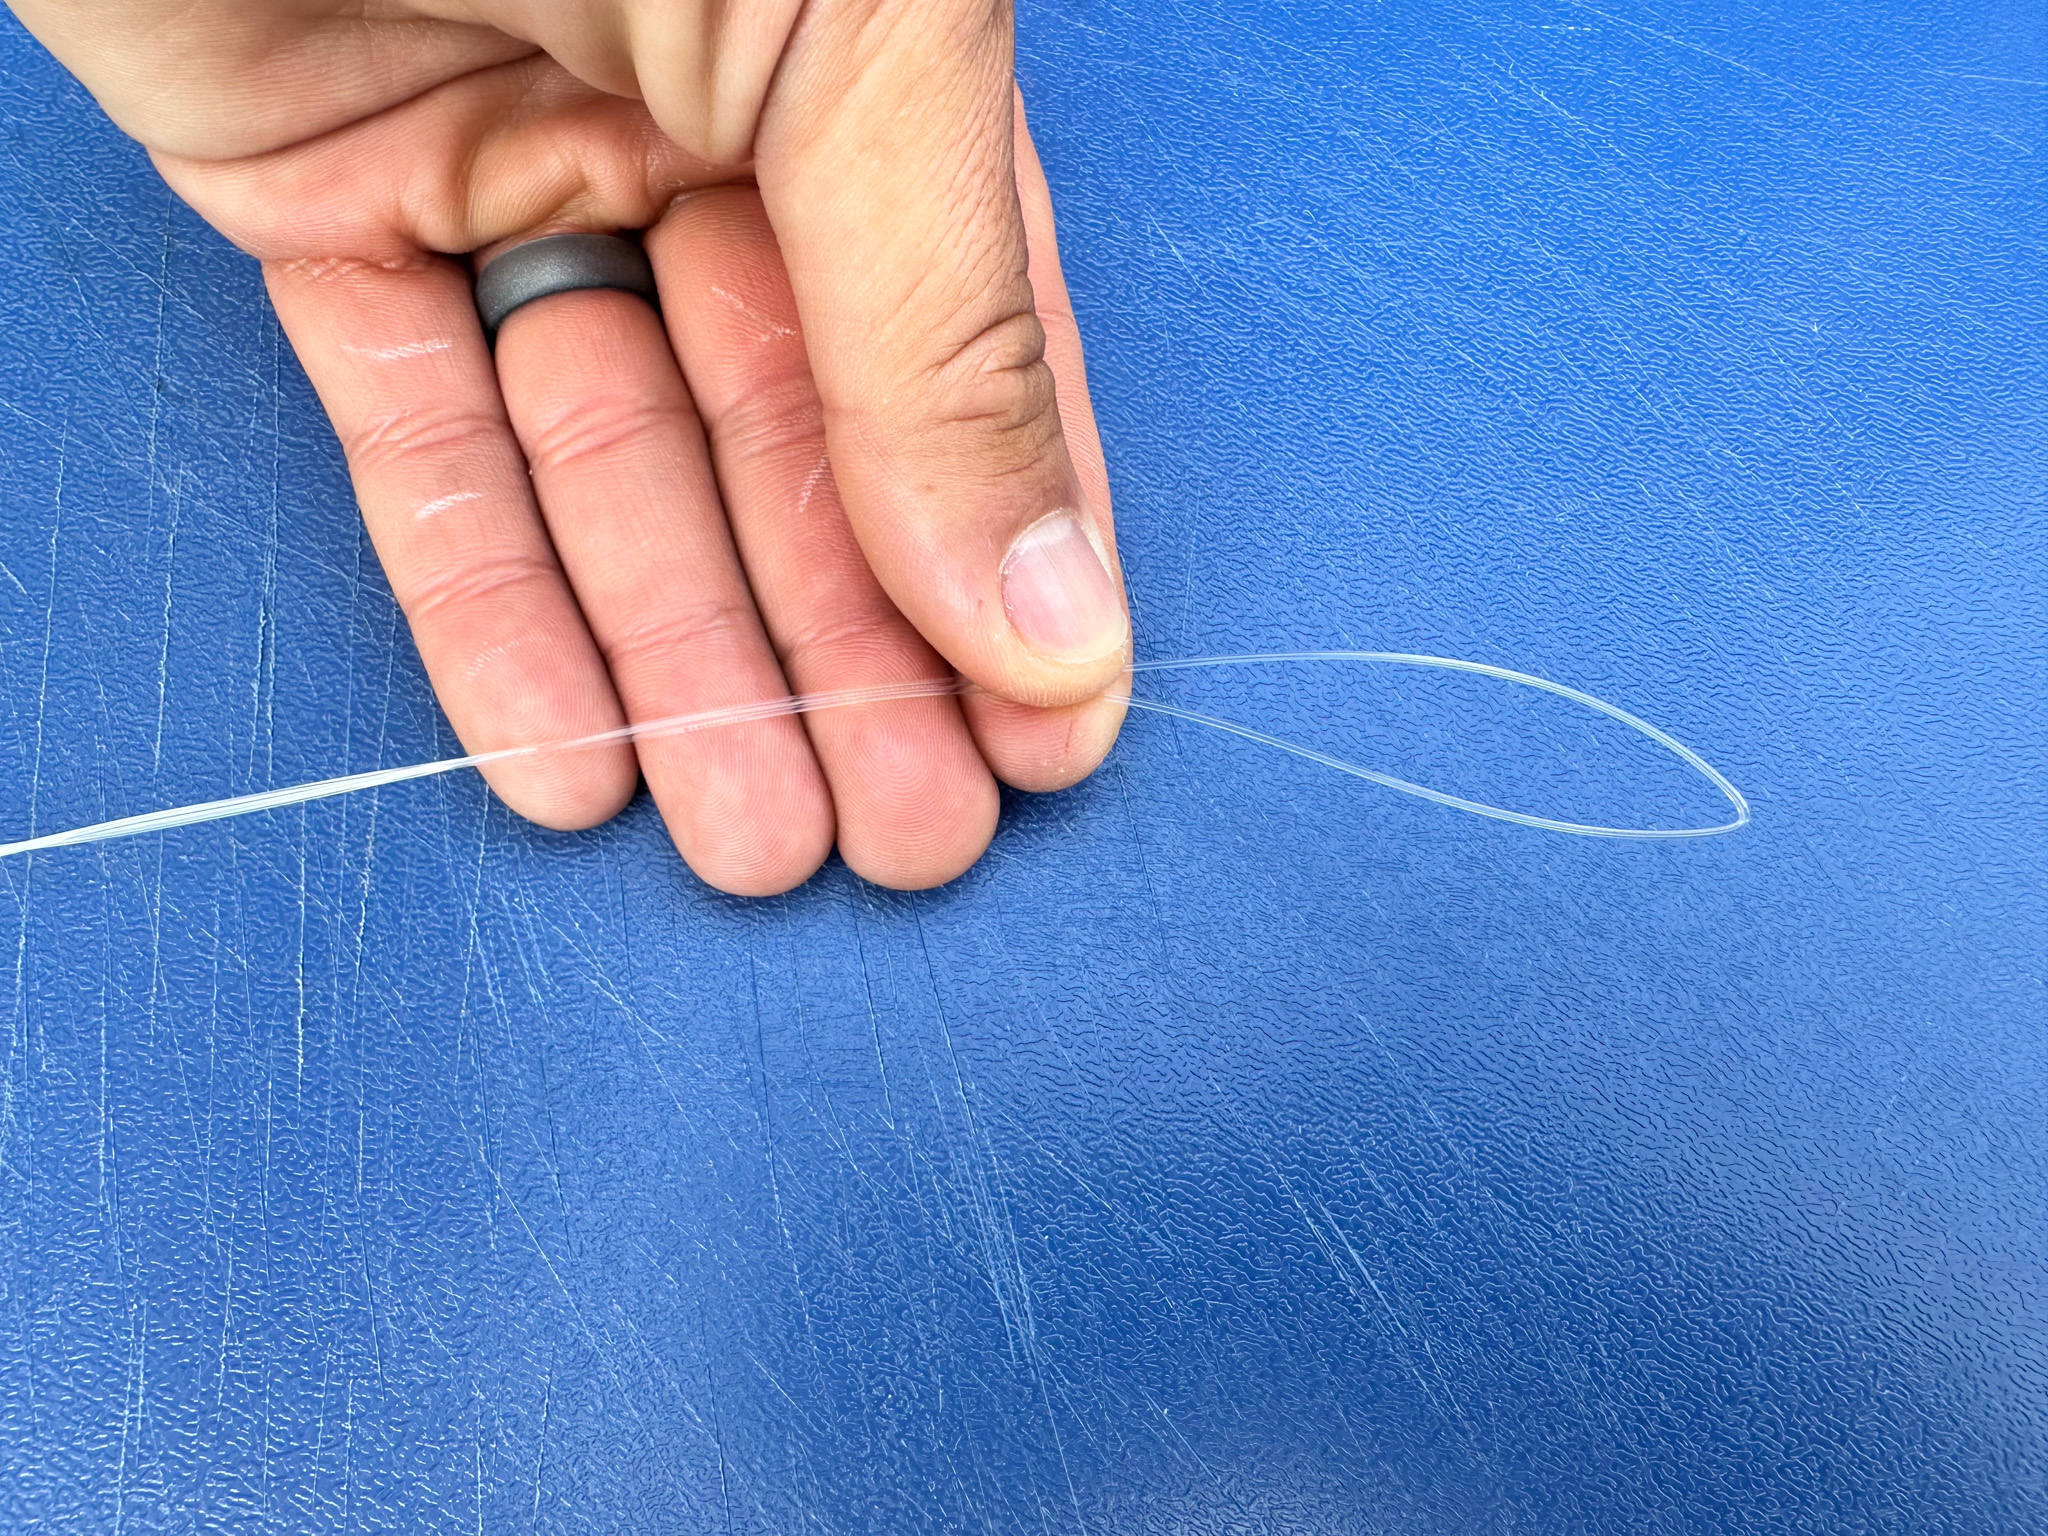
Photo by Joe Cermele
1. Start by doubling the end of your leader. Make sure you create a significant tag end of approximately 6 to 8 inches. If you don’t double the leader over far enough, you could have trouble completing the necessary turns in the next steps.
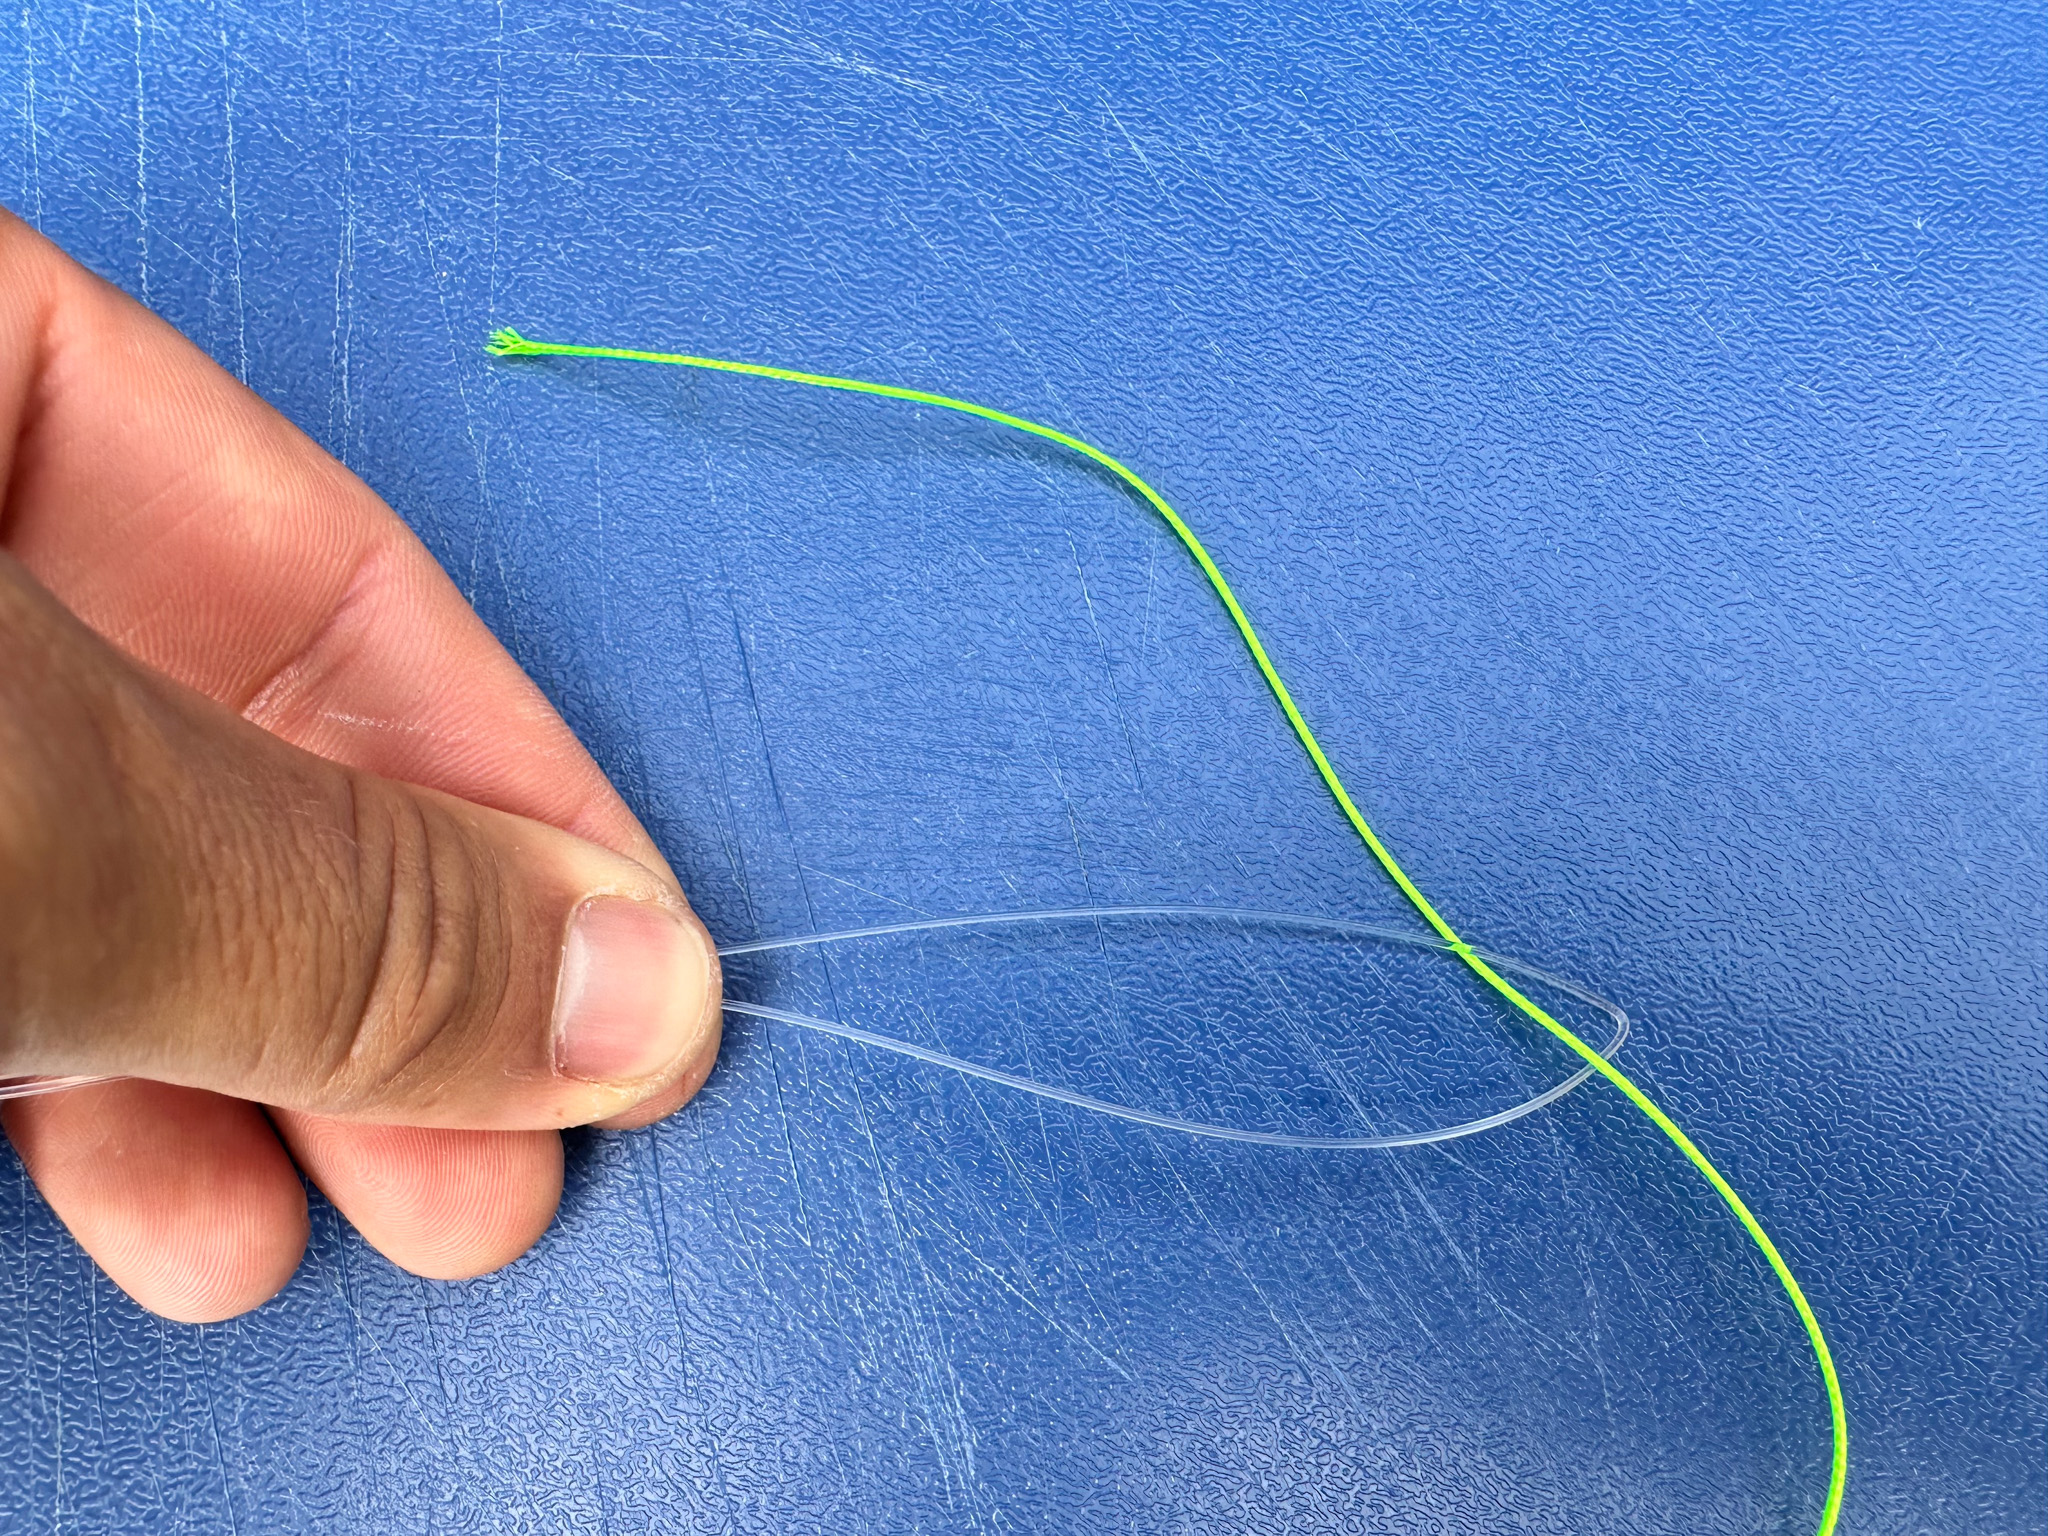
Photo by Joe Cermele
2. While keeping the doubled leader pinched between your fingers, pass the end of the braided line up through the loop created at the end of the doubled leader. Make sure you pull 6 to 8 inches of braid through the loop so you have plenty to work with.
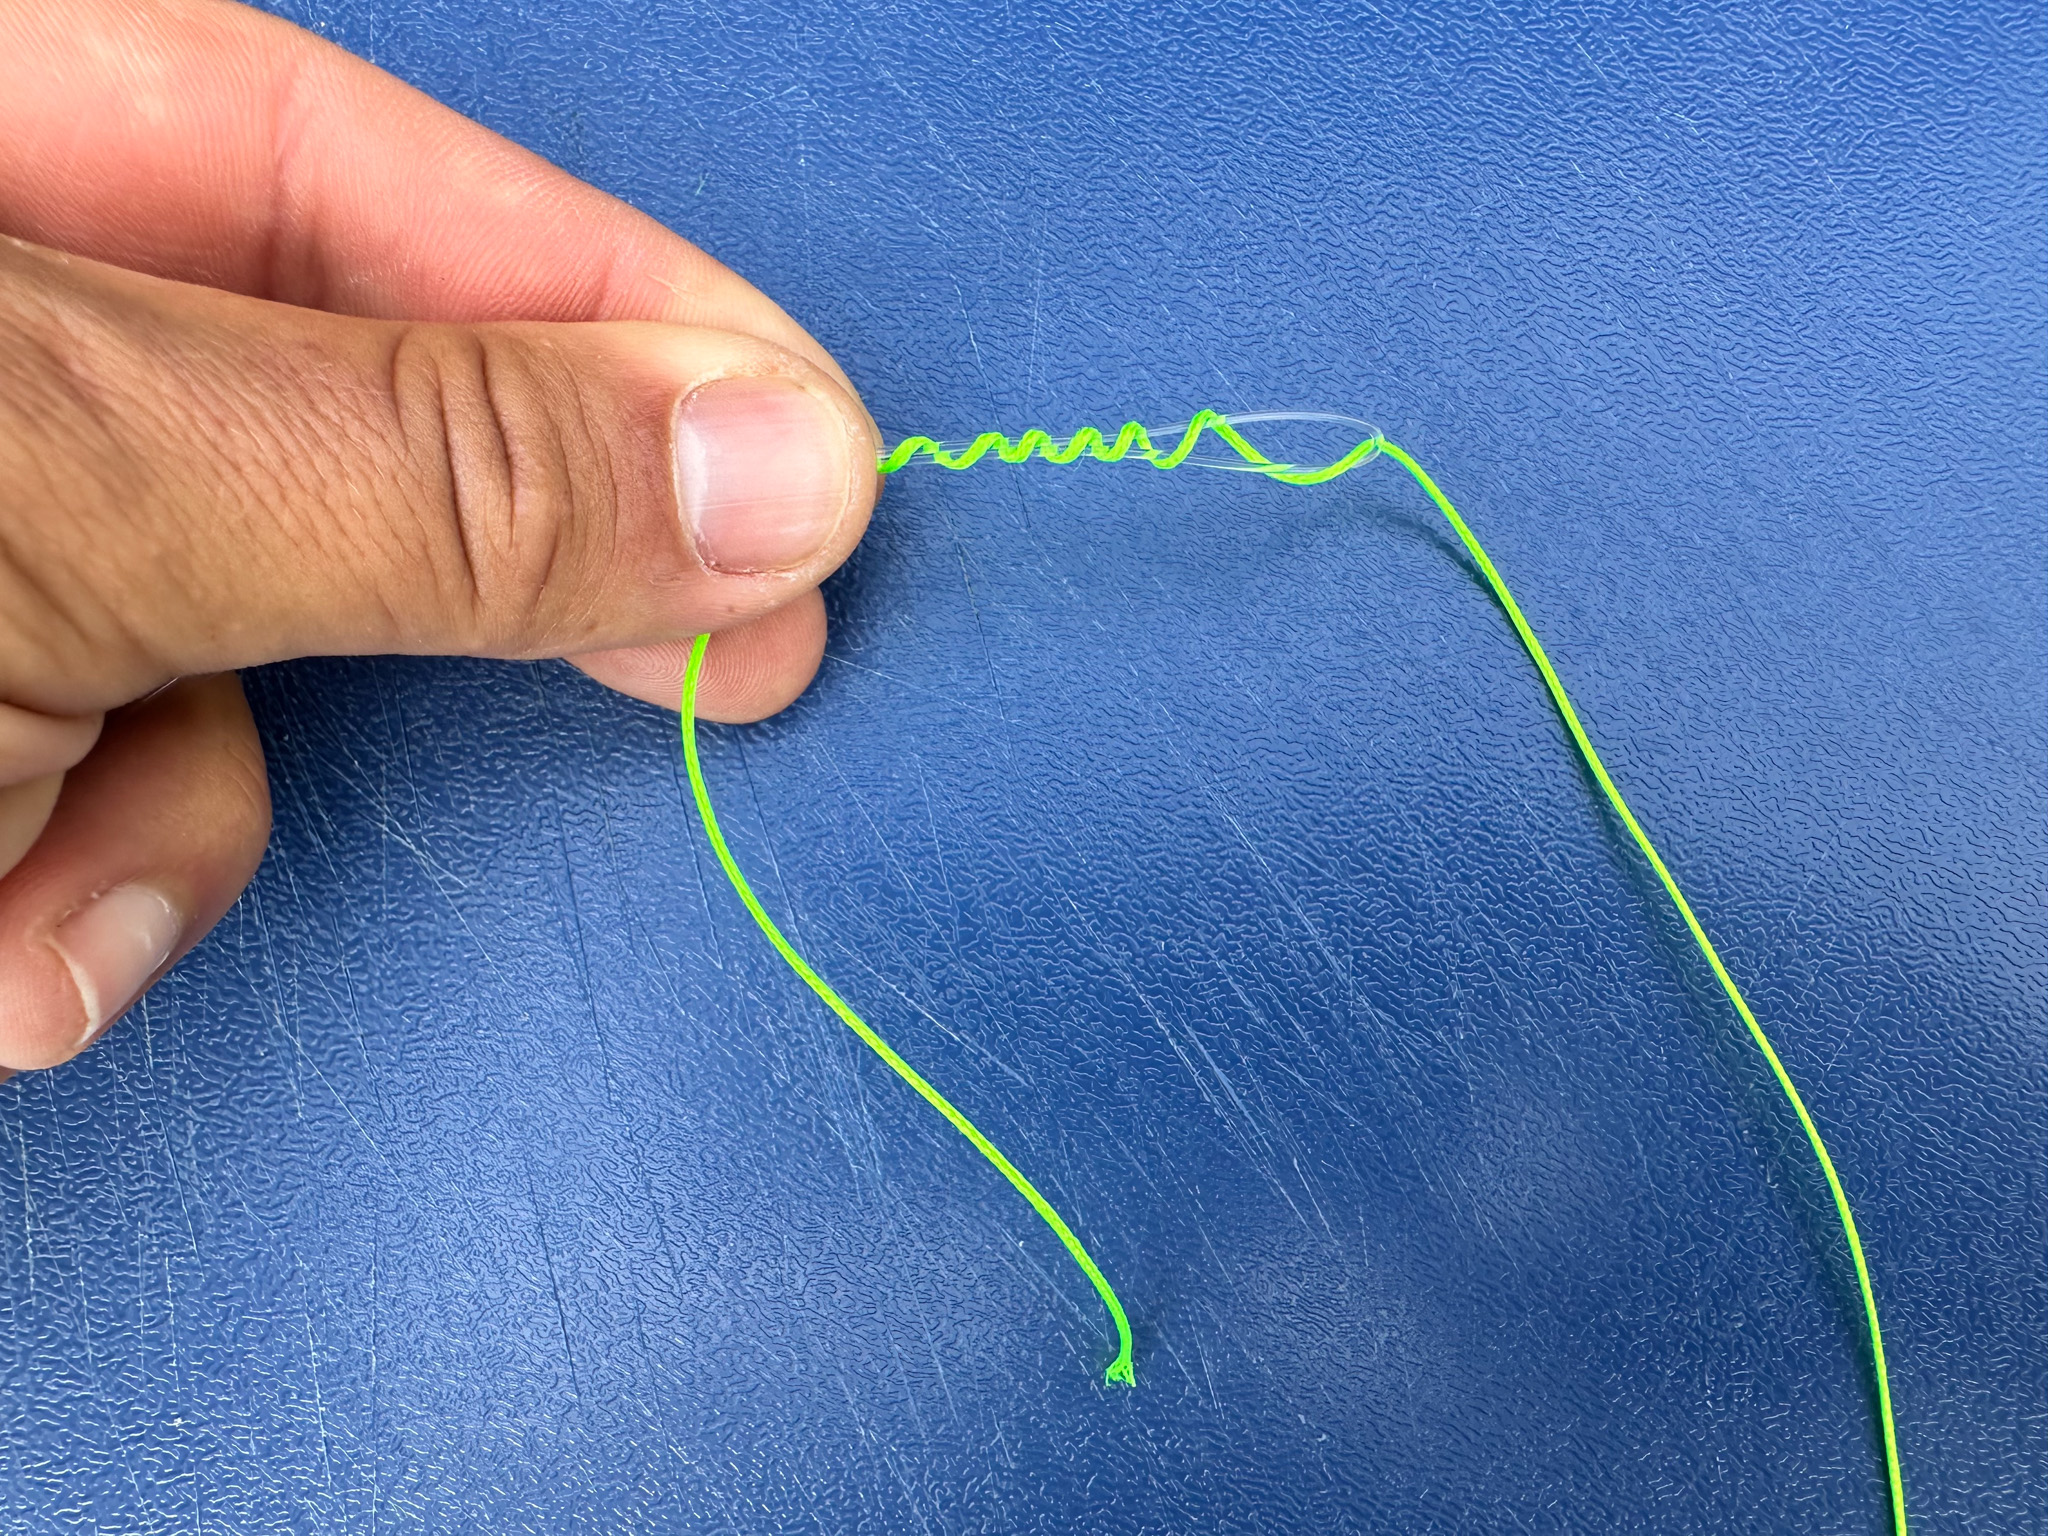
Photo by Joe Cermele
3. Now, wrap the braid around the doubled leader seven times, moving away from the end of the leader. After the seventh wrap, pinch the wraps in place.
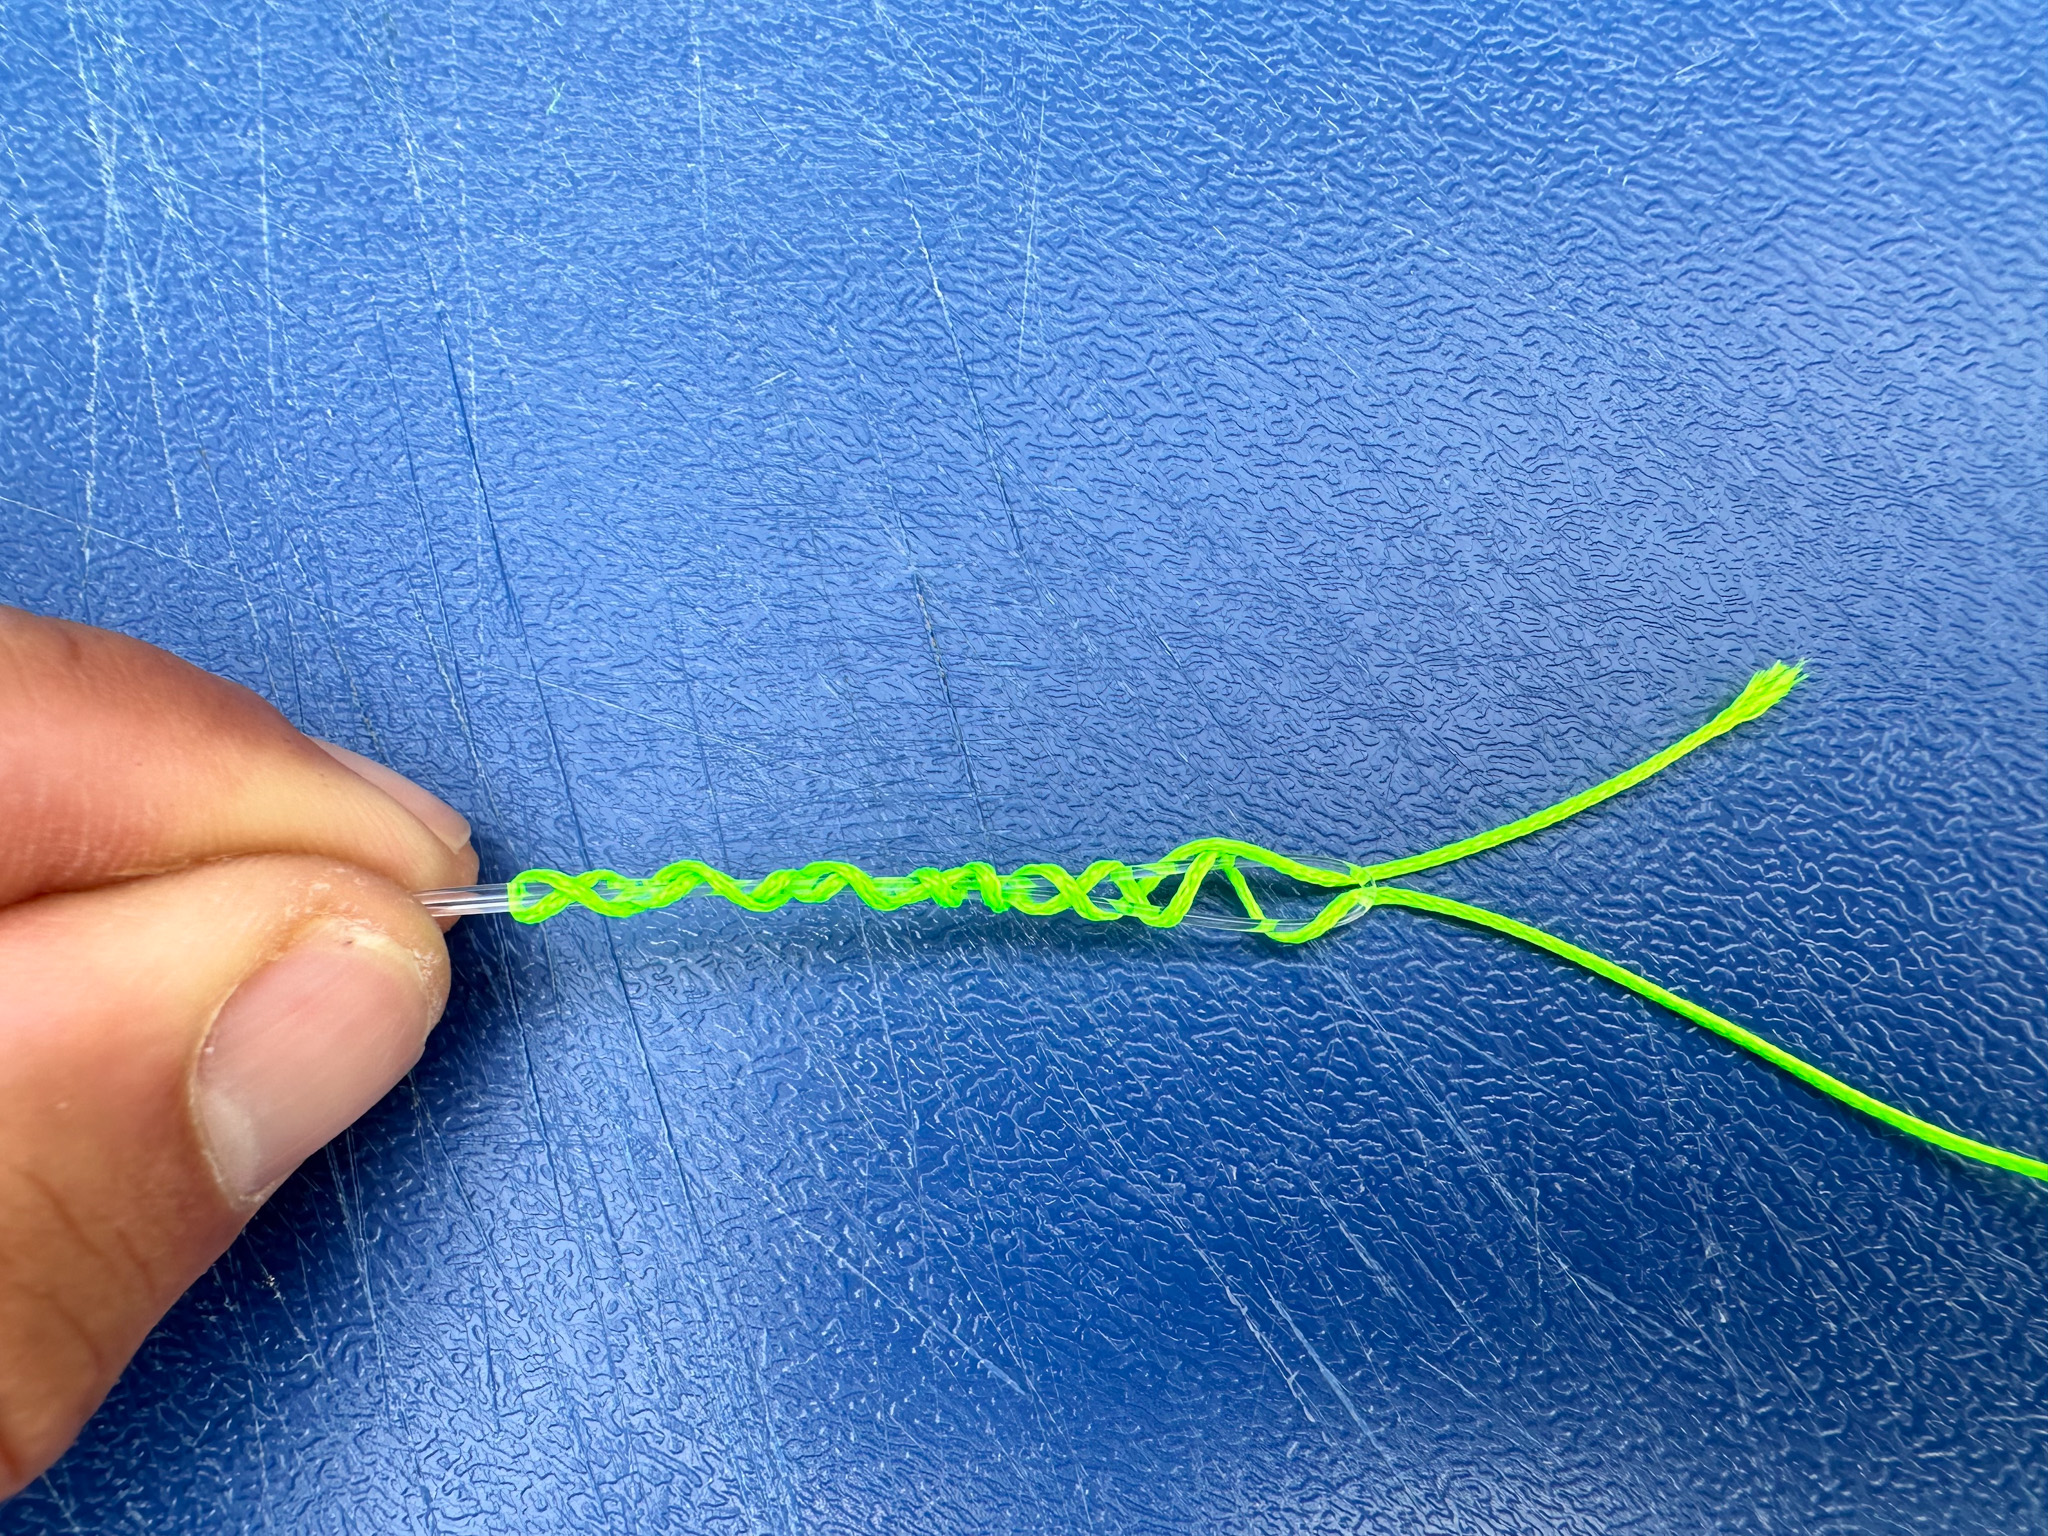
Photo by Joe Cermele
4. Next, take the remaining tag end and wrap it over the doubled leader seven more times, this time moving back toward the end of the doubled leader. Done correctly, this should create a crisscross pattern over the doubled leader. The most critical part of this step is making sure the tag end exits the loop at the end of the doubled leader from the same side it entered.
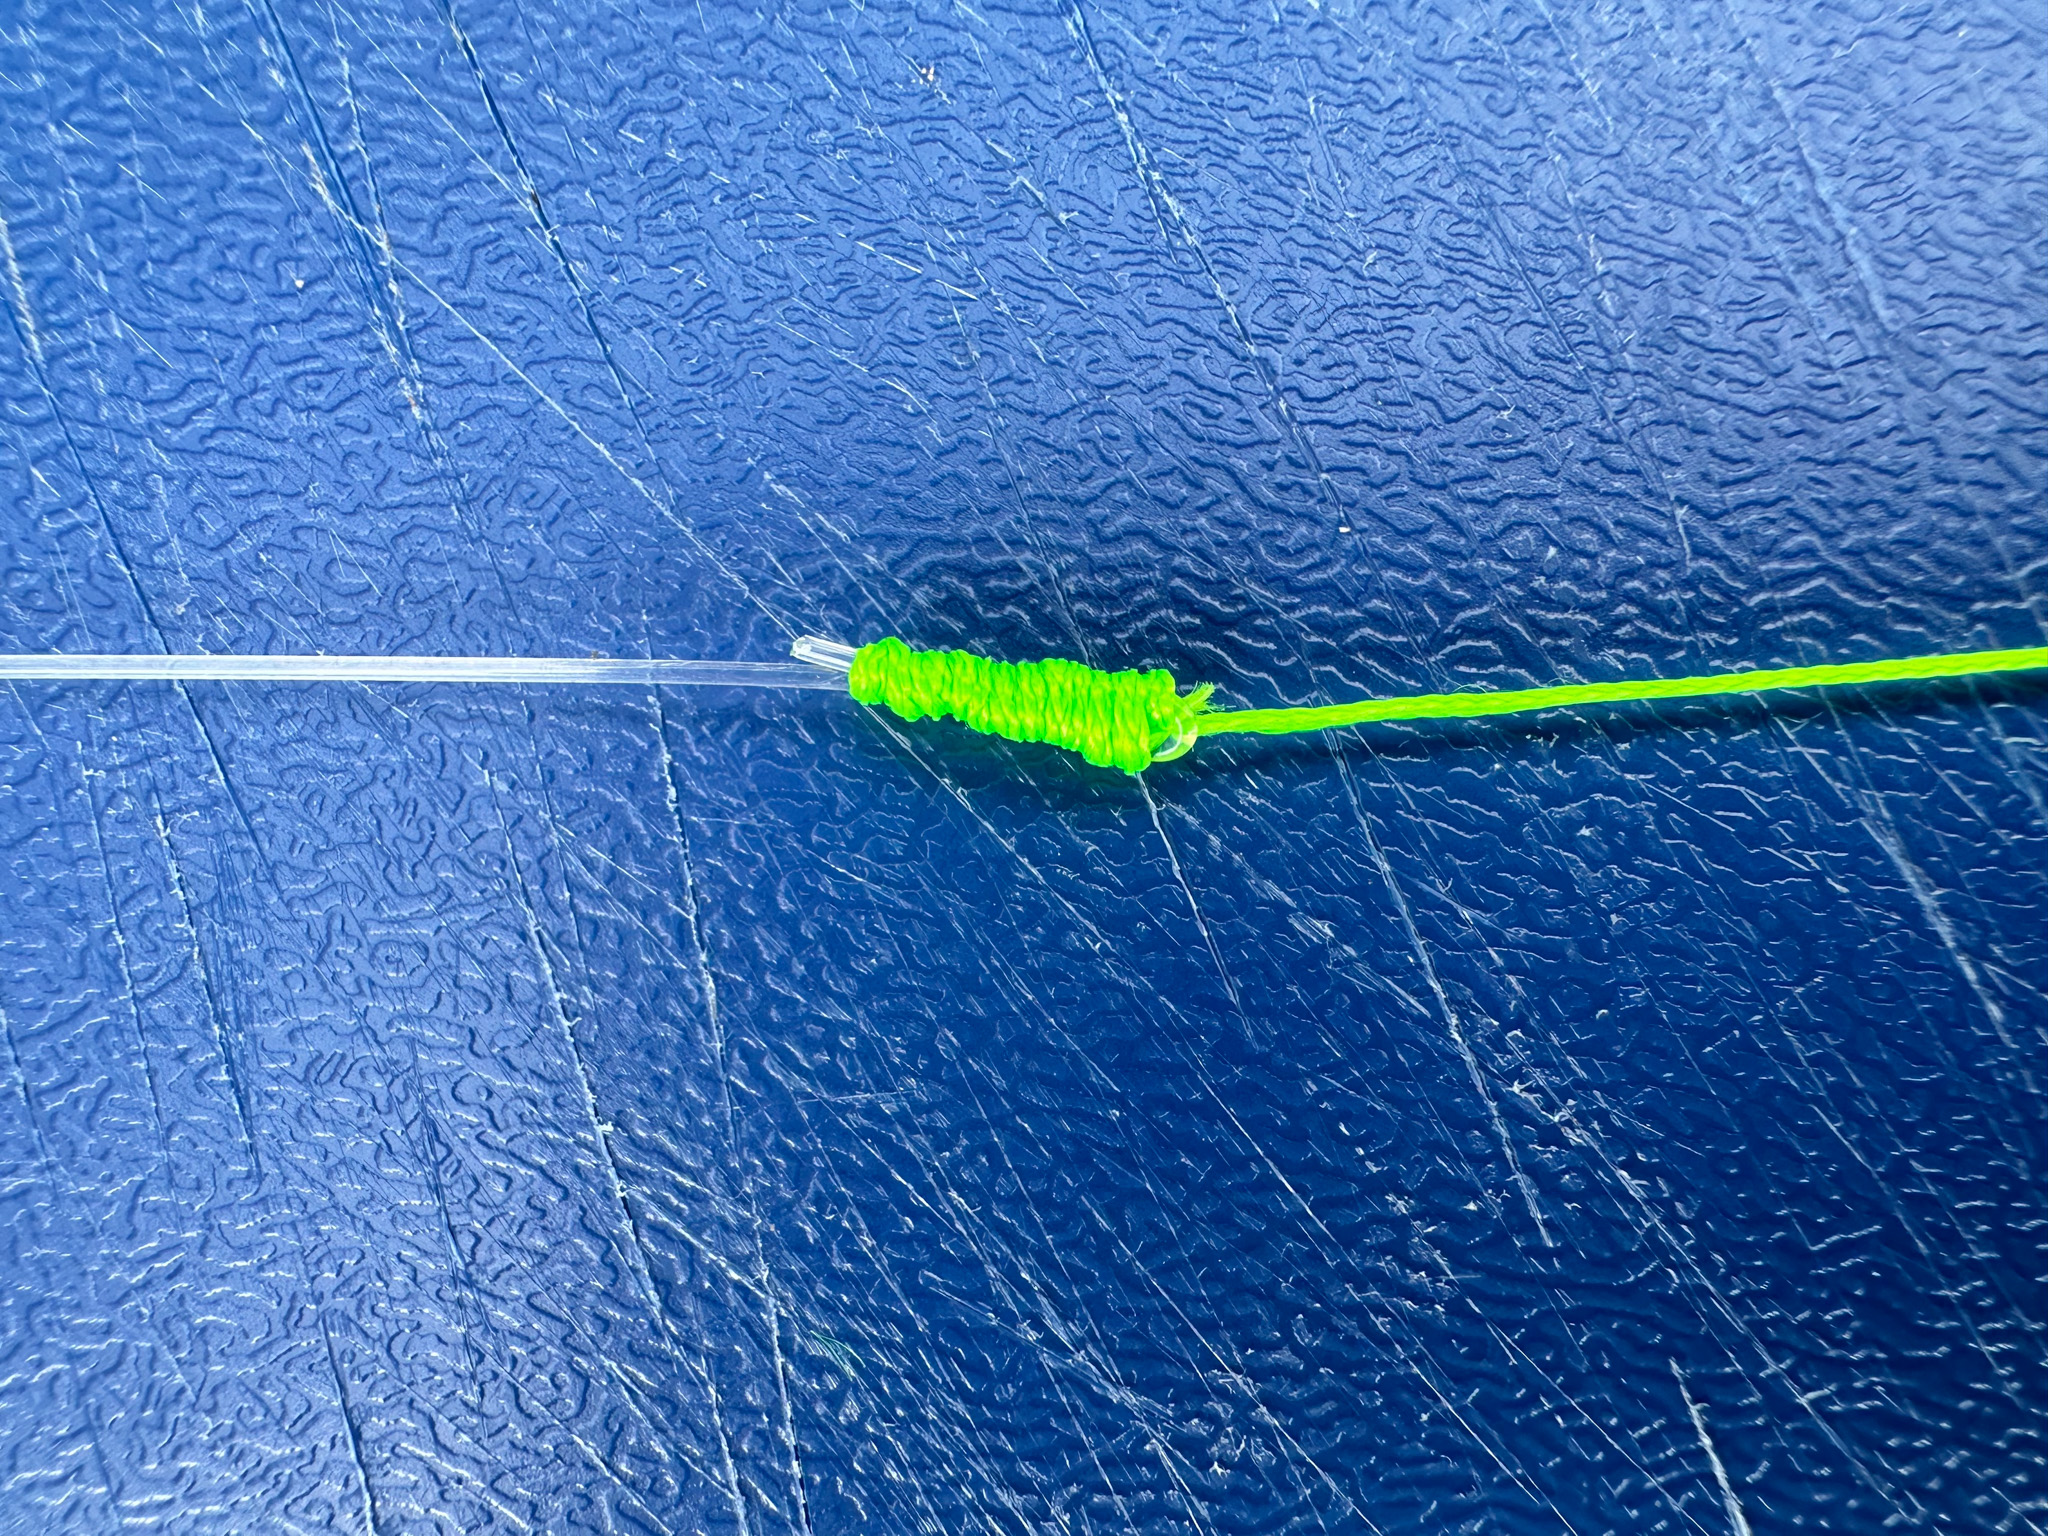
Photo by Joe Cermele
5. Pinch the braid tag and main line between your fingers and being pulling slowly. The wraps will begin to tighten over the doubled leader, but sometimes you need to pause and even them out with your fingertips. You may also need to help them advance forward as they form. Never try to cinch an Alberto knot quickly, because you want the wraps to tighten at the end of the doubled leader, not farther down. Once the wraps are pretty tight and positioned at the very end of the doubled leader, pull the braid and leader in opposite directions to really cinch the knot down as hard as you can. Some anglers even don gloves so they can add extra pressure. After the knot has been fully tightened, trim the tag ends of the leader and braid.