We may earn revenue from the products available on this page and participate in affiliate programs. Learn More ›
Inline Fabrication has been a lifesaver for my reloading room and workshop. The plates, mounts, and storage solutions allow me to quickly swap reloading presses, reloading accessories, bench vices, and other mission-critical items while keeping everything organized.
It saves time and space and is useful for the person trying to set up an effective reloading operation in a confined area as well as the hardcore enthusiast who has more reloading gear than common sense. I won’t comment on which category I fall under.
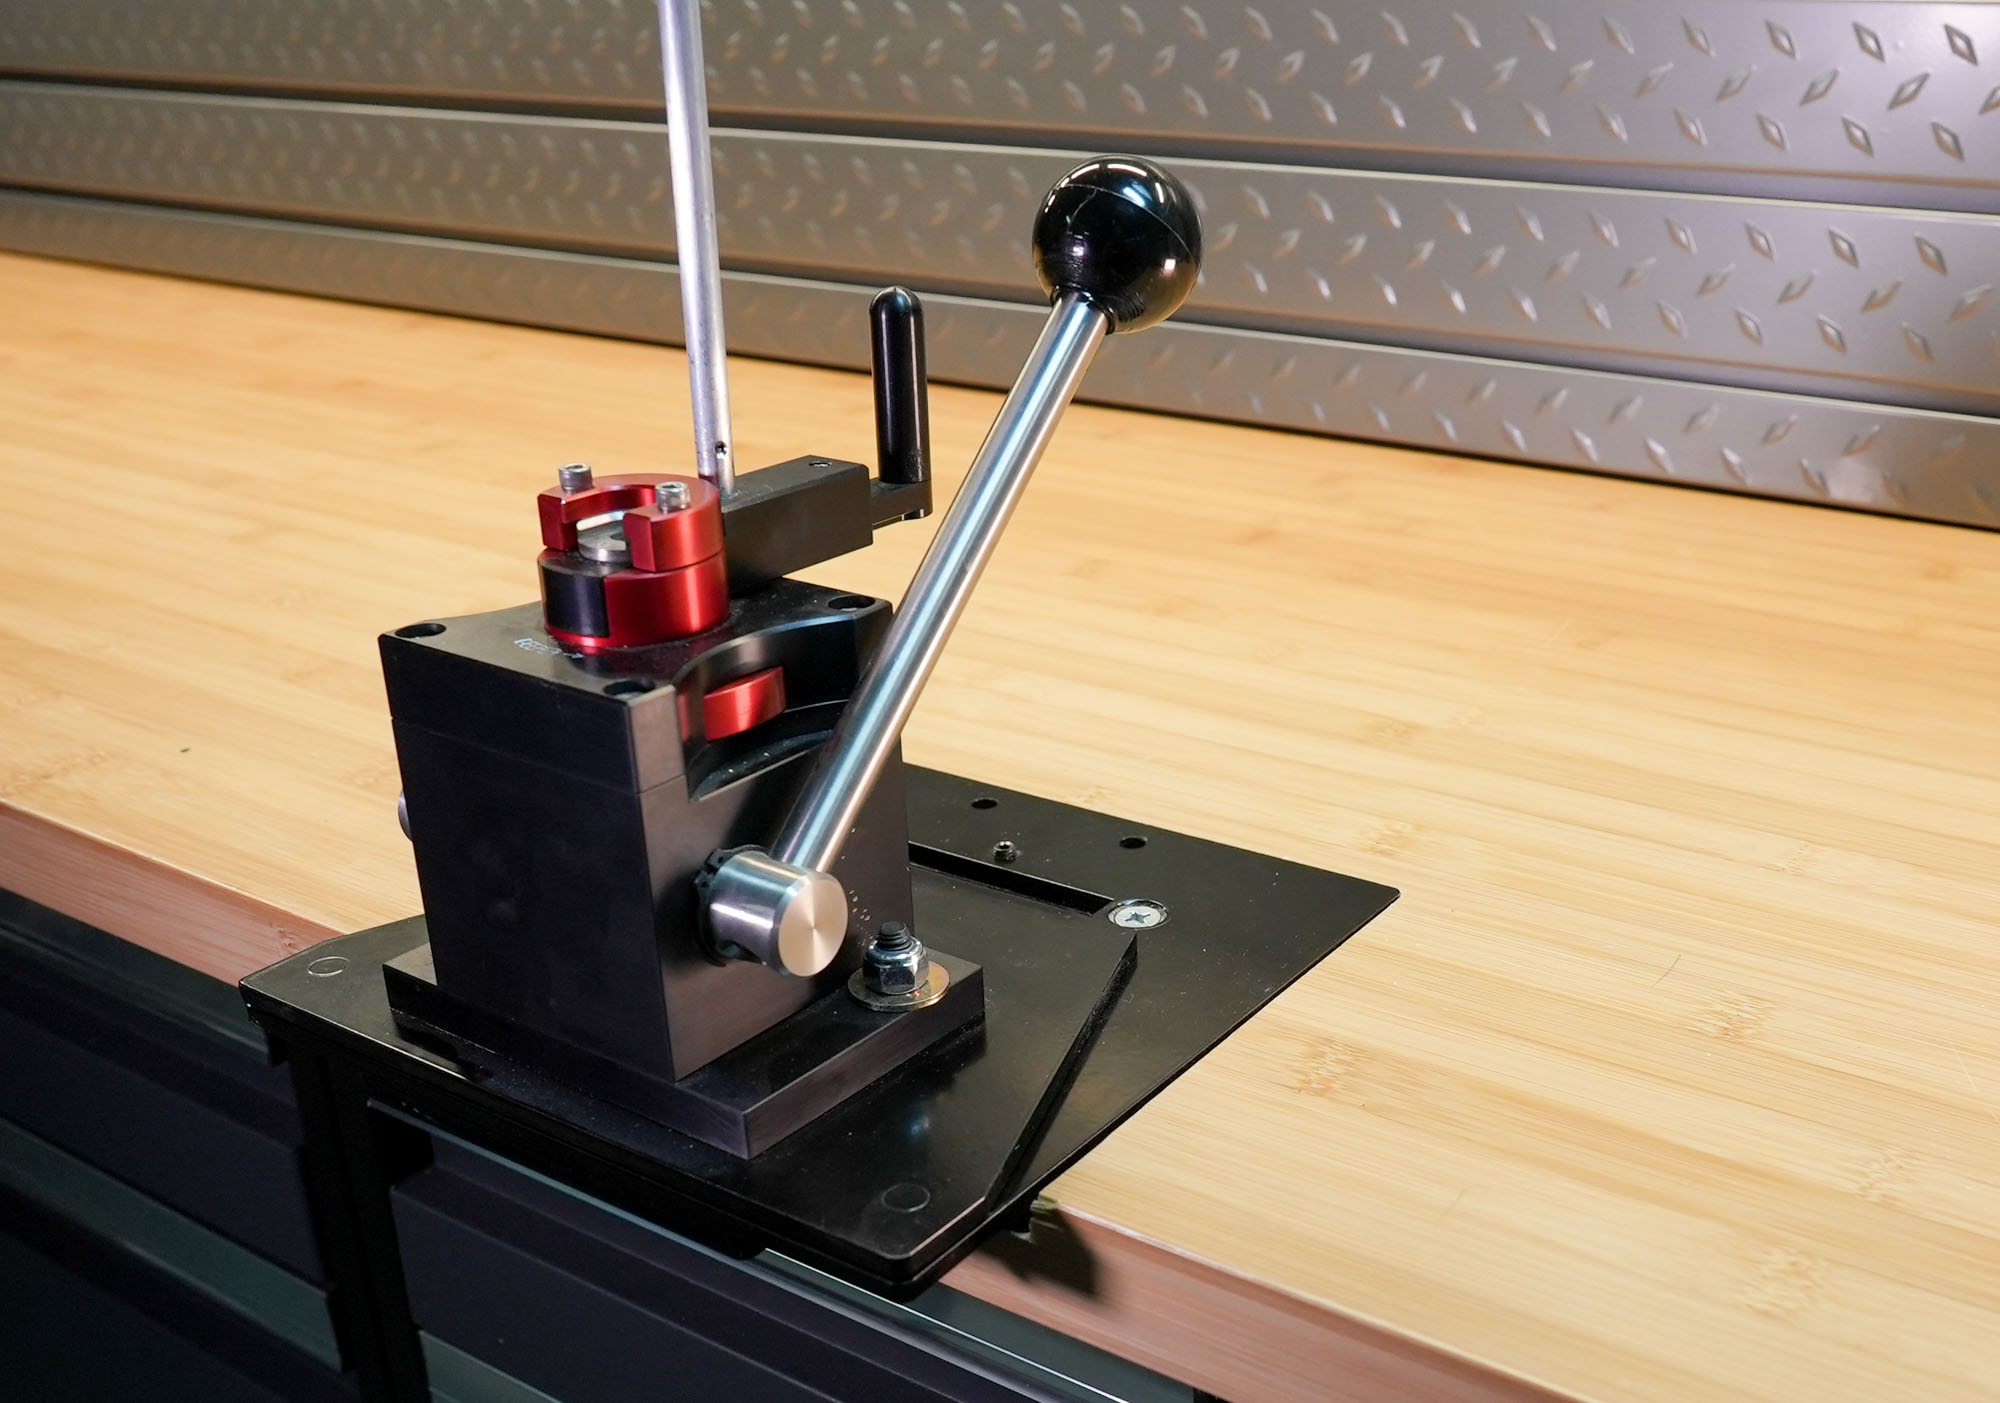
The Inline Fabrication product line covers a lot of turf, but the company’s main claim to fame is the Quick Change Press Mounting System—and it is this that drew me to them in the first place. The system has two pieces — a base that mounts to your bench, and plates that mount on specific tools. The plates — called top plates — have a substantial tongue that fits into a slot in the base and when the two pieces are screwed together they create a rock solid connection.
The bases come in a few different flavors, defined by their height. You can get bases that sit 4 inches, 7 ½ inches, or 9 ¾ inches above the mounting surface, or opt for a flush mounted base, which is what I prefer.
The raised bases are very easy to install — just drill four holes and bolt them to your bench with the included hardware — while the flush-mount base requires a router to inlet the work surface to the appropriate depth. The advantage of the flush mount is that it looks clean and leaves more usable space on your workbench, though it is certainly more labor intensive.
Installing the Inline Fabrication Flush-Mount Base
While the flush-mount system requires more time and effort, don’t be intimidated by the process. Anyone with a modicum of skill with hand tools can pull this off. If it required a special level of talent, I wouldn’t have been able to do it.
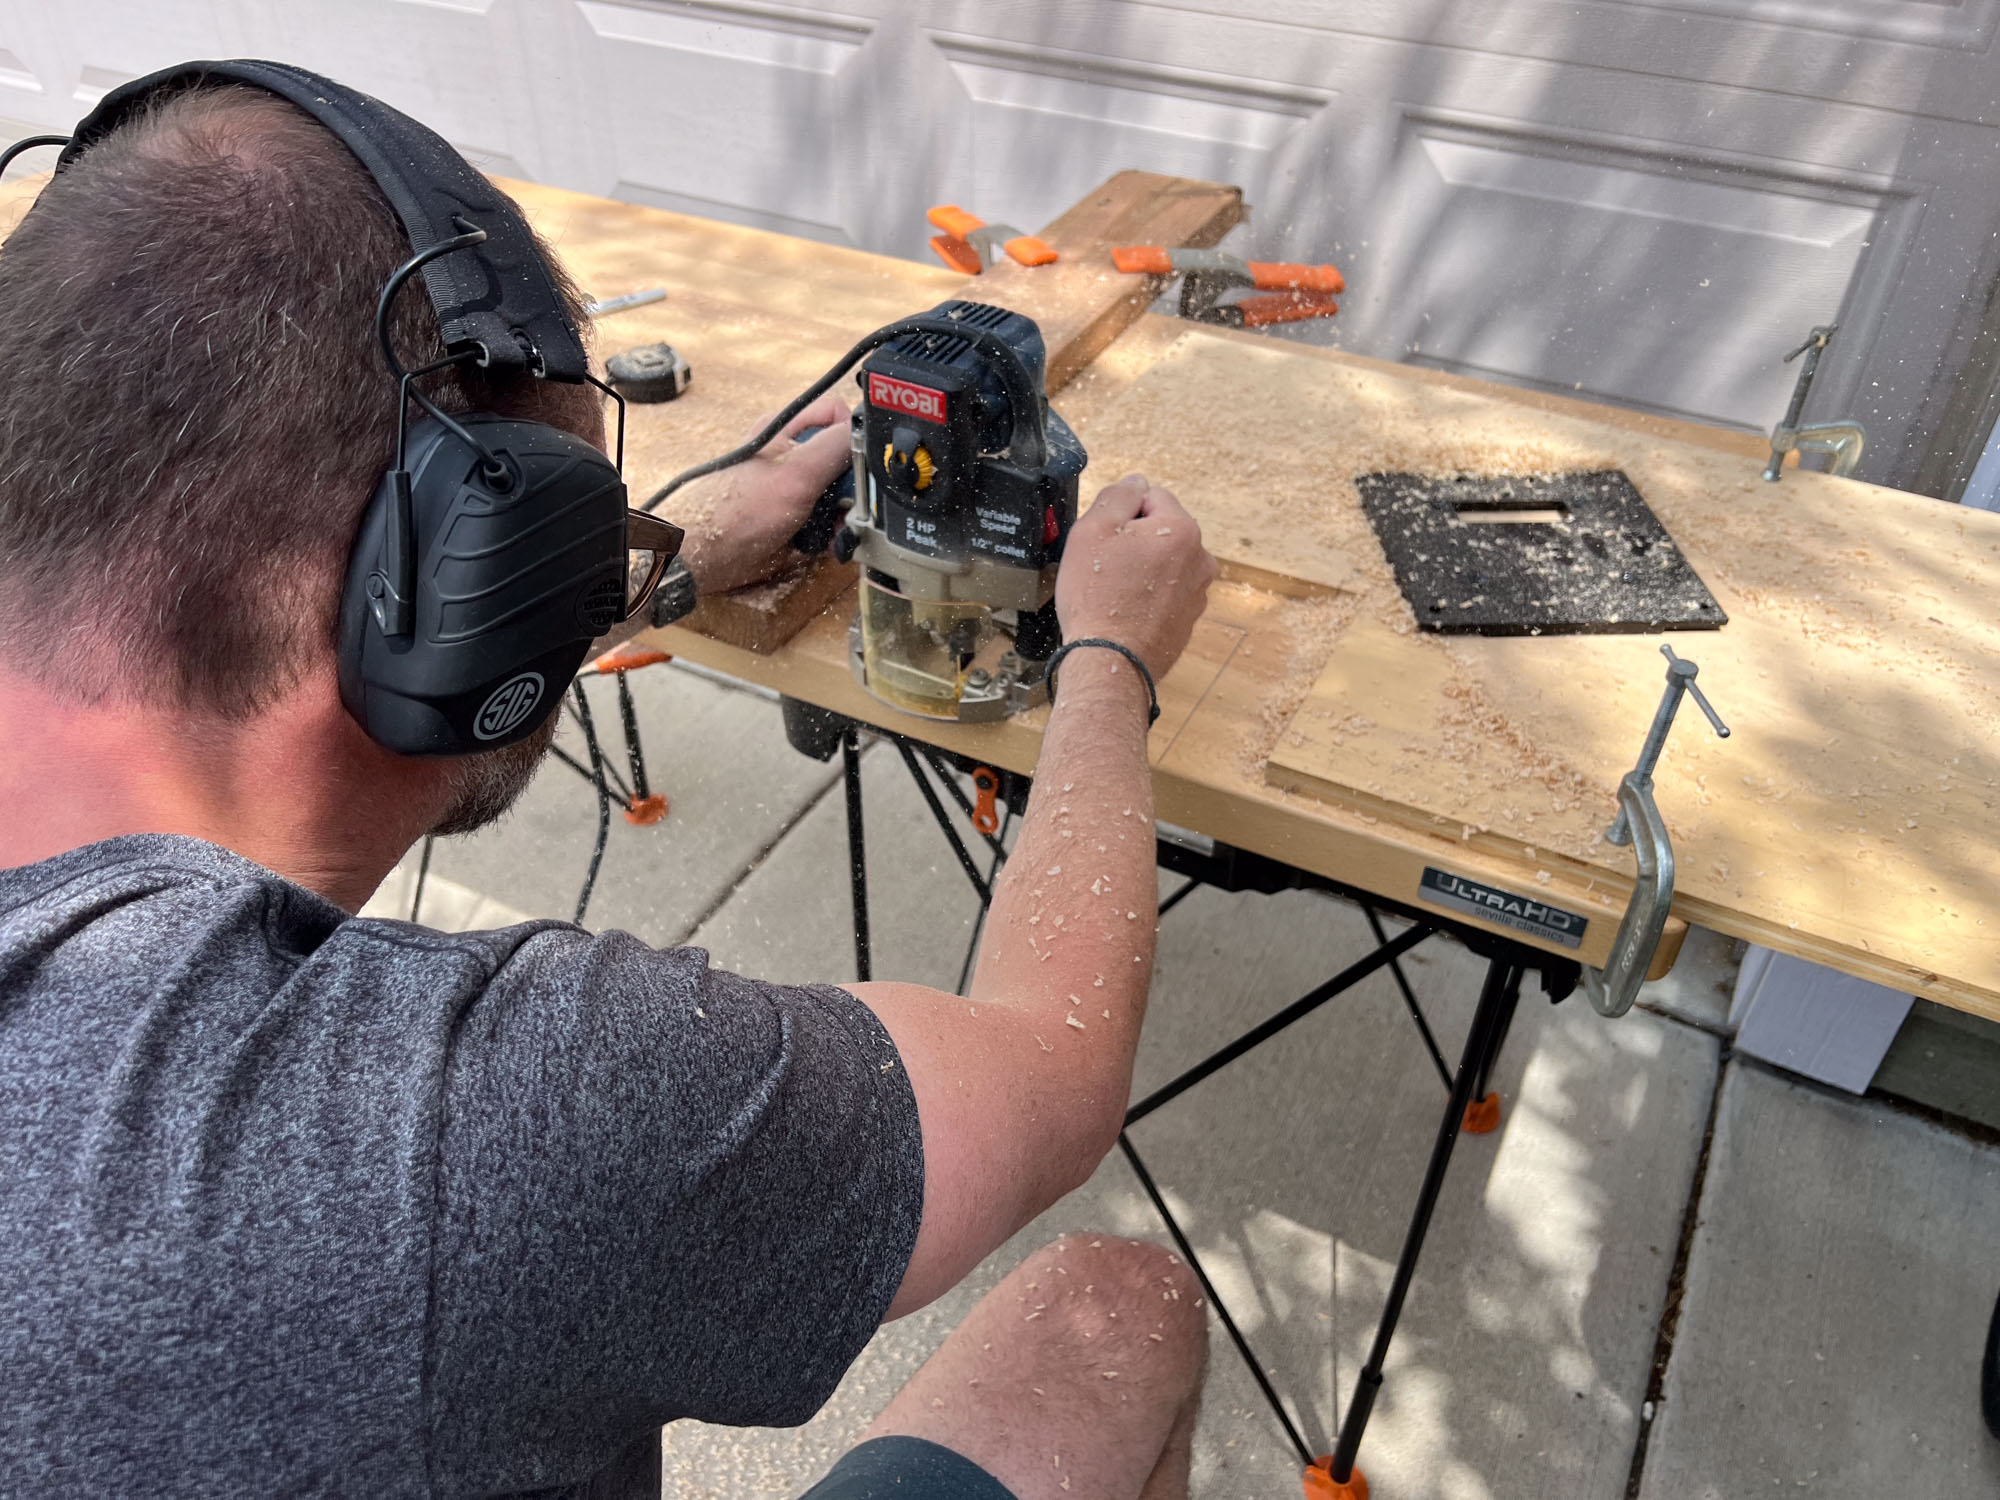
I started by tracing an outline of the base plate where I wanted it on the bench and then clamping some guides in place to cut a clean edge. I used 1×3 firing strips I had laying around for this.
I set the bit on my handheld router to the appropriate depth (7/16 inch) and hogged out the footprint of the plate. To date, I’ve installed four of these base plates and don’t think I’ve done it the same way twice. Point is, it is a forgiving process. The main thing is not to cut the inlet larger than the plate. It’s better for the dimensions to be too small and remove a small bit of material at the end than have a sloppy fit with unsightly gaps.
Cleaning up the Corners and Edges
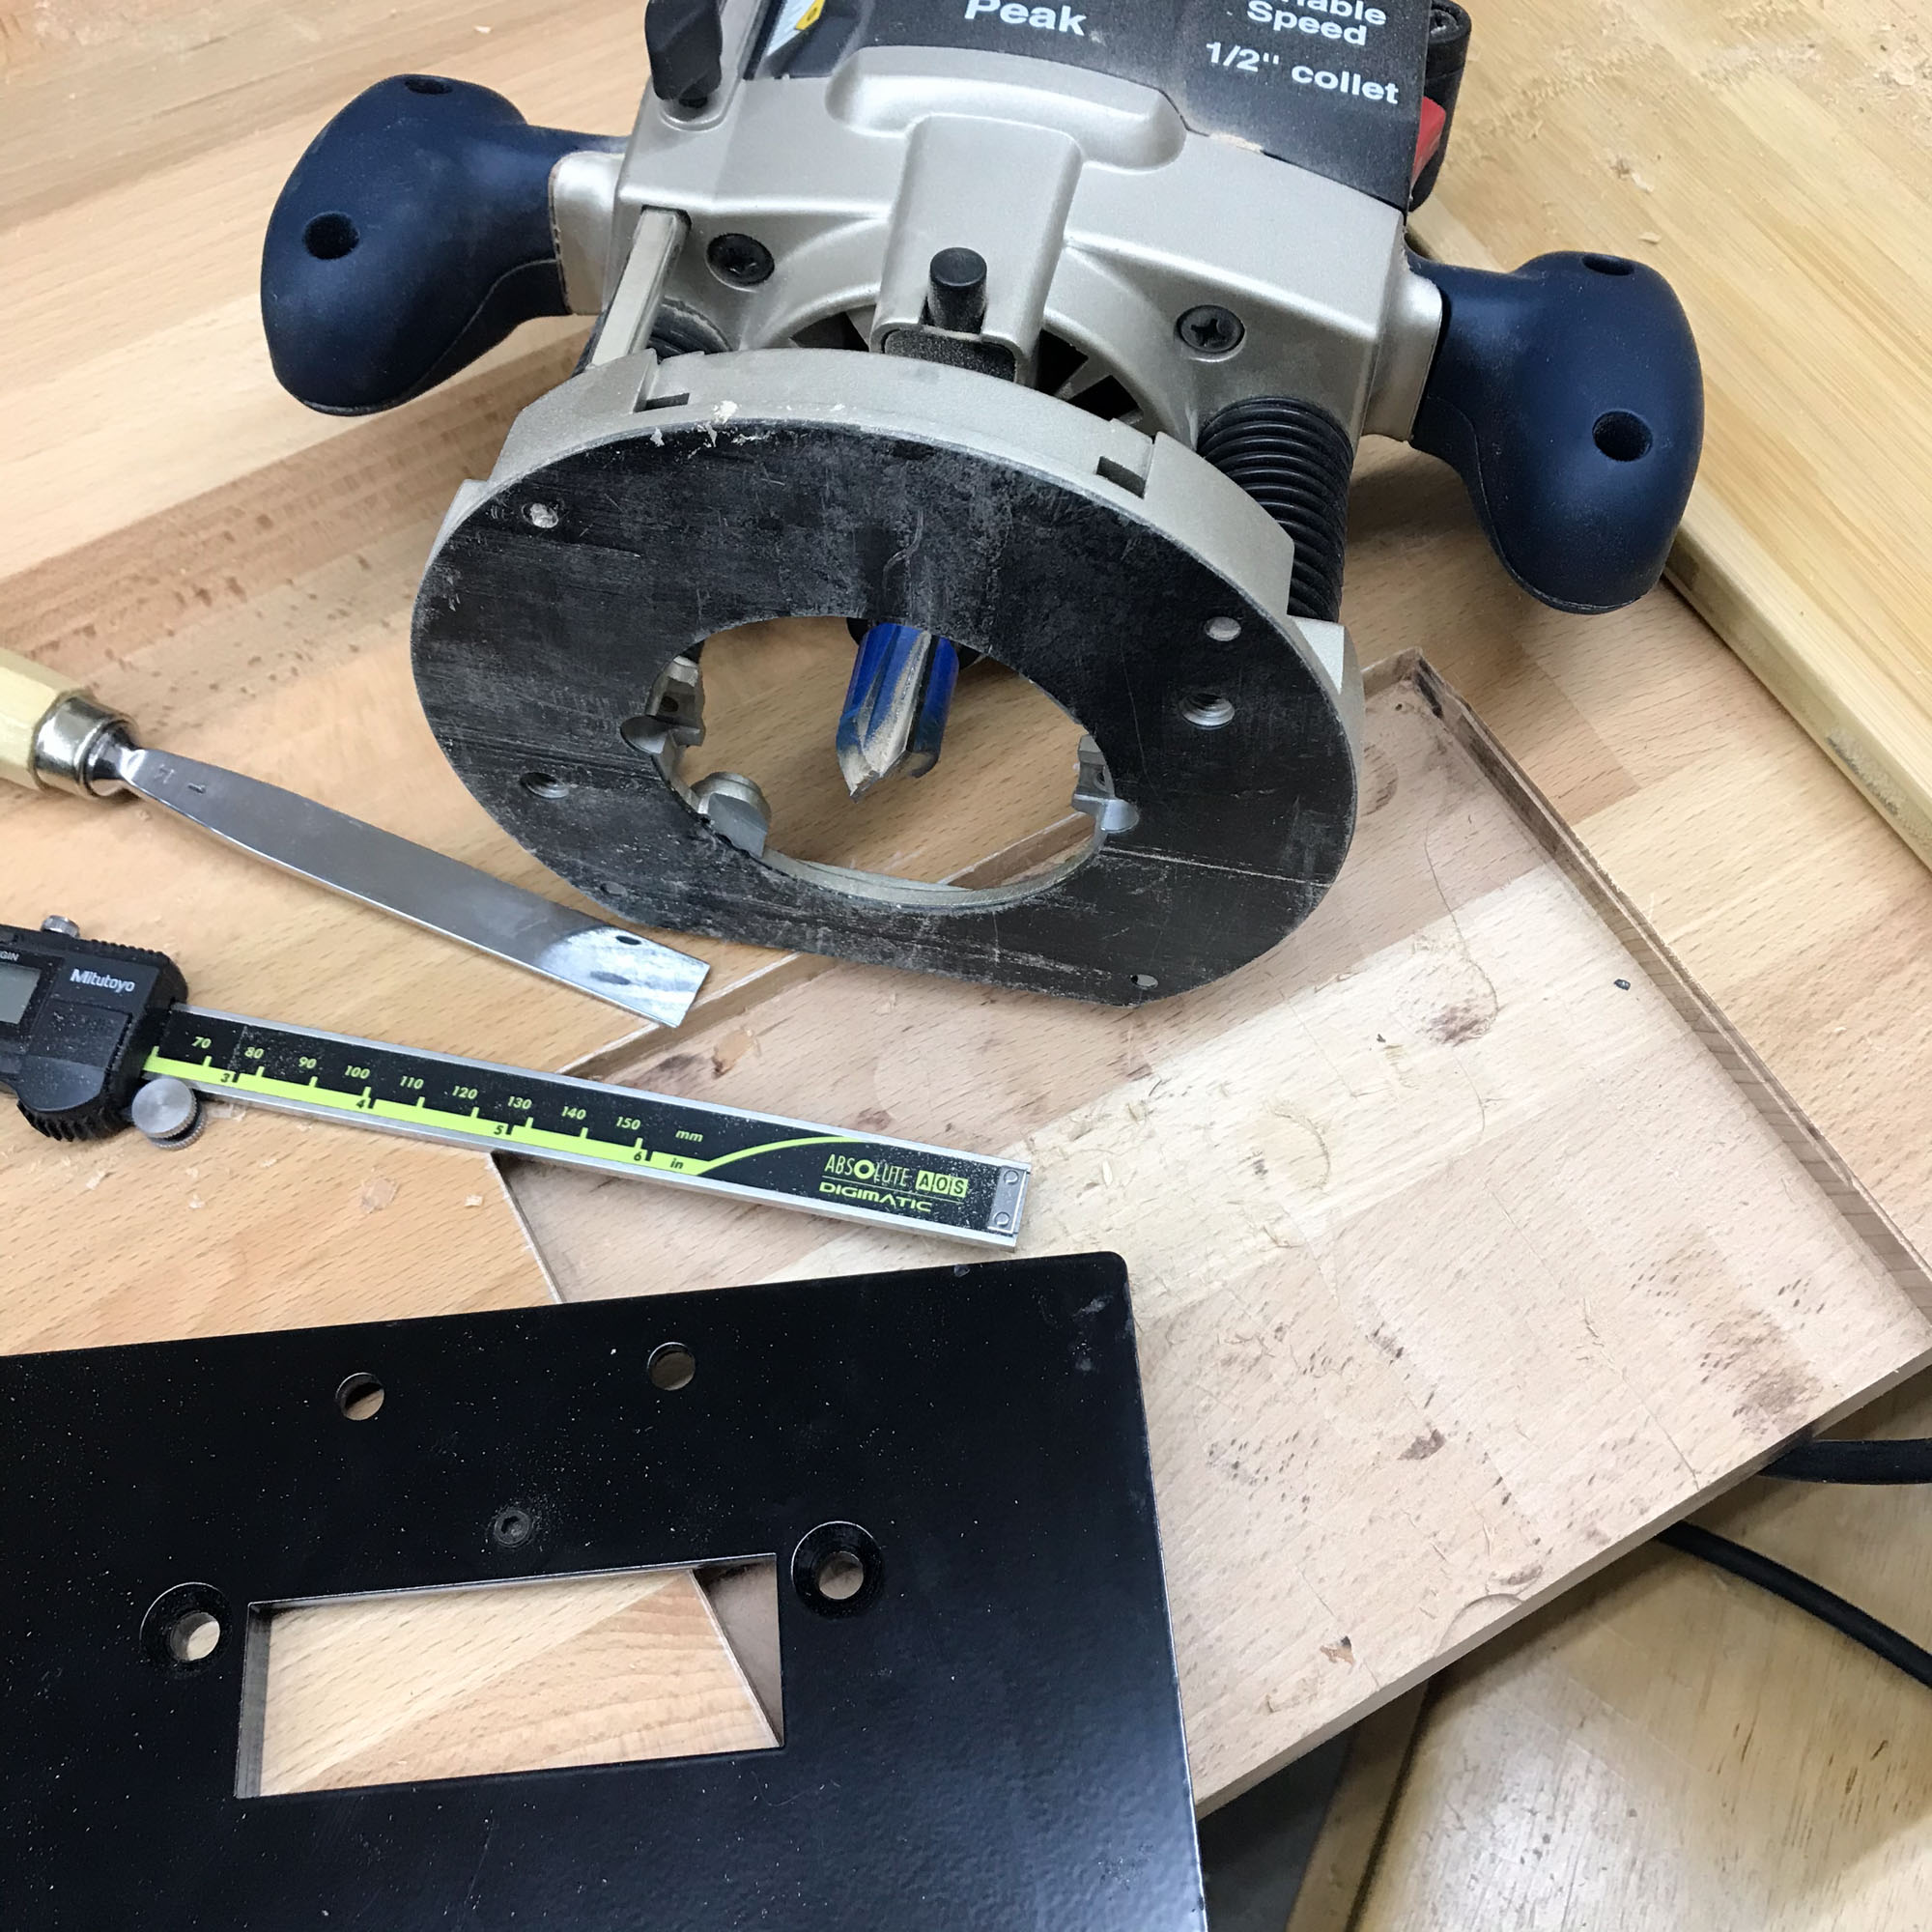
Some of my edges weren’t laser straight. I used chisels to shave away wavy spots and make the lines, well, more linear. I did the same thing to get rid of the radius in the corners, which was an inevitable byproduct from the round router bits. One thing that helped was to do the main cuts with a wider bit, while using a thinner bit (with a smaller radius) at the corners. Regardless, you’ll need to touch up the corners with a chisel.
Deeper Cut Under the Tongue
While the main cut for the flush-mount base is 7/16 inches deep, you need to remove extra material where the tongue on the top plate slips into the slot on the base. The directions call for an extra 1/8-inch depth there for proper clearance.
Cleaning Up The Base
The first couple times I installed base plates, I cleaned up the bottom of my cut with a sander and with chisels to even it out. It was a bit of extra work, but it made it look nicer.
That said, that surface is covered by the flush-mount base and will never be seen, so I skipped this step the last couple times I’ve done it. As long as the base plate makes good firm contact with the work bench it doesn’t make a difference.
Bolting the Base Plate In Place
This is the easy part. The base plate has four holes for mounting. I just held the plate in place and drilled through the bench top with a quarter-inch bit. The plates come with hardware—long bolts with heads that sit flush in the plate, along with washers and nylon locking nuts. After securing the base, I trimmed the bolts with my Dremel using a cut-off wheel.
Inline Fabrication Top Plates
I’m not sure how many tools Inline Fabrication makes plates for, but it is a pile. Each plate has a bolt pattern that matches what’s on the press, case primer, vice, or other tool, and comes with the hardware to match.
Dan Clausen, who owns Inline Fabrication with his wife, Jennifer, is also happy to work with customers to make custom plates for items he hasn’t worked with before. Among the many things that are great about this small company is that it is hands-on, American-made, reasonably priced, and responsive. From the standpoint of customer service and product quality I can’t recommend them enough.
Height Adjustments
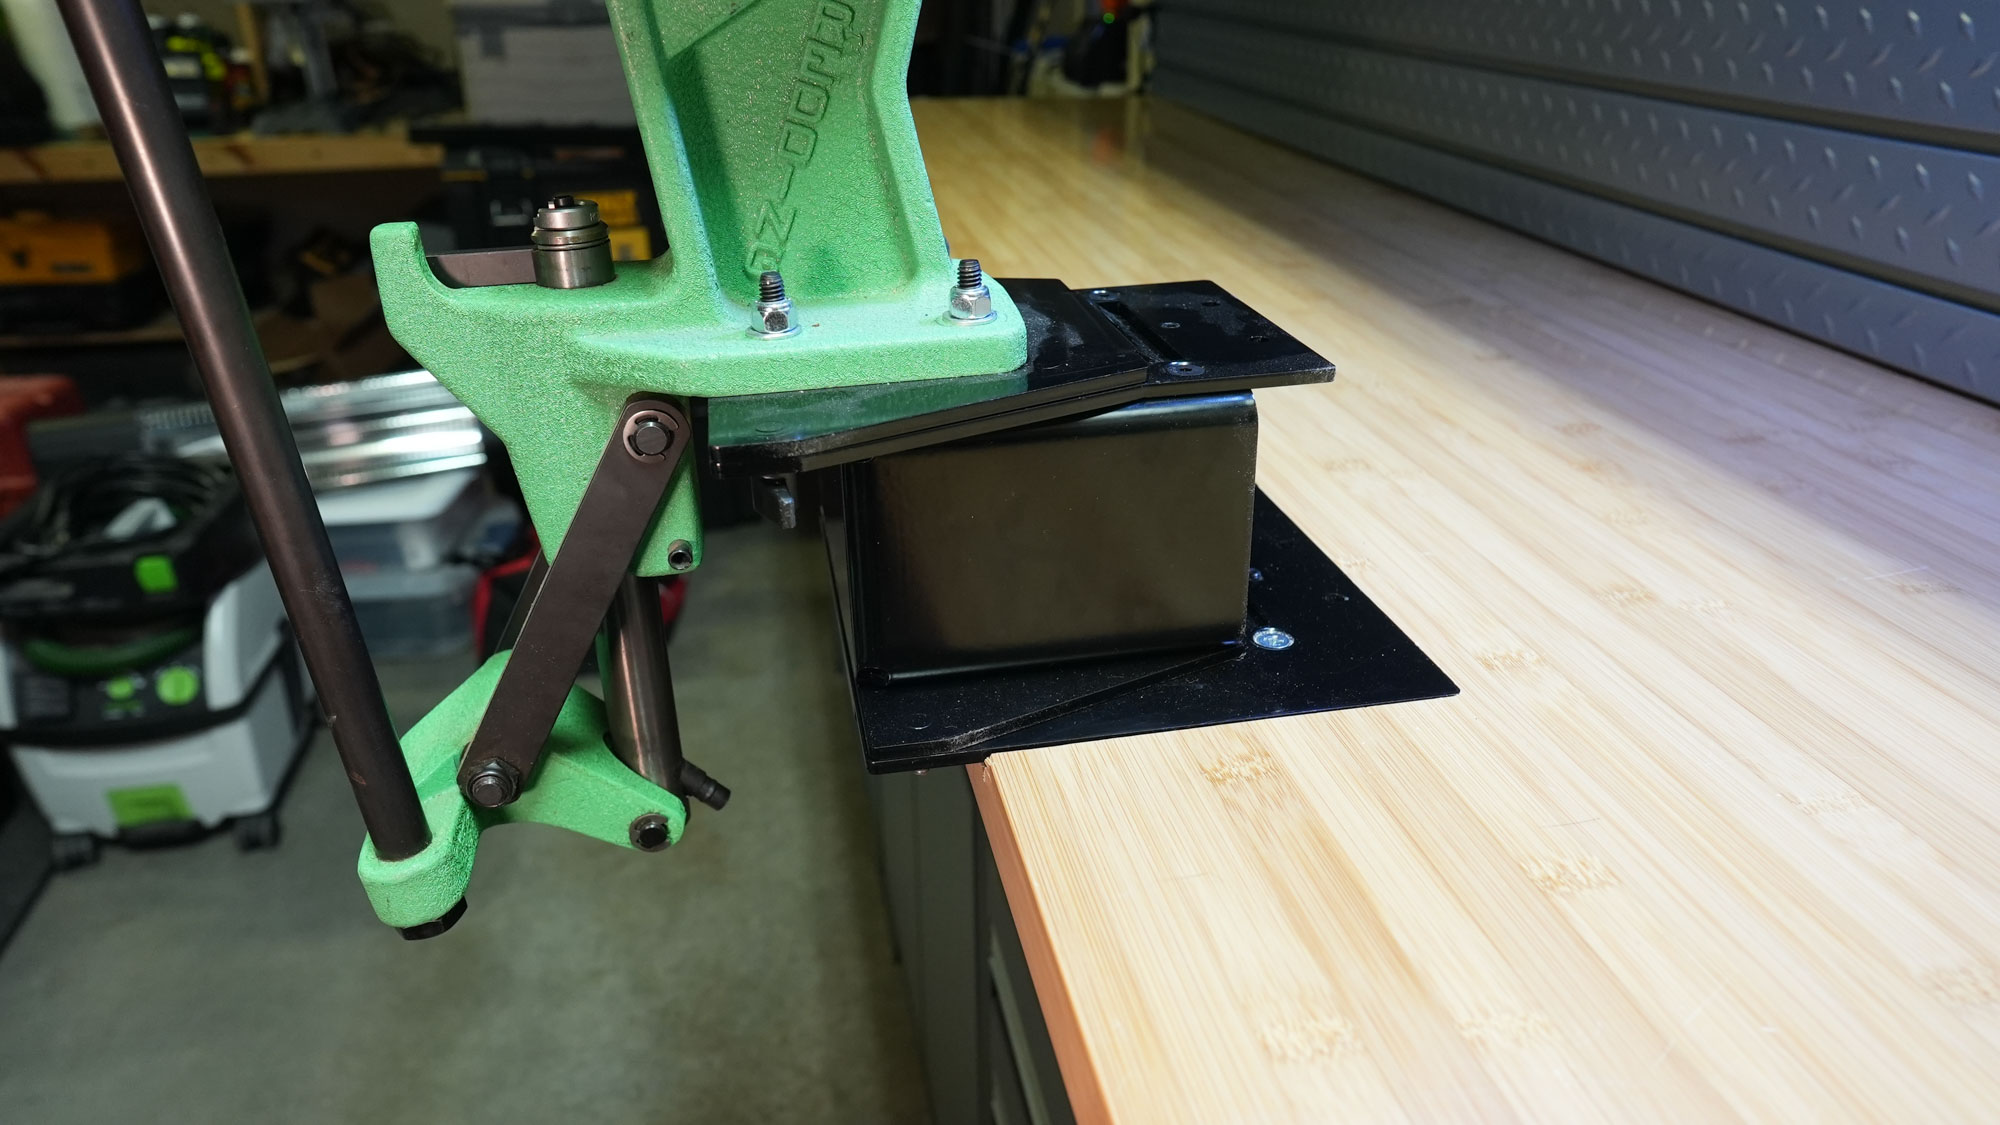
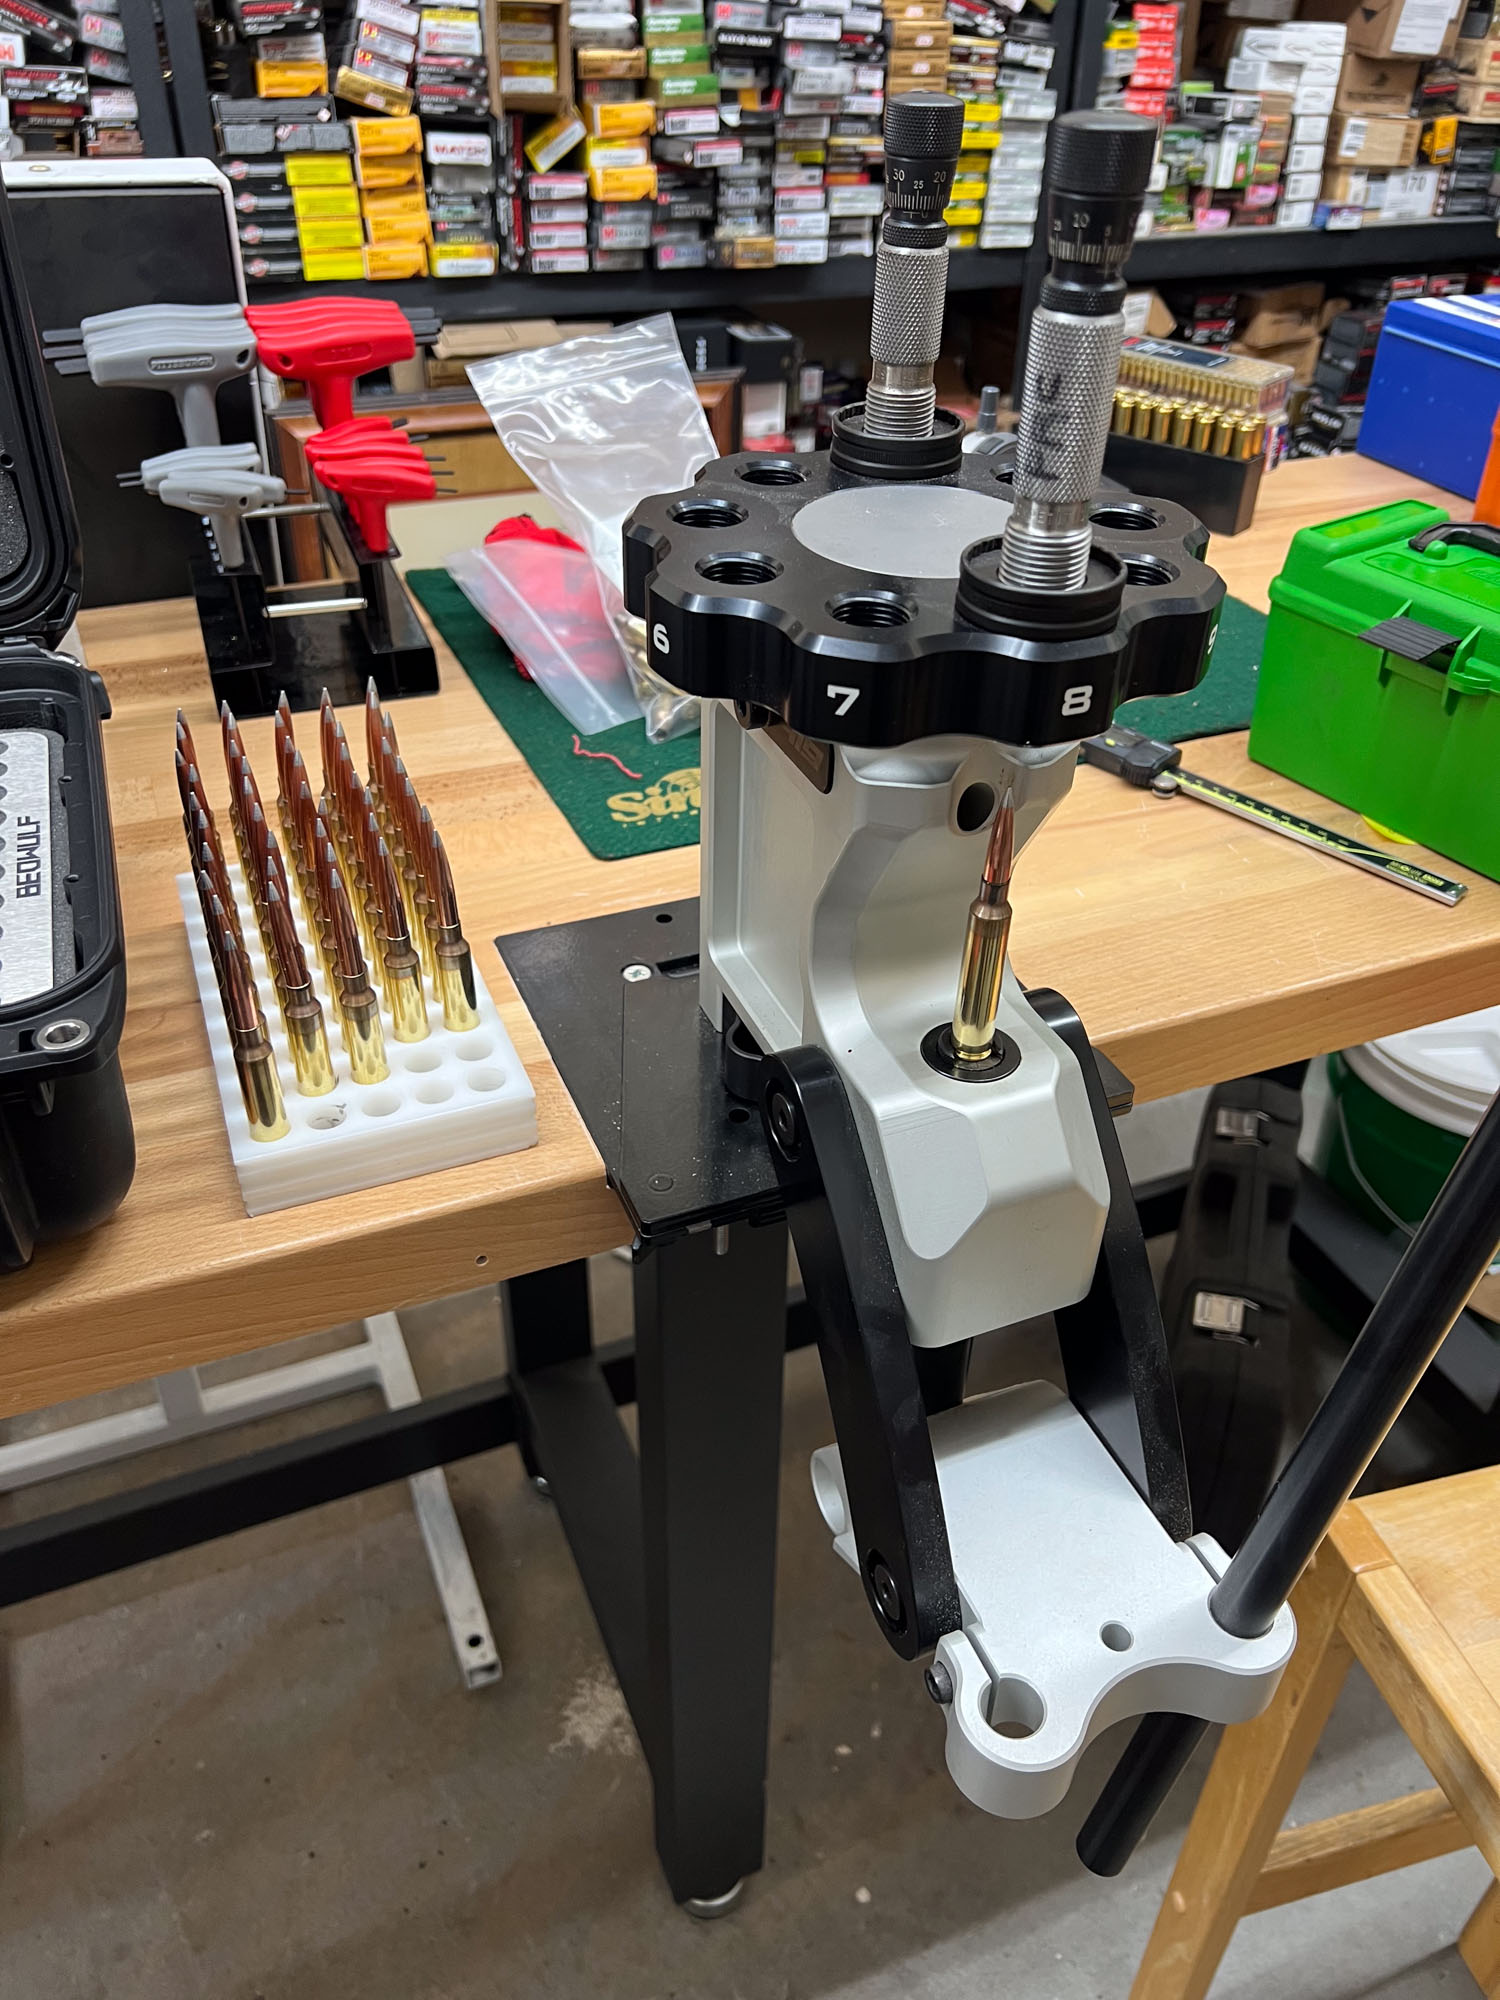
With some presses and tools, having them mounted directly on the flush-base can be awkward. This is particularly the case with some of my progressive and co-ax reloading presses. To deal with that, I purchased two Elevated QC bases, one that raises the base 4 inches above the work bench and another that lifts it 7.5 inches above the bench.
The ability to tune the ergonomics of a press or tool this way while still having the advantages of the flush-mount system is a real benefit.You can use equipment with the flush-fitting plates, but easily add these raised plates when appropriate.
Even with something as cumbersome as my Dillion XL750 progressive press this system is tight and stable. Though you do need to be aware that the weight of a press like that, in conjunction with being raised up and cantilevered off the work surface can unbalance a free-standing bench. You might need to add weight to the base or back of the bench to counteract that or, better yet, bolt it securely to your wall.
Bench Options
I’ve built a bunch of reloading benches by hand over the years, but I’ve come to appreciate the simplicity, value and aesthetics of a good pre-made bench. One go-to bench of mine is the Seville Classics Ultra HD. I’ve purchased three over the years (sadly, they’ve become a bit more expensive since the pandemic, but I still think they are worth it) and I love how they work. The last one I got was this version with an adjustable height top that I dedicated to a couple progressive presses.
I also use the Inline Fabrication system on the worktop that goes with my NewAge work bench. Mine doesn’t look exactly like the one in the link — I have a worktop that sits on two tool drawers at either end with a multi-function cabinet in the middle — but it gets the idea across.
Inline Fabrication Organizational Products
Clausen has come up with numerous products that help store tools when not in use. He has several types of brackets that mount to different surfaces — walls, the edge of workbenches, etc. — that work with his top plates to hold items.
For instance, I use both his single-storage and double-storage docks which I have mounted on the sides of my work bench to hold different presses and priming tools.
Inline Fabrication also has wall-mounted rails that accept different fittings to store reloading press shell plates, dies, tool heads, and all the other bits and pieces that float around a typical reloading room.
Since I got my Inline Fabrication setup, Clausen has introduced this snazzy wall organizer panel, which I think is going to be my next purchase. My reloading room will never look as sharp as it does in his pictures, but like his other stuff this will go a long way towards taming my mess.

Ergonomic and Efficiency Solutions
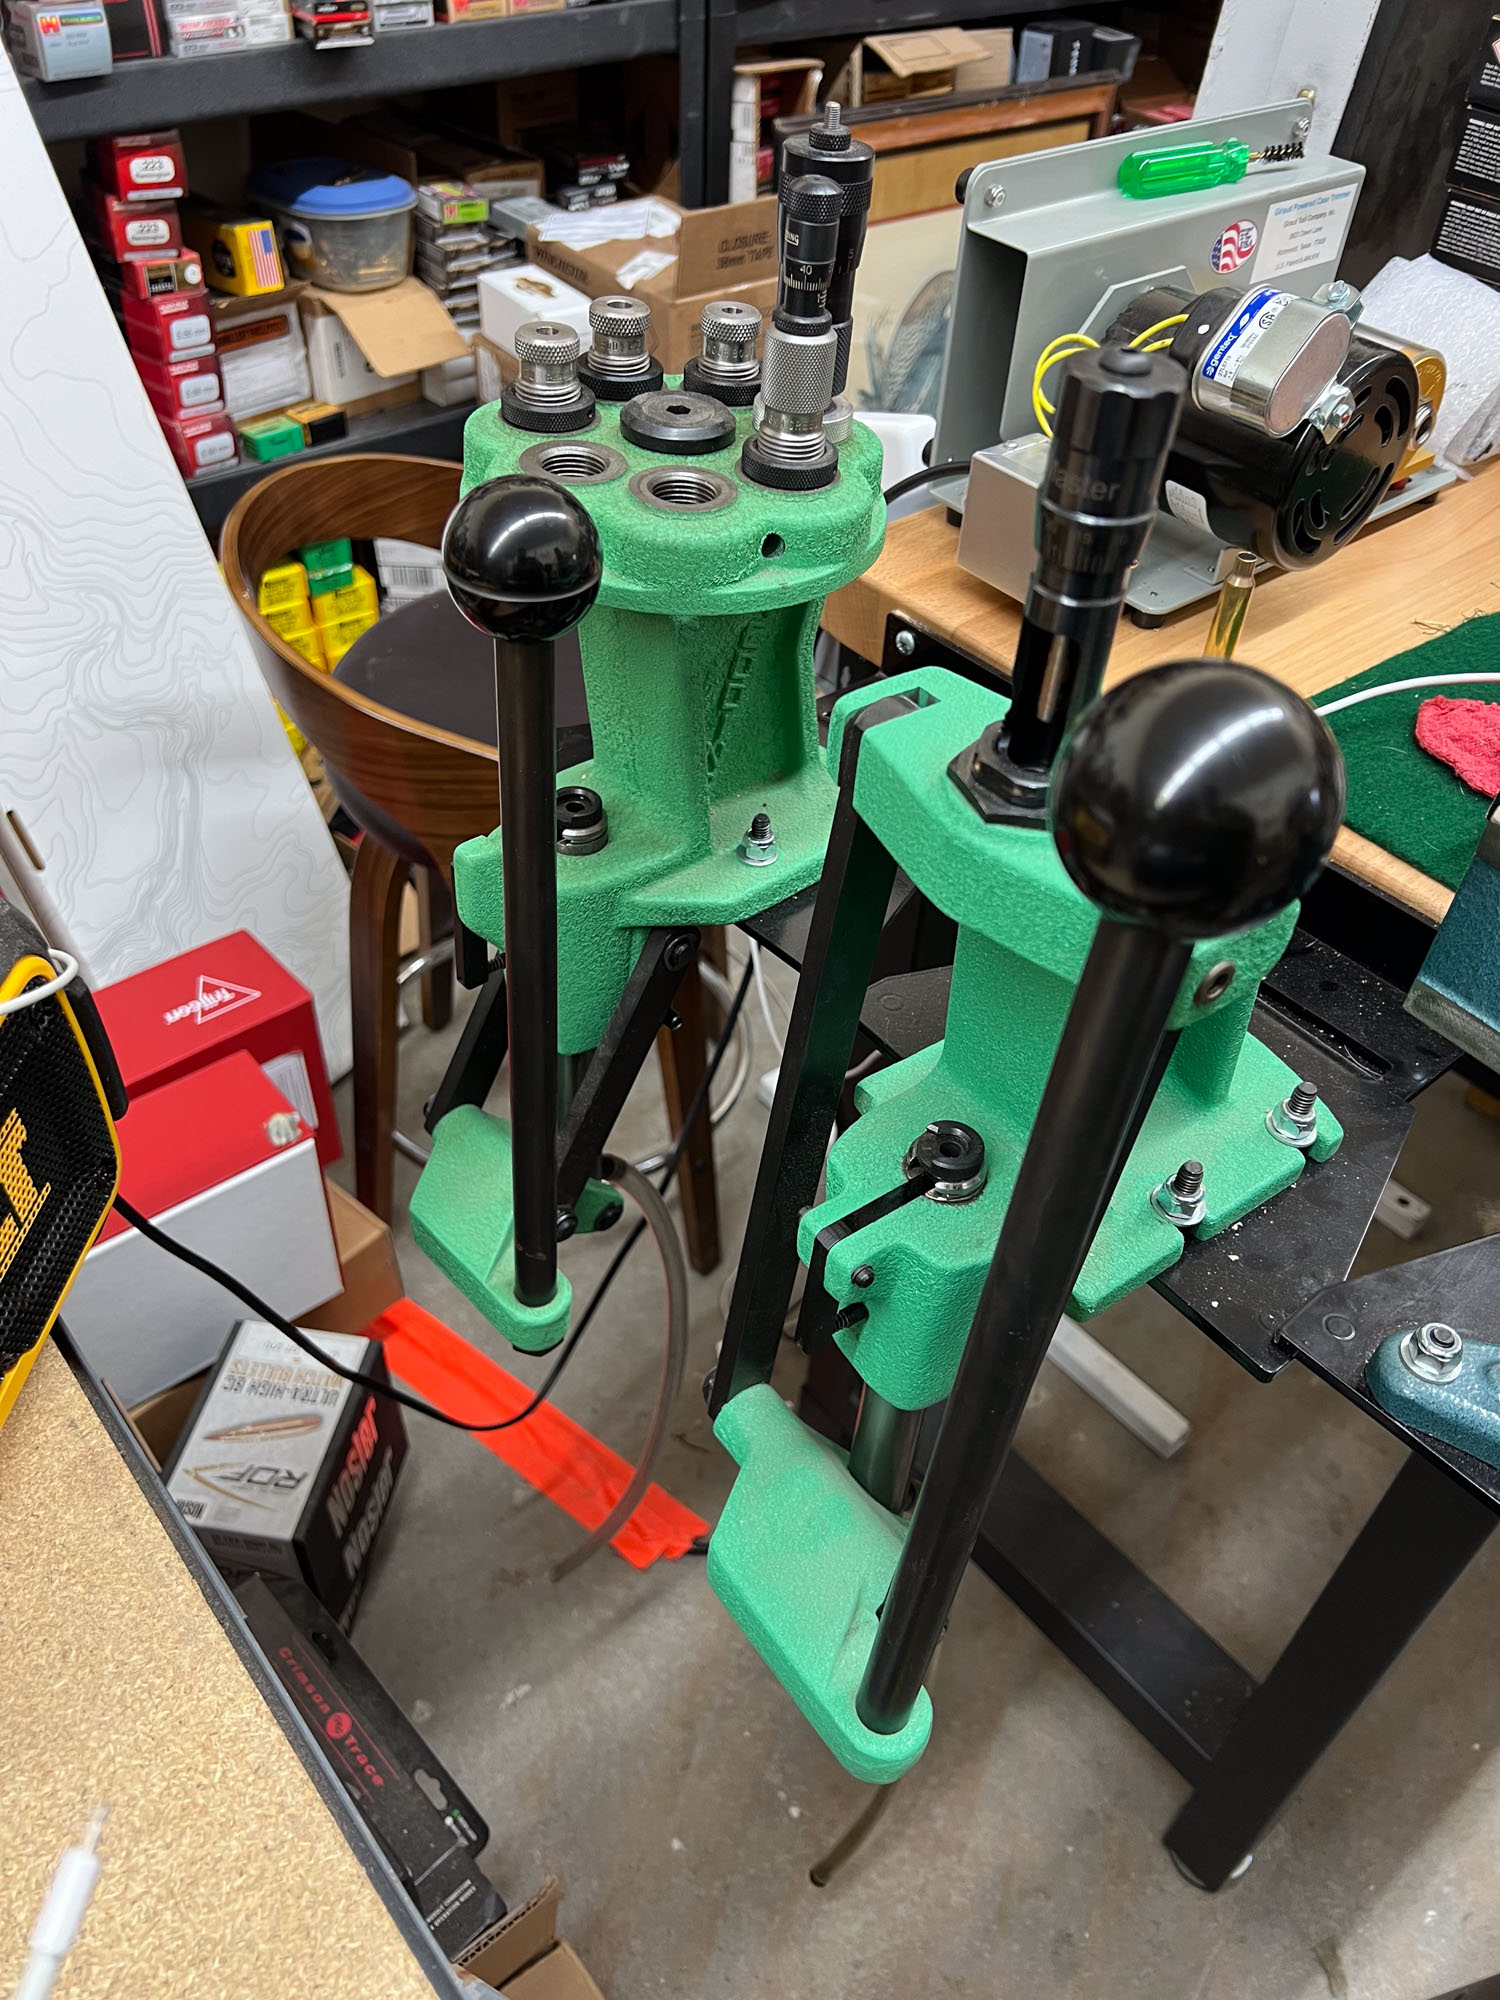
I’ve touched on this a bit, but beyond the organizational benefits of Inline Fabrication’s products, the company has a wide range of items that make good reloading products better. Clausen makes replacement levers for a bunch of presses that come with roller handles and are shaped for greater comfort. When running a press — particularly a progressive where you might process hundreds of pieces of brass an hour — small improvements to ergonomics make a big difference.
Similarly, Inline Fabrication makes case ejector systems, reloading press LED light fixtures, and other accessories to improve your work flow.
Final Thoughts on Inline Fabrication
It’s never easy to know where to spend money when it comes to things like reloading. Some of us presumably got into the hobby to save money on our ammunition. For someone like me, who focuses on reloading high-volume precision rifle ammunition, that’s a pipe dream.
That said, I don’t like to toss around dollars willy-nilly, even though some of my early reloading purchases are now gathering dust.
With that in mind, I can’t recommend Inline Fabrication’s system highly enough. For anyone who wants to mix and match tools while keeping their stuff organized and their workspace clean — or at least reasonably clean — Inline Fabrication is a great solution.
The quality is high, the prices are reasonable, the customer service is top-notch, and it is easy to install and use. What’s not to like?
