One of the Most Budget-Friendly Options On The Market That Offers Adjustability & Extrusion Crossbars
If you own a Tacoma, you’re fully aware of the lack of storage in these midsize trucks. As we start to fill up with gear and people, we quickly realize how additional storage space is needed. Roof racks are excellent for this, allowing you to utilize otherwise useless space.
Based out of North Carolina, Martin Offroad offers all kinds of accessories for Toyotas, Lexus, and even GFC-compatible products to help dial in your setup! The Foundation Roof Rack is their flagship model and in this post, we’ll cover the installation and provide a long-term review.
Note: This product is only available for double cab configurations.
Find It Online
Features

- Affordable
- Lightweight
- Aerodynamic (Low-Profile)
- Multiple Tie-Down Locations
- Bolt-On Installation
- Stainless Mounting Hardware
- 2×1″ Extruded Aluminum Cross Bars
- Up To 6 Cross Bars
Installation

I would rate this installation as moderate in difficulty. It can be tedious to do by yourself so I would recommend a second set of hands.
Everything came packaged with immense care ensuring there was no damage from transport.
Tools & Materials
- Socket Set
- T-25 Torx Bit
- Waterproof Silicone
- Shop Towels
Step 1. Prepare Roof For Mounting

Since I previously had a roof rack on my truck, the holes, and weather stripping were already prepped and ready for the mounting feet.
If this is your first rack installation, then some prep has to be done. First, remove your weather stripping to reveal the mounting holes underneath. Using a screwdriver, feel for the weak point in the tape and push down. Repeat this process for each of the six spots where the mounting feet will be.
The weatherstripping can be handled in one of two ways. You can either cut out a part where the mounts will sit, remove it completely, or cut just a hole for the mounts to slide into. Martin Offroad provides instructions for the latter.
Step 2. Mock Up & Secure Rack

There are a couple of different ways to install the rack onto the truck. I decided to assemble it first then place it onto the truck and bolt it down.
I started by mocking everything up, placing the crossbars roughly where I’d like (evenly spaced).

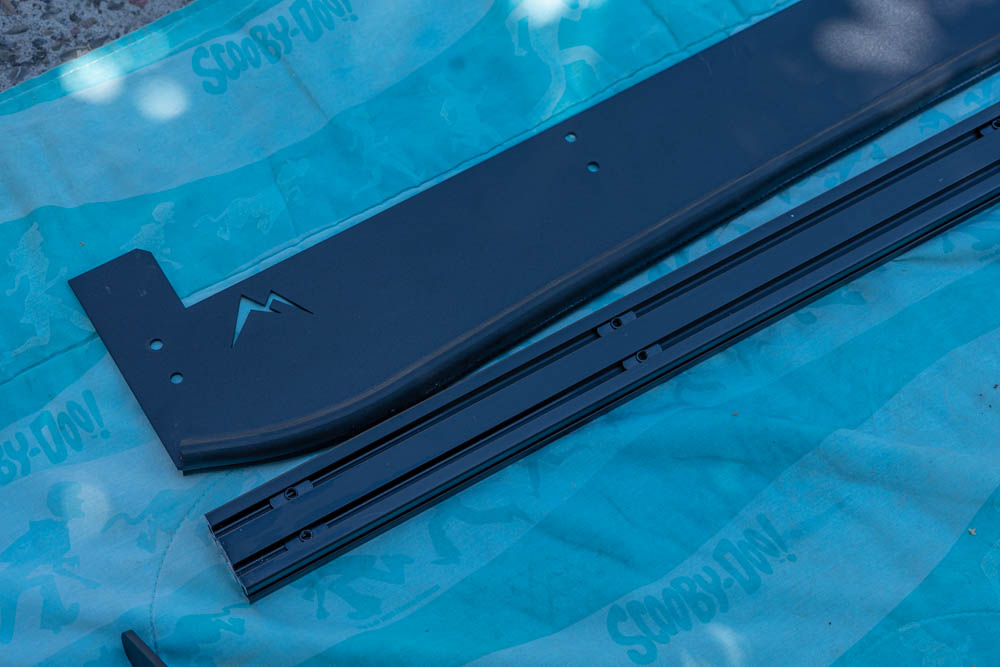
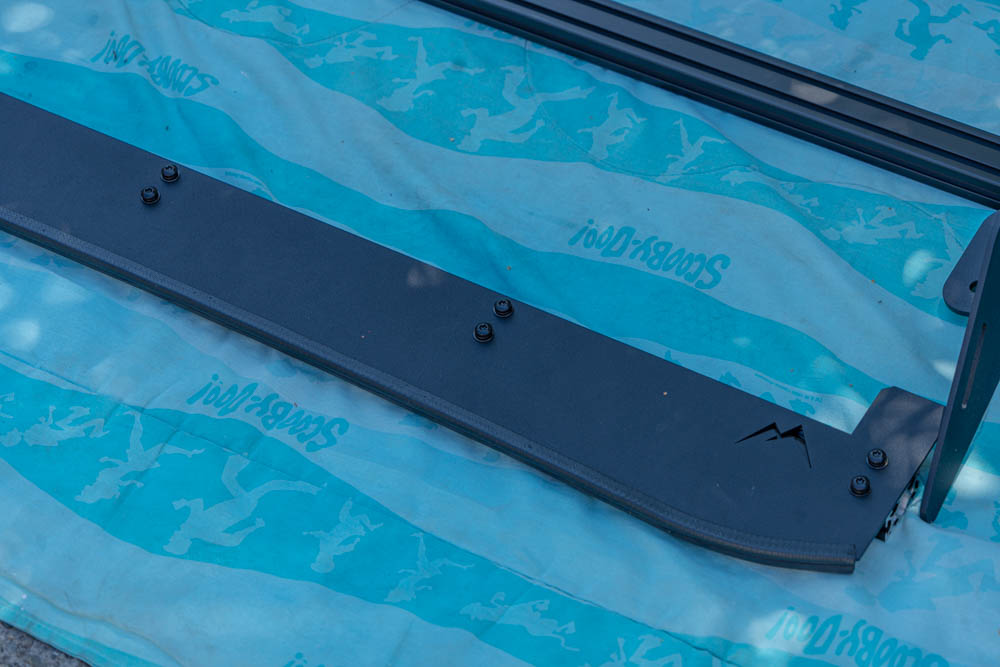
Next, I used the provided threaded t-slot nuts and slid them into the forwardmost (wind fairing) crossbar. This crossbar is going to be attached to the wind fairing and used to mount it to the rack as well as your light bar if you decide to install one.

Using the provided T-25 Torx bolts, lock washers, and flat washers, secure the wind fairing to the crossbar. Then, use four T-25 bolts to attach the wind fairing to the side panels. I put it in the lowest position possible which happened to be its final resting place on the truck.

Next, I went through and secured all the cross bars with the rest of the T-25 bolts. I initially left all the crossbars evenly spaced apart until I decided to mount gear to it.
Step 3. Prep Mounting Hardware

For the mounting feet, assemble the long bolts, lock washers, and flat washers.

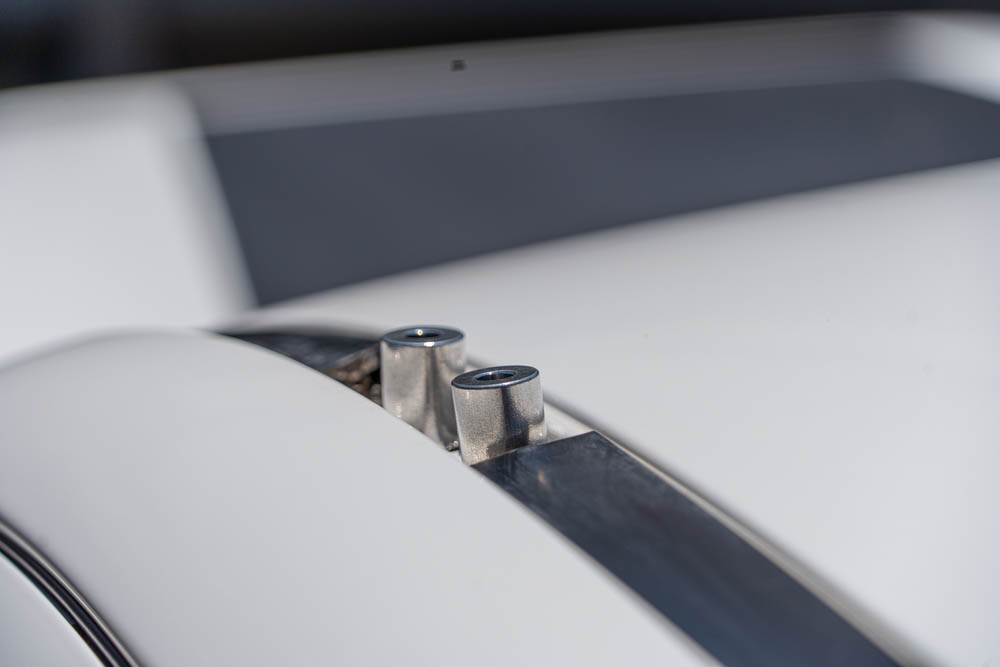
Next, set the mounting spacers on top of each hole accordingly. You can either apply silicone now or wait until the rack is on. I’ve found it easier to apply silicone now and check back after installation to fill in any missed gaps. The best course of action I’ve seen is to fill the holes beforehand, and apply extra to the bolt ends. Use a liberal amount.
Step 4. Install Rack Onto Roof

Setting the rack onto the roof is the hardest part of the installation and I strongly advise you to have an extra set of hands for this step! If you’re installing this by yourself, you can remove some of the crossbars to cut the weight down so it’s easier to sling on top.
Tentatively place it on top of the mounting spacers before getting any of the bolts started.

Next, use the long bolts and start to thread them into the roof. Be sure to not over-tighten! Stand back and look down the center of the truck to check and see if it’s centered before giving the bolts one last torque.

After all bolts are tight, give it the shake test to see if anything is loose. Finally, adjust the wind fairing to your liking by sliding it up and down along the tracks!
Step 5. Install Accessories

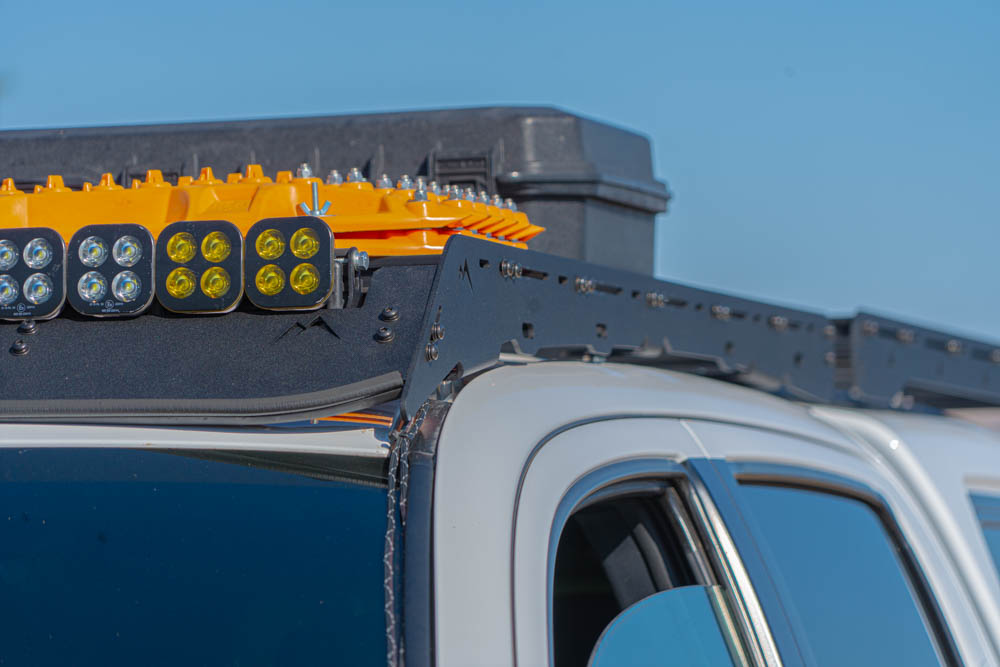
With the endless options of accessories and mounts that Martin Offroad provides, you can mount whatever your heart desires! I decided to mount up a Vision X Unite 42″ Pod Array, rifle case, and traction boards. Martin Offroad even has specific mounts for these items.
Long Term Review

Impressed? I certainly am. At the end of the day, a roof rack serves as a place to mount and store stuff. I’ve been able to run multiple different setups on it for various uses and not once has it let me down. It’s strong, sturdy, high-quality, and stylish.
The Foundation Roof Rack has been a killer addition to my truck that I wish I had done earlier.

With the implementation of extruded aluminum crossbars, you can use hex bolts in the tracks to mount items. This is how I mounted my rifle case, recovery boards, and awning!
Furthermore, the slotted side panels allow me to move the crossbars to accommodate the spacing for whatever I’m mounting. Grab handles, lights, antennas and other accessories can be mounted on either the side panels or cross bars, it’s a pretty versatile system.

Slim approach for the win. This rack sits incredibly low on the truck and its height from the edge of the roof to the top of the side panel is a mere 3 inches! One of my favorite features is that you hardly notice it’s up there.
Pairing it with the matching camper shell rack, I’ve been able to keep everything streamlined through the entire length of the truck, which has helped my gas mileage!
Final Thoughts

The moral of the story, if you shop around, you can find an affordable storage solution! Martin Offroad brings the form and function into a platform – a great price point! The Foundation Roof Rack has provided me with more customization and usage than my previous setup and saved me money in the process.
Happy Trails!
