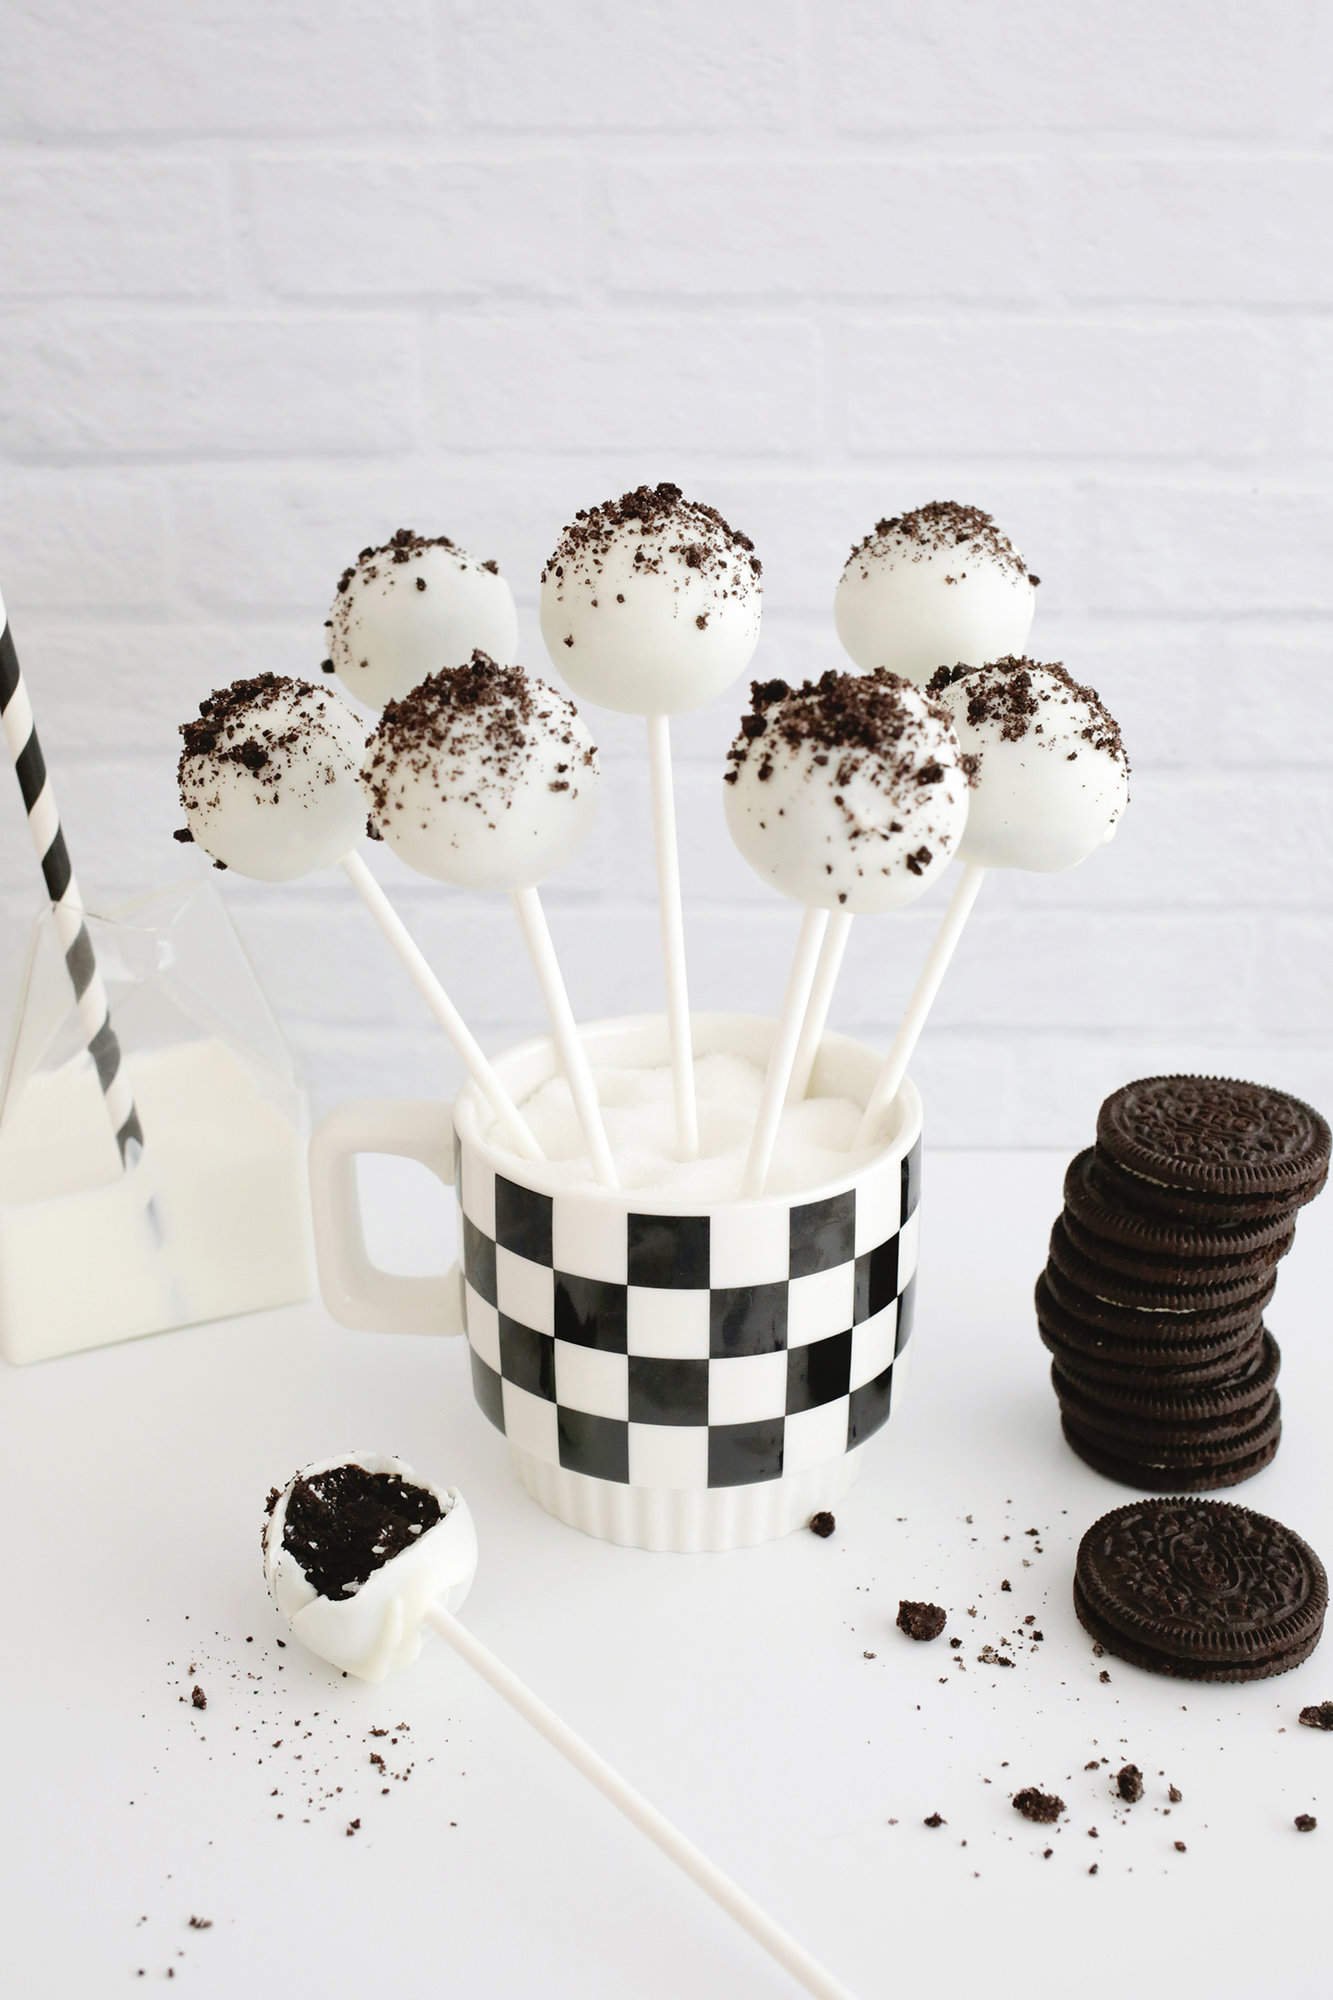
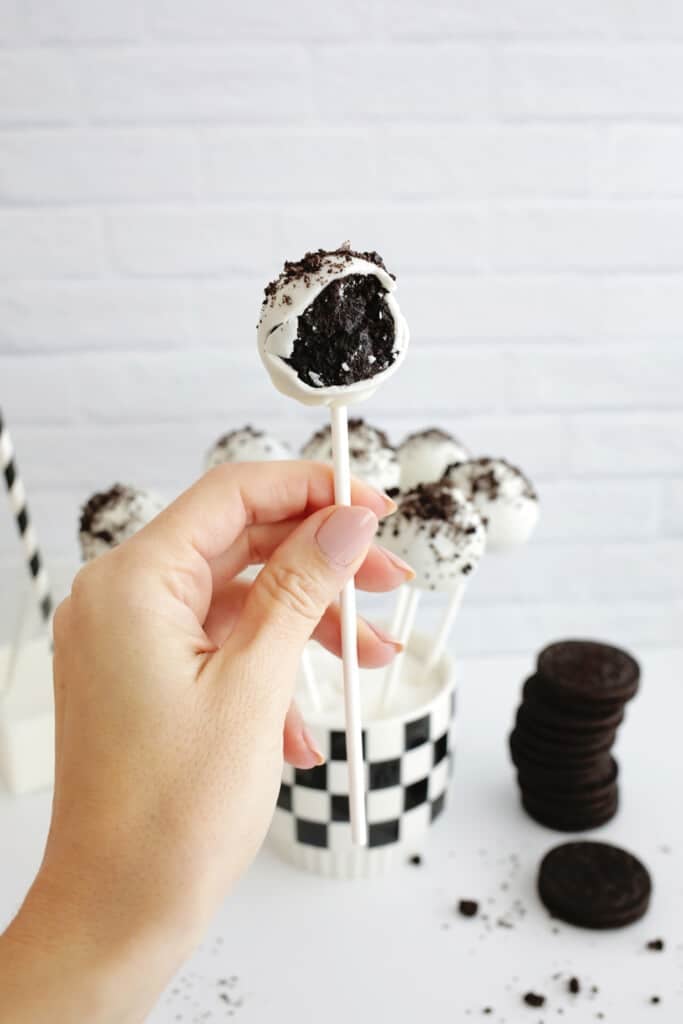
We love cake pops with their chewy sweet cake-like centers and hard chocolate shell (and all on a portable stick!), so it’s not hard to see why an Oreo cake pop would be especially delicious. This easy and fast no-bake treat requires just three ingredients and they are perfect for any party or holiday event.
These Oreo cake pops are basically our Easy Chocolate Oreo Truffles on a stick, so you can follow those instructions if you’d rather they be more of a cake ball presentation.
Looking for more Oreo recipes? Check out:
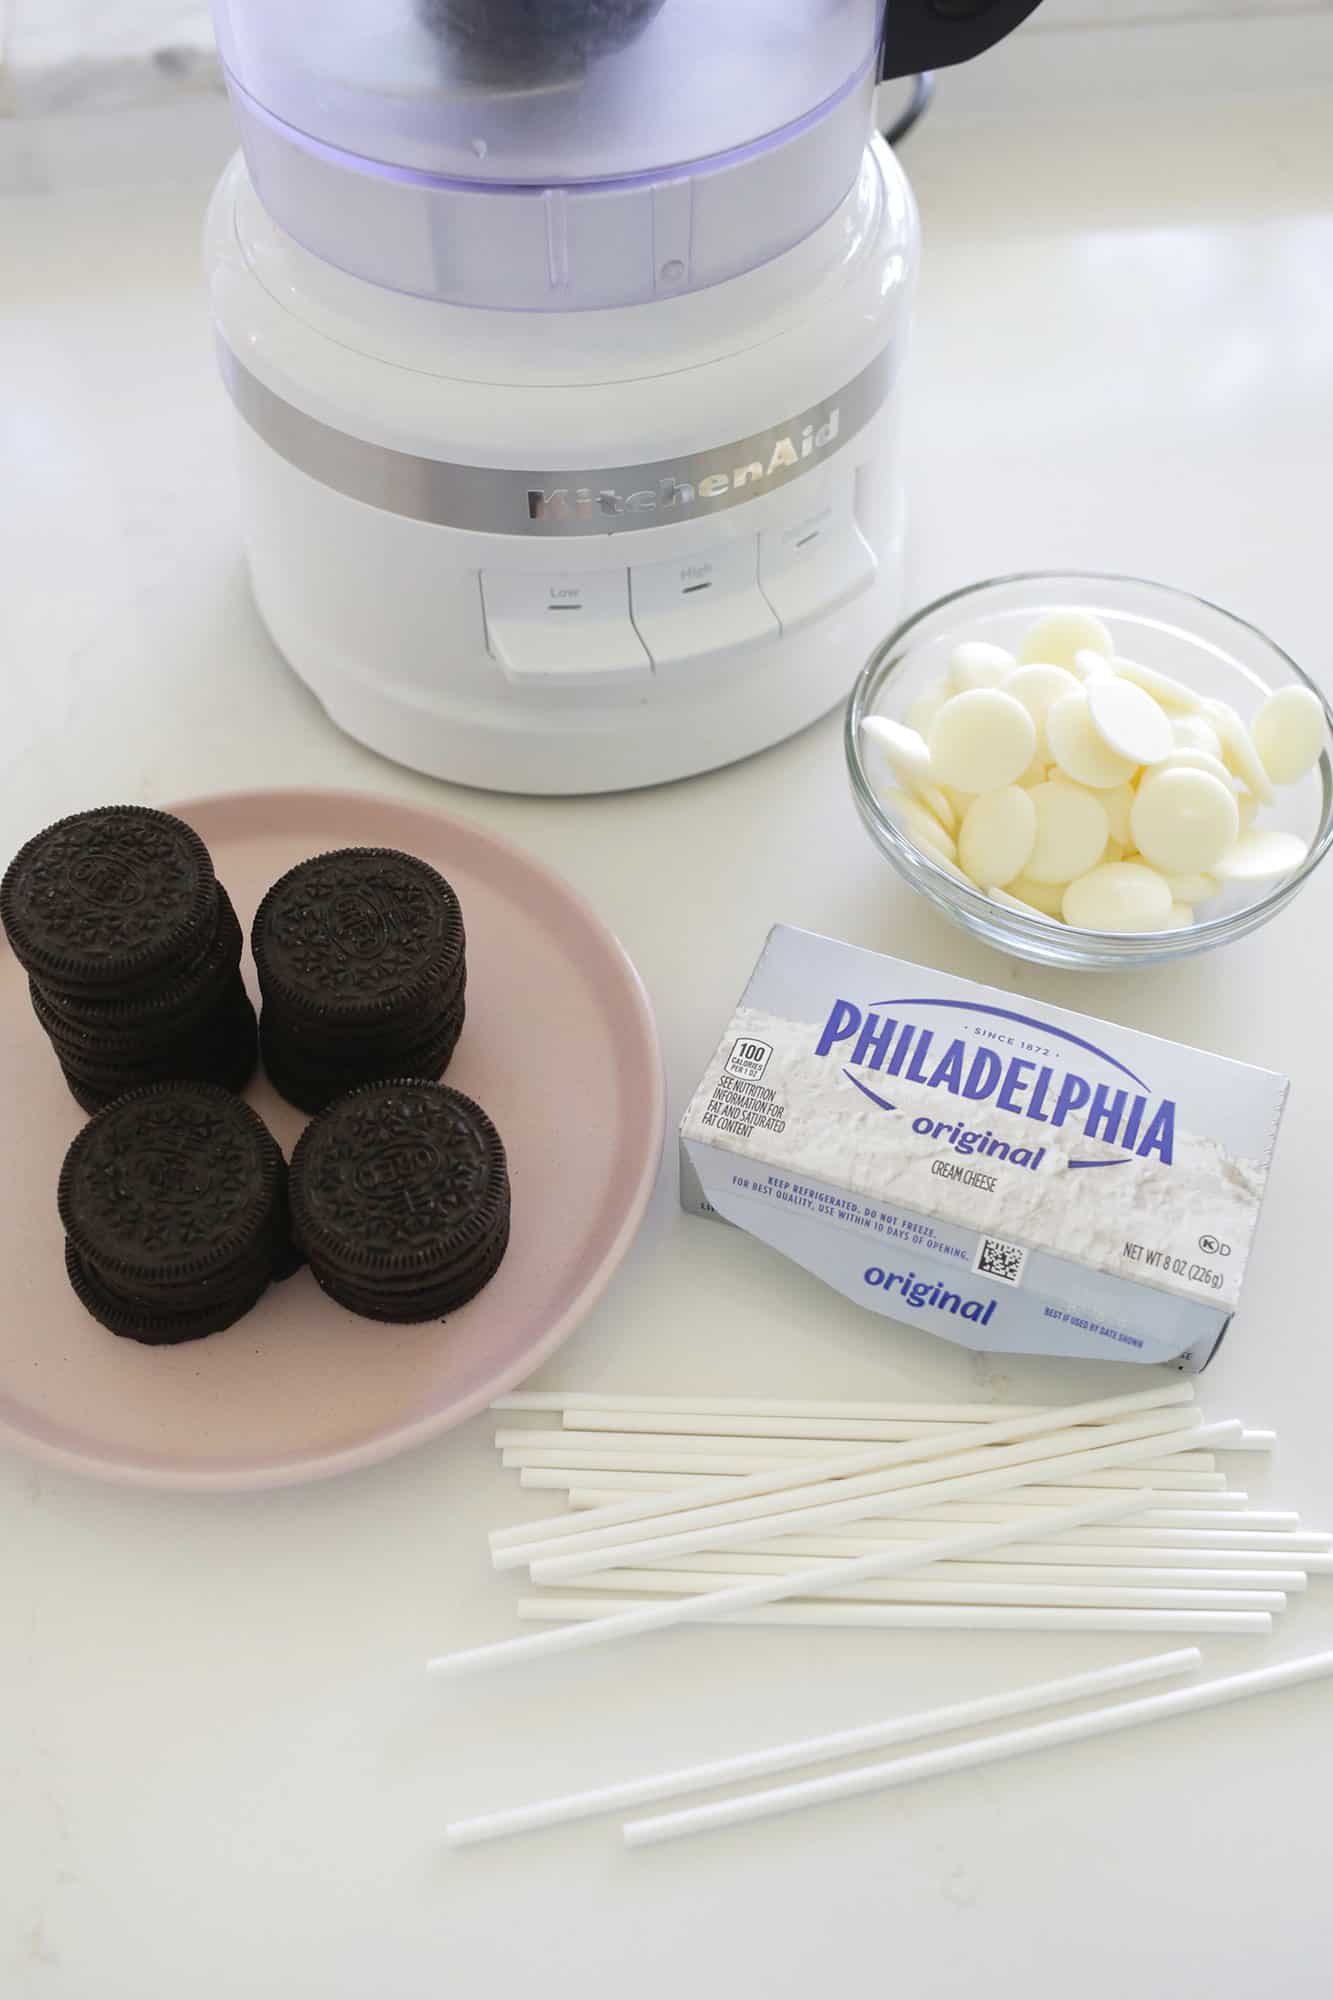
Ingredients to make Oreo cake pops:
- Oreos: Since you’re trying to get a specific cookie to filling ratio, you’ll want to use regular Oreos rather than double stuffed. You can, however, use flavored options like mint Oreos if you want to add in an additional flavor.
- Cream cheese: The cream cheese is going to act as a binder for our cake balls and bind all the cookie crumbs together.
- Melting chocolate: While you can also cover these in milk chocolate, white chocolate gives a nice visual contrast to the dark Oreo center—or you can do some of each!
Frequently Asked Questions
Can I use chocolate chips instead of melting chocolate?
While candy melts work best for cake pops, you can also use chocolate chips instead. The mixture will be a little thicker and slightly harder to work with (but still OK) and the shell around the cake pops will be thicker once the chocolate sets. Just make sure to heat your chips for only 15 seconds at a time once they start to melt in the microwave so you don’t risk overheating the chocolate.
Can I use something besides cream cheese?
Yes, the cream cheese is a binding agent, so feel free to use a frosting you like or mascarpone cheese instead!
TIP: If you don’t have a food processor, you can also crush all the Oreos by placing them in a large ziplock bag and crushing them with a rolling pin!
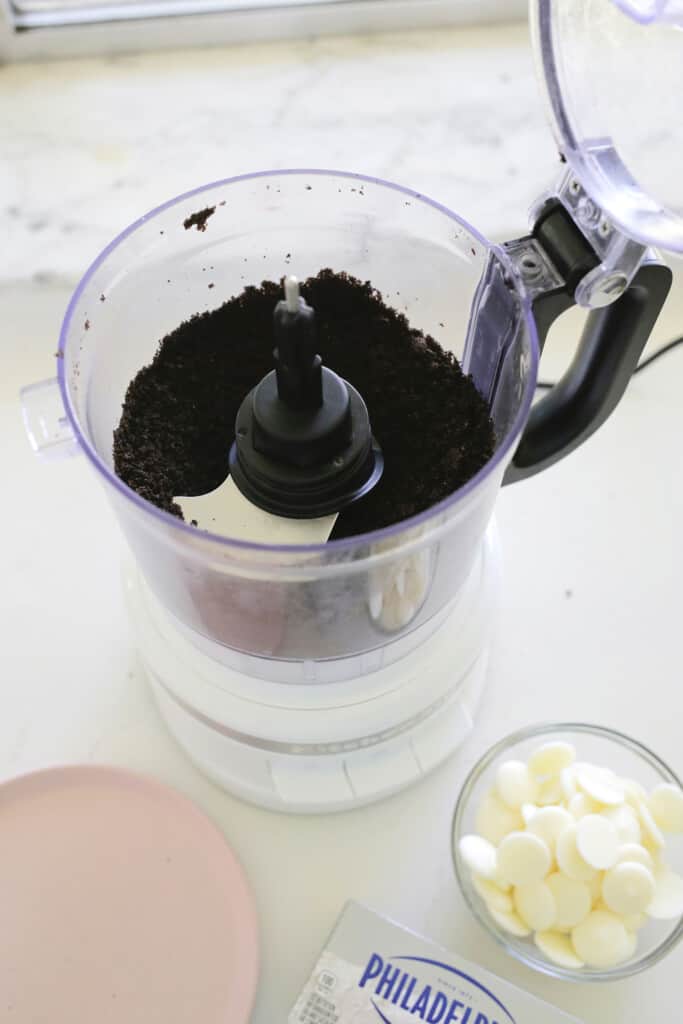
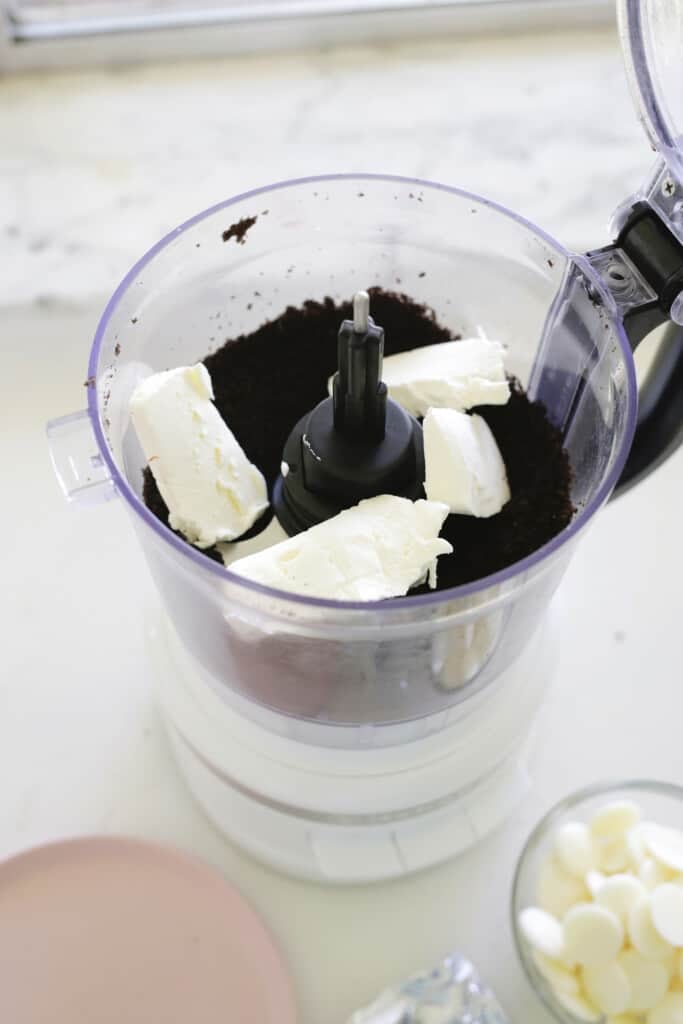
How to Make Oreo Cake Pops:
Make your dough: Use a food processor to blend your cookies down to a fine powder—make sure all the lumps are gone! Add your cream cheese and pulse until smooth (you can also use a hand mixer for this or even squish it all together with your hands).
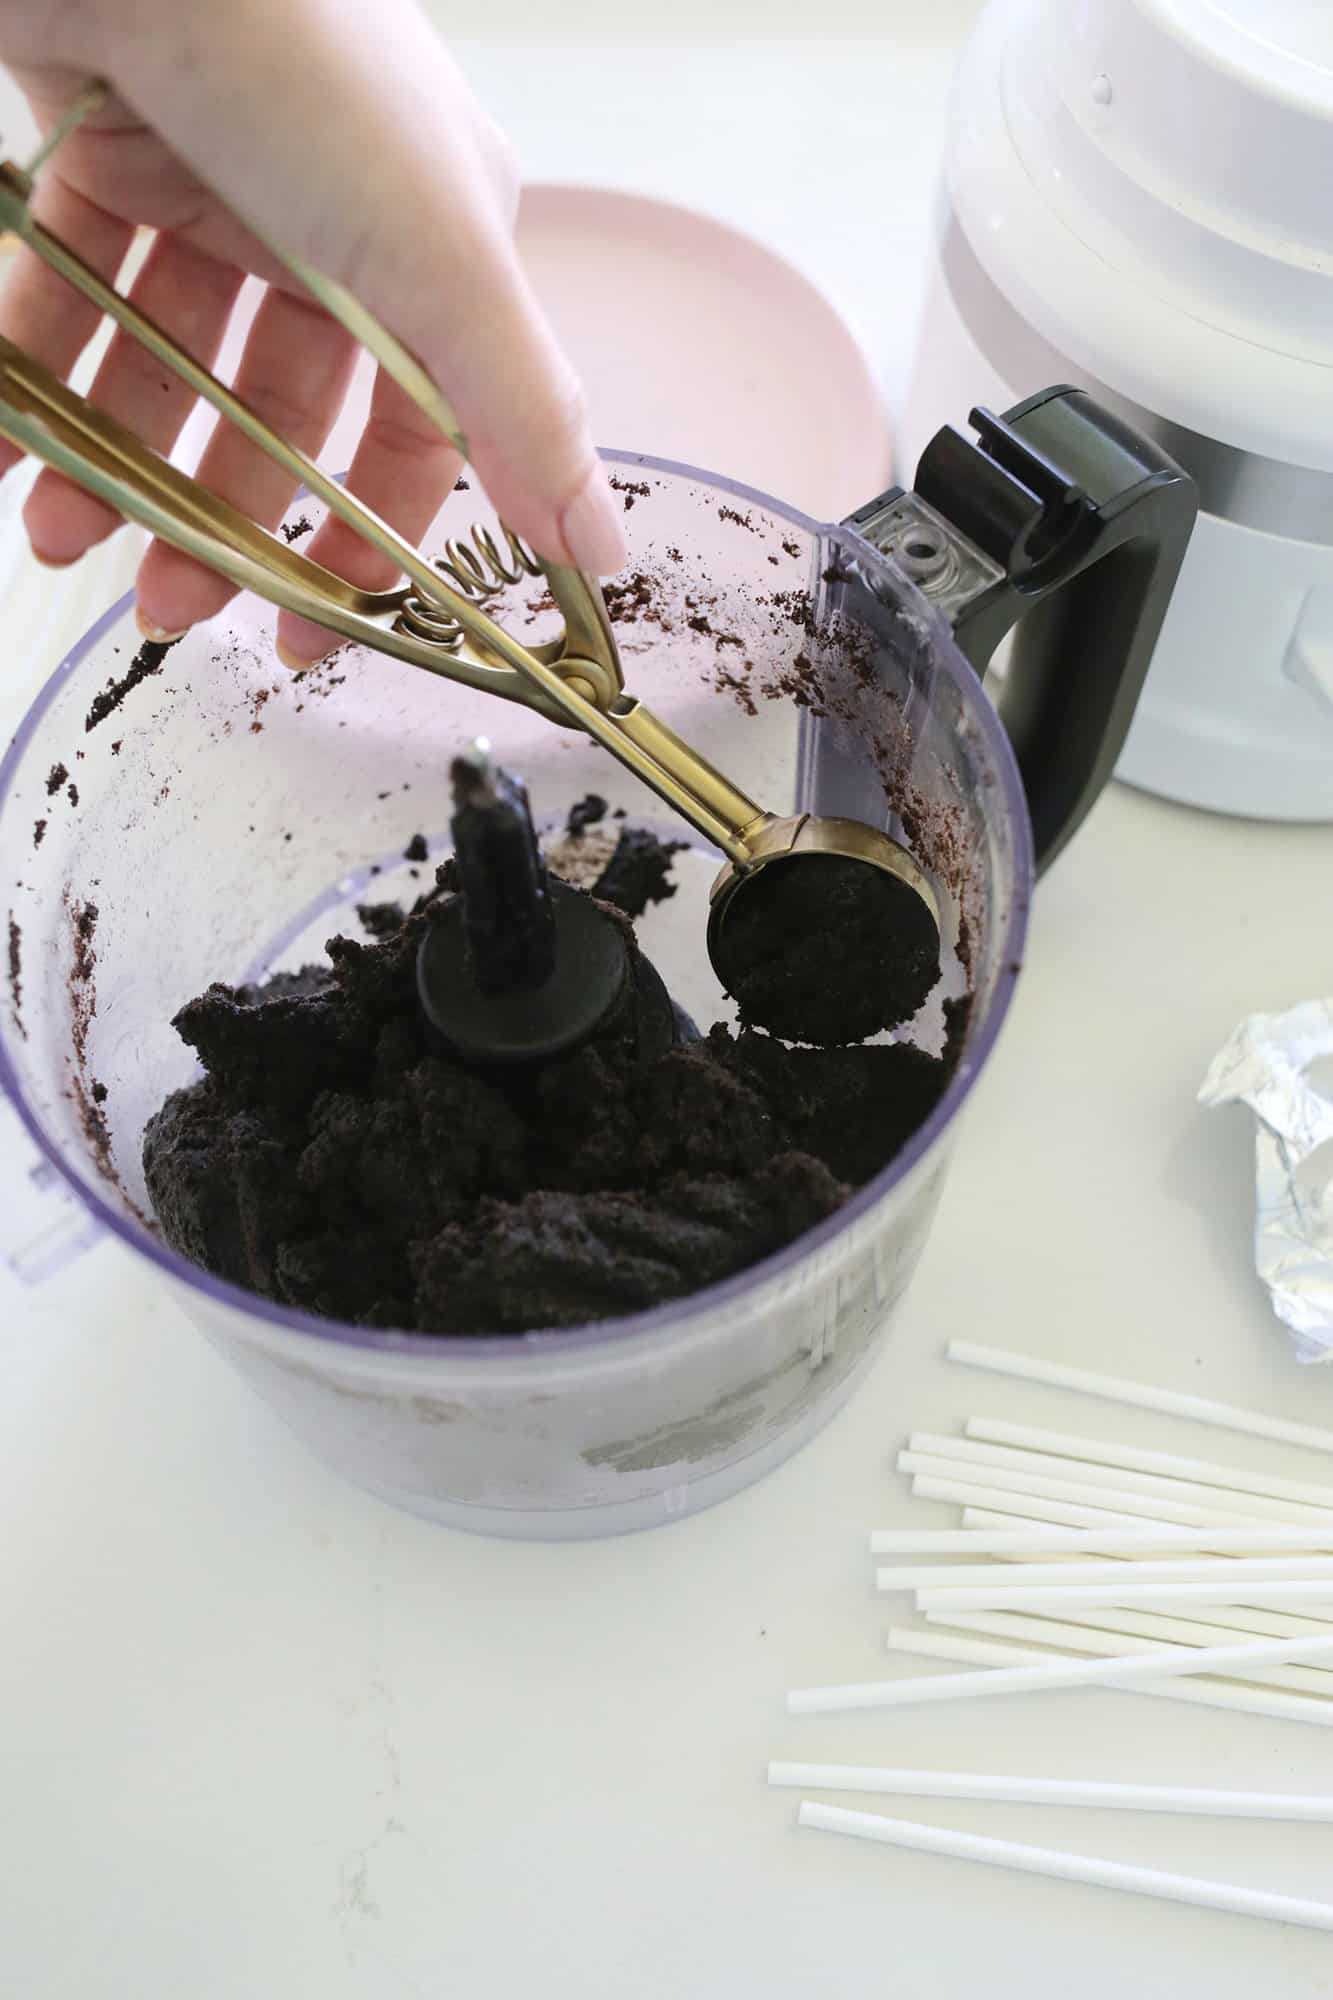
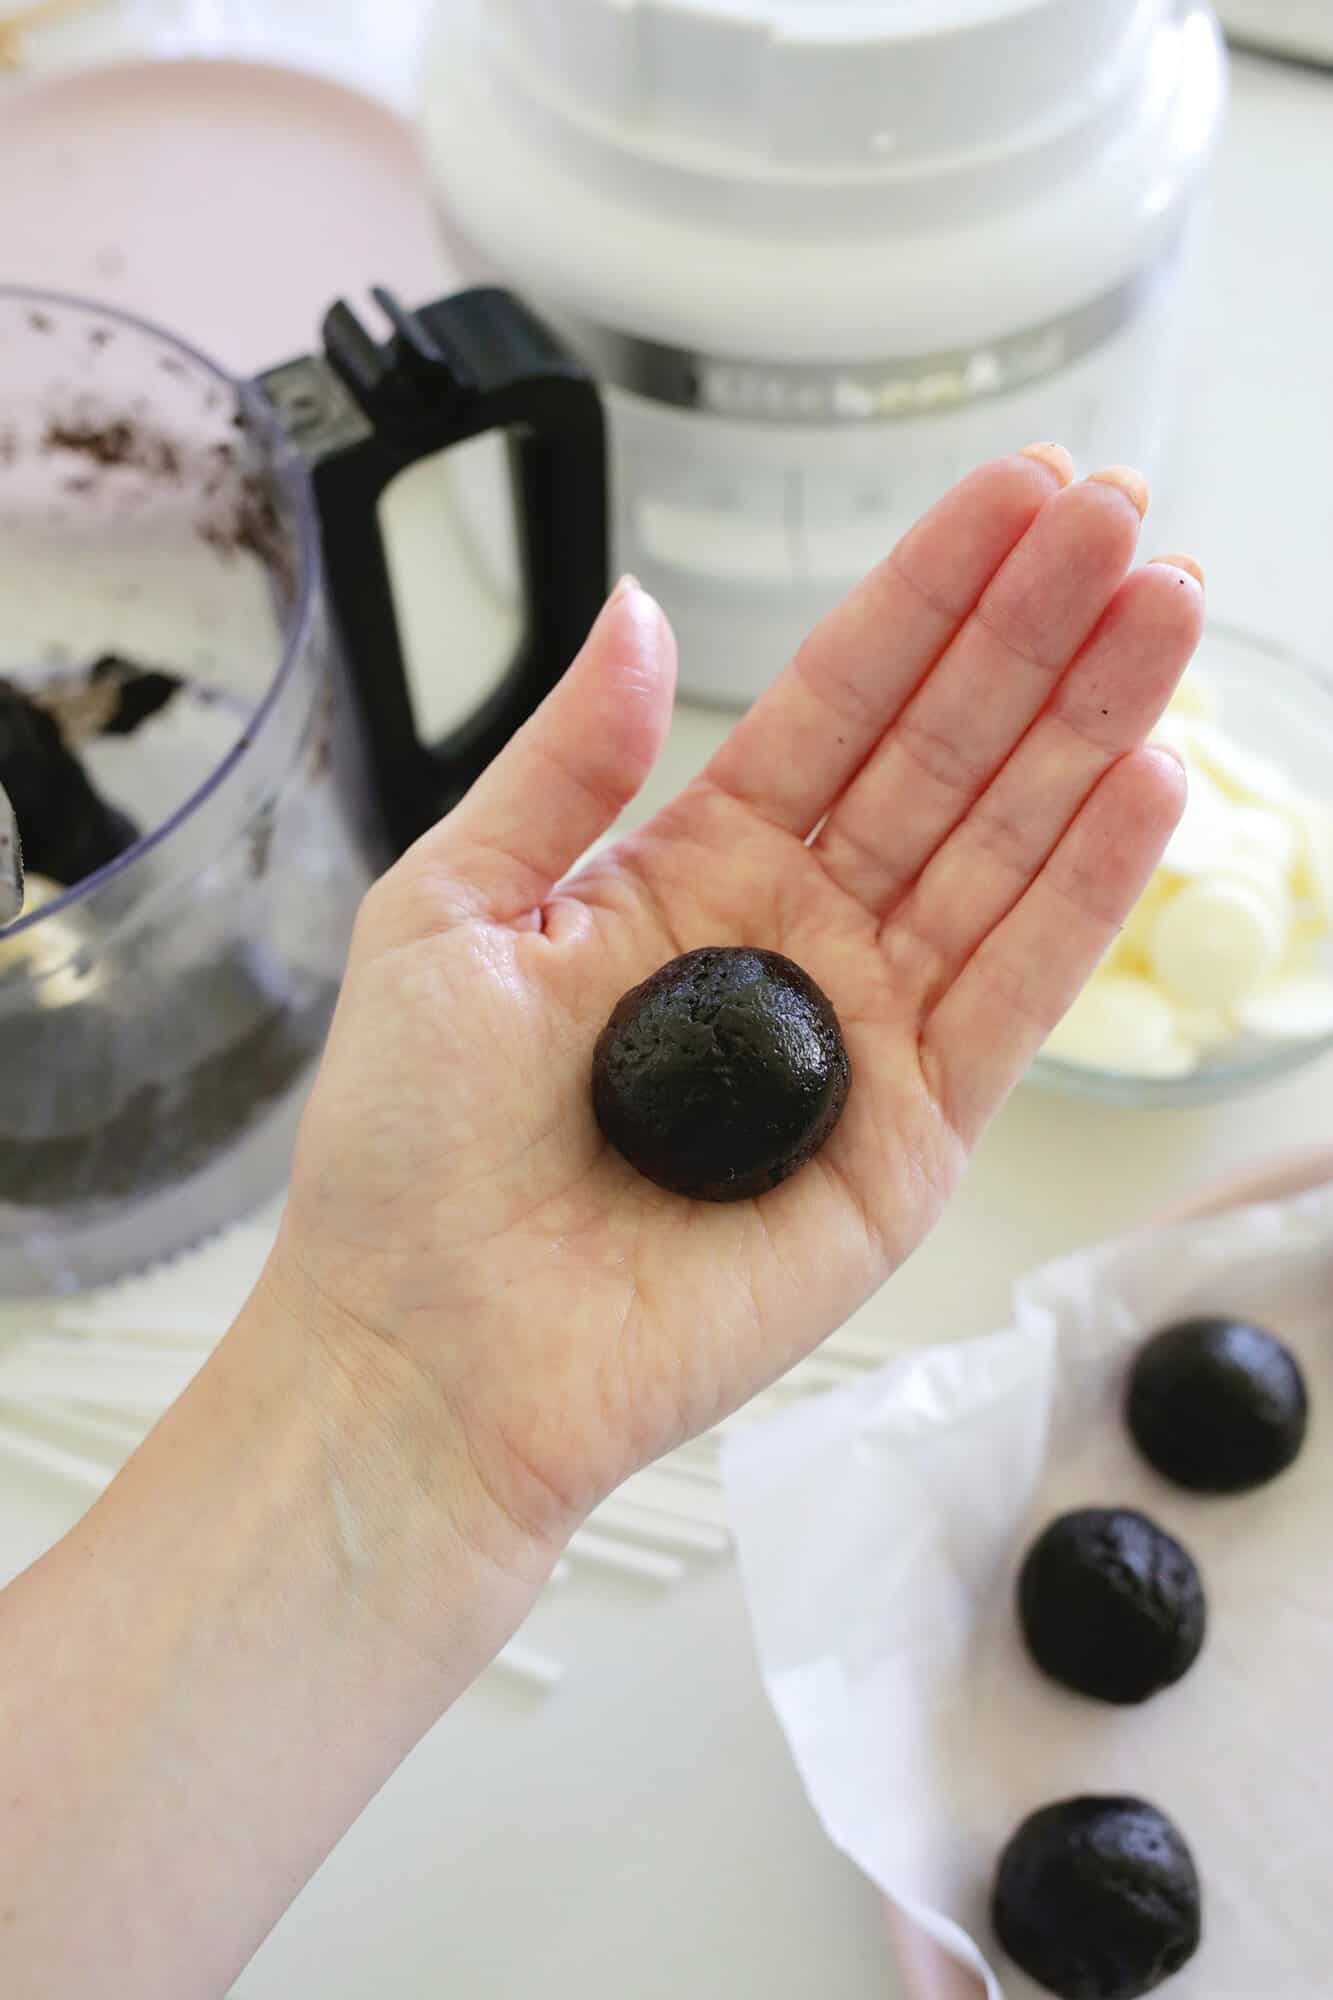
Form your balls: Using a small cookie scoop, scoop out balls of dough and roll them in your hands to form a ball (you can scoop out 1-2 tablespoons of dough if you don’t have a cookie scoop). Place your balls on a tray or plate covered with parchment paper and put in the freezer for 10-15 minutes while you melt your chocolate.
Melt your chocolate: Melt candy melts in the microwave in 30-second increments on half power. If you need to thin your candy melts, you can stir in a teaspoon of canola or vegetable oil once melted and can reheat the chocolate for 15 seconds at a time to remelt if it starts to set up at any point.
Frequently Asked Questions
How do I melt the chocolate if I don’t have a microwave?
You can easily melt chocolate on the stove with a double boiler, by putting a heat-proof glass bowl on top of a saucepan with simmering water underneath, or a chocolate melter like this one.
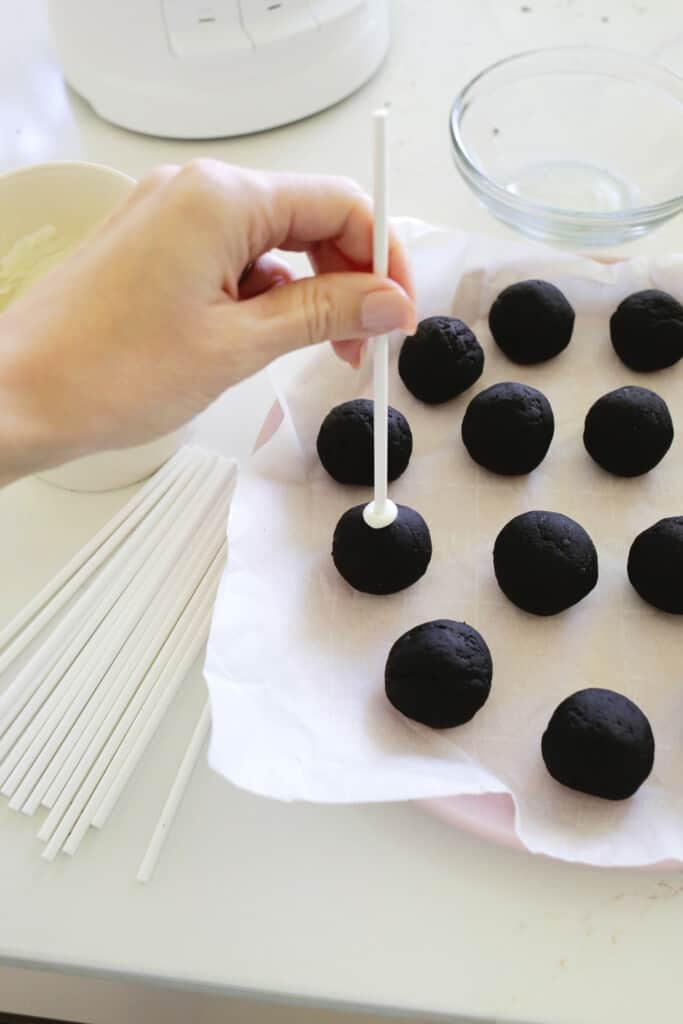
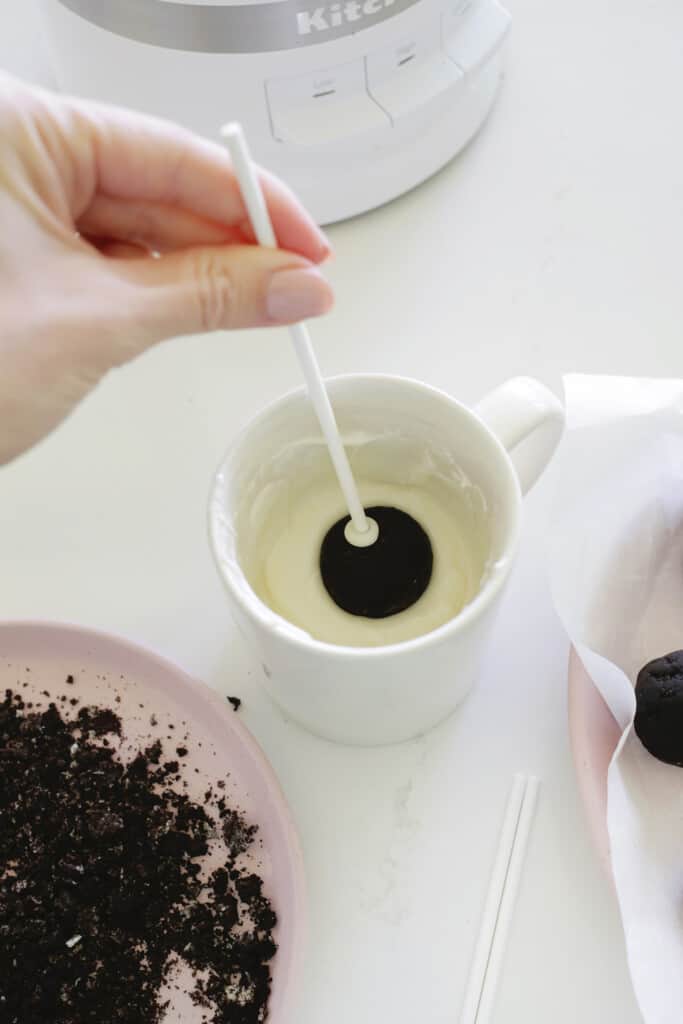
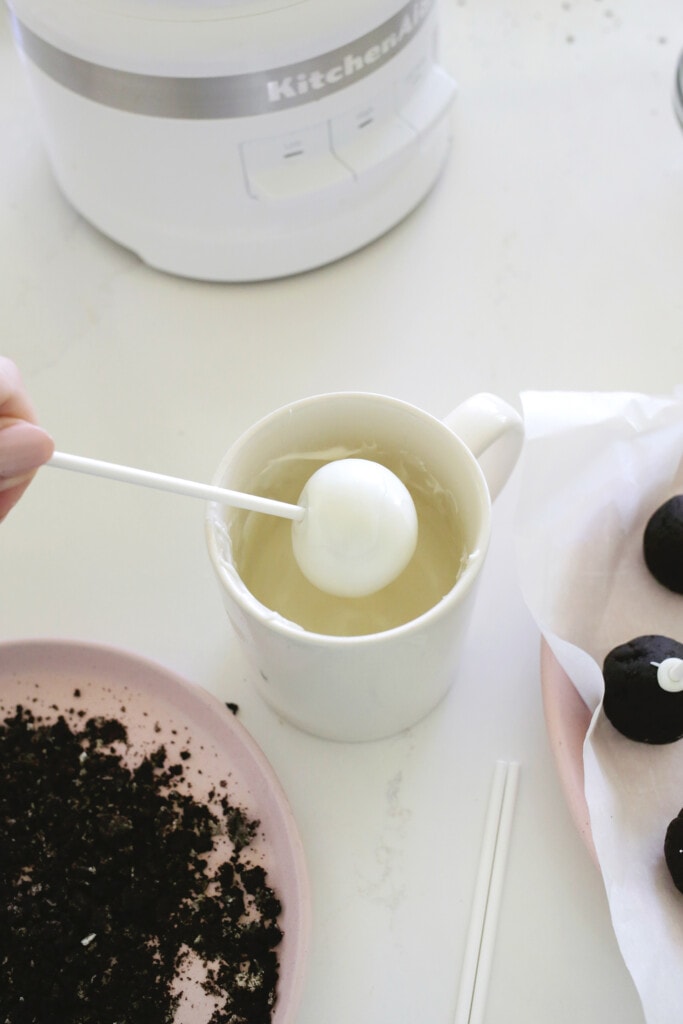
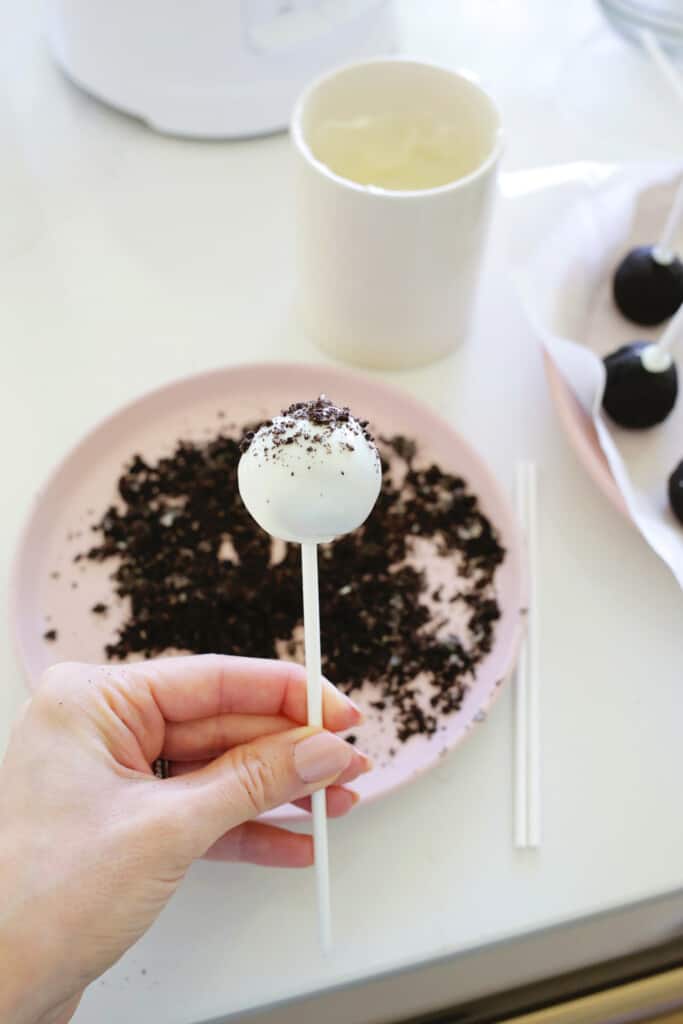
Attach cake balls to sticks: First, put your stick into the melted chocolate and push the stick 2/3 through a cold cake pop. Repeat with all cake pops and put back into the freezer for 15 minutes.
Dip your cake balls: Dip the attached cake pop into the melted chocolate and allow any excess chocolate to drip off the pop. Gently tap the cake pop stick on the side of your bowl to also shake off extra chocolate. Then, add any extra decorations and store the cake pop upright while it sets (unless you don’t mind a flat bottomed cake pop with the stick sticking up).
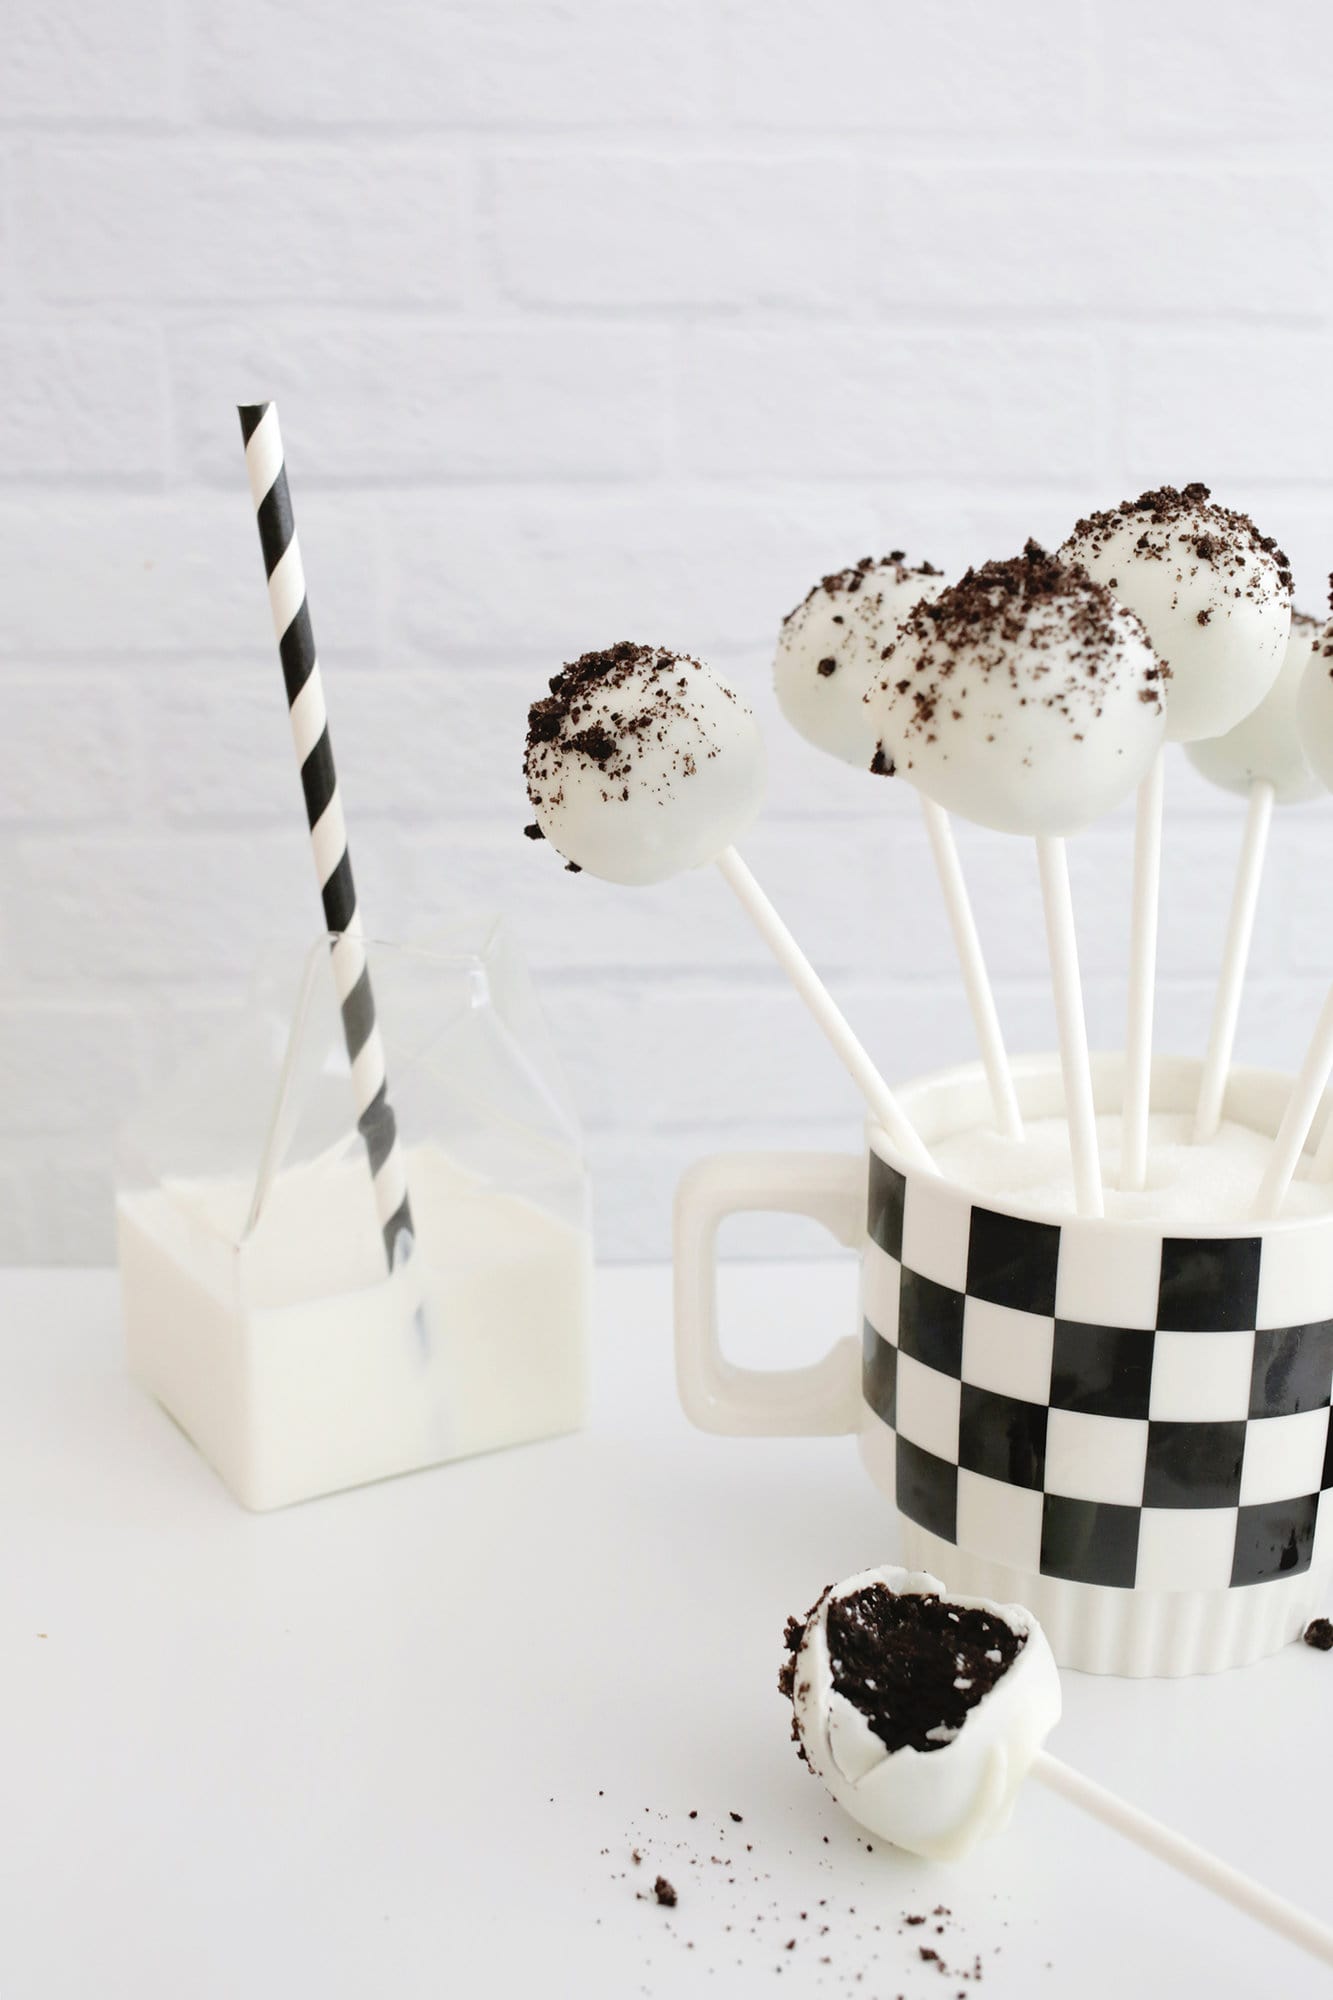
TIP: While they set, you can keep them upright in a number of ways like sticking them into a container that is filled with granulated white sugar or rice, or you can stick them into a block of styrofoam.
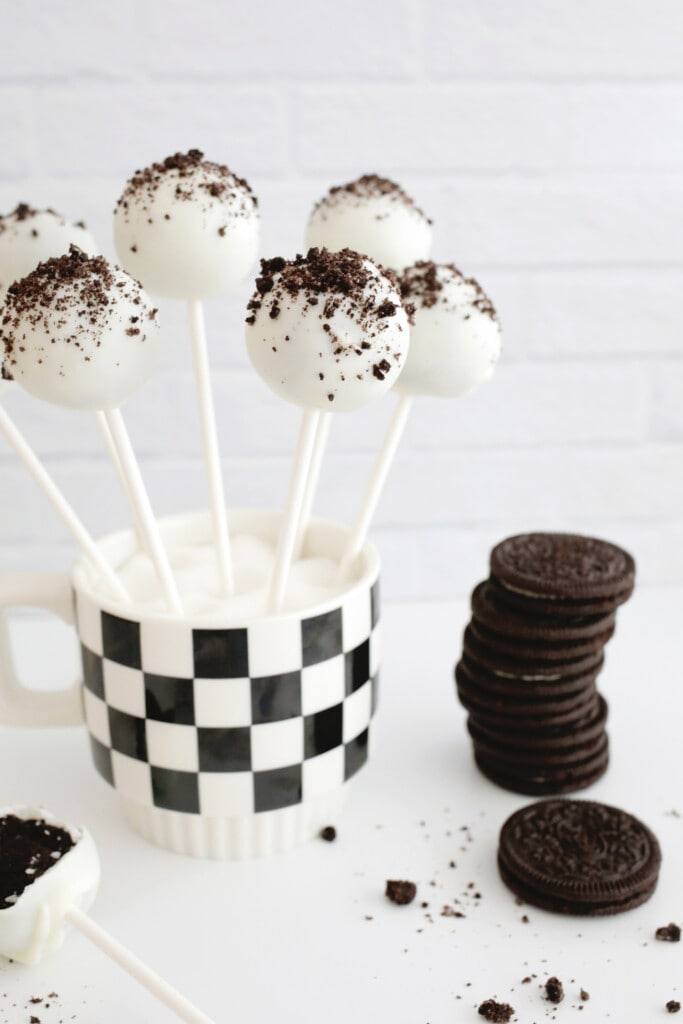
Tips for Making Oreo Cake Pops
- If your dough is too sticky, try chilling the dough in fridge for 15 minutes before making your balls.
- Try melting your chocolate in a mug in smaller batches so you have a deeper pool of chocolate to dip into so you can submerge it easier than putting it in a large bowl.
- Add a contrasting color of melted chocolate to a piping bag or small ziplock baggie with the tip cut off so you can drizzle a squiggle design over the finished cake pops.
- Try using mint Oreos for a chocolate mint variety.
- Reserve a bit of crushed Oreos to sprinkle over the dipped cake pops as a decoration.
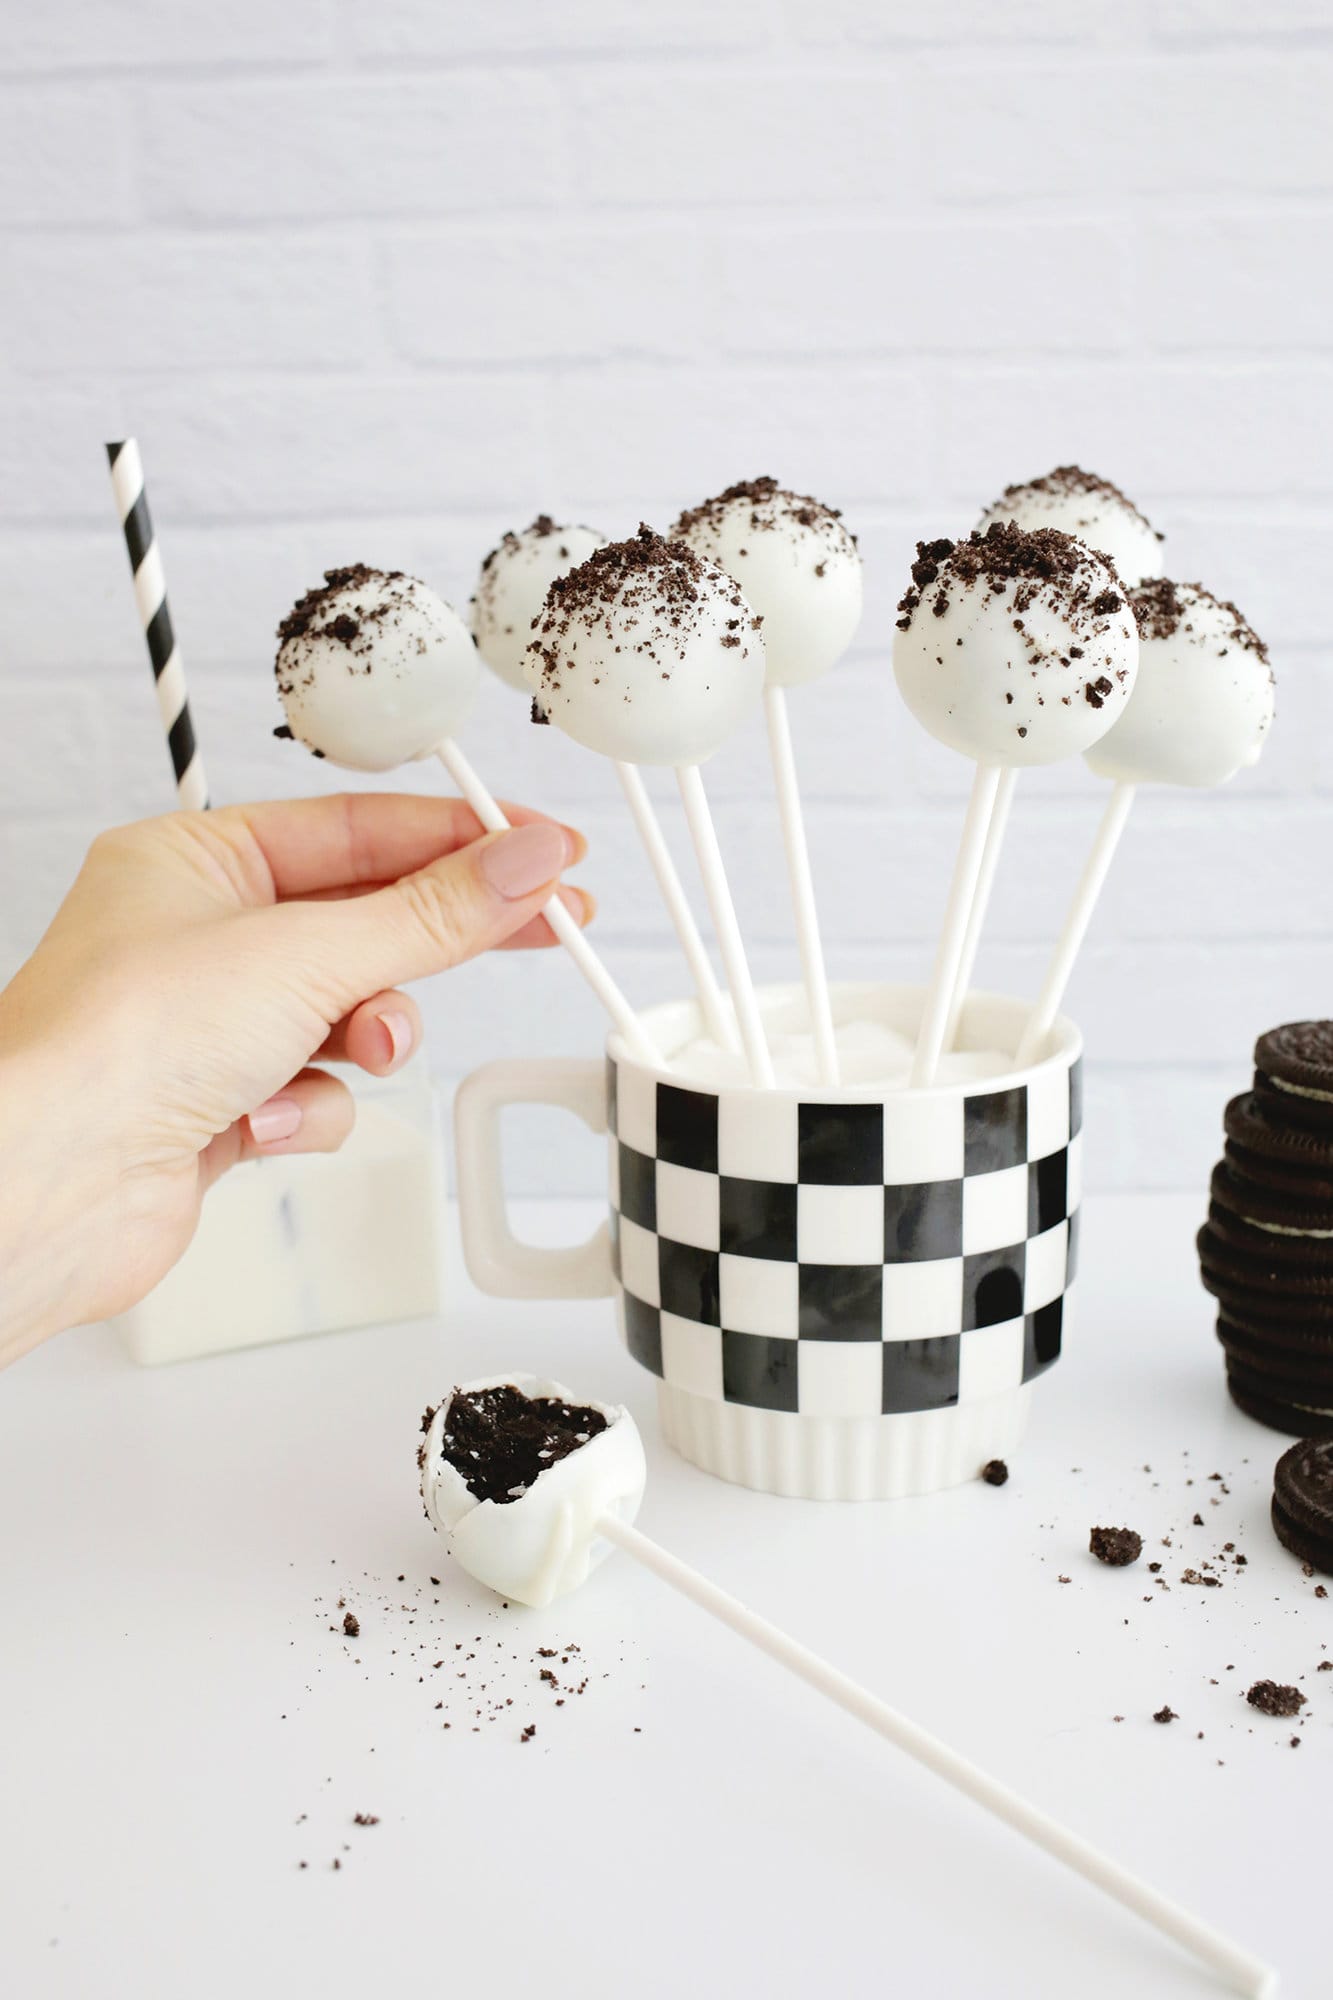
What are good toppings for Oreo cake pops?
- Crushed Oreos: Crushing a few extra Oreos gives you the perfect topping to sprinkle on your completed cake pops.
- Shaved chocolate: Chocolate shavings or chopped up chocolate chips work perfectly with this recipe.
- Sprinkles or nonpareils: Raid your baking drawer for a few sprinkle options to add a little crunch to your cake pop.
- Melted chocolate: Drizzling more melted chocolate (white, milk, or dark) from a ziplock baggie with the tip cut off is an easy way to decorate.
- Peppermints: Crushed peppermints can transform these into the perfect holiday treat!
FAQ
Frequently Asked Questions
How do you store Oreo cake pops?
You can store the cake pops in an airtight container in the fridge for up to five days.
Can you freeze Oreo cake pops?
Yes, you can freeze them for up to three months (let them thaw in fridge before serving).
Looking for other dessert ideas? Check out:
Get our FREE recipe guide with our most popular recipes of all time!

Free Popular Recipe Guide
Our top 25 recipes of all time!
Get the Recipe
This easy and fast no-bake treat requires just three ingredients and they are perfect for any party or holiday event.
Instructions
-
Make your dough: Use a food processor to blend your cookies down to a fine powder—make sure all the lumps are gone! Add your cream cheese and blend until smooth (you can also use a hand mixer for this or even squish it all together with your hands).
-
Form your balls: Using a small cookie scoop, scoop out balls of dough and roll them in your hands to form a ball (you can scoop out 1-2 tablespoons of dough if you don’t have a cookie scoop). Place your balls on a tray or plate covered with parchment paper and put in the freezer for 10-15 minutes while you melt your chocolate.
-
Melt your chocolate: Melt candy melts in the microwave in 30-second increments on half power. You could also use a double boiler to do it on the stove top or a chocolate melter like this one. If you need to thin your candy melts, you can stir in a teaspoon of canola or vegetable oil once melted and can reheat the chocolate for 15 seconds at a time to remelt if it starts to set up at any point.
-
Attach cake balls to sticks: First, put your stick into the melted chocolate and push the stick 2/3 through a cold cake pop. Repeat with all cake pops and put back into the freezer for 15 minutes.
-
Dip your cake balls: Dip the attached cake pop into the melted chocolate and allow any excess chocolate to drip off the pop. Gently tap the cake pop stick on the side of your bowl to also shake off extra chocolate. Then, add any extra decorations and store the cake pop upright while it sets (unless you don’t mind a flat bottomed cake pop with the stick sticking up).
Notes
- If you don’t have a food processor, you can also crush all the Oreos by placing them in a large ziplock bag and crushing them with a rolling pin!
- If your dough is too sticky, try chilling the dough in fridge for 15 minutes before making your balls.
- Try melting your chocolate in a mug in smaller batches so you have a deeper pool of chocolate to dip into so you can submerge it easier than putting it in a large bowl.
- Add a contrasting color of melted chocolate to a piping bag or small ziplock baggie with the tip cut off so you can drizzle a squiggle design over the finished cake pops.
- Try using mint Oreos for a chocolate mint variety.
- Reserve a bit of crushed Oreos to sprinkle over the dipped cake pops as a decoration.
- While they set, you can keep them upright in a number of ways like sticking them into a container that is filled with granulated white sugar or rice, or you can stick them into a block of styrofoam.
Nutrition
Nutrition Facts
Oreo Cake Pops
Amount per Serving
% Daily Value*
* Percent Daily Values are based on a 2000 calorie diet.
Notice: Nutrition is auto-calculated, using Spoonacular, for your convenience. Where relevant, we recommend using your own nutrition calculations.

