Bolt-On Universal Hi-Lift Jack Mount From Prinsu On 3rd Gen Tacoma Roof Rack- Install, Review & Overview
As a fellow Tacoma owner, I’m sure you can agree that we have limited room for storage. As you begin to build your truck, this problem becomes exponentially more evident. Adding a Prinsu roof rack to your truck can help give you more storage solutions, but what about securing awkward items like a Hi-Lift jack?
Prinsu has a large selection of accessories that help you customize your roof rack the way you want to use it. One notable accessory is their universal roof rack jack mount. These are universal since the vast majority of roof rack systems utilize the industry standard crossbars. Make sure you have the right crossbars that work with this mount before you buy.
Find It Online
- Prinsu Universal Roof Rack Hi-Lift Jack Mount: Check Price
- Hi-Lift Truck Jack
Hi-Lift Jack Roof Rack Mount
Installation

Installing the Prinsu Hi-Lift jack mounts is simple and only requires a couple of simple tools.
Required tools
- Ratchet
- 9/16 Socket & 7/16 Socket
- 9/16 Wrench
Step 1. Assemble Hi-Lift Mounts
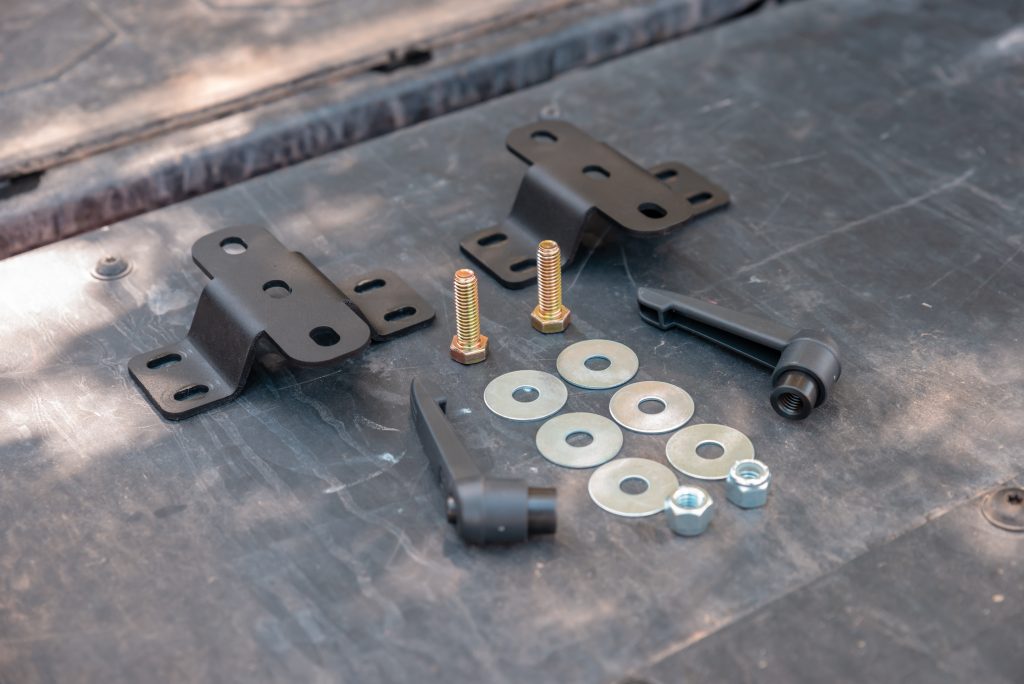
Before we can get these installed onto the Prinsu roof rack, we need to assemble the mounts with the supplied hardware.
One of the supplied gold bolts will slide into the mounts from the underside pointing up. Before you insert the bolt, put one of the large fender washers onto the bolt.
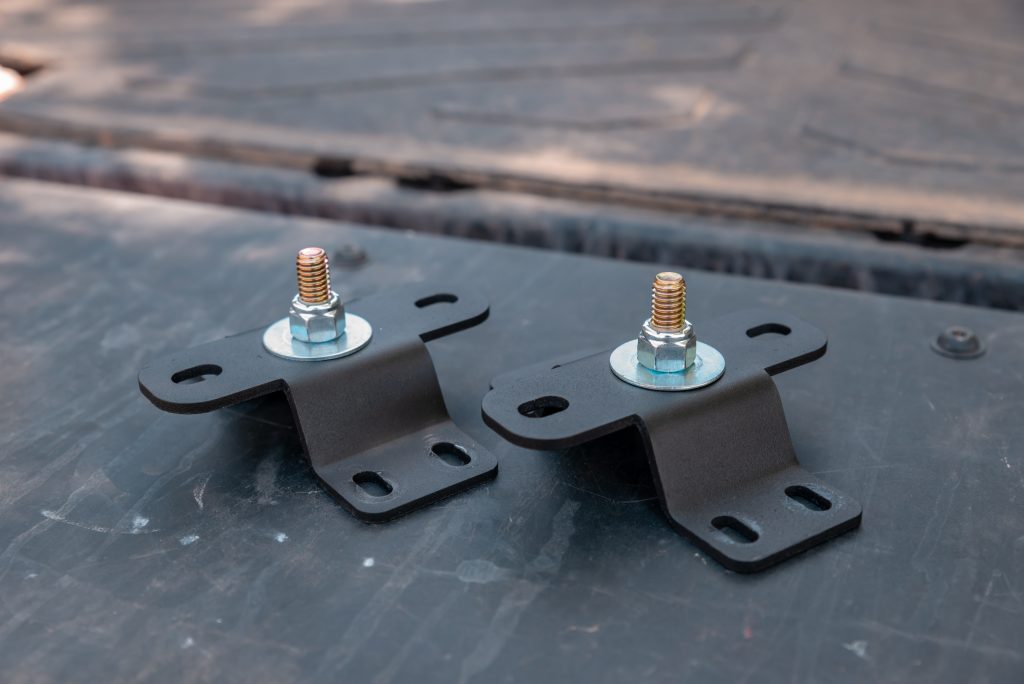
After you slide the bolt and fender washer through the mounts, slide a second fender wash over the bolt and then the nut. Use a 9/16 socket and 9/16 wrench to tighten the hardware onto the mounts.
After these are assembled, you will have two fender washers left over and two black screw-on handles. These will get used in the final step, so put them aside for later.
Step 2. Attach Mounts To Roof Rack
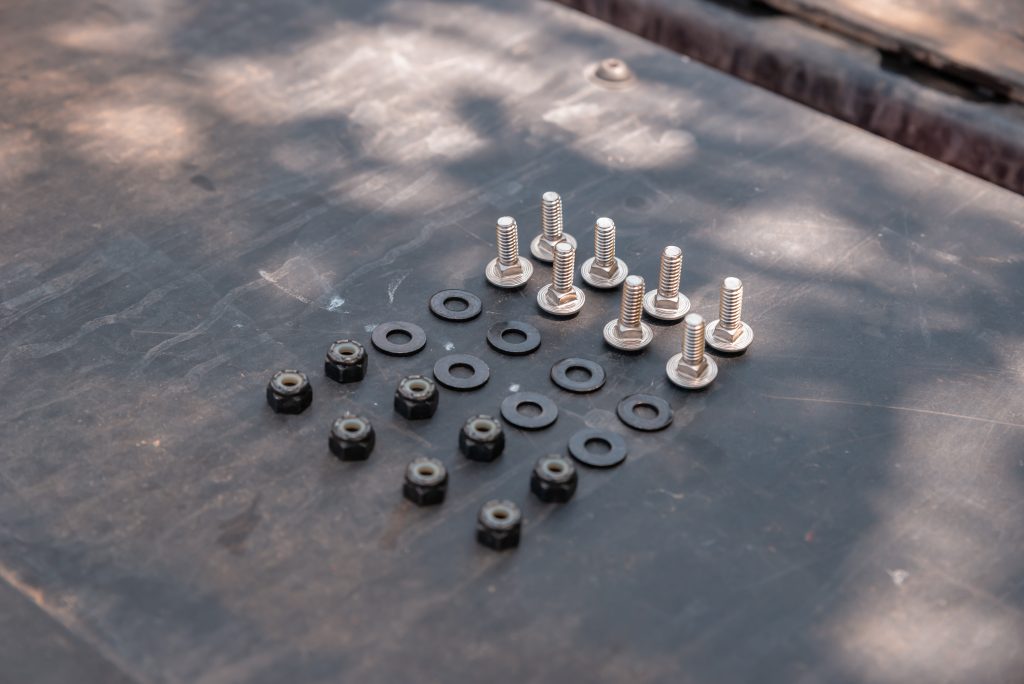
The second half of the supplied hardware is used to attach the mounts onto the roof rack cross rails. For this, you will need eight carriage bolts, flat black washers, and lock nuts.
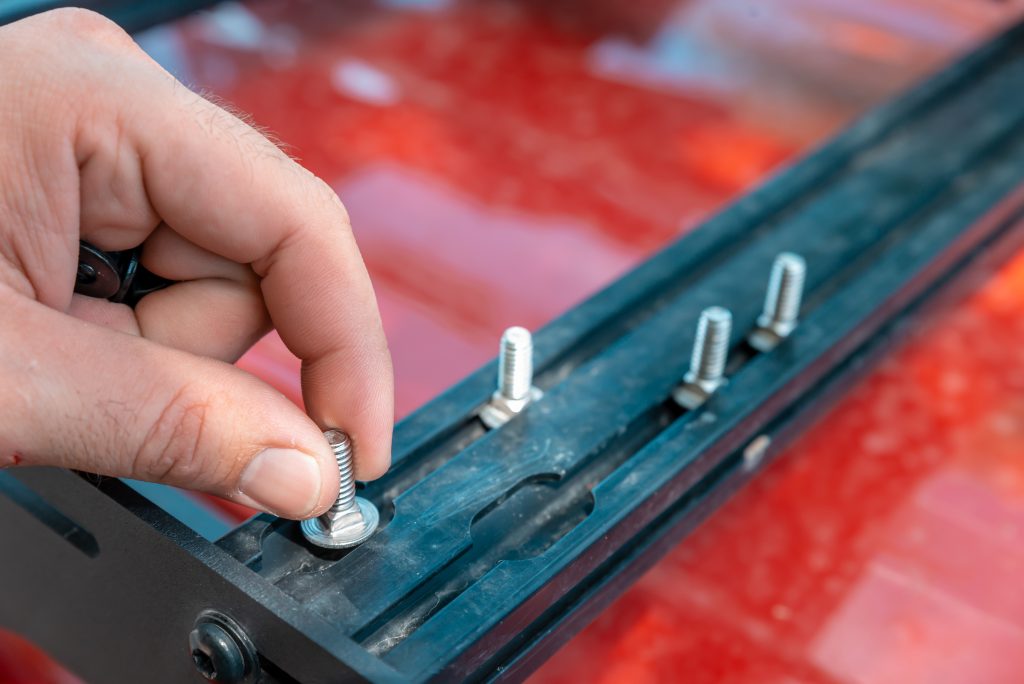
Take four of the carriage bolts and slide them into one of the cross bars. After you have four of them inserted into one of the cross bars, line them up to place one of the Hi-lift brackets.
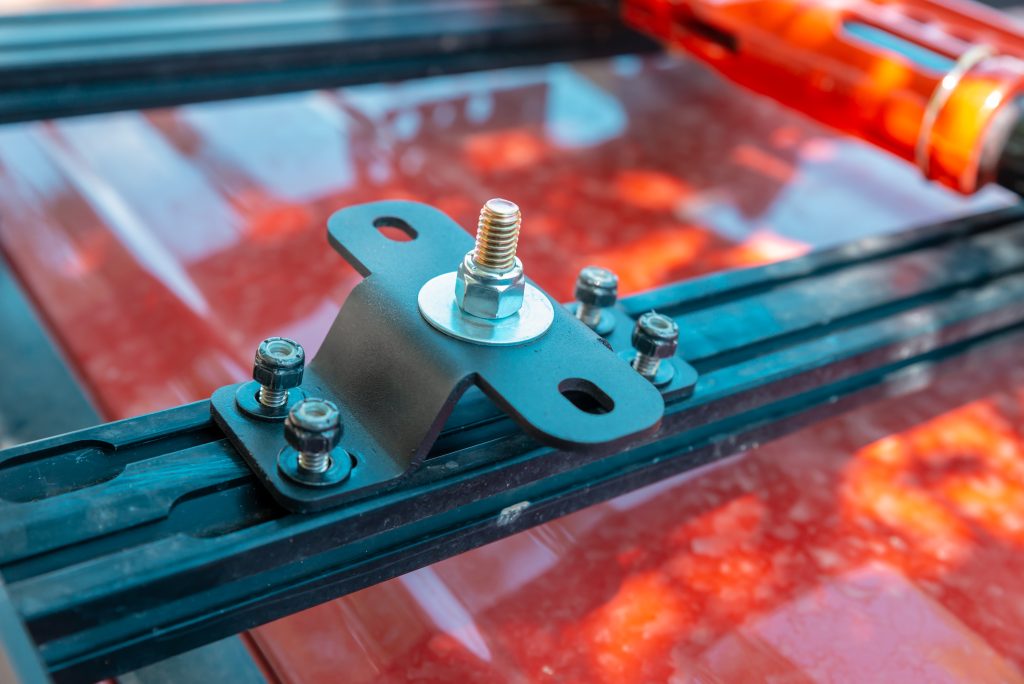
After placing the mount over the four carriage bolts, add a flat washer and a lock nut to each to secure it to the crossbar.
Installing the second one is the exact same process but on a separate crossbar.
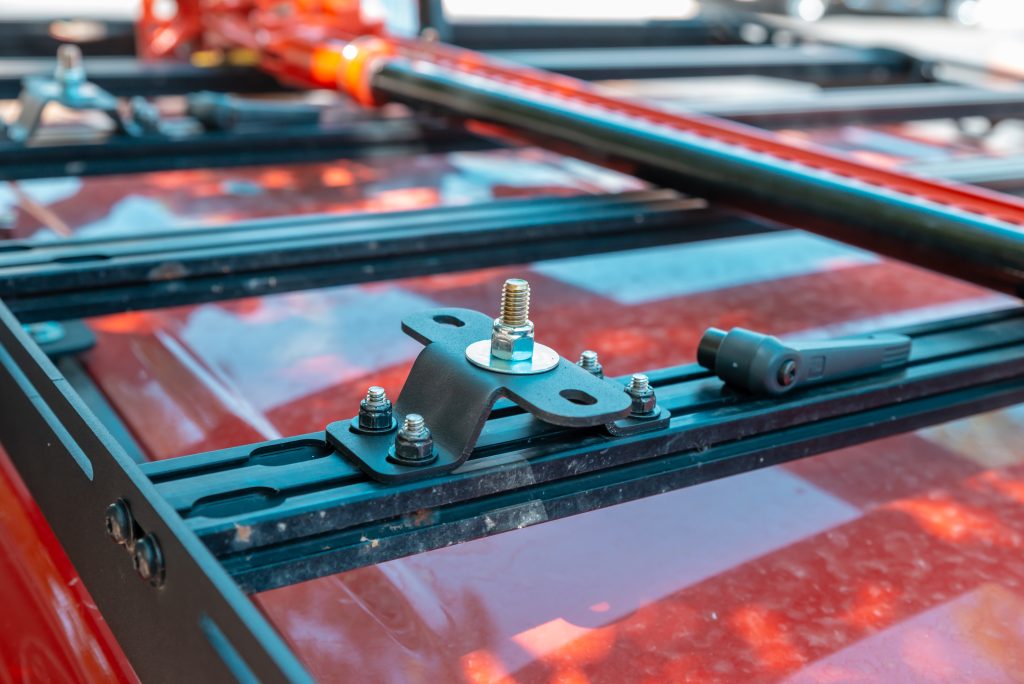
Before you install the second mount, take your jack and line it up with the cross bars to determine which one it should be installed onto.
Step 3. Securing A Hi-Lift Jack
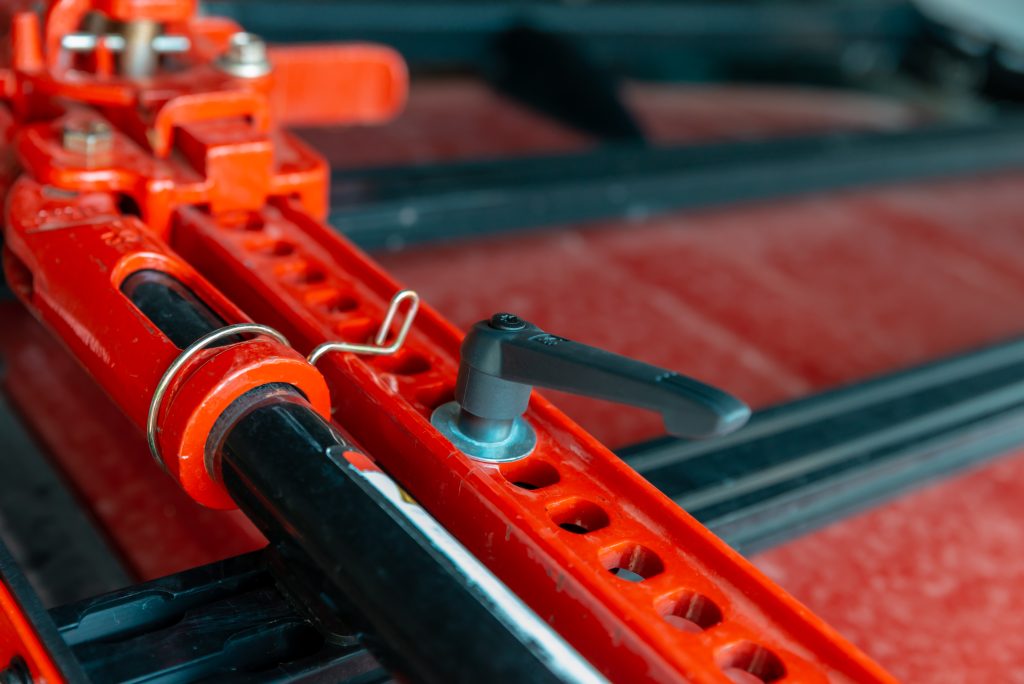
Place your Hi-Lift jack onto the roof rack mounts and line the two bolts up with two of the holes on the jack. Then, install the two remaining fender washers and two screw-on handles to secure it.
Final Thoughts
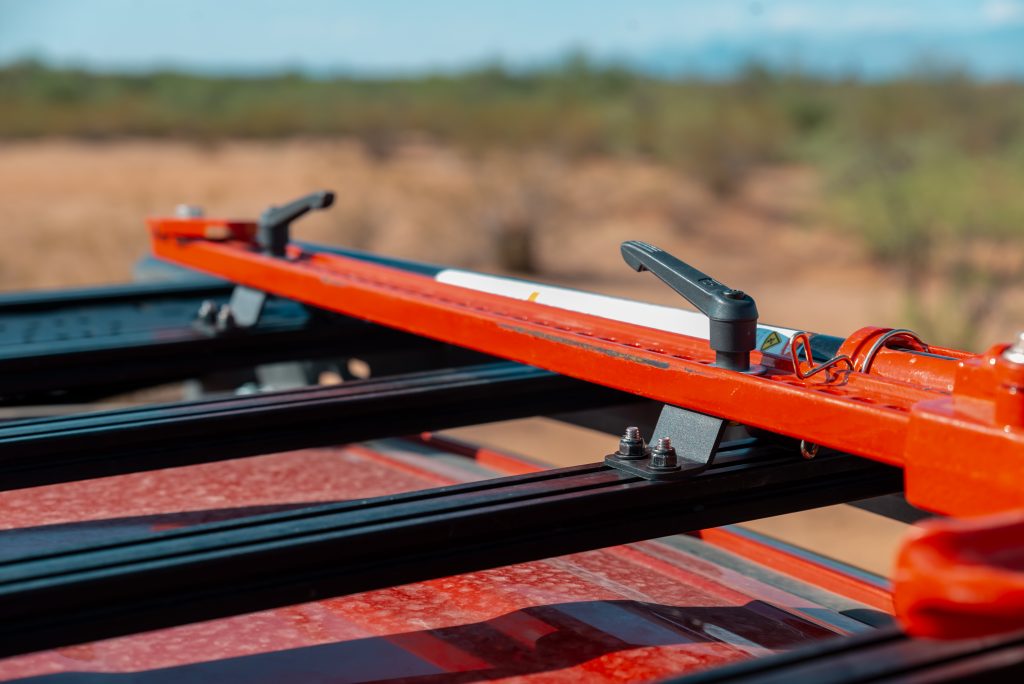
Having a jack out on the trails is a must-have tool if you like to push the limits of your rig. Most people think it’s only used for trail repairs, but this is not true. Hi-Lifts are also used to assist with offroad recoveries. Use extreme caution if using one to work on your truck as it can easily slip off.
The Prinsu Hi-Lift jack mounts are very simple to install and move your jack up and out of the way until it’s ready to be used. They look very clean on the roof rack and accessing the jack is quick and simple.
Prinsu makes multiple different mounts for their roof racks and this is just one of many. With them, you can add a ton of versatility to a seemingly simple roof rack.
