
Prinsu Roof Rack Load Panel (Single) On 3rd Gen (2016-2023) Tacoma – A Versatile Mounting Solution For Your Accessories
When it comes to roof racks for the Tacoma, Prinsu are one of the best choices for a truly custom setup. There are a multitude of accessories to fit your exact needs, one prime example being their roof rack load panel.
This accessory gives you a wide mounting platform that bridges two crossbars. It has numerous mounting holes across, giving you a much more versatile and stable mounting surface over the crossbars alone.
You have the option of adding just a single panel or enough to cover your entire roof rack for the ultimate mounting solution. These truly elevate your rack’s customization abilities to the next level.
Find It Online
Prinsu Roof Rack Load Panel
Features & Specs

- Versatile mounting platform for accessories
- Maximize carrying capacity
- Black powder coat finish
- Fits 1st, 2nd, & 3rd Gen Tacoma Prinsu racks
- Weighs only 14 pounds
- Made in the USA
- Lifetime warranty
Installation
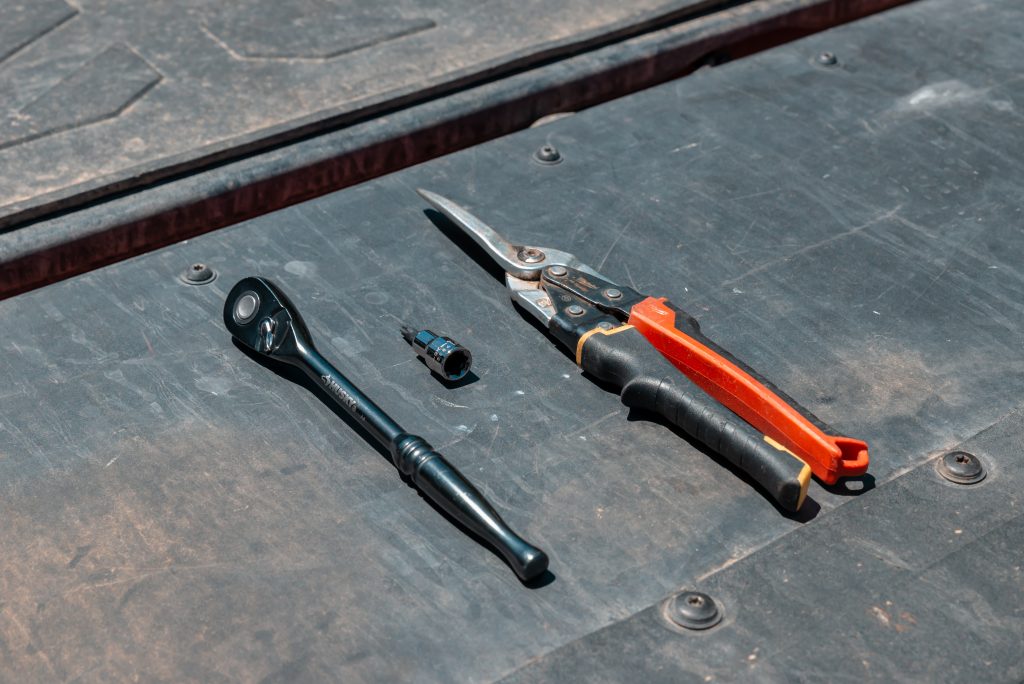
With a 1/2″ ratchet or power drill and a Torx-30 bit, you can install one of these pretty easily. Optionally, you could use a pair of cutters if you are OCD with small things. More on that below.
Step 1. Prepare Panel

With your load panel, Prinsu includes four plastic U-channel strips. The strips press onto each side to help prevent it from rattling inside the crossbar channel.
There are two long strips and two shorter strips for the long and short edges, respectfully. The long strips weren’t the exact length of the panel’s edge, which drove my OCD crazy. So, I had to trim them to match the edges of the panel. Trimming the strips is optional and it will still install without any issue if you opt not to do so.
Step 2. Remove Crossbar Bolts

Choose where you want to install your load panel to determine which crossbars to partially remove. For my installation, I chose to put mine in the front-most position of the rack, between the 1st and 2nd bars.
Use your T-30 bit and ratchet or a drill to remove four crossbar bolts from one side of the roof rack. This is so we can lift the bars and insert the panel between them.
Before you completely remove the crossbar bolts, be careful not to let them drop onto your roof and potentially damage it. Placing a towel under them may be a good idea.
Step 3. Insert Load Panel

Once you have the two bars loosened on one side of the roof rack, line up your load panel between the crossbars’ side channels. Gently slide it through the channels evenly until it reaches the opposite side rail.
Step 4. Re-Secure Crossbars

Once the load panel is fully installed, take your four bolts and re-secure the two crossbars you installed the load panel between. Do not over-tighten these bolts as that may damage the threads on the crossbars.
Final Thoughts

With the Prinsu load panel, I am now much less limited in mounting gear on my rack. There are so many mounting possibilities and I love how much more customizable it has made my Prinsu roof rack.
In addition, I feel like this mod also adds more structural rigidity to help keep the rack square under heavy weight.
I love how these gives the roof rack a more utilitarian vs. skeletal look with just the crossbars. If you’re looking for more mounting options for your Prinsu roof rack, definitely check these panels out!