Prinsu WaterPORT Mount For Roof Racks: Installed On 3rd Gen Tacoma: A Simple Accessory Mount For Portable, Pressurized Water Storage
If you enjoy camping or just being in the outdoors, then you should be familiar with a WaterPORT. For those of you who are not, it is a portable pressurized water source that you can use to wash yourself or whatever needs a rinse. To make things even more convenient, Prinsu created a roof rack bracket to free up your bed space.
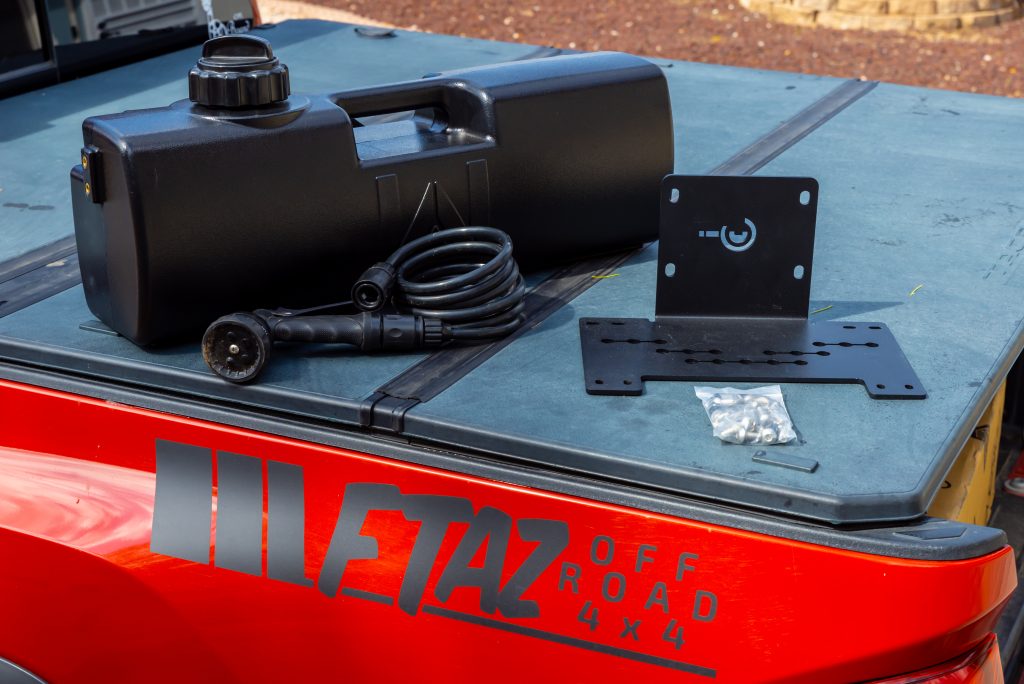
The Prinsu mount was designed to work with their DayTank model as seen in the photo above. The installation for it is pretty simple and puts your water tank in a good elevated location for tasks like a quick shower.
Features & Specs
- Designed for Prinsu Roof Racks
- Made to fit WaterPORT DayTank
- Easy installation
- Strong and only weighs 6 lbs.
- 3/16″ thick steel
- Powder coated black
- Lifetime warranty
Find It Online
Installation

Installation is pretty simple and only requires a couple of hand tools.
Tools Required
- Small ratchet
- 11mm socket
- 3/16″ Allen wrench
Step 1. Pick Location On Your Roof Rack

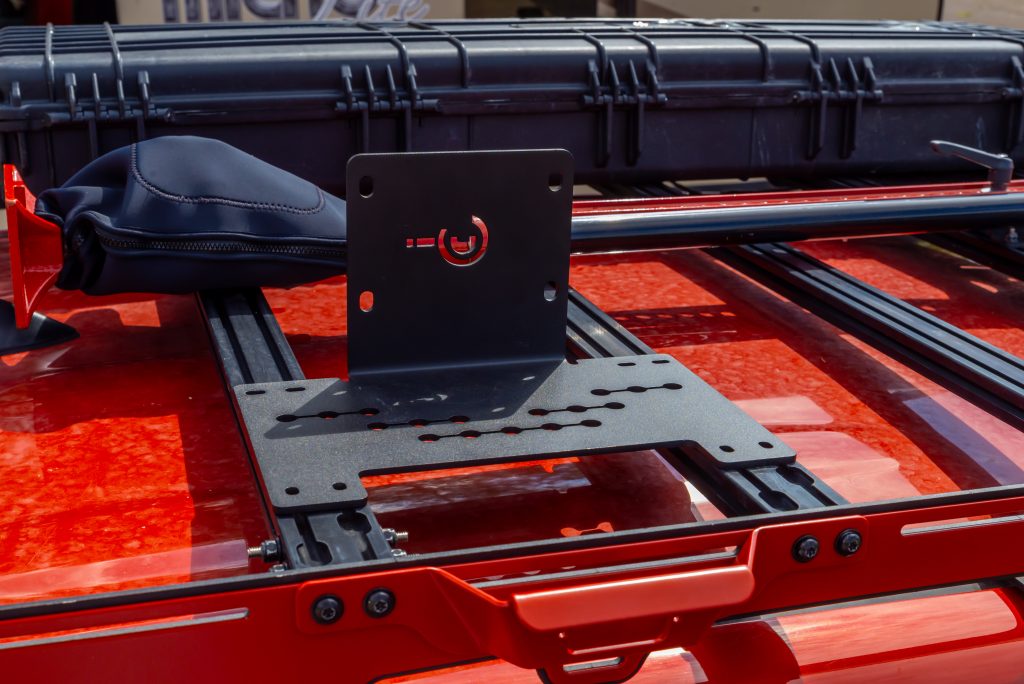
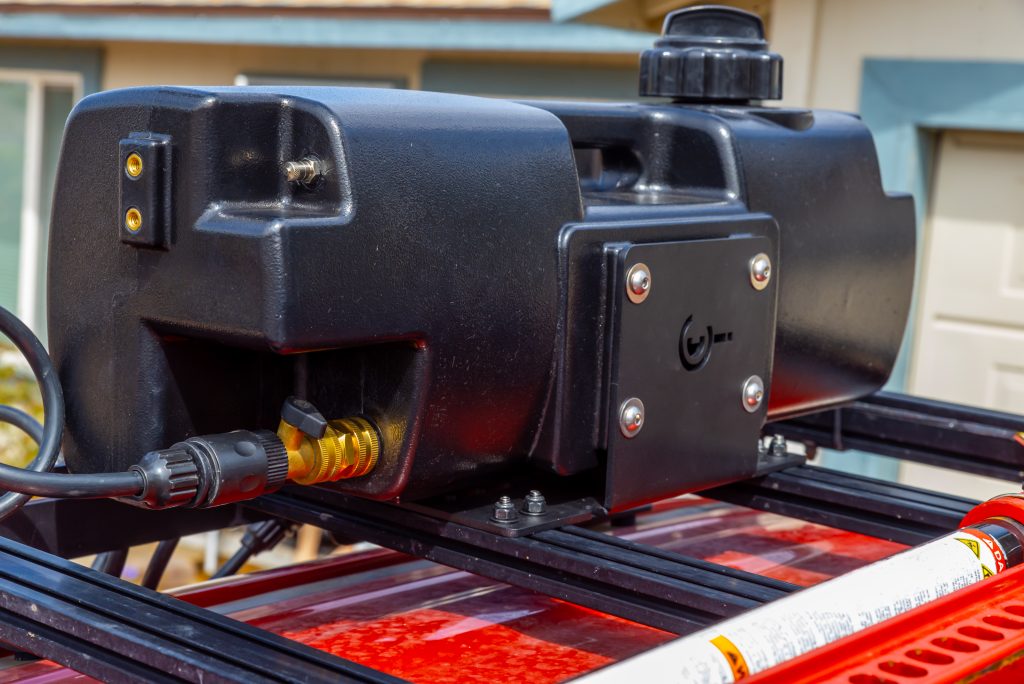
I opted to place the DayTank on my passenger side towards the rear of the roof rack.
As long as your cross bars are in the standard locations, the cross bars should line up with the mount.
Step 2. Attach Mount To Crossbars

With the mount, Prinsu supplies all of the required hardware. In your hardware bag will be (x8) carriage bolts, (x8) black washers, and (x8) black nuts.
To tighten down these nuts, you will need an 11mm socket with a ratchet. Be careful not to over-tighten these as it can cause damage to the threads.
Step 3. Attach WaterPORT

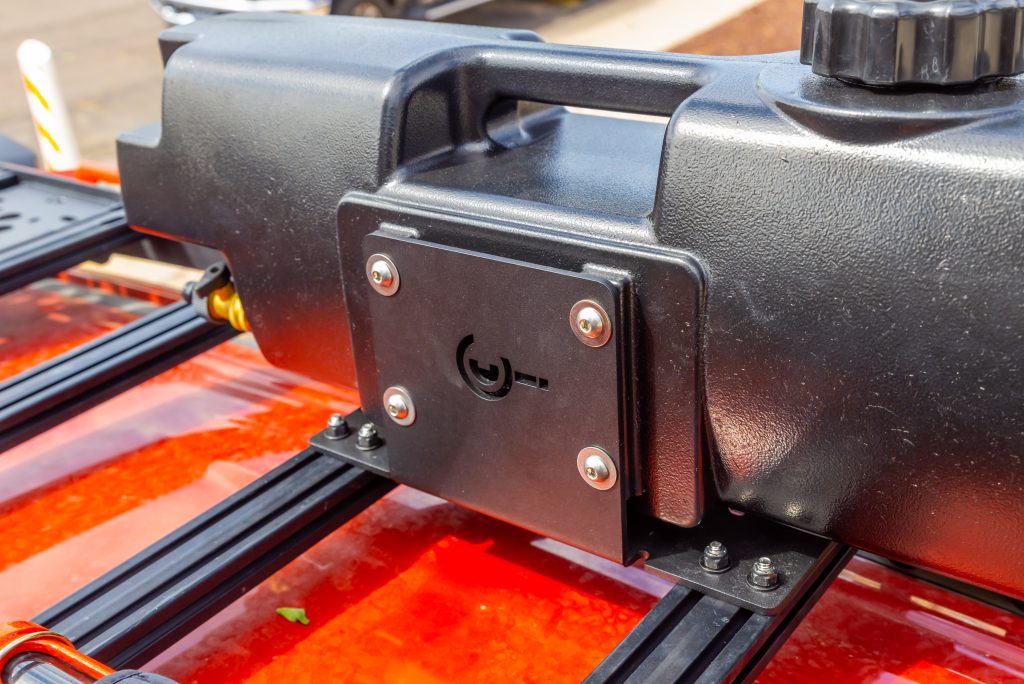
After installing the bracket, you should have (x8) more pieces of hardware left: (x4) Allen bolts, and (x4) washers. This hardware will be used to attach your WaterPORT to the mount.
First, line up the holes on the back of the DayTank with the mount and start installing the bolts by hand. Make sure you slide a washer onto each bolt before you screw them in. Then, tighten all four bolts with a 3/16″ Allen wrench.
Final Thoughts

First off, I have to say like anything else made by Prinsu, this mount is sturdy and high quality. Prinsu also puts a lot of work into its R&D and it shows as the mount and hardware fit together seamlessly. Attaching my DayTank was also a breeze.
Having my DayTank up on the roof is good for multiple reasons. I love that it’s up and out of the way to keep the clutter down on trips. It also makes for a convenient way to rinse off dirt or mud before getting back into your truck.
If you have an awning with this mounted right above it, it would create a complete camp kitchen. You could easily wash your hands, dishes, or food. The Prinsu WaterPORT mount really helps me fully enjoy all of the uses of my DayTank, and I would highly recommend taking a look if you have one.
