R4T Behind The Grille Air Compressor Mount For ARB Twin & Viair 425 For 3rd Gen (2016+) Toyota Tacoma – Install Guide, Review & Overview
If you’re reading this article, you probably have an ARB twin or Viair 425 compressor sitting in a cart online or in a box in the garage. You know what on board air compressor you want or have but you’re scratching your head, contemplating where you should mount it.
The location and position of where you end up mounting your compressor is very important and can make or break how streamlined your system is. Mounting it in an area that’s usually packed with gear, could make it could be hard to get to when you need it. Positioning it in an awkward position could make it difficult to attach a hose or other accessories too.
The guy’s over at Runnin 4 Tacos have got you covered with the latest version of their behind the grille compressor mount for the ARB twin or Viair 425. We’re going to go over why this is the best position to mount your compressor, plus a quick install guide as the install is a tad bit different than the older version.
Find It Online
R4T Behind The Grille Compressor Mount
Why Mount Your Compressor Behind The Grille?
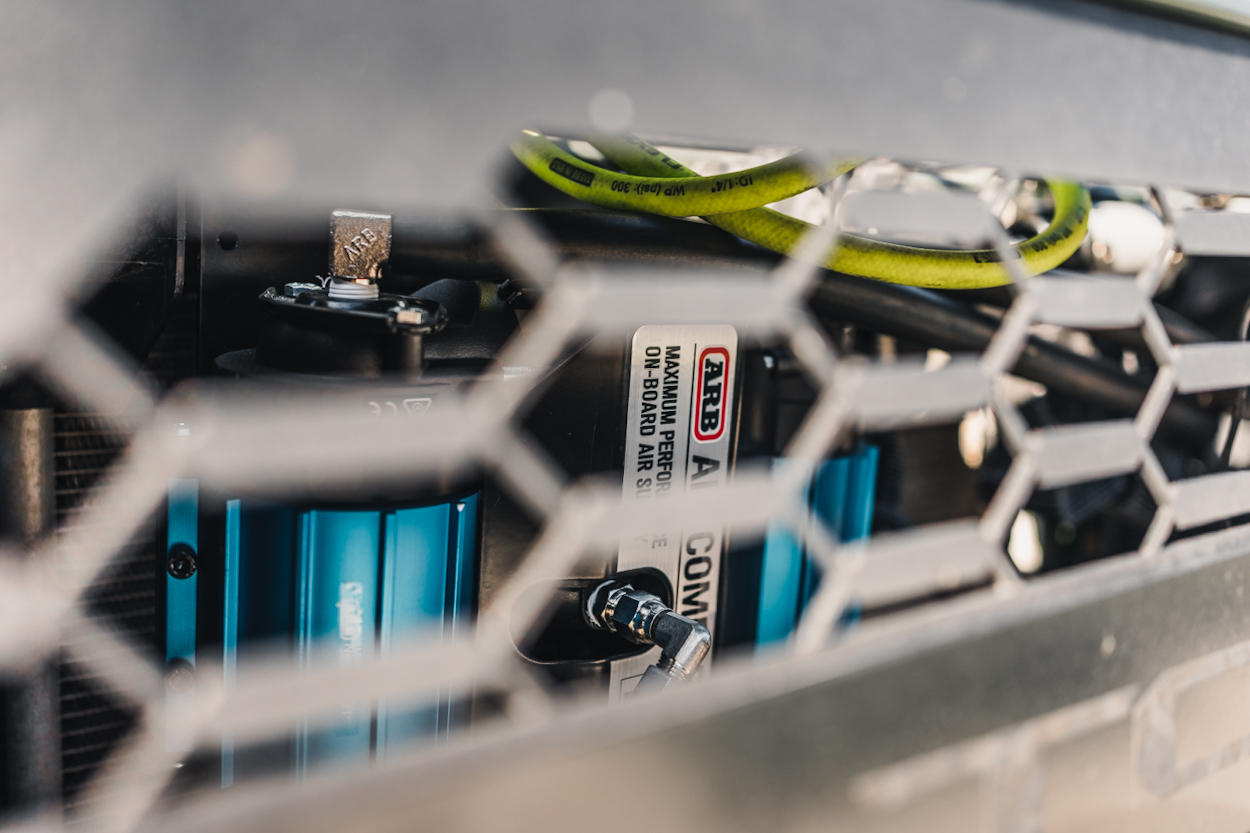
With all of the different mounting options on the market, why do I think behind the grille is the best placement?
There’s three big reasons why… Ease of access, saving and utilizing space, and heat soaking.
Super Simple Access
The R4T mount places your compressor in an easy to access position between the front grille and the radiator support. It is easy to pop the hood, connect your hose or air tools and get going quick. Some people mount it in the bed cubby for the same reason, but when your bed is packed full of camping gear, good luck getting to your bed cubby. not to mention you also have to run the wires to the battery, which is an additional headache.
Keep Engine Bay Clutter Free
If you’ve ever tried to mount or do anything in your engine bay, you know that there isn’t much room in there. Mounting a compressor in there takes up a bunch of valuable space. There are really only two places in the engine bay where you would mount your compressor. One position is in the back passenger side of the engine bay. This is a good option, how ever you lose the space to run a second battery. If you do a lot of long weekend or multi day trips, a second battery is clutch to supply some much needed power. The second position is right above the fuse box. Imagine popping a fuse and having to move your compressor after mounting it just to trouble shoot your fuse issue. Huge hassle.
Avoid Overheating
In addition, imagine how hot your engine bay gets on summer day. Here in my area of California we were consistently in the 110 degree range. Now imagine your compressor sitting in your engine bay getting completely heat soaked from the outside temperature on top of the heat generated by your engine. Then you go to turn on your compressor and it’s running really slow or won’t turn on at all. This is all due to your compressor getting heat soaked by the engine heat and on top of the hot weather. Placing the compressor behind the front grille gives sufficient airflow to keep your compressor cool and out of your hot engine bay.
Will The Mount/Compressor Block Air Flow?
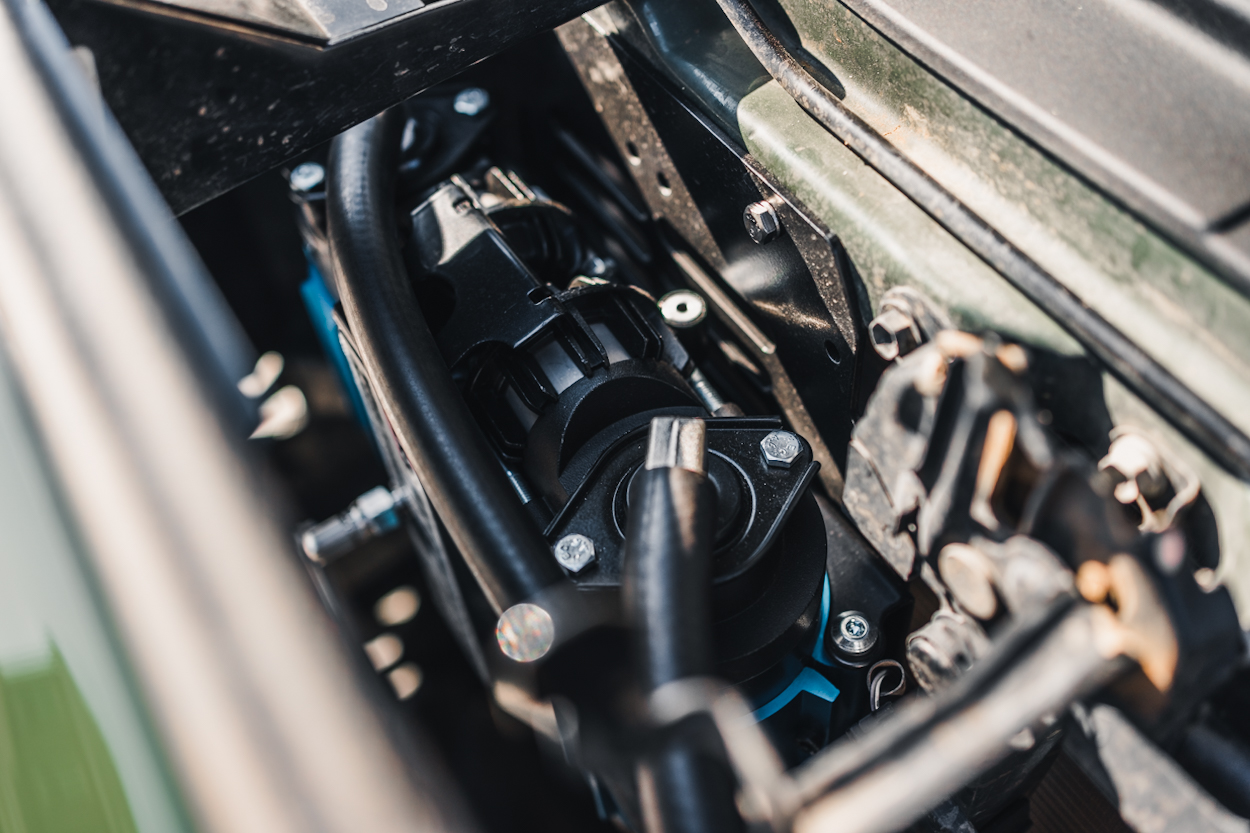
Short answer is yes, to some degree. However, there is a considerate amount of gap behind the compressor and the radiator. I’ve spoken to multiple people running this mount and they have all said it hasn’t affected their temps. Some have even stated that adding a winch will block more air to the radiator than mounting your compressor in this location.
Required Tools
- Standard Toolbox
- Electric Drill
- Standard Drill Bit Set
- Standard Allen Wrench Set
- Center Punch
Step 1. Mark Mounting Holes
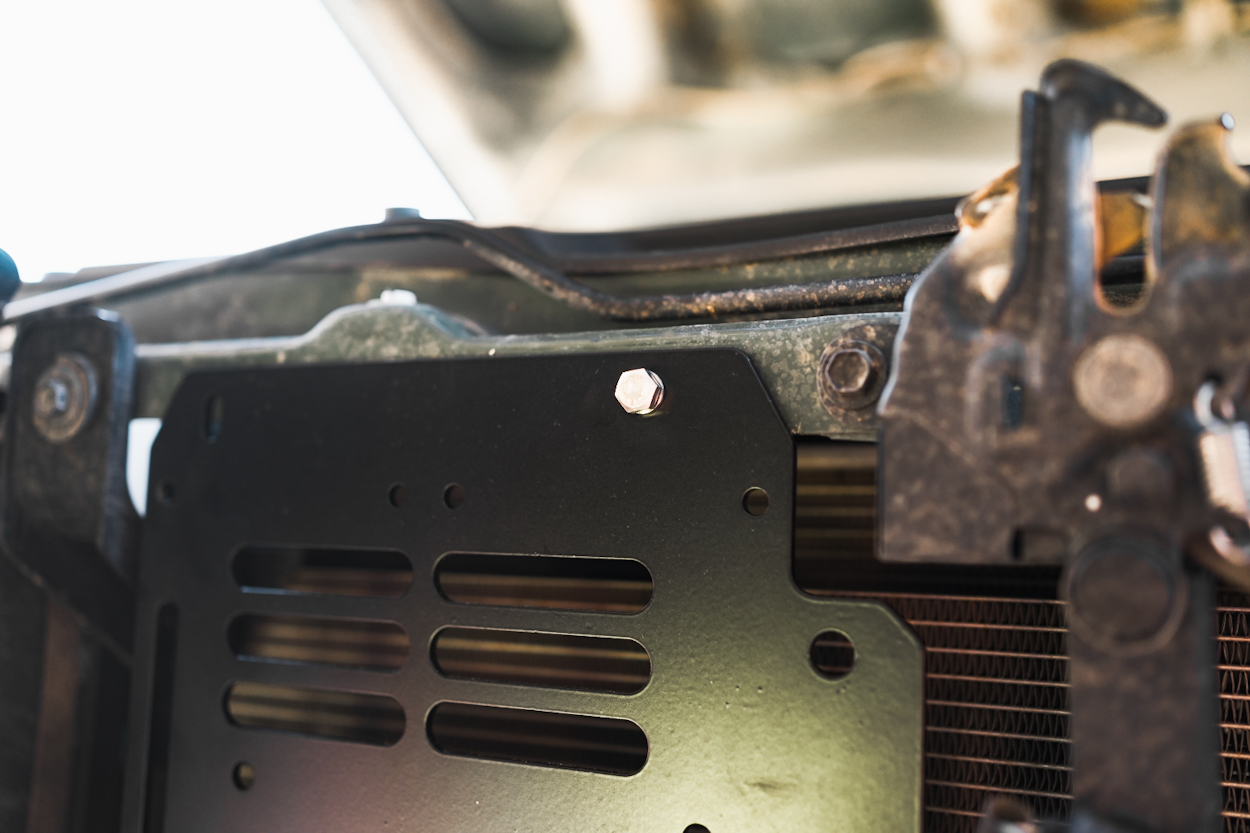
Take your upper portion of the mount and bolt it in utilizing the pre threaded hole on your radiator support.
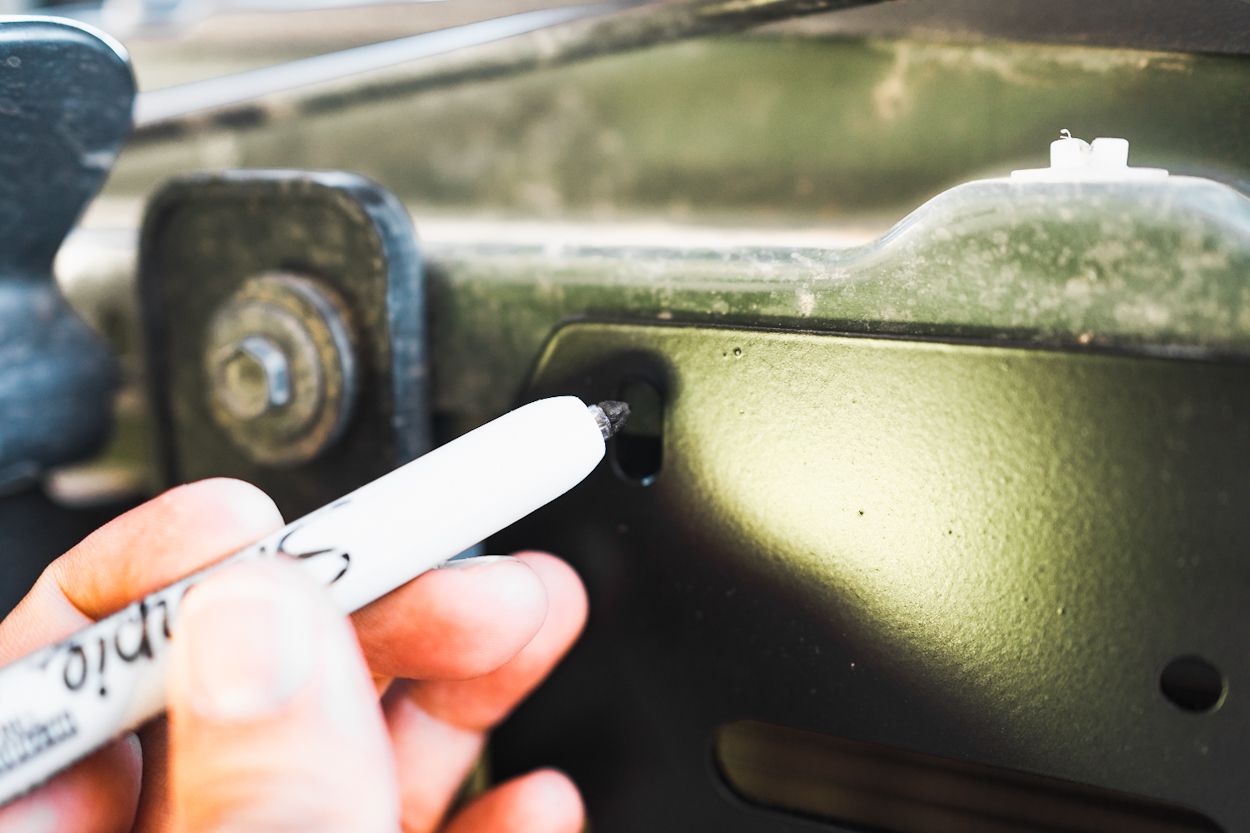
Using a marker, mark the open bolt hole on the left.
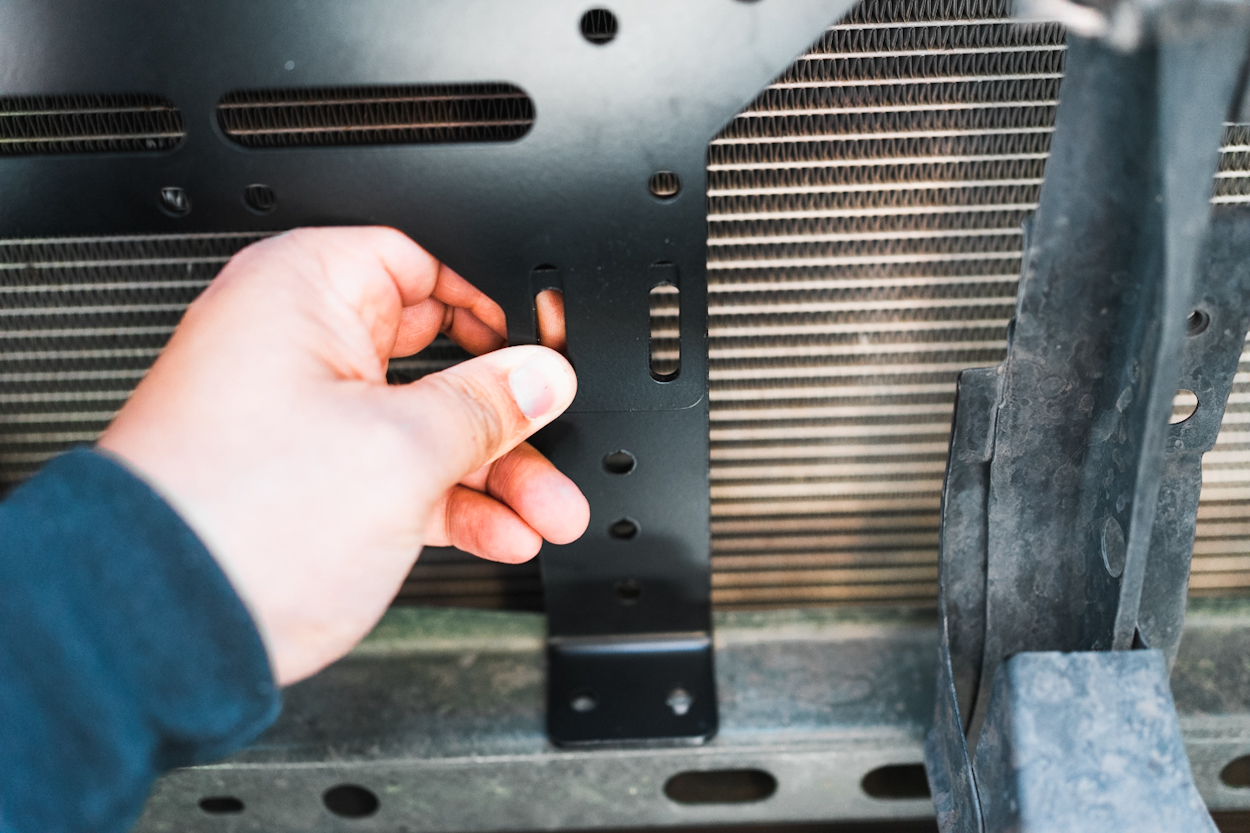
The lower bracket sits behind the upper bracket. Align it with the upper bracket, push the bracket into position and mark the two lower holes.
Step 2. Drilling Mounting Holes
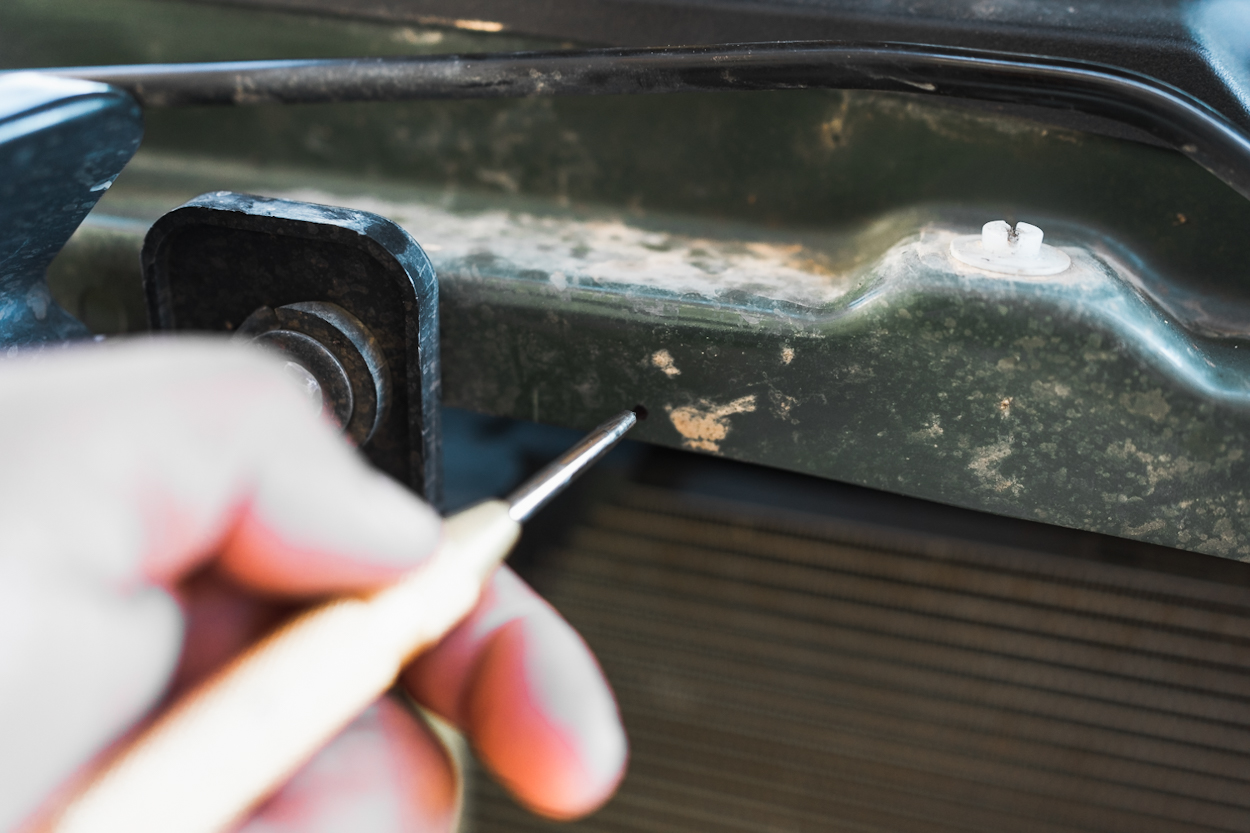
Using your center punch, tap the center of each marking. This makes your drill less likely to walk away from you when you start drilling.
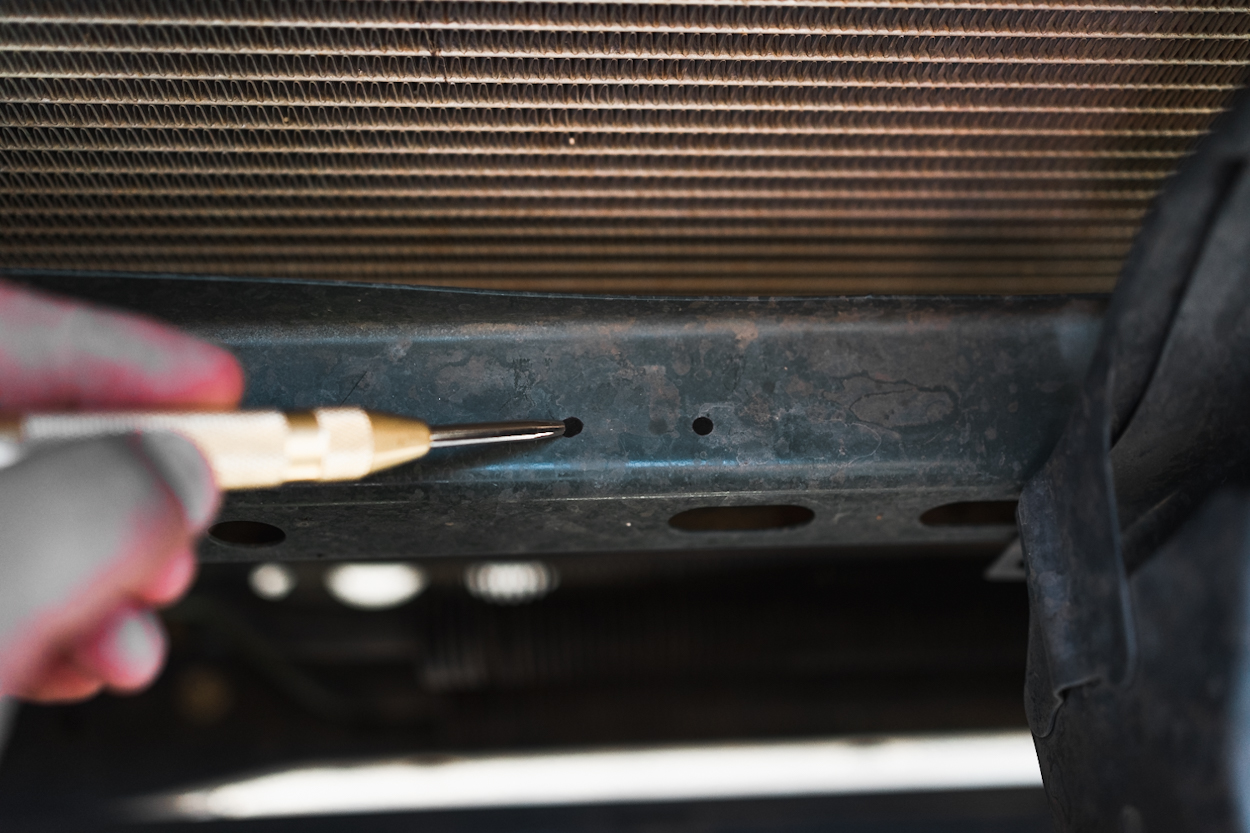
I always begin drilling by using a smaller bit and then stepping up to a larger one. You’re less likely going to break something this way. Drill out all three holes you just tapped.
Step 3. Attach Compressor To Mount
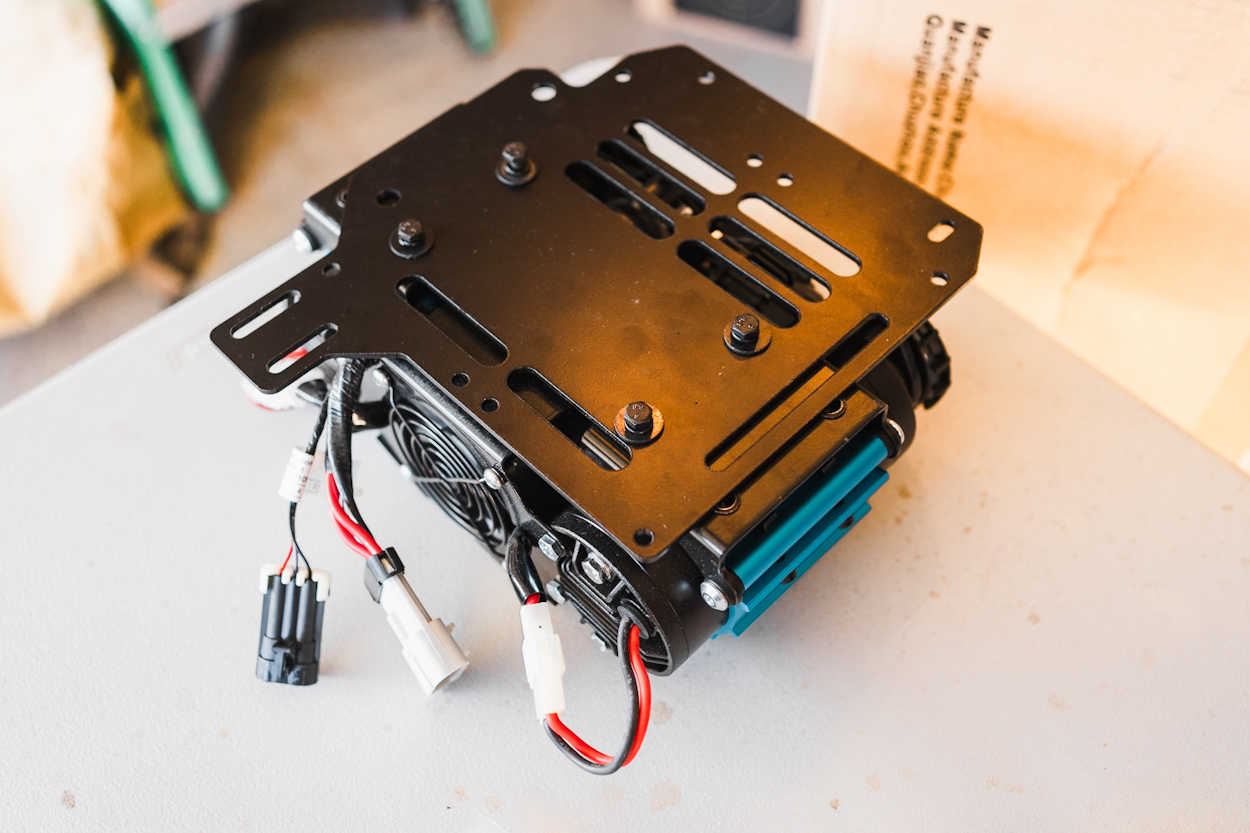
Using the hardware that should have came with your compressor, install onto the R4T mount.
Step 4. Install Assembly On Truck
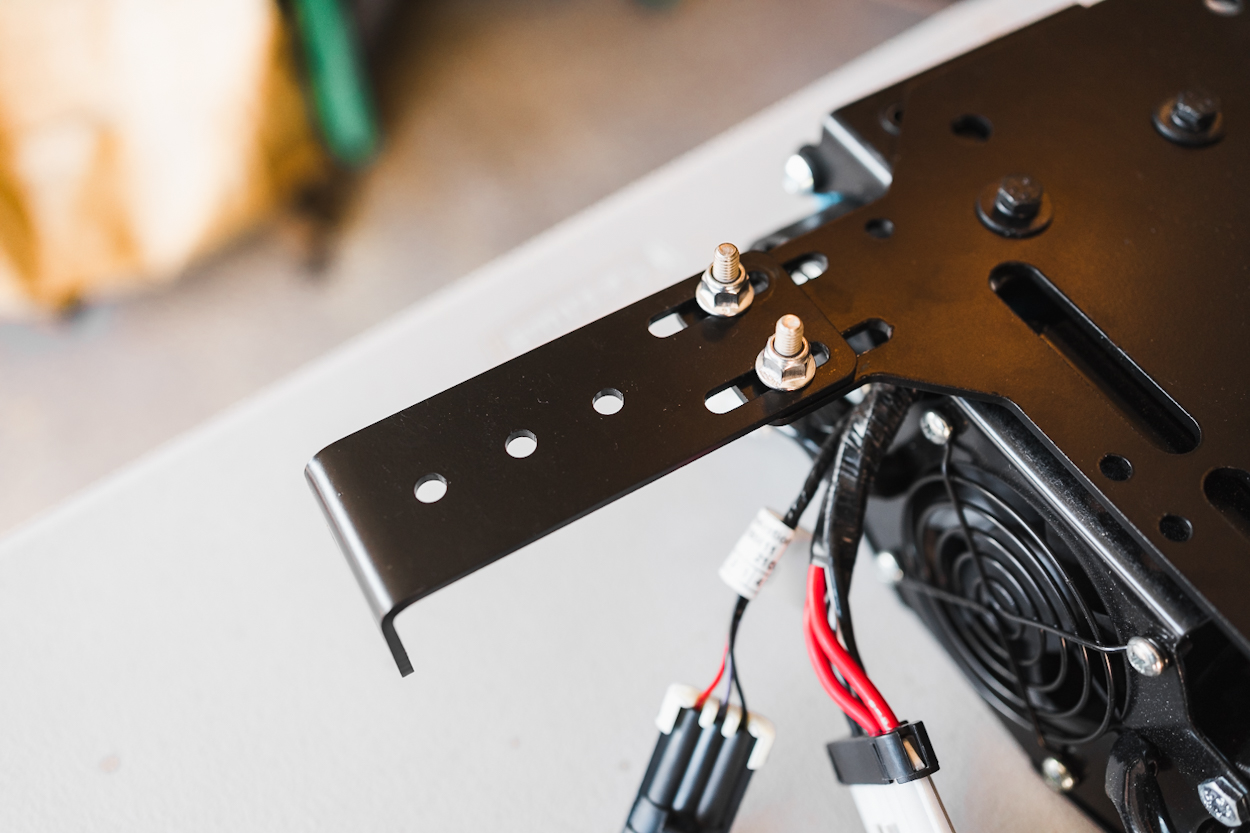
We’ll start off by first installing the lower bracket to the upper bracket. Place the lower bracket onto the upper bracket as shown above and used the provided hardware to attach them together. Make sure not to tighten down too much, you’ll want these loose enough for adjustment later.
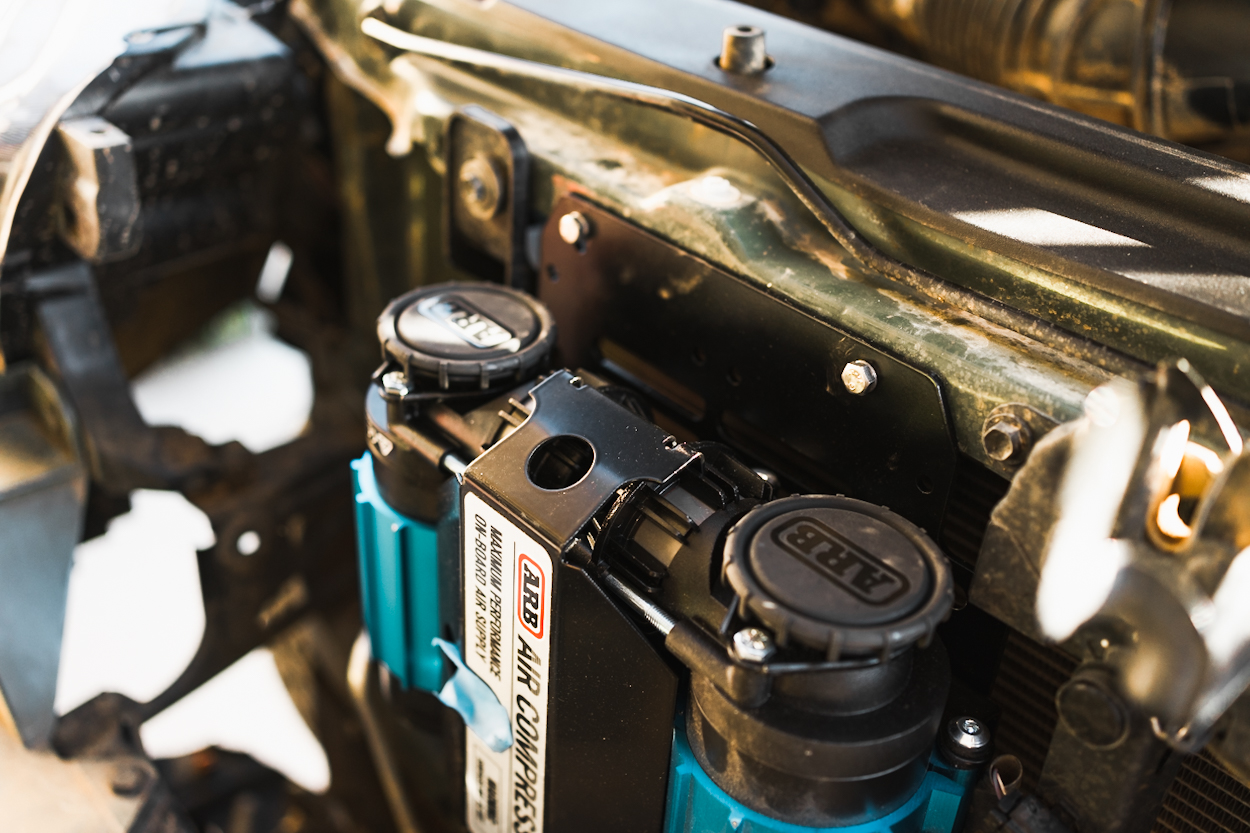
The easiest way I found to mount the assembly solo was to first bolt in the bolt with the pre threaded hole to hold up the upper assembly but leave it loose enough for adjustments. Follow up with installing the other upper bolt.
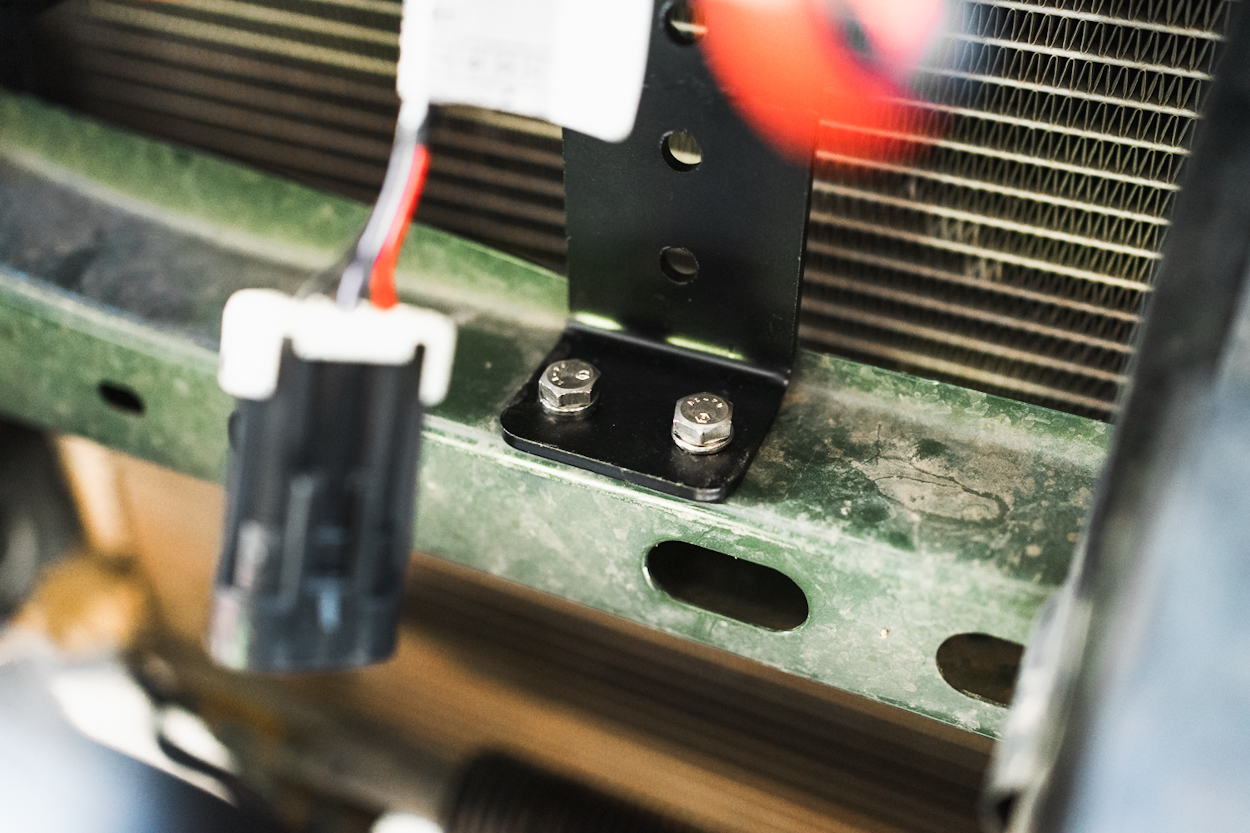
Bolt in the two lower bracket bolts completely. These can be a pain to get to, but with some work you can get these snug.
At this point you can adjust the upper bracket and then tighten the upper bracket bolts and then finally the two bolts holding the two brackets together.
Final Thoughts
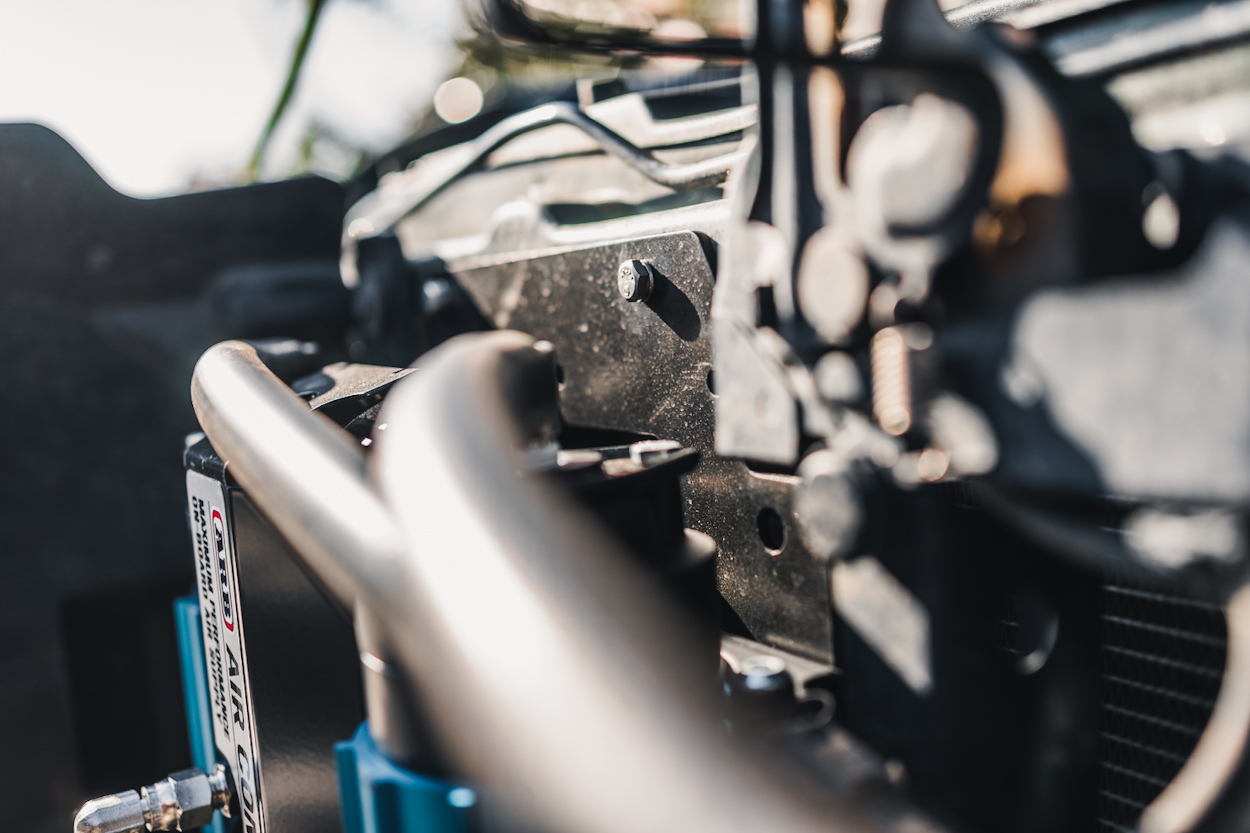
To me this mounting option is the only one that checks all of the boxes. It’s the only mounting option that can streamline your on board air system and not take up valuable space, all while staying out of that super hot engine bay. Getting to the compressor is easy enough, just pop the hood and its ready to go.
If you’re interested in this mount make sure to follow the link up at the beginning of the post.
YouTube Video
This is a link to a video I did of my overall compressor setup. It shows the mounting position as well as additional mods I ran to combat some of the issues some people had with the location of the compressor.
