
Discreet Lighting For Your Campsite In A Sleek Package
For a while now, I have been searching for the perfect lighting solution while at camp. I needed something that was out of the way and provided enough light to cook, all while not consuming a ton of power. I also didn’t want to blow out the entire area with bright light.
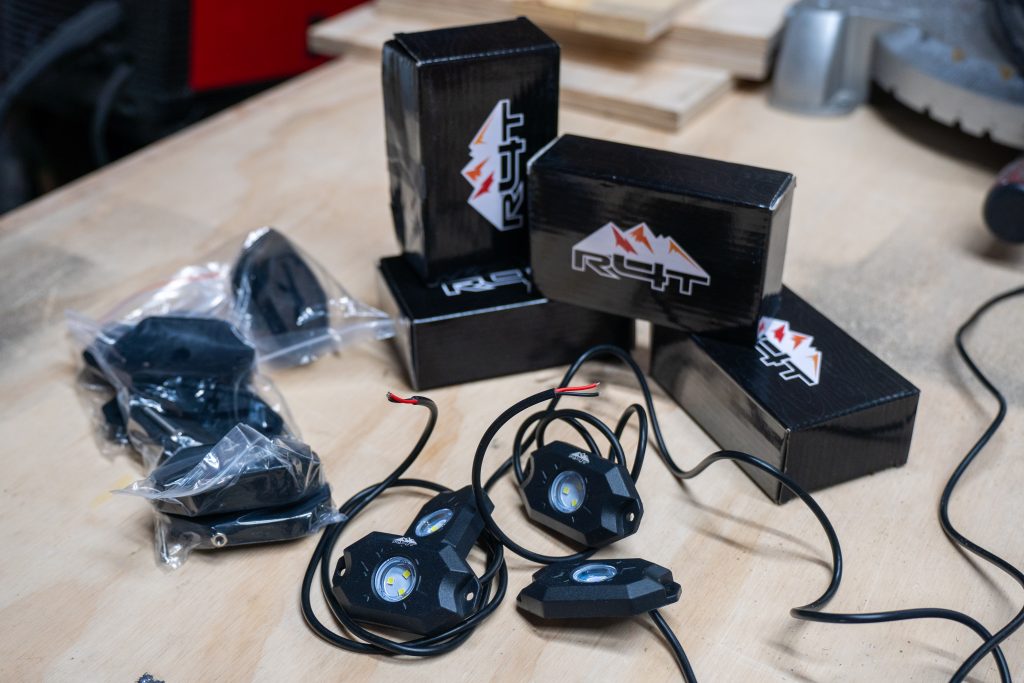
Then, I came across R4T’s Universal Roof Rack Handles which were also compatible with integrated rock lights. These steel handles boast a simple yet functional design and are compatible with several different brands of roof racks.
Lights
Sometimes, compromise becomes necessary. While every light on the front and rear of my truck is from Baja Designs, there comes a point where cost justification becomes a factor. The exorbitant price of their rock lights led me to explore alternative solutions.
Instead of seeking the brightest lights available, I wanted reduced brightness in exchange for a larger illumination area; I even tinted these lights red to achieve this effect. After all, these were for the campsite, not for driving. Additionally, I required lights with low power consumption. Four R4T lights can run for up to 48 hours off my 50Ah truck battery.
The most appealing aspect of the R4T rock lights is their price point. As of my current writing, a single light is on sale for $20, which is remarkable. Each light comes with two rubber mounting pucks (for bars or flat surfaces), and the necessary hardware.
Note: The lights do not come with a wire harness, so you need to add your own.
Handles
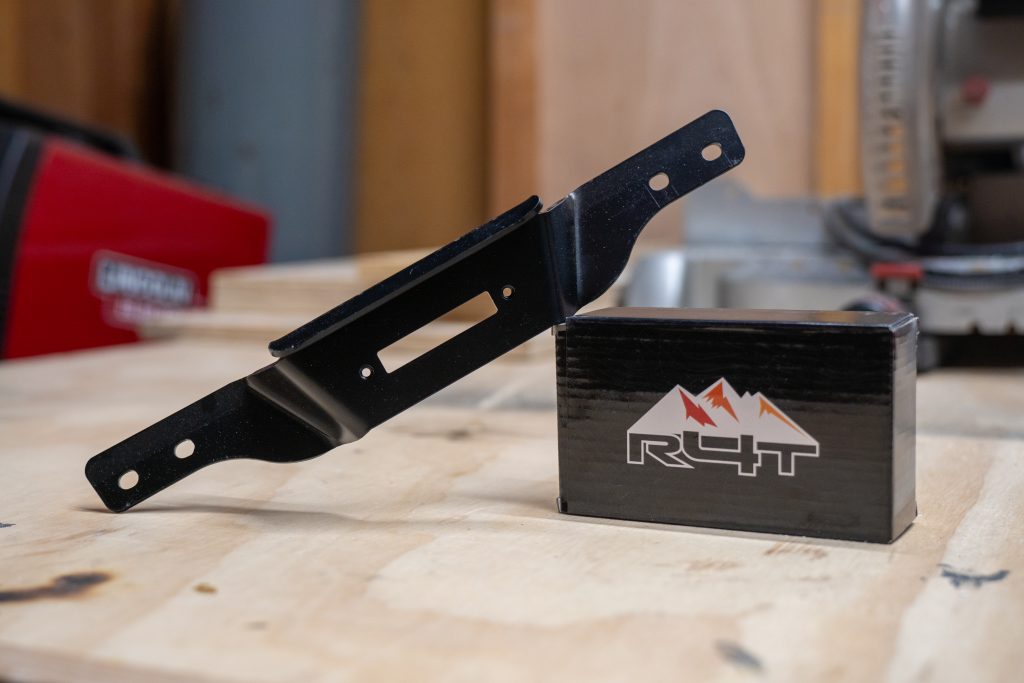
After selecting my rock lights, I began searching for handles that would complement them. Fortunately, R4T offered a perfect solution. Their handles are constructed from 11-gauge steel and powder-coated black. However, I opted to spray mine with a textured bed liner to match the other textures of my build.
Sold in pairs, these handles feature standard hole spacing, making them compatible with Prinsu, Sherpa, upTOP Overland, and Victory 4×4 options. You can also mount them to common extruded aluminum crossbars. Plus, the handles include integrated nuts so they’re ready to accept the R4T Rock Lights out of the box.
I found the handles incredibly sturdy. When pulling on them, the roof rack’s side rails would flex before the handles did. One issue I found was that the bolts required a bit of persuasion during installation, as the spacing was ever so slightly off.
Note: It may help to feed the rock light cable through the handle and possibly even the rack before attaching the connector.
Modifications
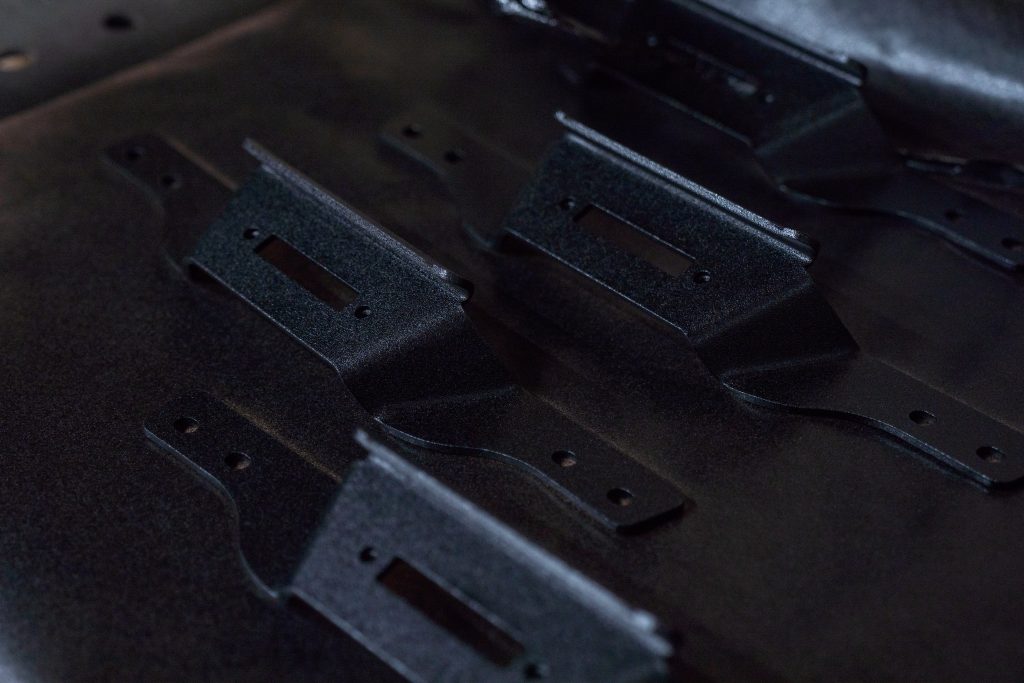
I changed a few things about the setup before putting it all together. First, I sanded and refinished the handles with the Rustolem Bed Liner Spray to match other parts of my truck where I had done the same.
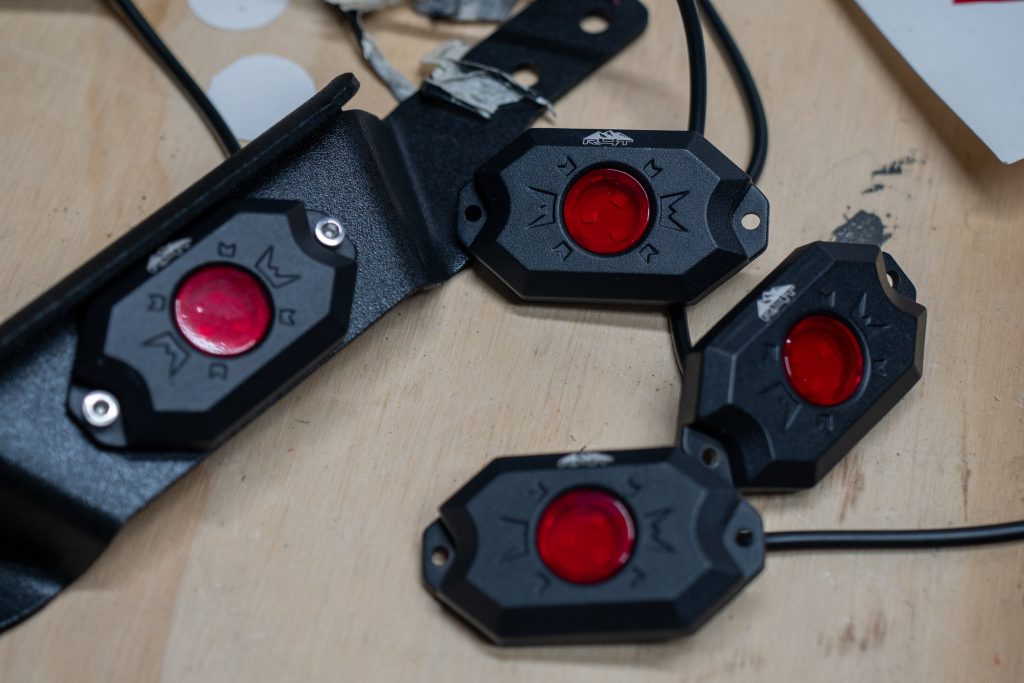
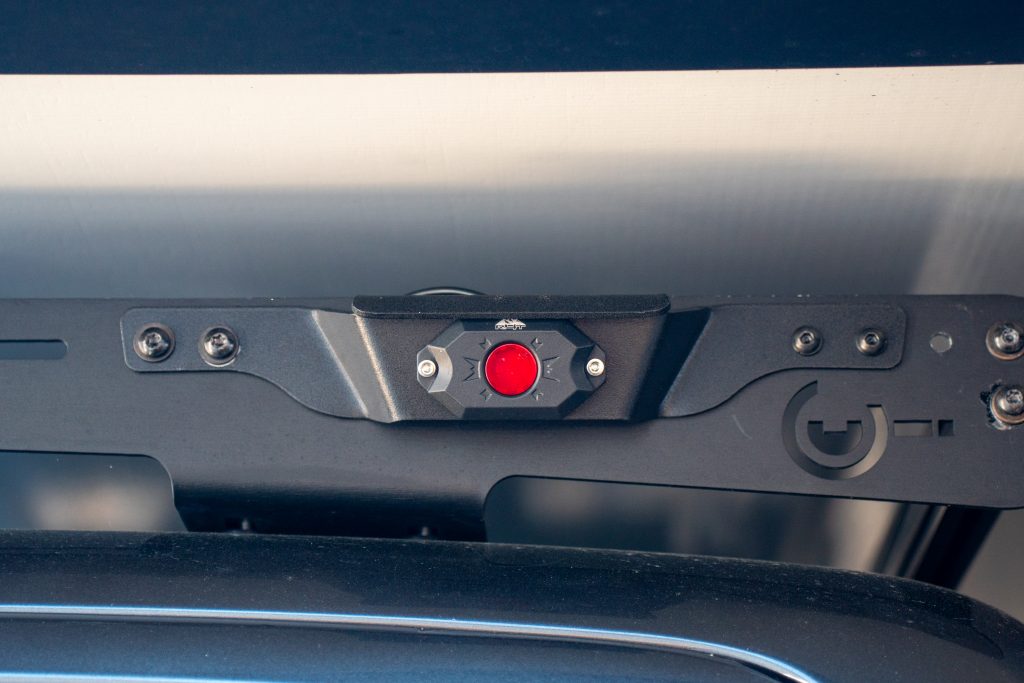
Next, I disassembled the lights and tinted the lenses red. Before doing this, the lights were very bright. I wanted to tone them down to detract bugs and for better night vision.
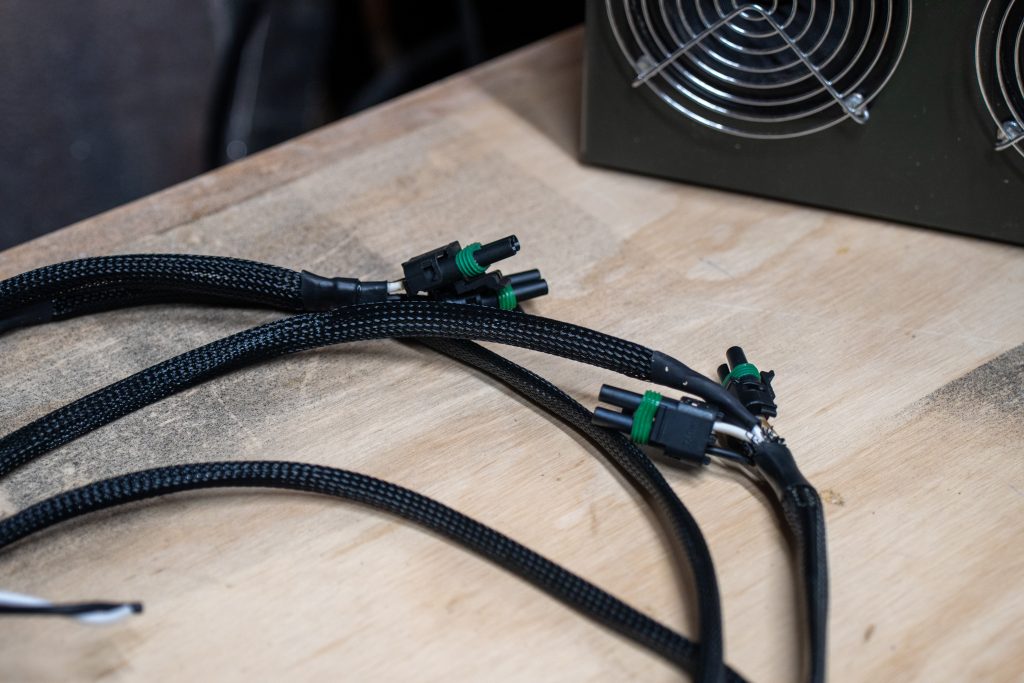
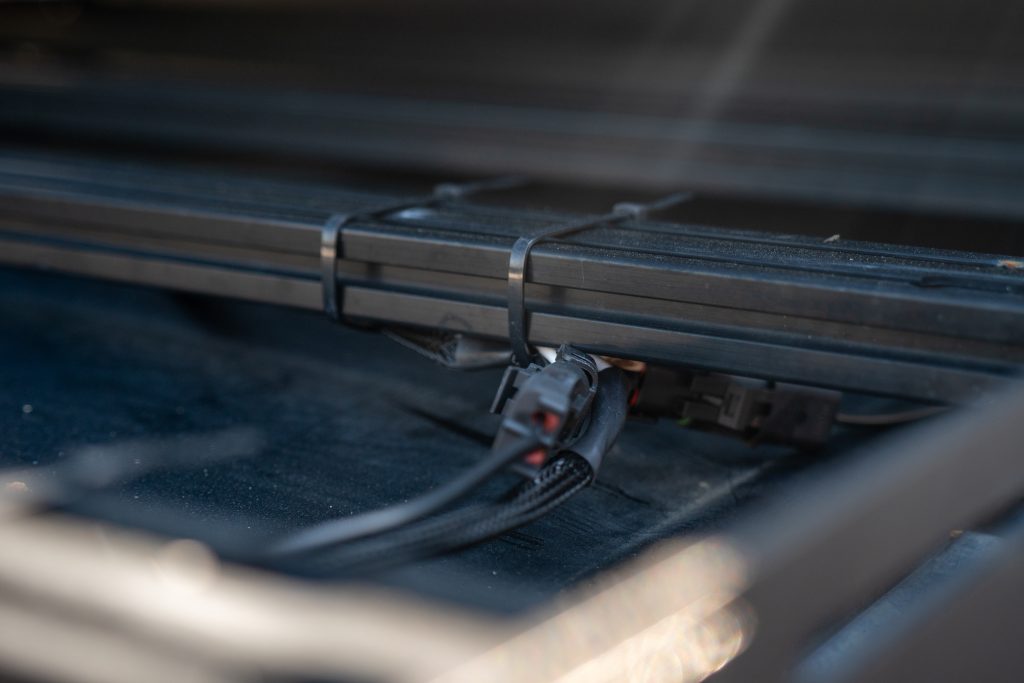
Finally, I added the Delphi Weatherpack Connector to the lights. This connector is commonly used as it’s easy to troubleshoot and repair while on the trail or backcountry.
Installation
Before you start, I recommend preassembling the rock lights and handles before adding the connector.
I also used anti-seize on all of my roof rack bolts as they are exposed to the elements and mixed metal types (steel and aluminum). That’s a recipe for corrosion and seized bolts.
Step 1. Mount Lights
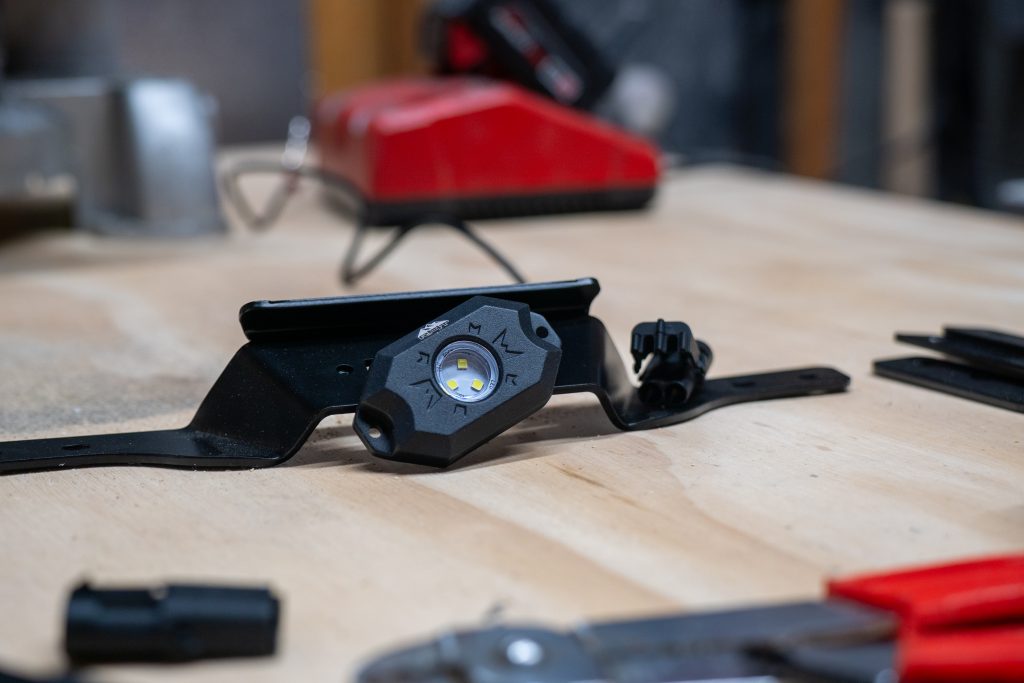
Before installing the connector on the rock light, feed the cable through the handle. Then, align the light, confirming that the logo is facing the correct direction and thread in the included hardware.
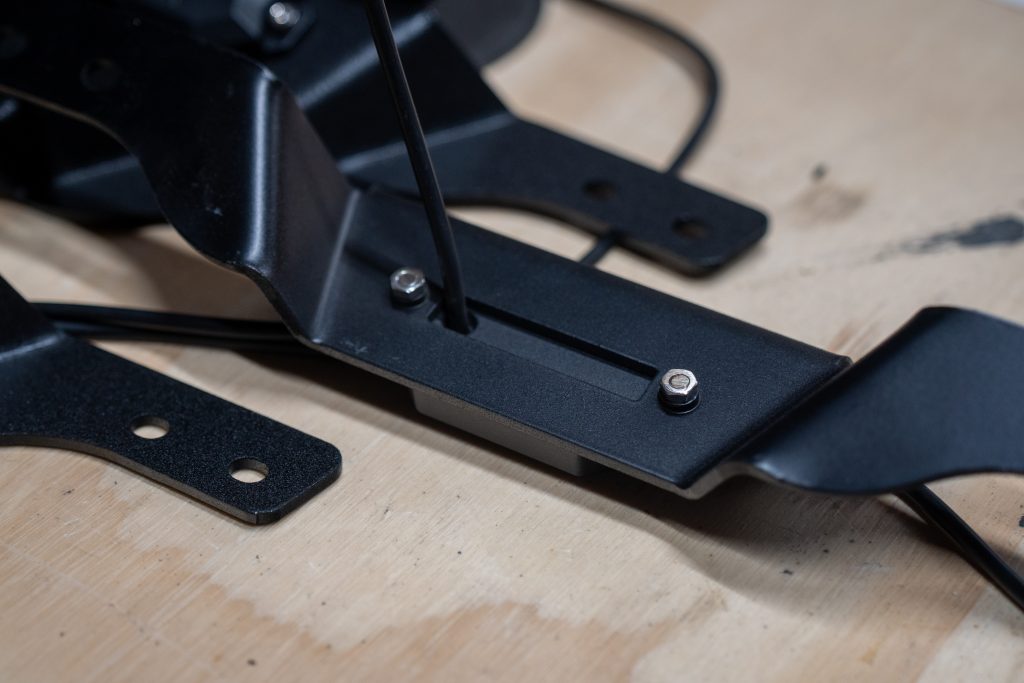
Step 2. Add Hardware
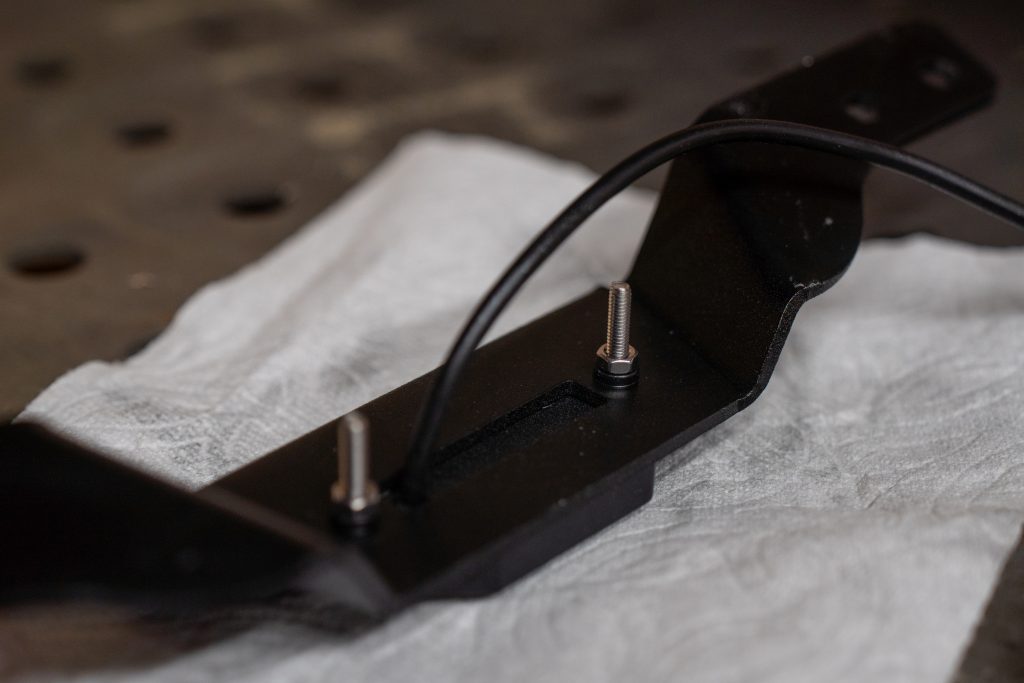
On the back side of the handle are two welded nuts. I added the locking nut to the back side for additional security from vibration. From there, I trimmed the excess bolt for a flush finish.
Step 3. Add Connector
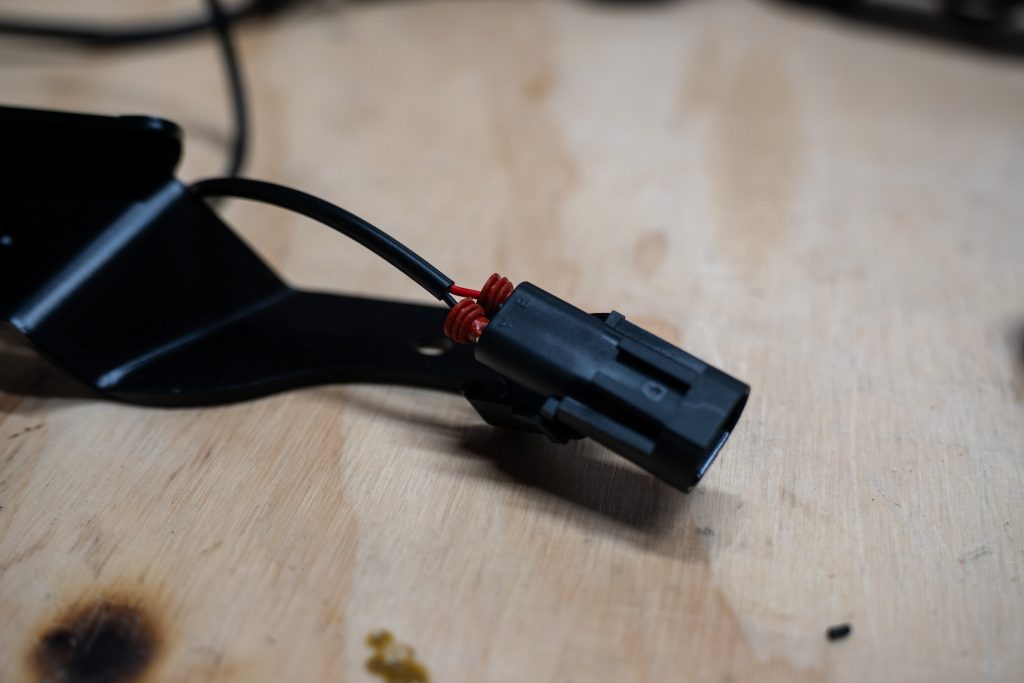
First, confirm which side of the connector is positive and negative. Then, crimp on the metal leads for the connector and add the plastic enclosure to finish it off.
Step 4. Mount Handles
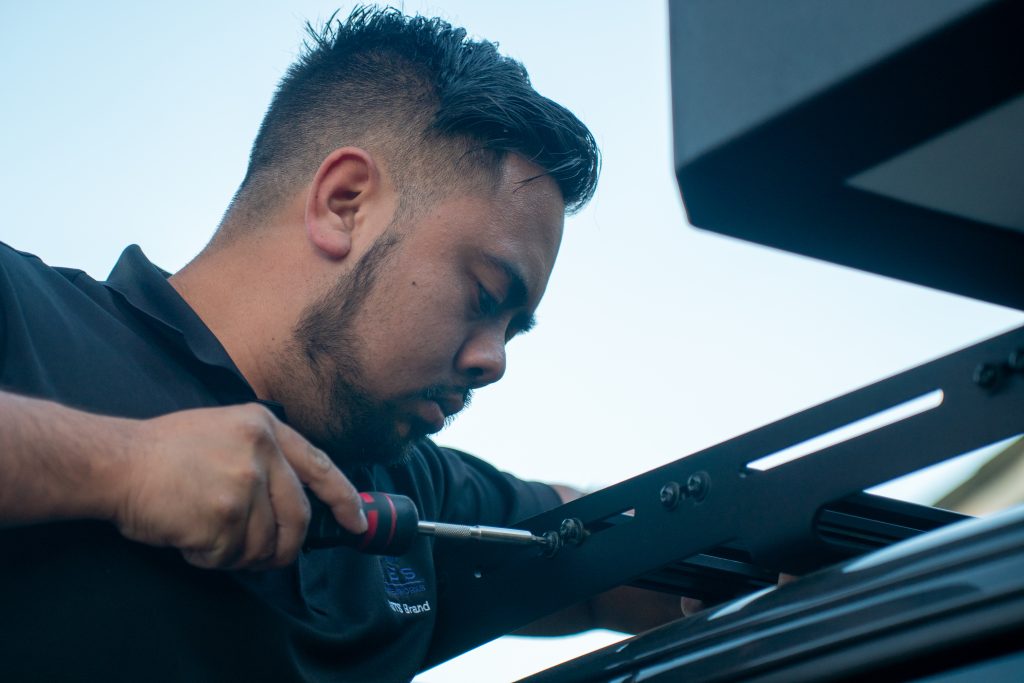
Figure out where you want to mount the handles on the roof. I mounted mine to the front and rear of my rack to space out the light as much as possible. To install them, remove the bolts from the corresponding crossbars, place it over the holes, and reinstall the mounting bolts. As mentioned above, I applied anti-seize to the bolts before reinstalling them.
Step 5. Wiring
The shortest wire run possible is ideal when connecting the lights. This is also a great time to think about doing left and right on separate circuits. I did mine all on the same circuit, though.
I have the KC Wire Hider running up the driver-side of my front windshield. My switch panel is also on this side in the engine bay I have the two driver-side lights meeting in the middle and ran the harness up to these connectors. From there, I created a lead to the other side of the truck, going across the middle crossbar.
Step 6. Build Harness
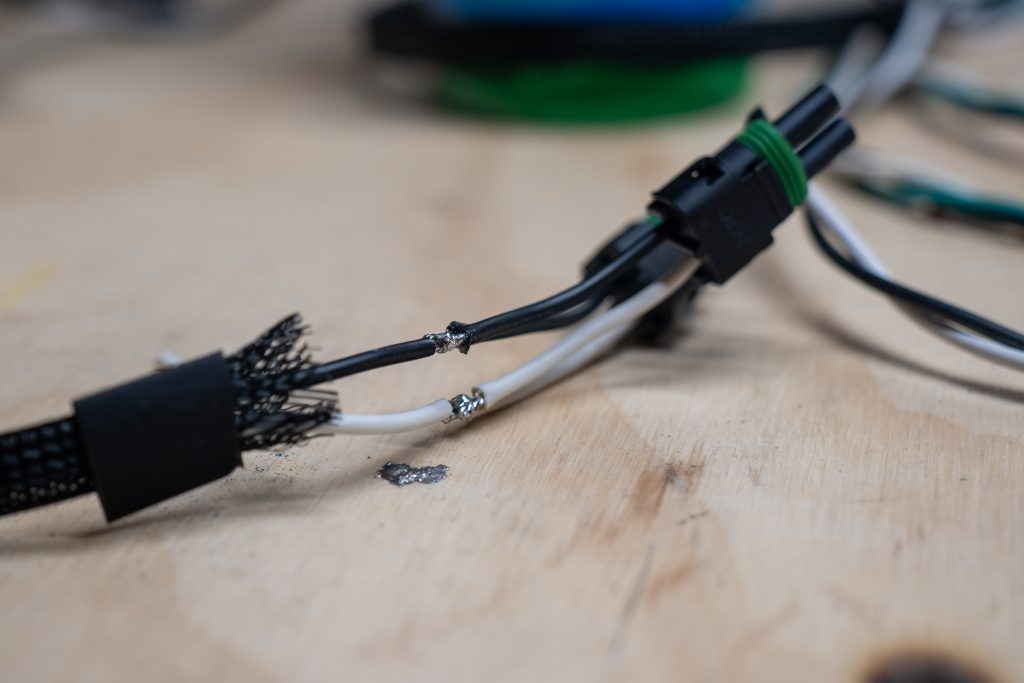
Now that the wires are measured out, we can build the harness. I start by building little connectors and pigtails. Then, I solder these connectors to the main run from the engine bay, up the windows, to the first bank of lights, and across the roof. This way, I minimize the amount of failure points by soldering most joints.
Step 7. Install Harness
I start by running the harness down the windshield and connecting it to my switch panel. From here, I run all cables under the cross bars and plug in the lights. I take a moment to test everything and confirm it’s all working as expected.
Finally, I cleaned up the cables by zip-tying them to the cross bars. The goal is to have straight cable runs that are tucked high up so they are not easily noticeable.
Final Thoughts
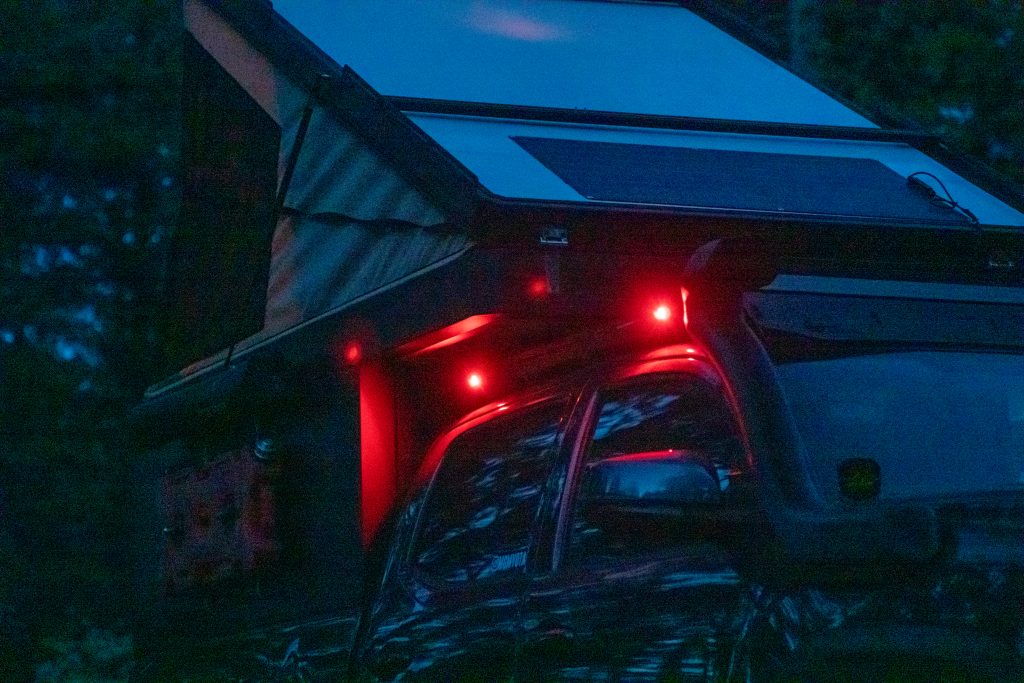
I honestly could not have asked for a better result. I’m glad I took the time to refinish them to match the rest of my build and tint the lights red. Overall, I am very pleased with the finished look of the truck.
I could not thank R4T enough for building a light that can be easily modified. Some lights on the market are filled with waterproof epoxy, so changing the color isn’t possible. Also, the preinstalled nuts on the handles and well-thought-out spacing made the project rather headache-free. That is often not the case with mods, so it was like a breath of fresh air.