New & Improved Relations Race Wheels (RRW) V2 “Beadlock” Billet Aluminum Protection Ring For Hybrid Series Wheels – Install, Review & Overview
If you have not heard about Relations Race Wheels (RRW), you will after reading this. They are well known in the Toyota community but make wheels for other vehicle makes and models as well. I personally run a set of the RRW RR7-H wheels in bronze with a -12mm offset on my truck. I have loved these wheels since the first day I opened the boxes!
The most popular wheels that RRW makes are their hybrid series wheels. They currently have three different styles to pick from, comprising the RR5-H, RR6-H, and RR7-H. All three of these wheels have identical functionality, just in various aesthetics to suit your taste.
You can run these hybrid wheels as regular wheels or by adding some RRW hardware, turn them into true beadlocks. If you don’t have a need for that but still want to protect your new wheels, RRW just released their new billet protection ring. This ring installs over the lip of the wheel to protect it from trail damage.
Find It Online:
Adding Protection Rings To RRW Hybrid Wheels
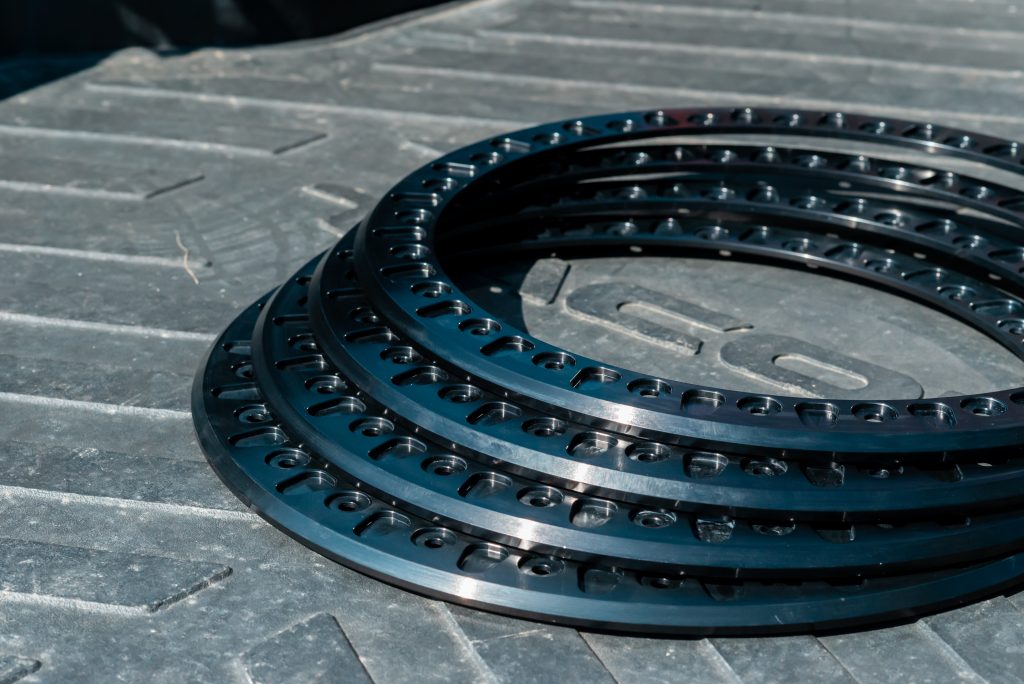
RRW makes a V1 and V2 aluminum protection ring for their hybrid wheels. The V1 ring is just a flat aluminum ring that bolts onto the lip of your RRW hybrid wheel. The V2 was designed to mimic RRW’s beadlock rings.
It is important to note that the V2 protection ring does not function as a true beadlock. It is only intended to add a layer of protection between rocks and the lip of your wheels.
Without having any protection on my RRW wheels, I have already sustained a few minor scratches from the trails. I did, however, purchase their bolt upgrade kit.
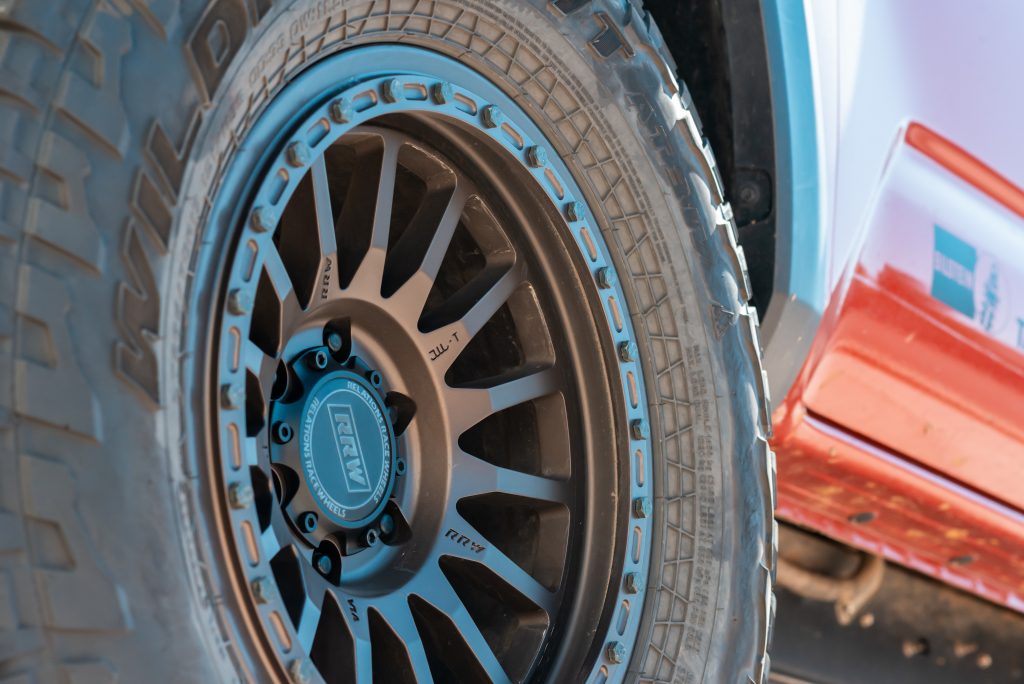
This kit served two purposes; the first was to fill all of the threaded holes in the lip of my wheel. That was to keep the threads from being damaged or filled with mud and dirt. The second purpose was to hopefully have them hit the rocks first before my wheels. As a bonus, they give the wheel a little different look from the standard lip.
After running the bolt upgrade kit for a few months, RRW released their new V2 protection ring kit, and I knew that my wheels needed them.
Required Tools
- 1/4″ or 1/2″ ratchet
- 13mm socket
- 1/4″ or 1/2″ torque wrench
Step 1. Clean Wheels
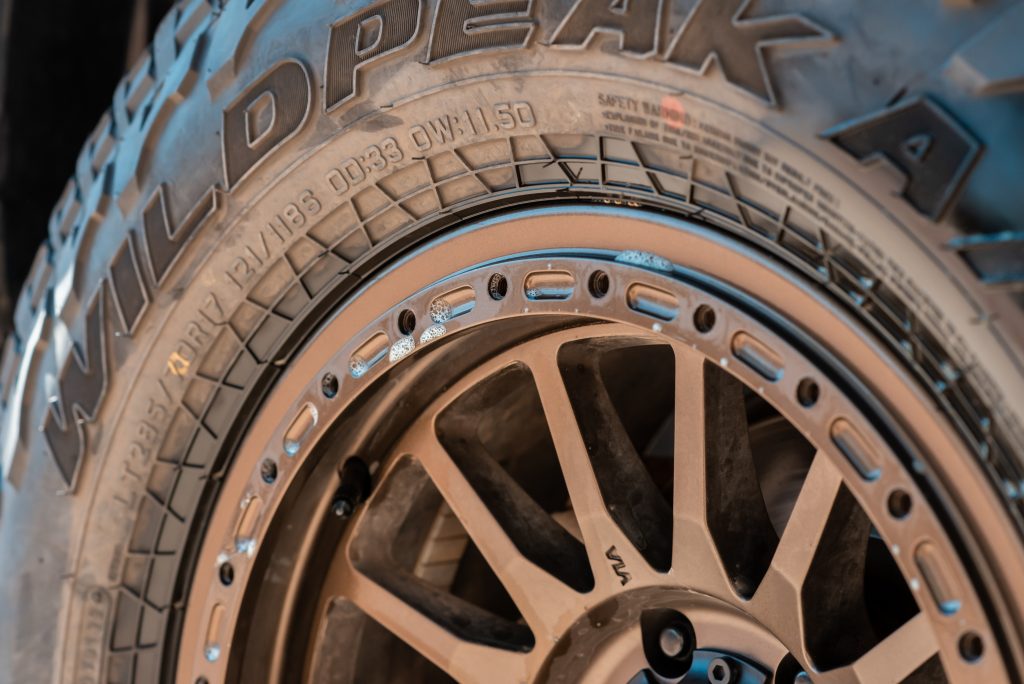
This first step is an optional step but I can be OCD about stuff with my truck. Cleaning all the dirt and debris off the lip of your wheel will help prevent any damage caused by the protection ring sitting on top of it.
It’s also a good idea to make sure all of the holes with threads on your lip are clean and free of debris so your bolts install properly. Otherwise, you could damage the bolt or the threads in your wheel.
Step 2. Align Protection Ring
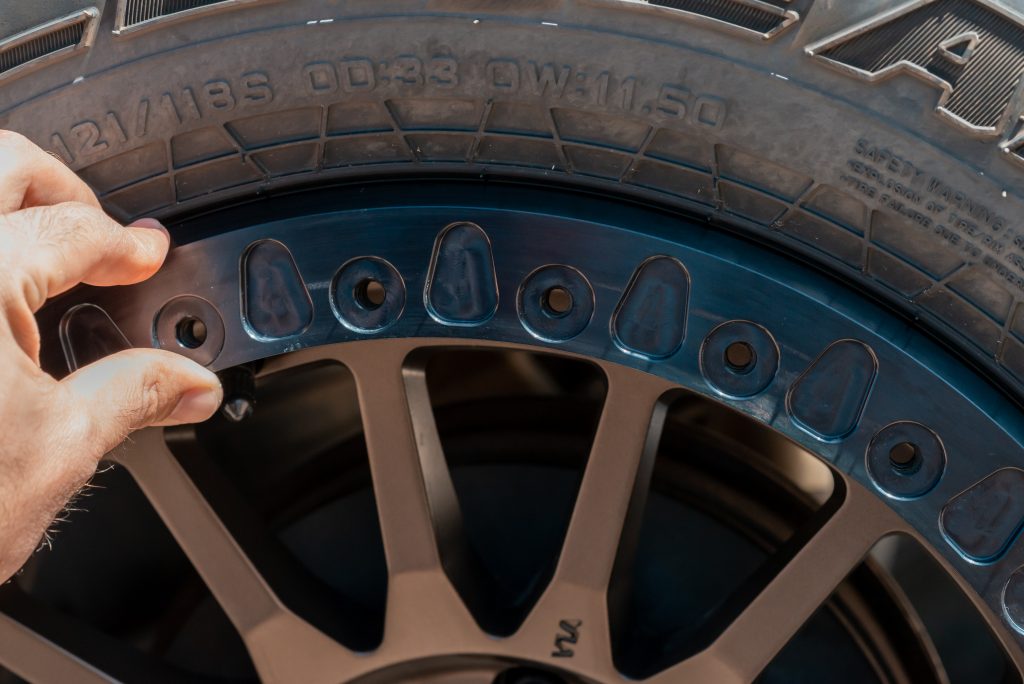
Grab your first protection ring and hold it up to your wheel. You will need to rotate the protection ring until you align it with the threaded holes in the lip of your wheel.

Next, you can start to install a few of the bolts to help hold the protection ring in place.
Before you install any bolts into the protection ring or into the threaded holes of the wheel, RRW recommends that you apply a small amount of anti-seize lubricant to each bolt.
I used a 1/4″ ratchet and a 13mm socket to tighten four starter bolts and secure the protection ring to my wheel. I went around the wheel in a star pattern, slowly tightening each bolt per RRW’s recommendation. This helps make sure the protection ring remains sitting flush against your wheel all the way around.
Step 3. Install Remaining Bolts
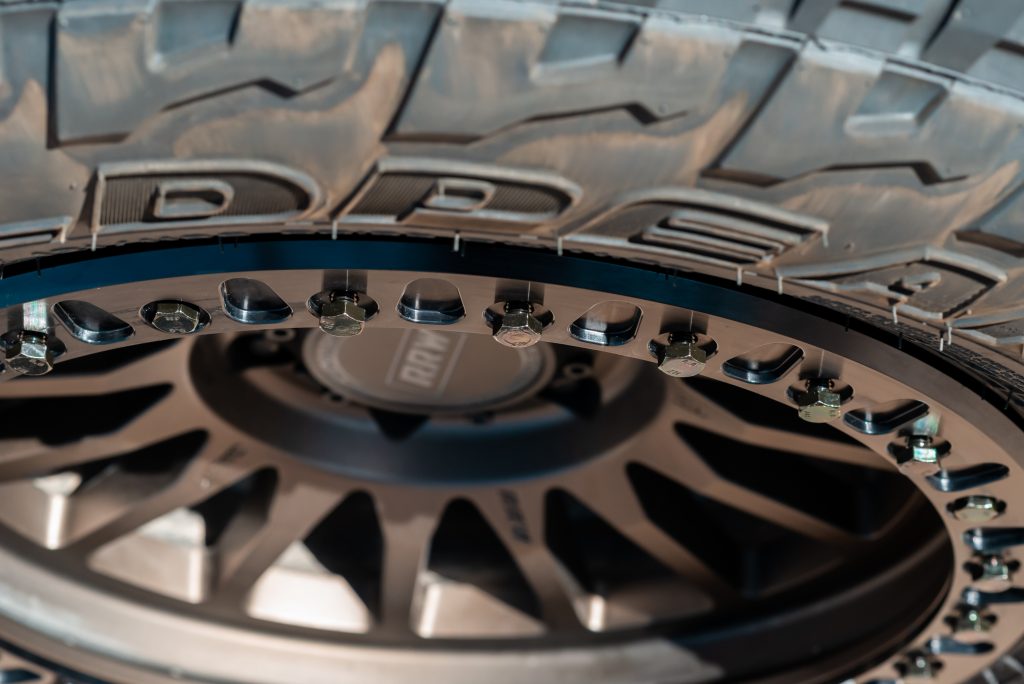
Each wheel has 25 threaded holes on the lip for either protection or beadlock rings. Start off each bolt by hand-threading so it’s easier to go around with your ratchet afterward.
With a ratchet, slowly tighten each bolt in a star pattern like you did with the first few. Do not over-tighten because you could cause damage to the threads on the wheel. The bolts are steel and the wheel is aluminum. Be very careful here.
Step 4. Torque Down Bolts
I was only able to find torque specs for RRW’s true beadlock rings. Even though these rings are not true beadlocks, the torque specs will be the same due to the bolts and threads being identical.
Torque the bolts to 7 ft-lbs in a star pattern for the same reason mentioned earlier. Next, repeat and torque to 14 ft-lbs. Doing this in two steps will help ensure that the protection ring installs evenly over the entire wheel.
Overview
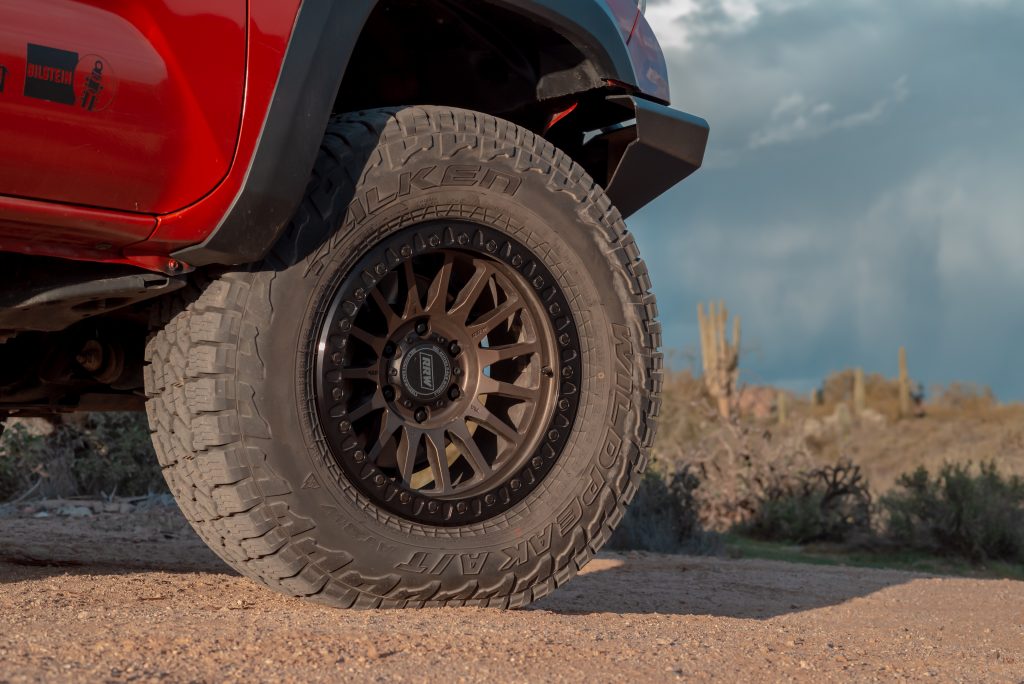
These rings add a great layer of protection to your wheels and look so dang good when paired with the hybrid RRW wheels.
RRW knocked this product out of the park and I am beyond happy with how great they look! I can’t wait to take my truck out on the trails with greater confidence that they’ll be better protected from rocks and other damage.
Final Thoughts

If V2’s style isn’t for you, be sure to check out the V1 protection ring. The installation instructions for those are the same as the ones detailed in this article. If you want to take it one step further, RRW’s beadlock rings are what you want.

