Super Aggressive Cab Mount Relocation Kit From Supreme Fab Works For 2nd & 3rd Gen (2005-2023) Tacoma – Helps To Clear 35″ Tires Easier
Anyone who has spent long enough in the off-road space knows that 35-inch tires are one of the most revered and transformative mods you can do to your truck. They substantially increase traction off-road, boost the ride height/clearance of your vehicle, and let’s be honest – they look sick. However, fitting 35s on a Tacoma isn’t as easy as simply swapping your old rubber for larger tires; you’ll have to commit to things like completely modifying your front wheel wells, including liner modification/removal, grinding off the cab mount, cutting the fender/flare, and lots (and I mean lots) of trimming.
One of the major contact points that needs to be eliminated is one of the cab mounts, the place where the cab is welded to the vehicle’s frame. Historically, Tacoma owners would make room by performing a cab mount chop (CMC), which is a fancy term for cutting the factory mount, and welding a plate to cover the gap. However, even with a CMC, 35-inch tires are often still prone to rubbing. Luckily for us, Supreme Fab Works, a fabrication shop located just north of Sacramento, CA, has created a solution: a cab mount relocation.
Instead of grinding the cab mount off, Supreme Fab Works will relocate it all together, allowing you to fit 35s without your tires rubbing on the body mounts. In this article, we’ll explore the SFW Body Mount Relocation Kit and see how much more clearance we actually gain to fit 35-inch tires. We’ll also dive into the cab mount relocation process, SFW’s services, and more.
SFW Cab Mount Relocation Service (Sacramento)
Shop Overview
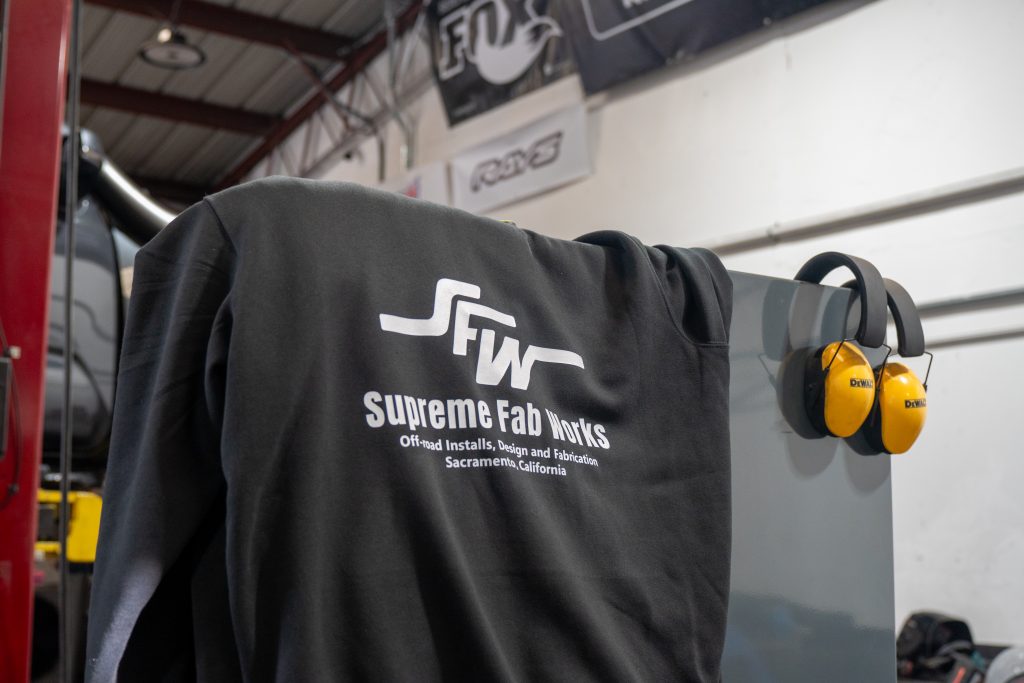
Information:
- Address: 5730 Garfield Ave Unit A, Sacramento, CA 95841
- Website: supremefabworks.com
- Instagram: @supremefabworks
- Phone Number: (916) 333-0307
- Email: [email protected]
- Hours: Mon-Fri from 8:00 am to 5:00 pm (book time to visit)
Supreme Fab Works (SFW) is located in Northern CA just off of I-80. Take the exit for Greenback Lane, then head south on Garfield Ave. The shop is located through a gate inside an industrial area off the main street.
At this location, they offer many standard services such as suspension installation, armor installation, electrical, and bolt-on part installation. Additionally, they offer advanced work such as sub-frame modification for long travel kits, cab mount relocation, shock mount relocation, and more. Other services include frame boxing, custom leaf pack installation, re-gearing, and custom fabrication like tube bumpers.
SFW Body Mount Relocation
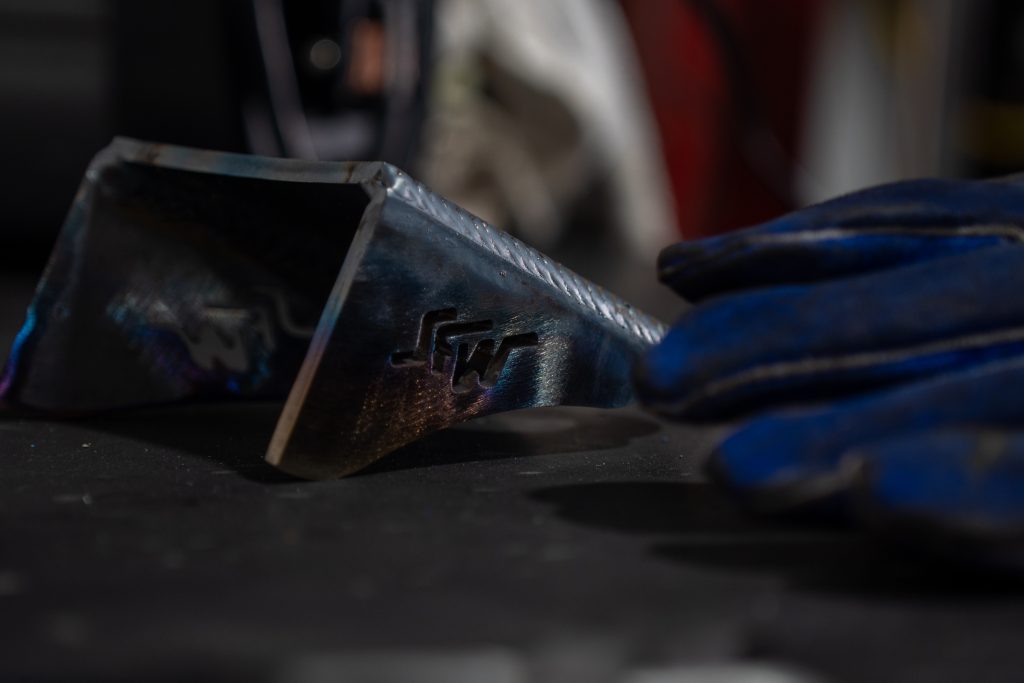
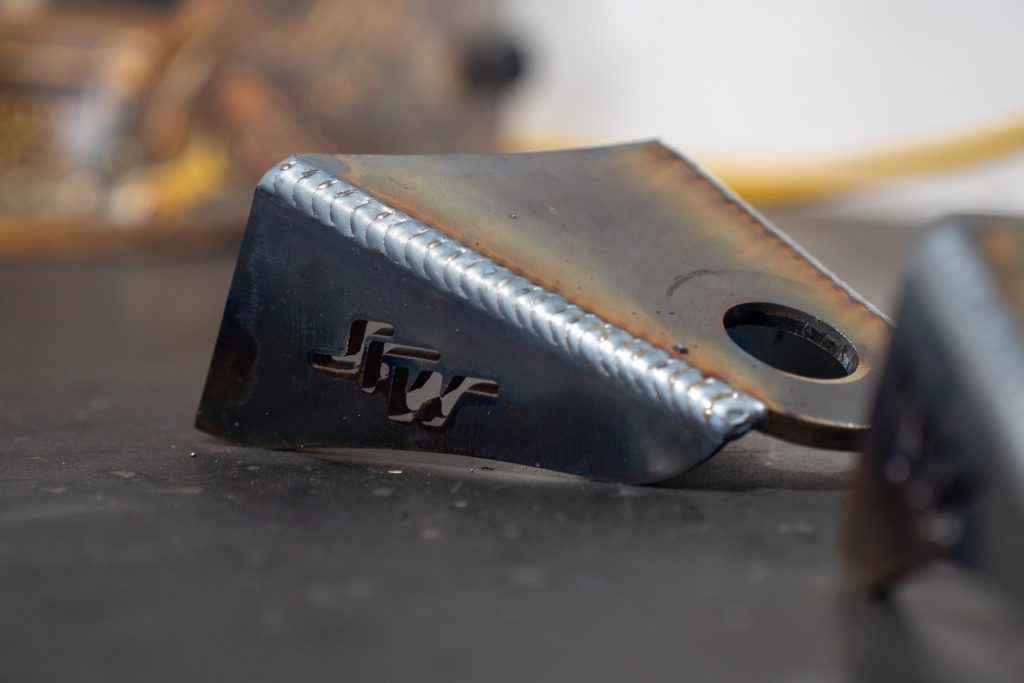
The Supreme Fab Works Body Mount Relocation kit was designed in-house to have the most clearance possible. This design is made out of two primary components: an exterior frame-mounted plate to further strengthen the mount and a thick, U-shaped bracket that is welded to the plate.
The U-shaped bracket is made out of 1/4 inch-thick steel plate which has been CNC plasma cut. Once the bracket is cut out, it is then bent into shape. It is then welded down the sides for strength. The plate that is attached to the frame is also cut from 1/4″ steel and completely welded around all edges. It also has central slots that are welded to the frame to prevent flexing.
This Body Mount Relocation Kit is compatible with the Toyota 4Runner (2003+), Toyota Tacoma (2005+), and several other models. The kit is currently not available to ship, but can be installed at the shop. Minor tire clearance and pinch weld services are included with the installation of the kit.
Installation Process
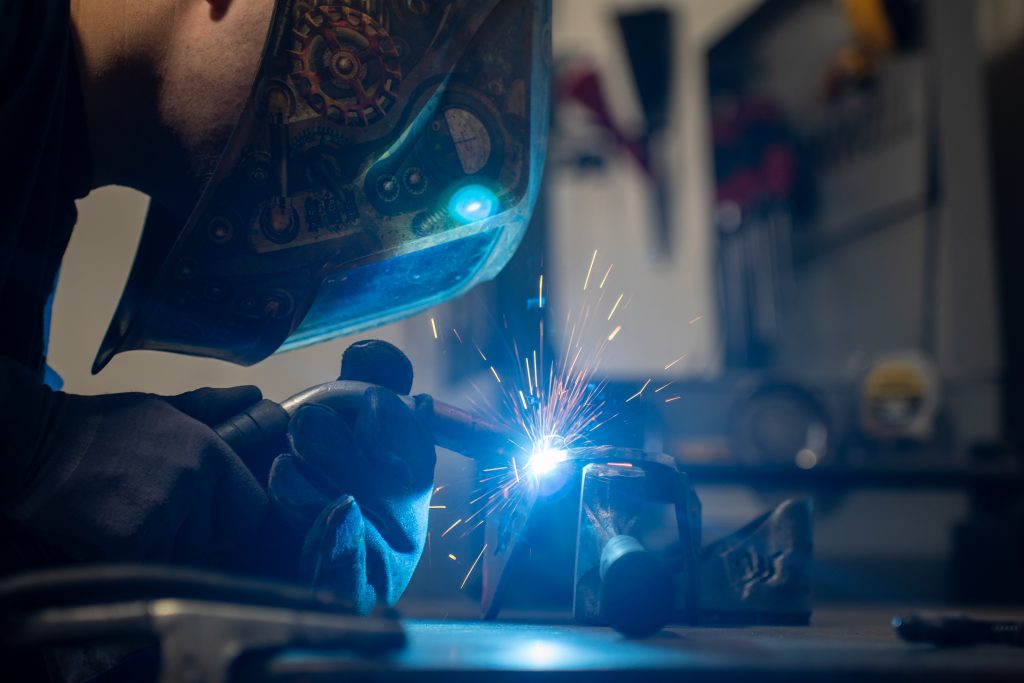
This installation process is performed in-house and completed in a single day. The steps below are laid out to understand everything that is performed with the service. This helps us see the value of having this procedure done over a cab mount chop. Not only are we creating more clearance with a full relocation, but we are also adding structural support to the frame and trimming the fender areas.
Step 1. Removing Old Cab Mount
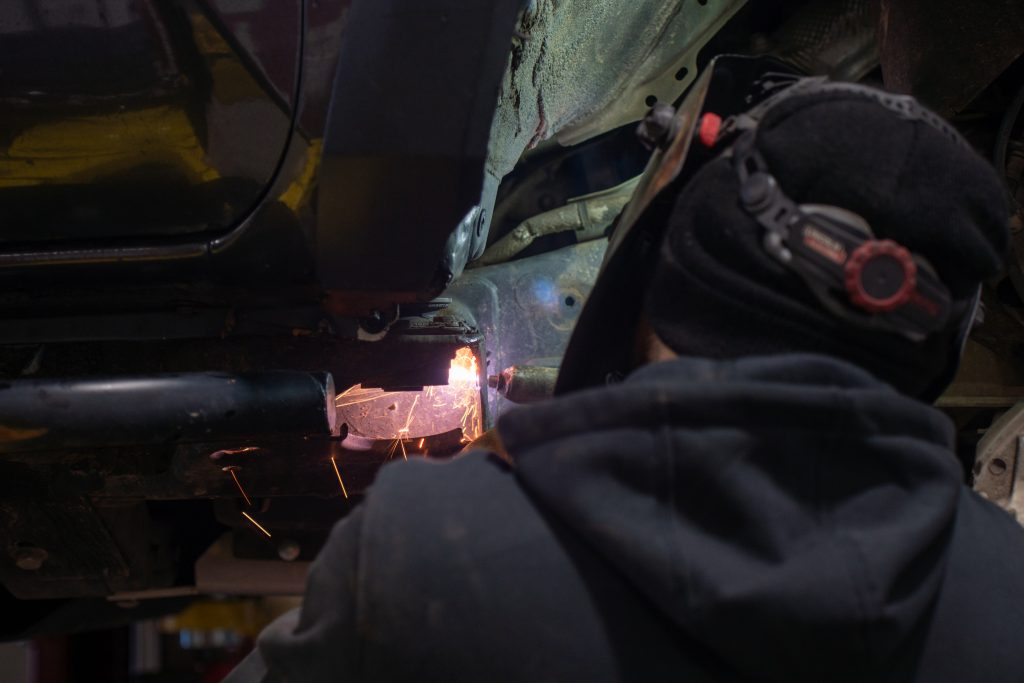
First, the original cab mount is unbolted and the factory bushing in its place its removed. The front mount that holds the body to the frame (located next to the radiator) is also unbolted. Any exposed lines and wires are covered to prevent damage during cutting and welding. Jacks are also used to raise the body of the truck, creating more room to work.
The old cab mount is now cut off with a plasma cutter. Using a combination of an angle grinder and an air hammer, the old mount is easily peeled off the frame. Any nicks in the frame from the removal processes are tack welded and the frame is ground to create a clean welding surface.
Step 2. Prepping Relocation Kit
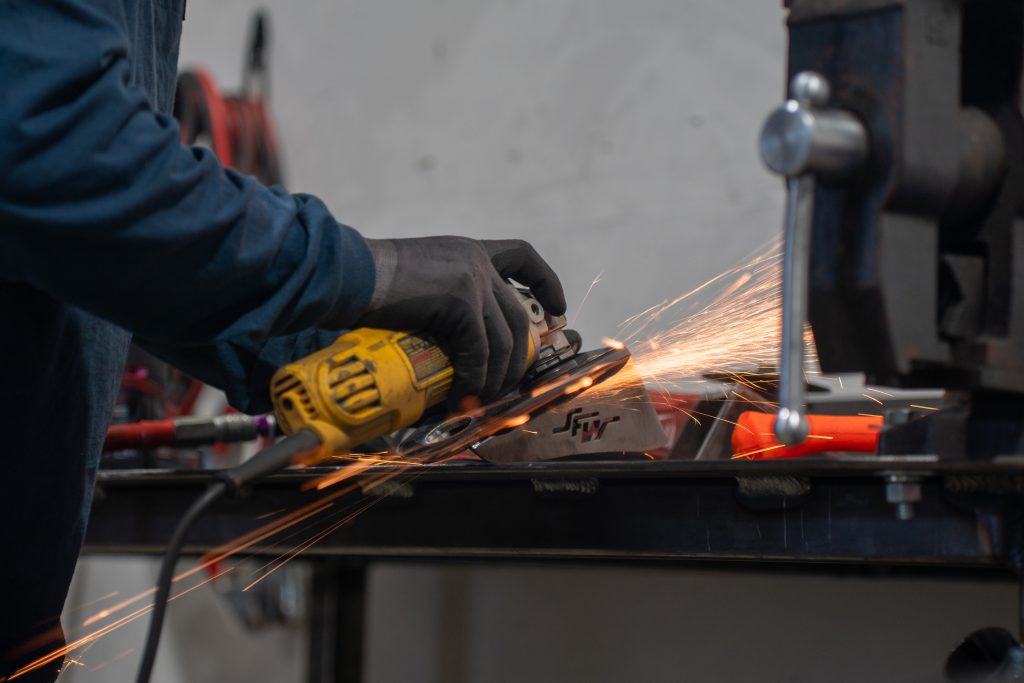
Next, the metal is prepped by cleaning any edges that will be welded and deburring the sides that were cut using the CNC plasma cutter. Both the inside and outside edges of the body mount are welded to create a solid unit. The parts will need to cool thoroughly before moving forward.
Step 3. Welding Frame Plate
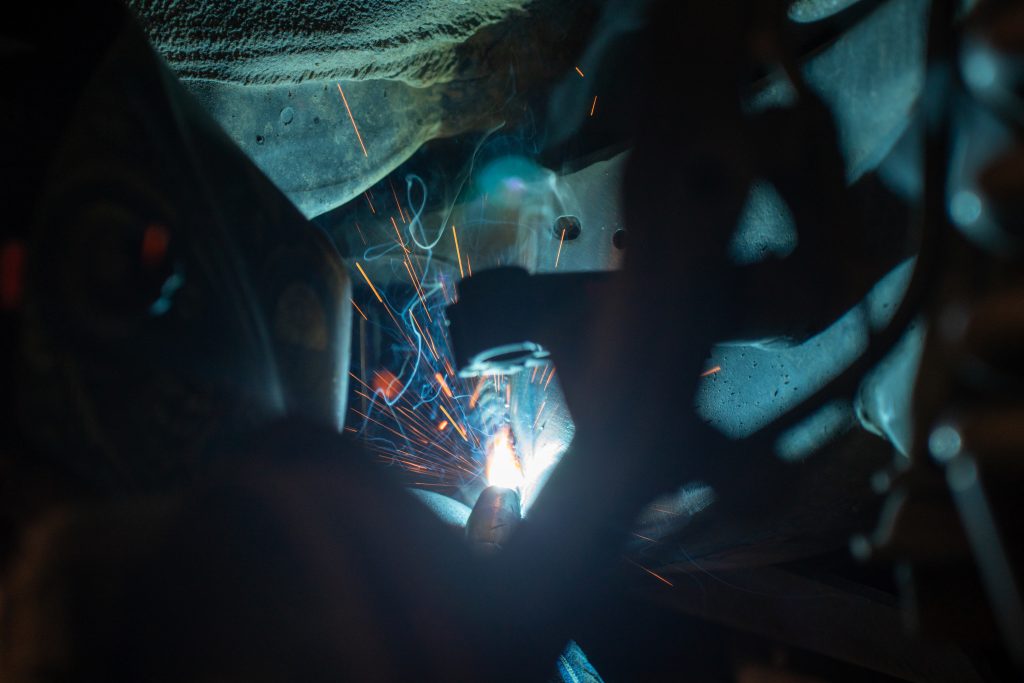
Now, it’s time to weld the frame plate to the truck. The plate is completely welded on all edges to seal it to the frame and the two center slots are filled with weld to prevent any peeling or warping from the frame. This is ideal to keep any moisture from collecting between the frame and the plate. This process is repeated on the other side and left to cool.
Step 4. Welding New Body Mount
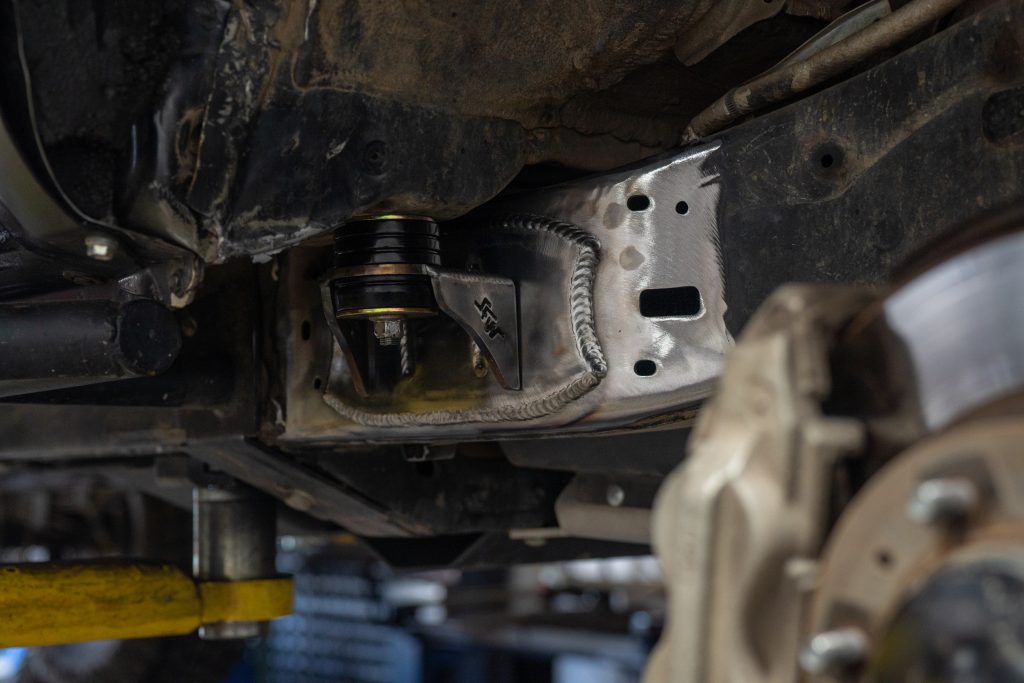
Next, the bushing is attached to the body mount and installed on the truck. Once the mount is lined up, it can be tack-welded into place. The bushing is removed again for the welding process.
Now, the body mount is welded into place, rotating sides of the truck, and ensuring not to add too much heat to the frame. An ample amount of time is left between welds to allow for proper cooling.
Step 5. Pinch Weld & Clearance Service
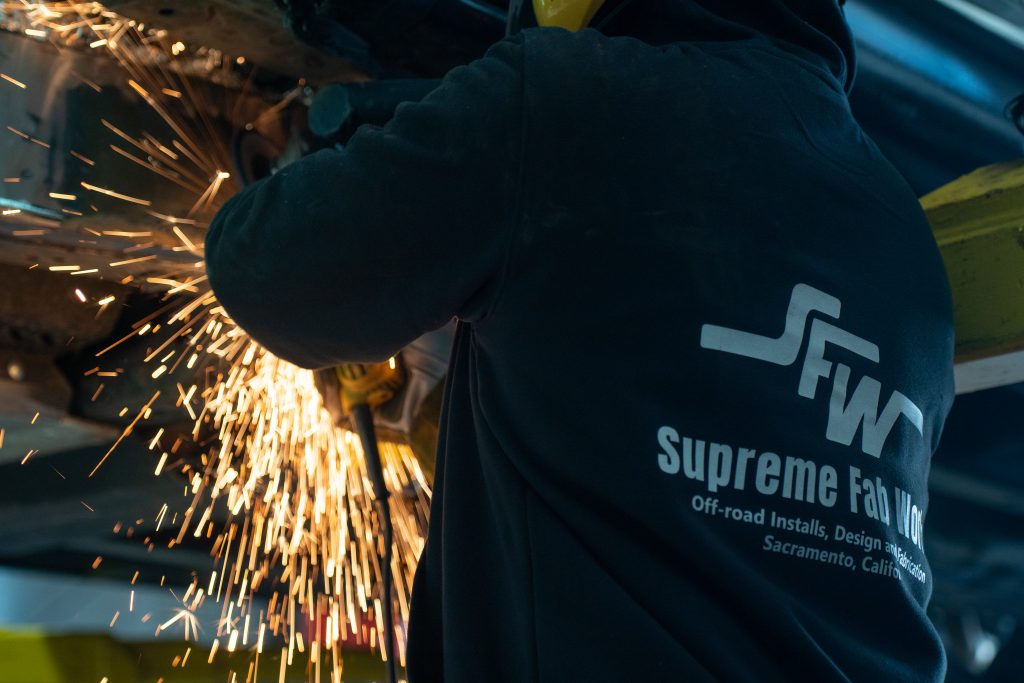
Part of the cab mount relocation process is also trimming the fender liner & fender and pushing down the pinch weld to clear the larger tires. These are necessary steps for any Tacoma looking to fit 35s without rubbing.
Step 6. Paint Raw Metal & Install Bushings
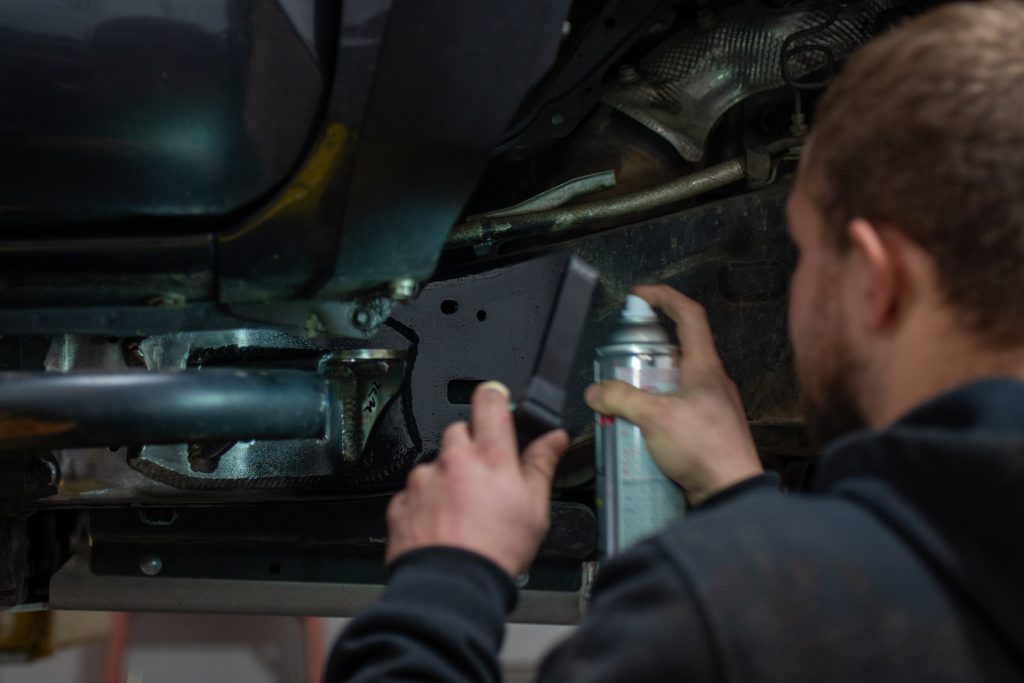
Once the welds have cooled, they’re ready for paint. Fast-drying Dupli-Color Rubberized Under Coating is used to paint the area. The matte finish seamlessly blends into the OEM finish of the frame. Finally, the bushing is added and the body is lowered into place.
The hardware that was removed is reinstalled and the wheels are mounted and torqued to spec.
Initial Impressions & Review
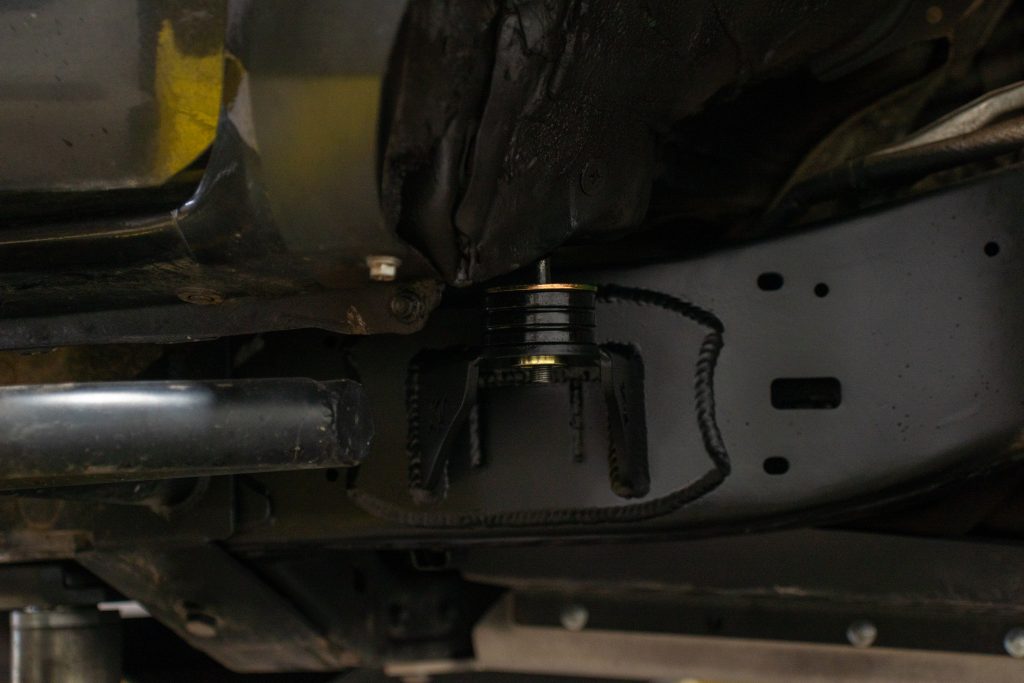
I went with the Supreme Fab Works Cab Mount Relocation for a number of reasons. To start, this relocation was one of the most aggressive I have seen performed. The design of the bracket has a bit more clearance than others I’ve seen; the overall design is very minimalist but the metal used is thick and strong.
Secondly, this shop is located close to me, making it easy to drop off my truck and pick it up at a later time. I foresee this being very convenient when I use SFW in future projects.
As I watched the team work on my truck, I could clearly see both the attention to detail and expertise they offer. Every step to perform this job was effortless and SFW’s hundreds of installs worth of experience shown through.
After the service, the cab mount clears my 35-inch tires without any issue. I am not rubbing on the firewall itself, nor the fender now that it has been trimmed.
Final Thoughts
Overall, I am extremely happy, not only with the Cab Mount Relocation but with Supreme Fab Works and the quality of their work. After the short time I spent in the shop watching their work, I felt at ease knowing my truck was in good hands.
Talking to the owners, I saw the time, research, and passion they are putting into new products. This really struck a note with the DIY side of me. Personally, I like to do a lot of the work on my own, but seeing how overbuilt and over-engineered their spindle gussets as well as other upcoming kits were, I was left only wanting more.
I will continue to support this up-and-coming fabrication shop and use them for my personal truck, both for their attention to detail and for providing products that are over-designed and overbuilt for a purpose.
