

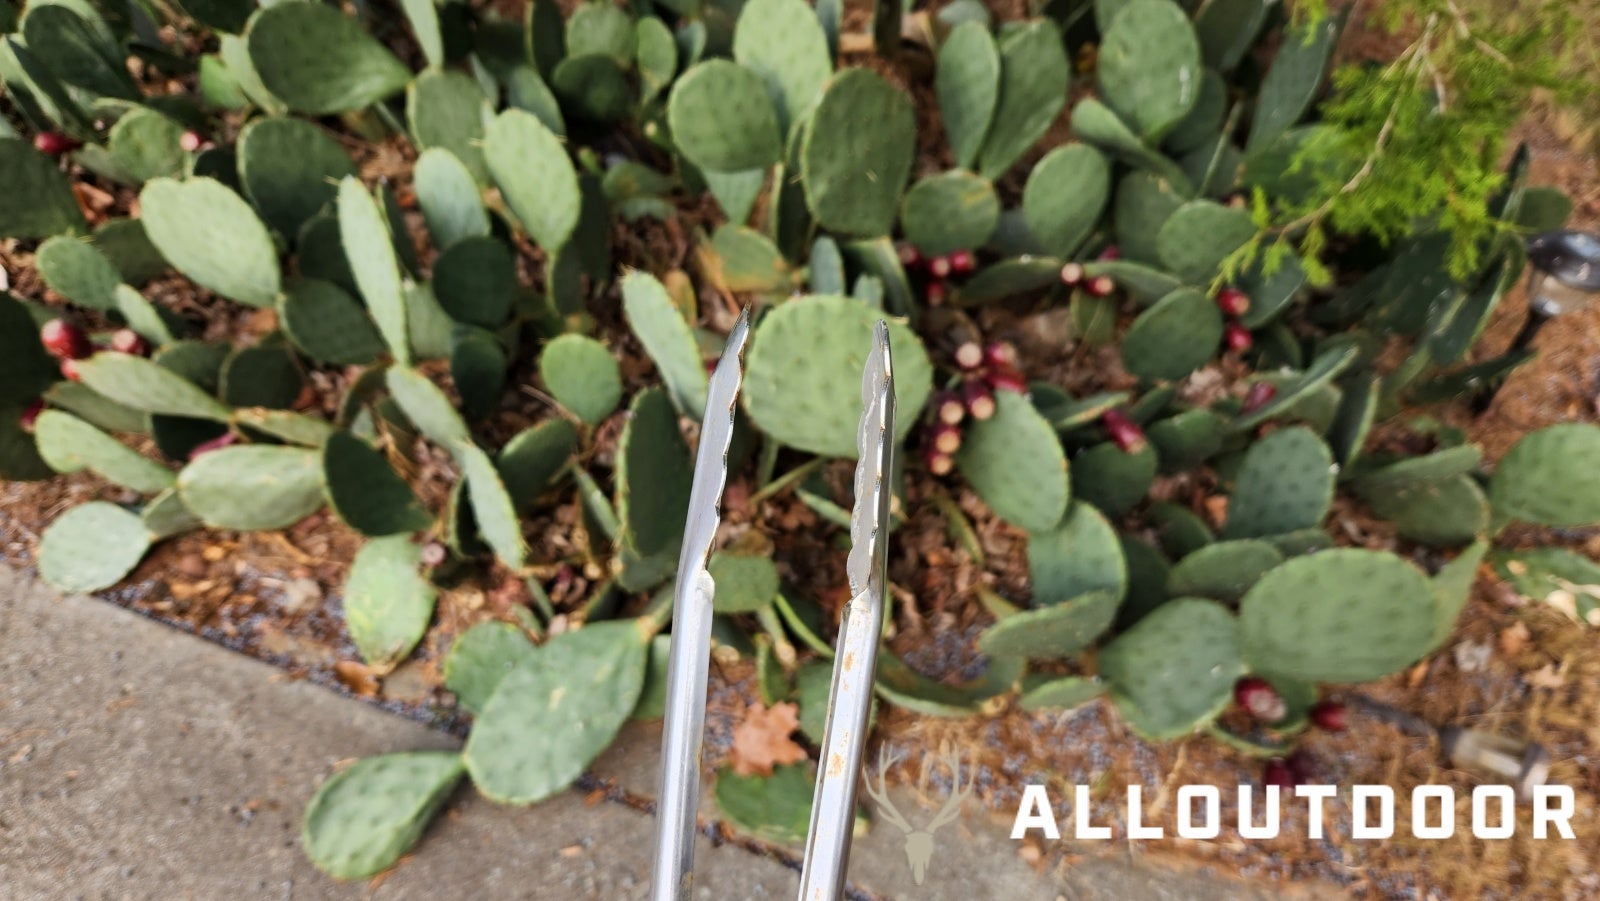
Today I’m going to show you how to make your own preserved jelly at home using prickly pears you picked yourself. The prickly pear jelly is a great topper to use as a glaze for salmon, as a side on a charcuterie board, or just plain on toast. These particular fruits I got from the front yard of my parent’s house in North Georgia. While I’m not sure of the exact species, I do know all the prickly pear fruit from the Opuntia genus of cacti are edible. This genus has many species that grow all over the North American continent with some being cold-tolerant enough to survive as far north as Massachusetts. So if the prickly pears that grow near you look different don’t worry, the process should be about the same. The first thing I have to tell you is to use tongs when picking the prickly pears, they have glochid thorns that look like hairs but stick you terribly.

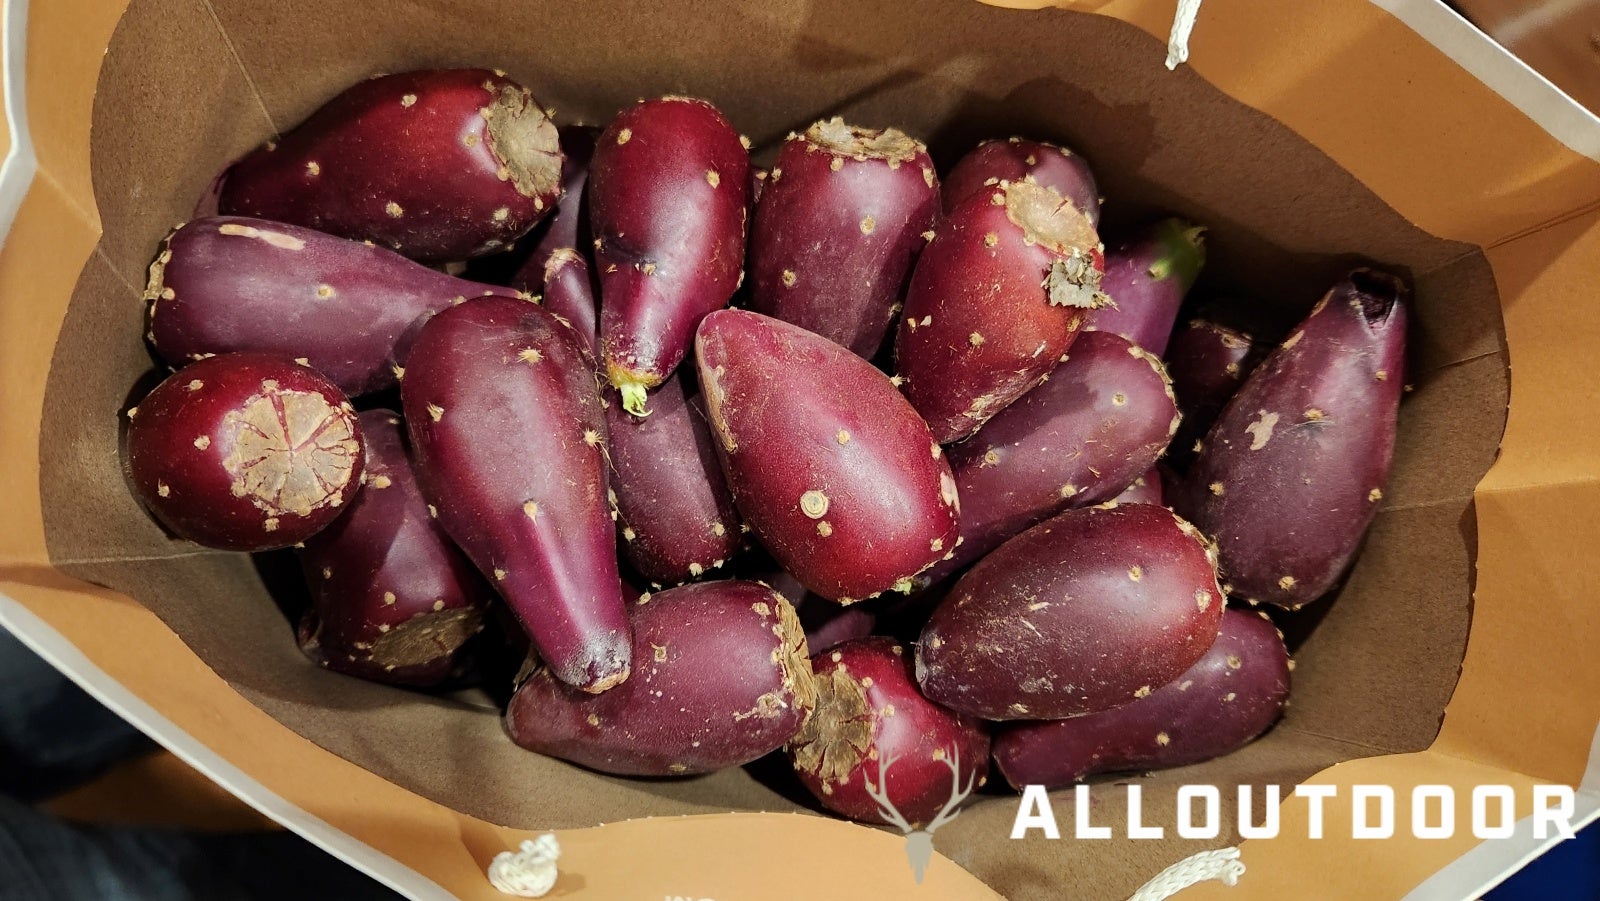
I got about 40 prickly pears from this patch of cactus, which is honestly plenty. You want the fruit to be very ripe, try to avoid any fruits with a lot of green coloring. I use a disposable paper bag to store these as I’m picking them because those thorns are a menace.
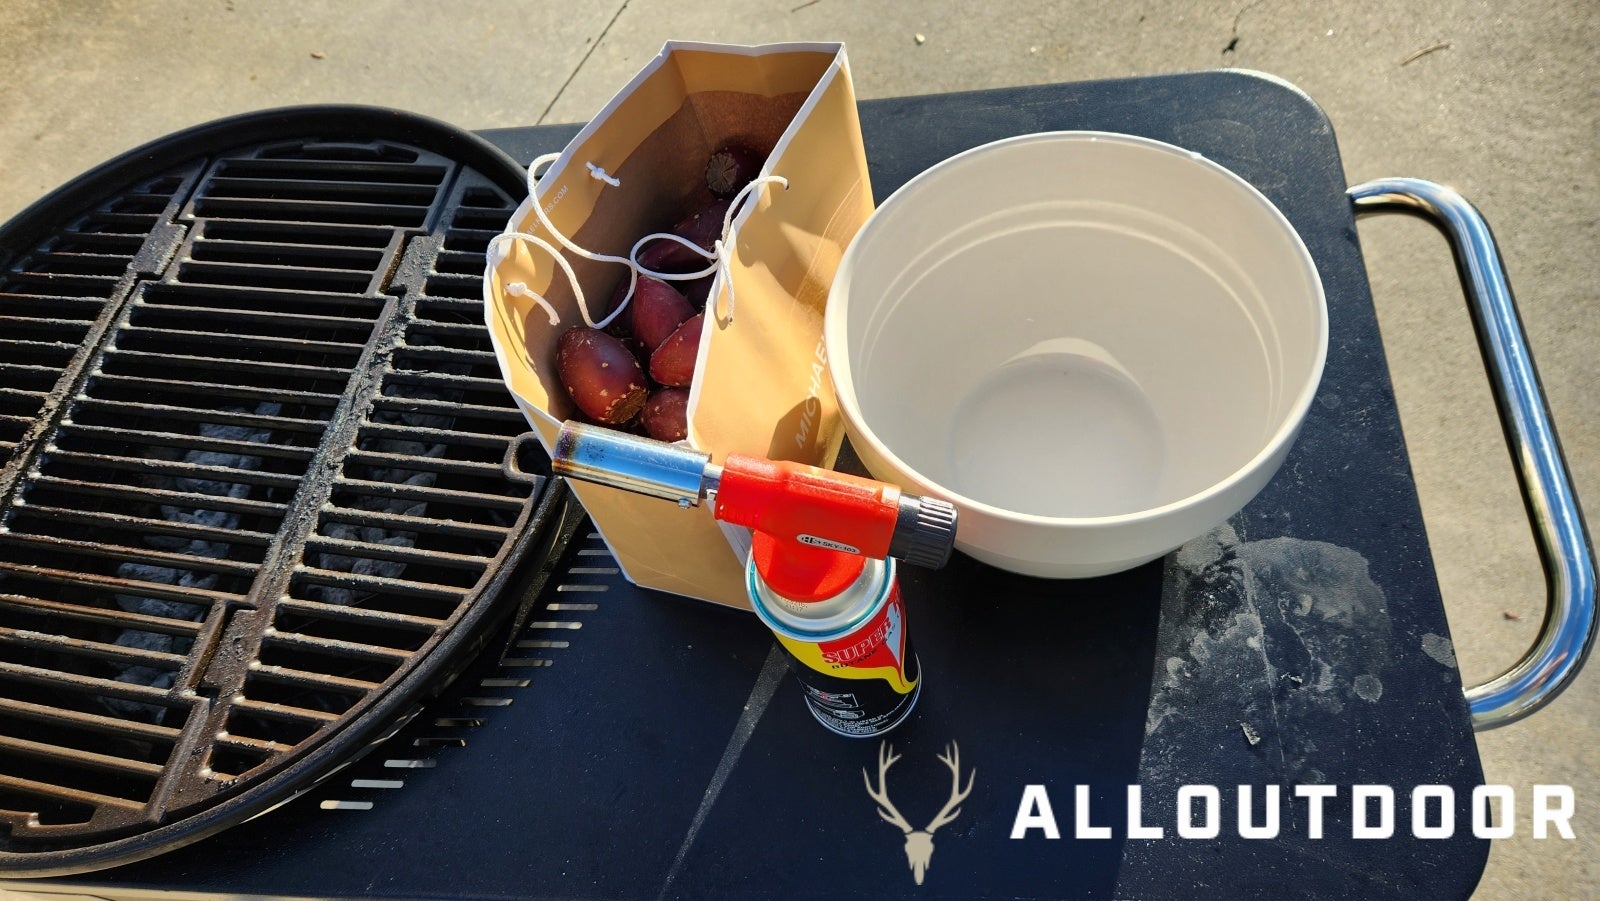
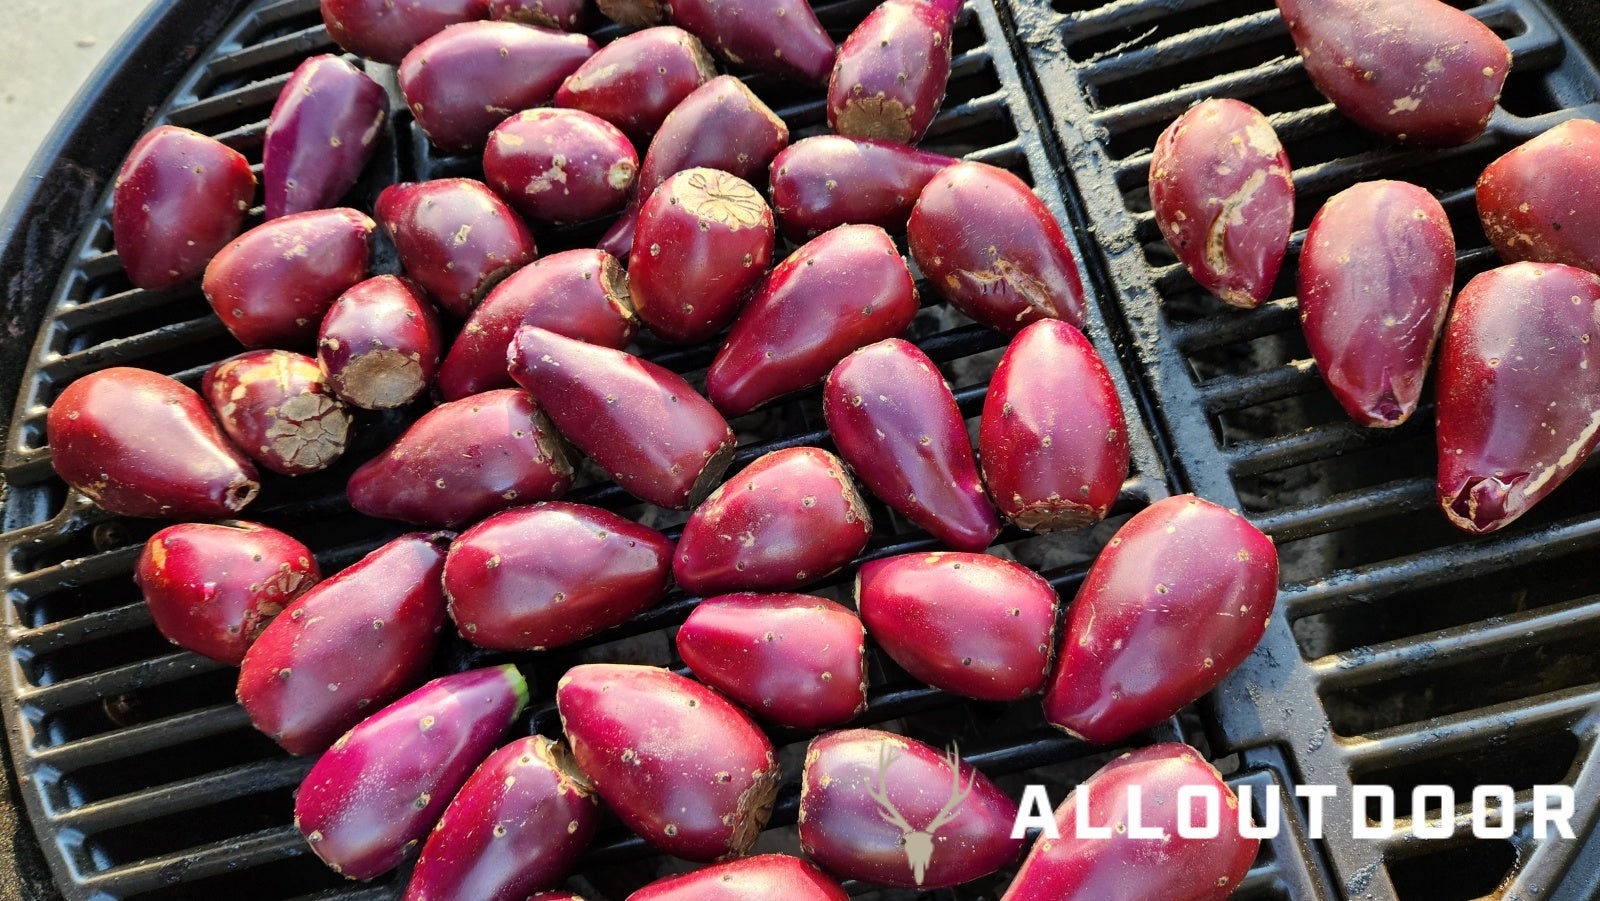
The next step after picking all the fruit is to torch them to burn off the glochid thorns. I have heard that boiling them will soften the thorns so you don’t have to do this step, but I prefer to do it so I don’t want to risk getting thorns in me when I prep them for boiling. Put the prickly pears onto a metal grate somewhere that is heat/flame resistant. I’ve seen people use oven grates and trays before, I used my grill this time. You just want to tae your torch and burn off the hairy-looking parts. Just enough to burn the thorns and hairs off but not so much that the skin splits and blisters. The pear skins will shine when they are torched right.
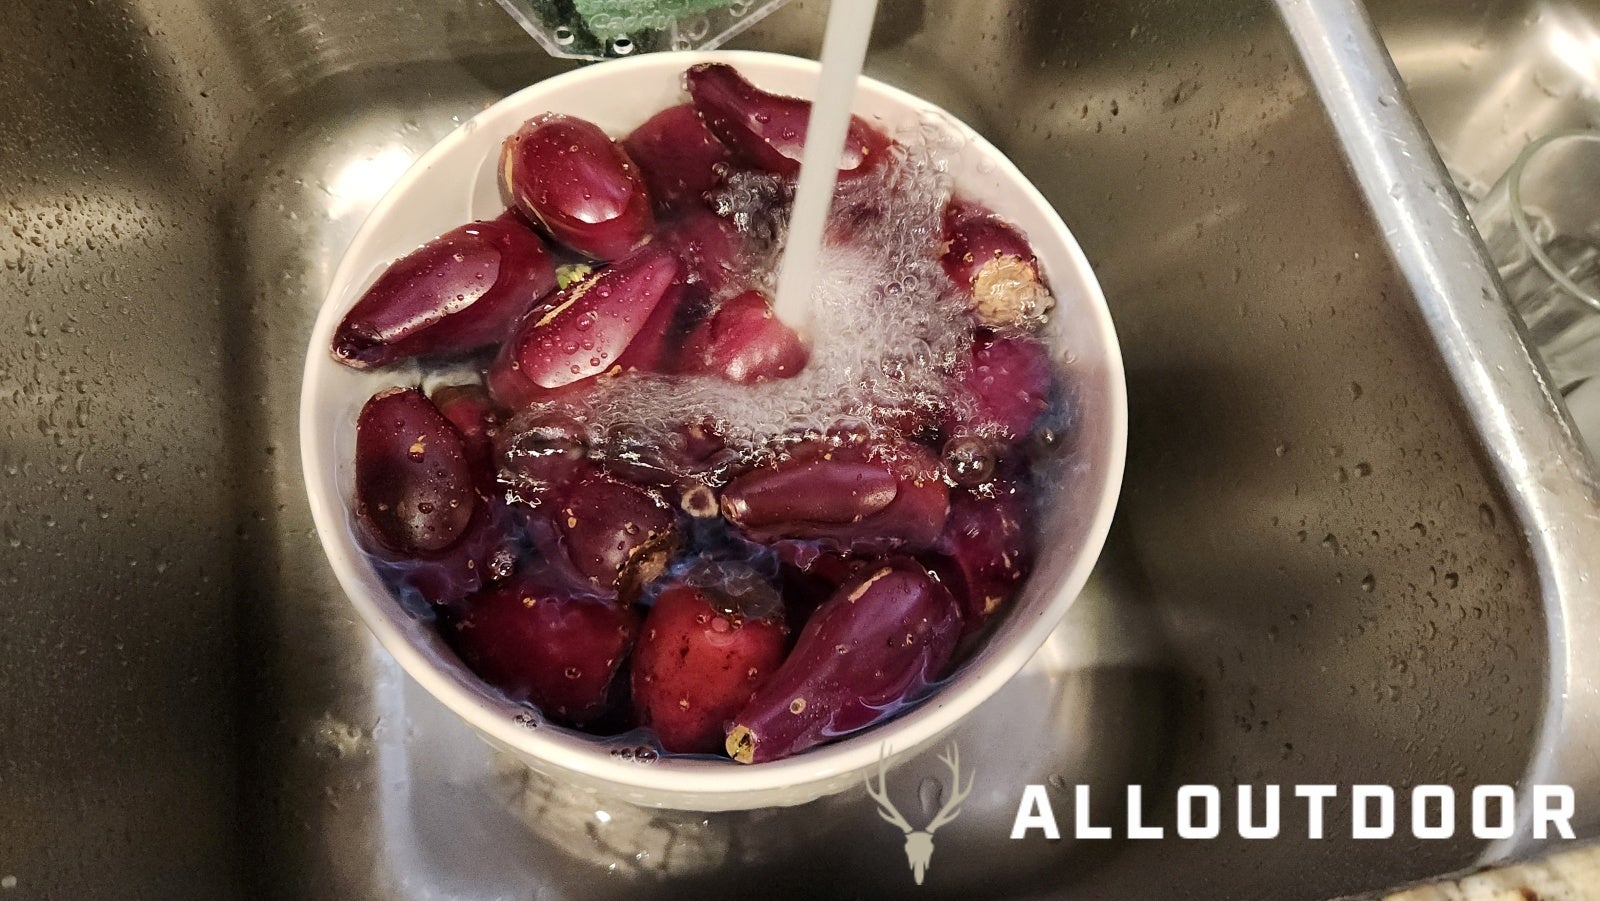
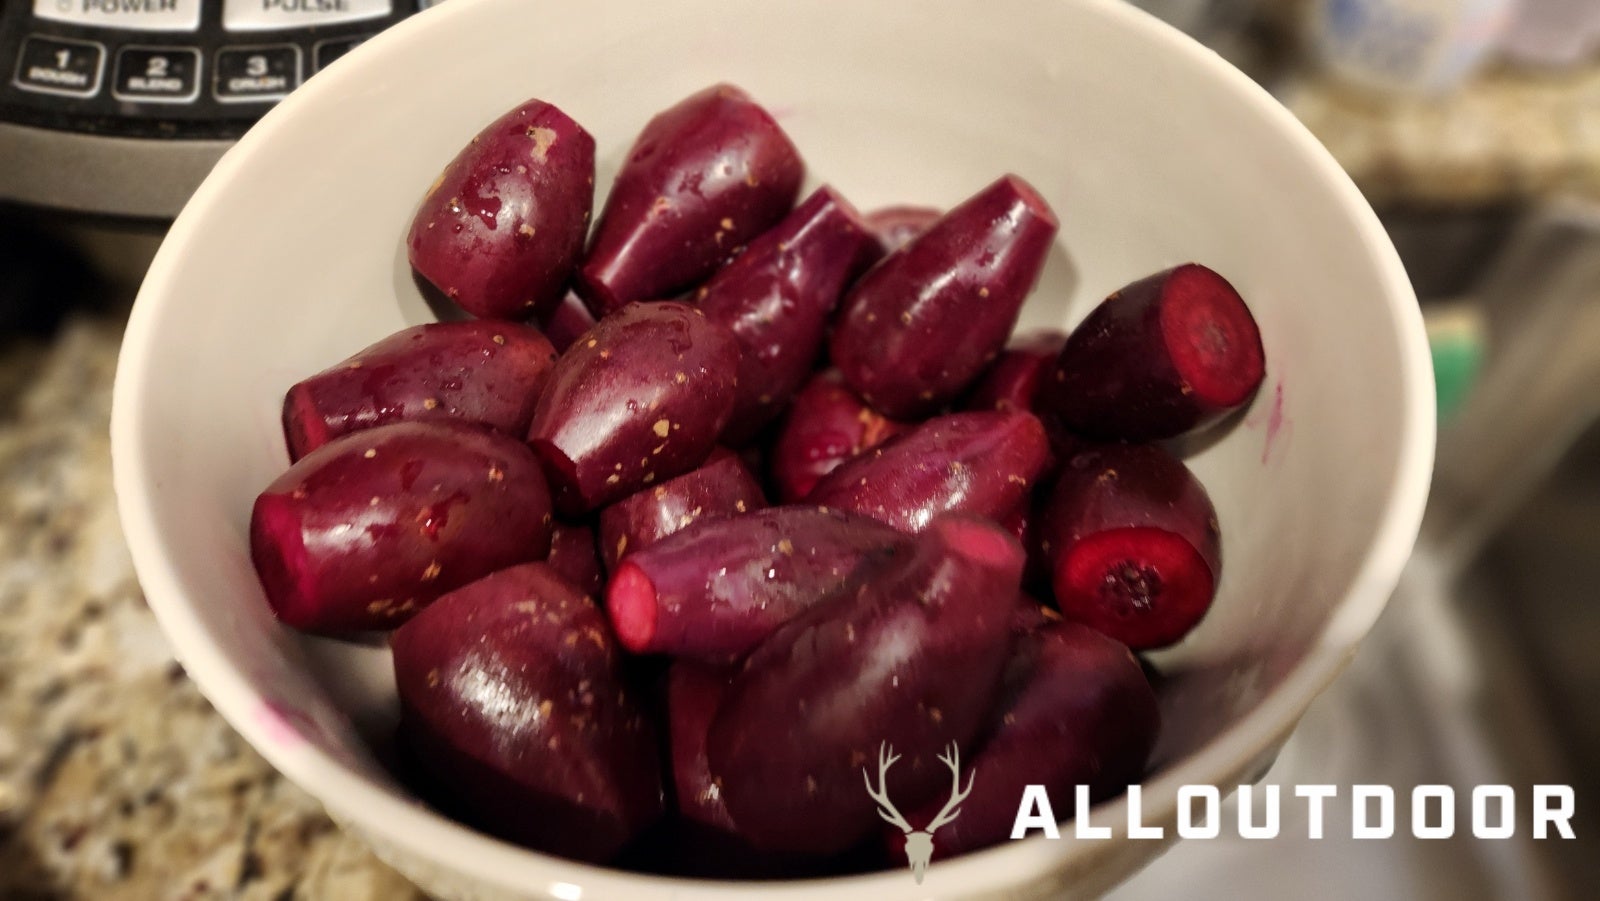
After burning off all the thorns with the torch, I give them a rinse in some cold water to wash off dust and soot from the torching process. After which I trim off the tops and bottoms of the pears to finish the cleaning of the fruit.
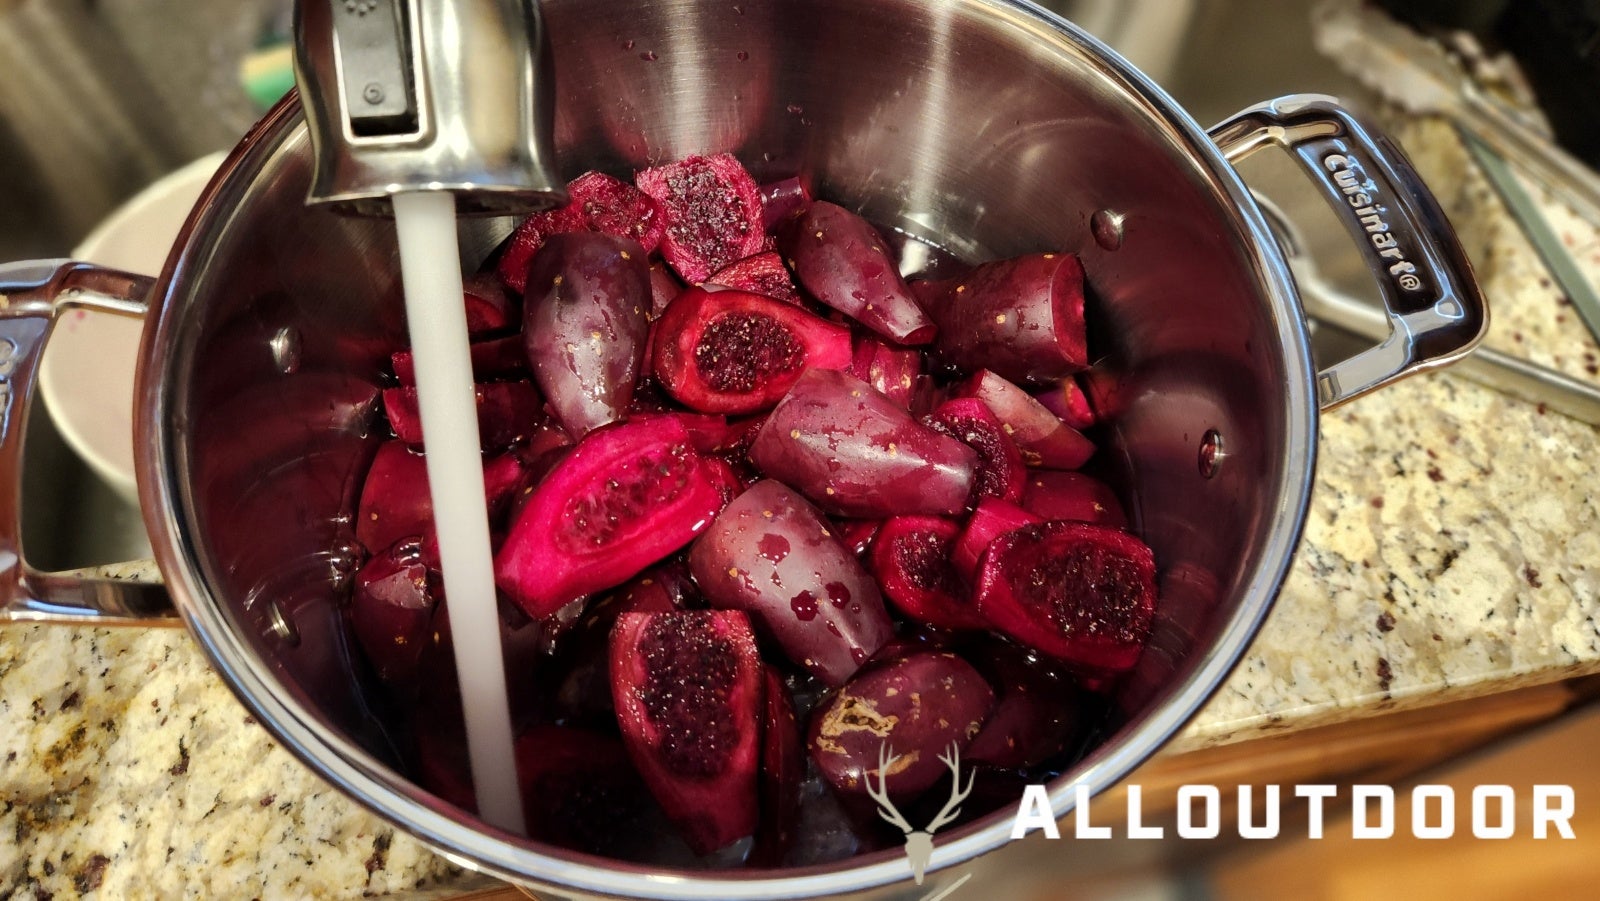
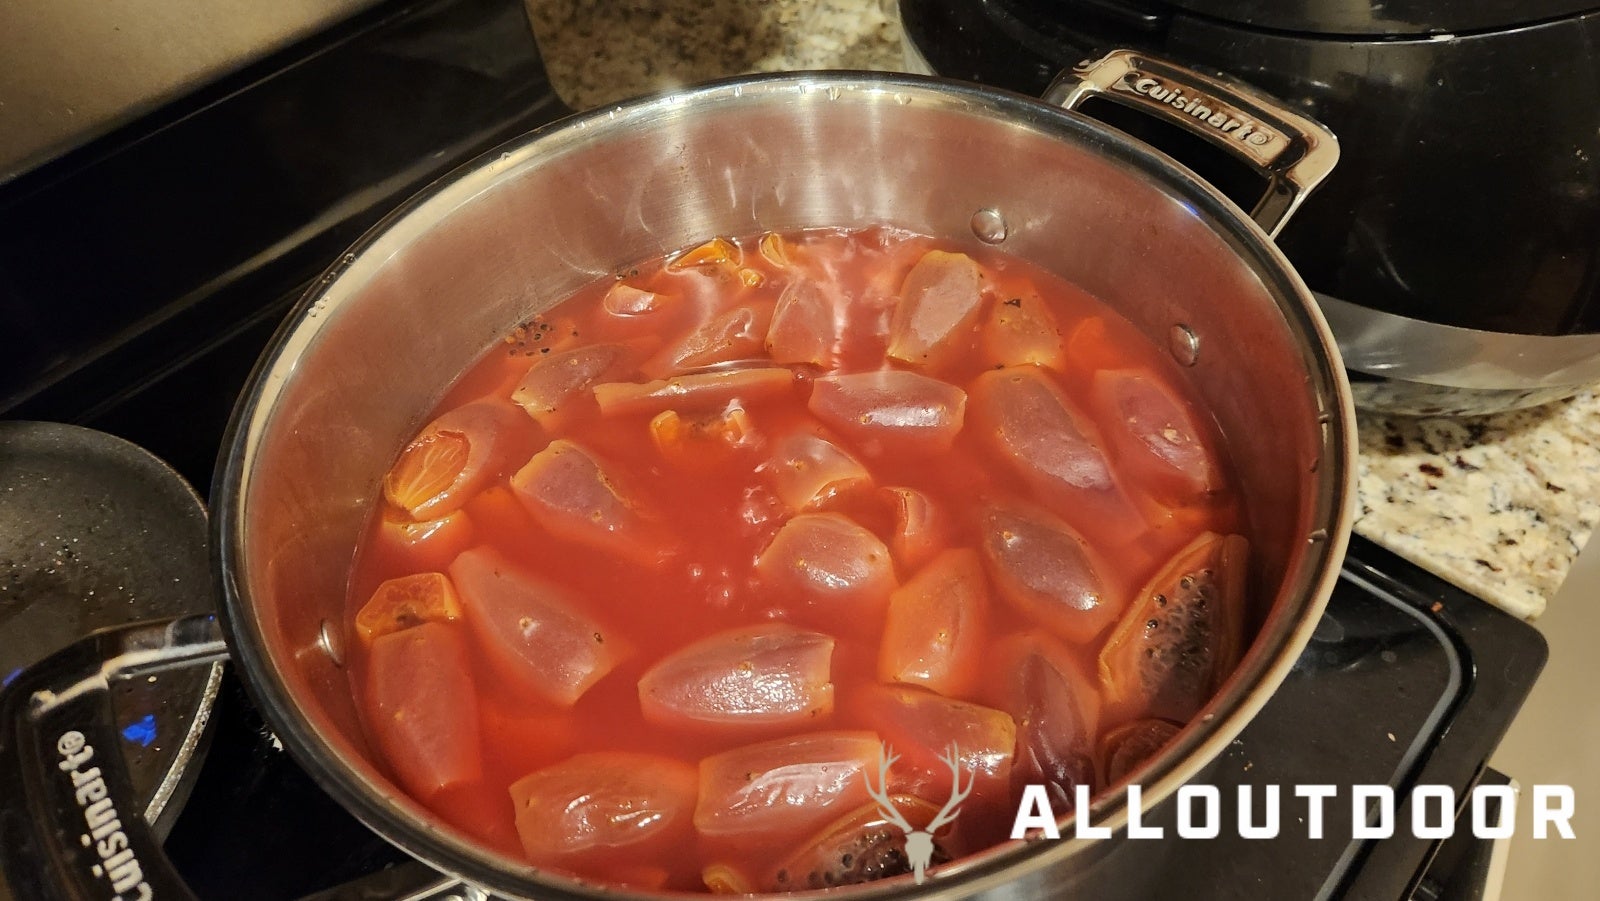
With the cleaned and trimmed pears, I just cut them in half and placed them in a big stock pot. I’ve seen others who just boil them whole as well, but I prefer halving them before the boil for juice extraction. I have also seen other people use food mills to juice the pears without boiling as well. But for making jelly, I will stick to my boiling method. Cover the halved prickly pears with water and put them on heat to boil.
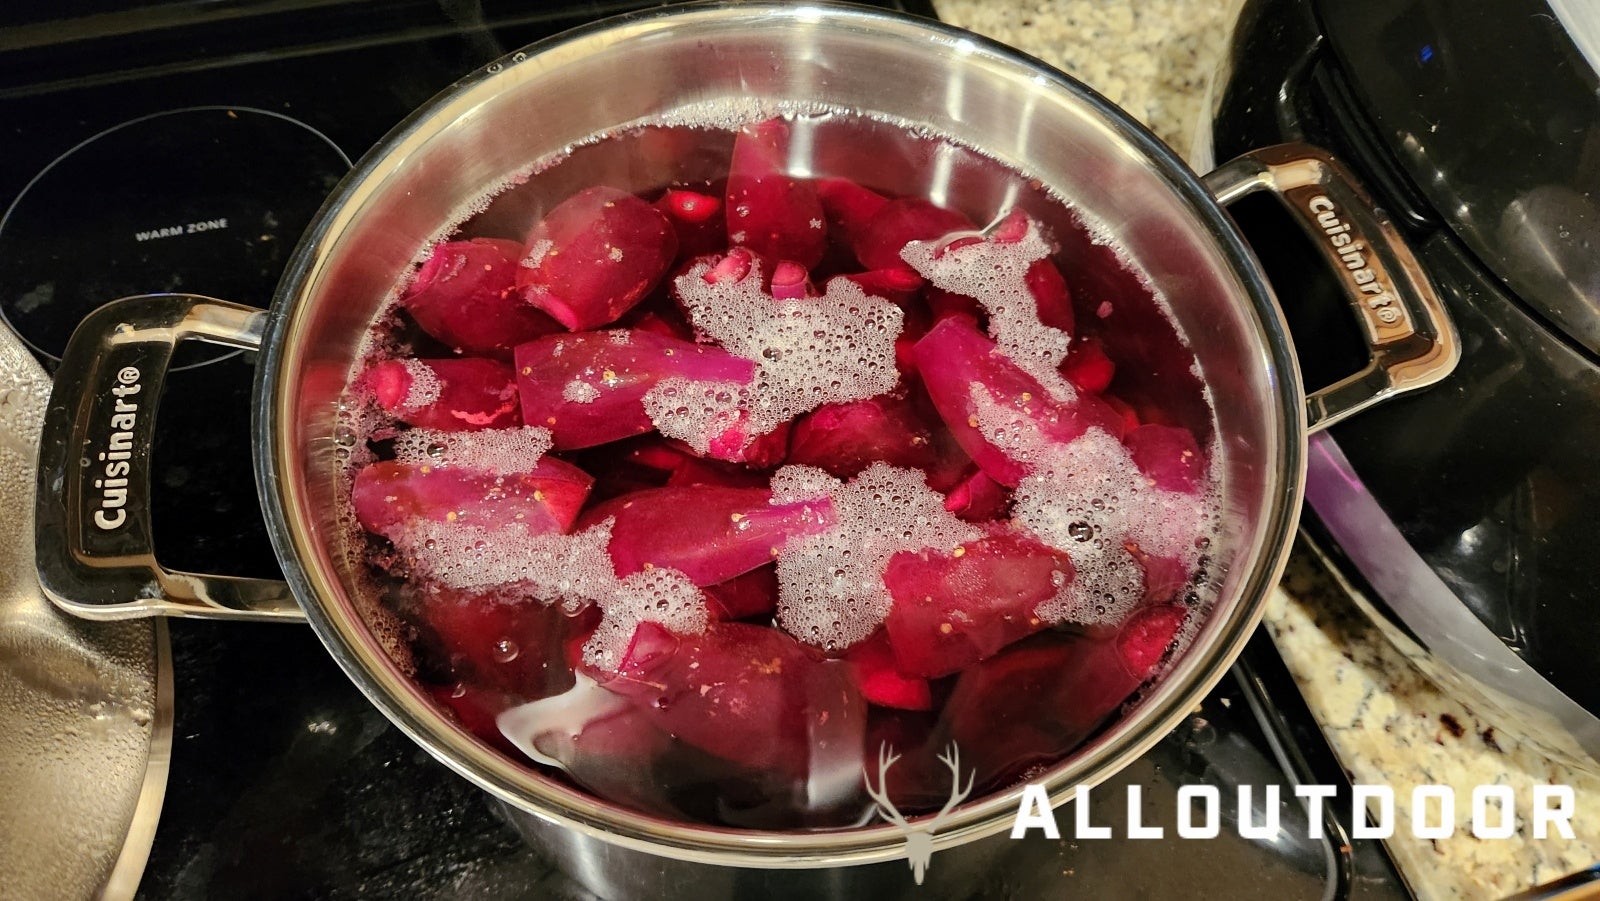
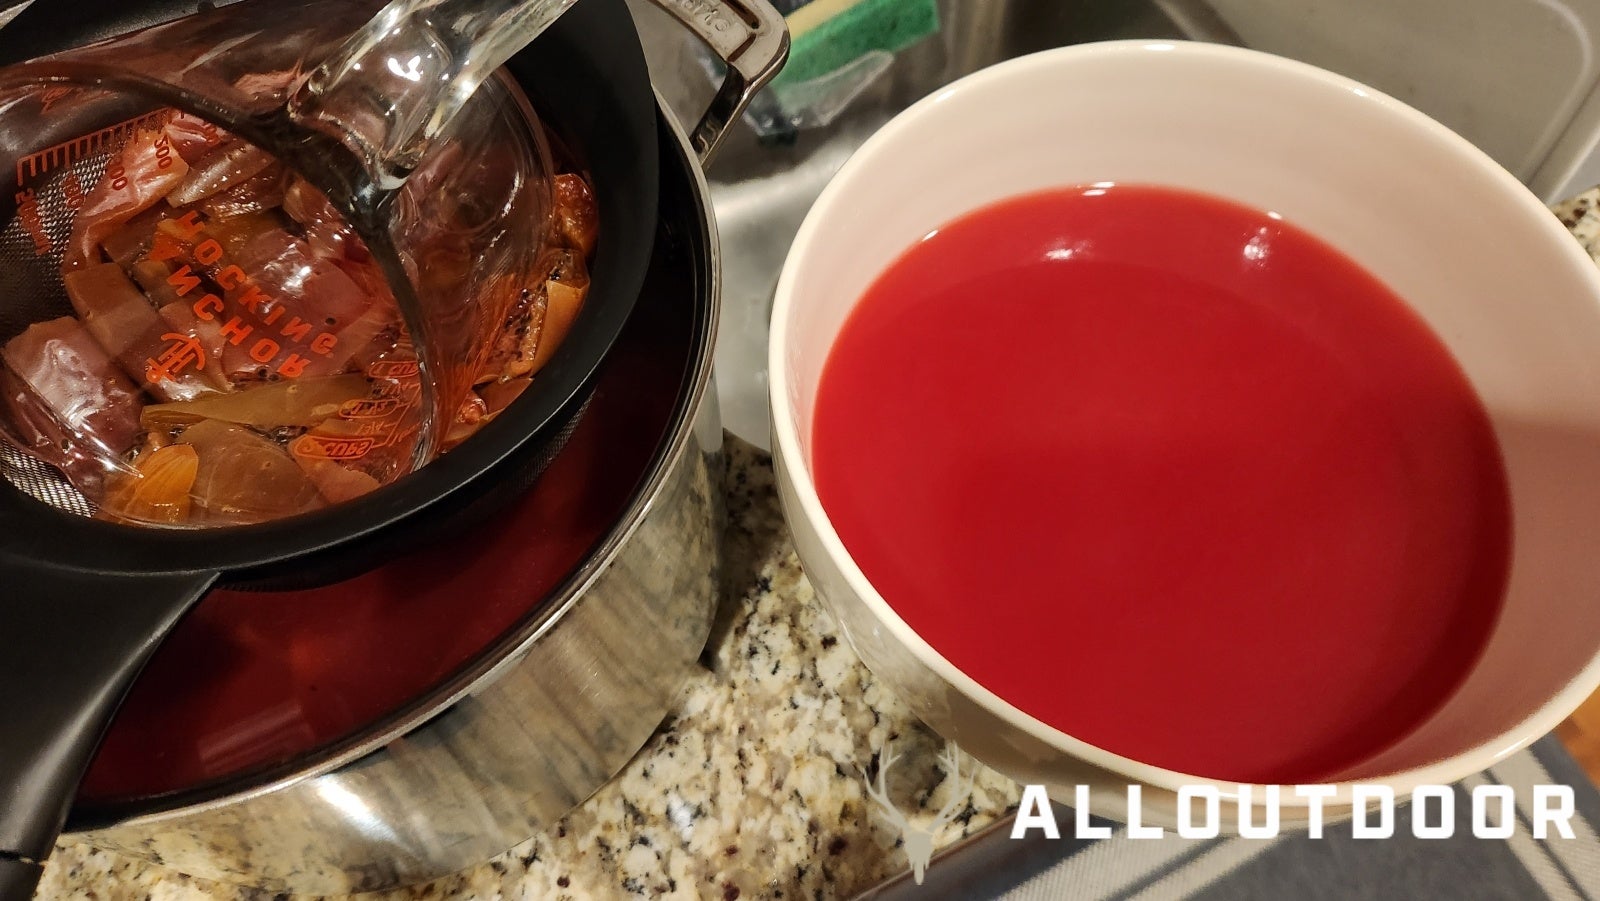
You want to boil the prickly pears until the fruit starts to go pale as shown below, this took about 30 minutes. After which pull them off the heat and let them cool some. After the juice is reasonably cool, start scooping it out of the pot and strain out the pulp and seeds. This leaves you with completed prickly pear juice that you can use for other recipes or just drink. But that’s not our final product for today.
The first thing you need to do before prepping the prickly pear juice is to clean and sanitize all your canning jars. I just run my stuff in the dishwasher with high heat first, then place all the jars into a big pot of boiling water for 15 minutes to sanitize them. Then just leave the jars in the water till you are ready to fill them with the jelly.
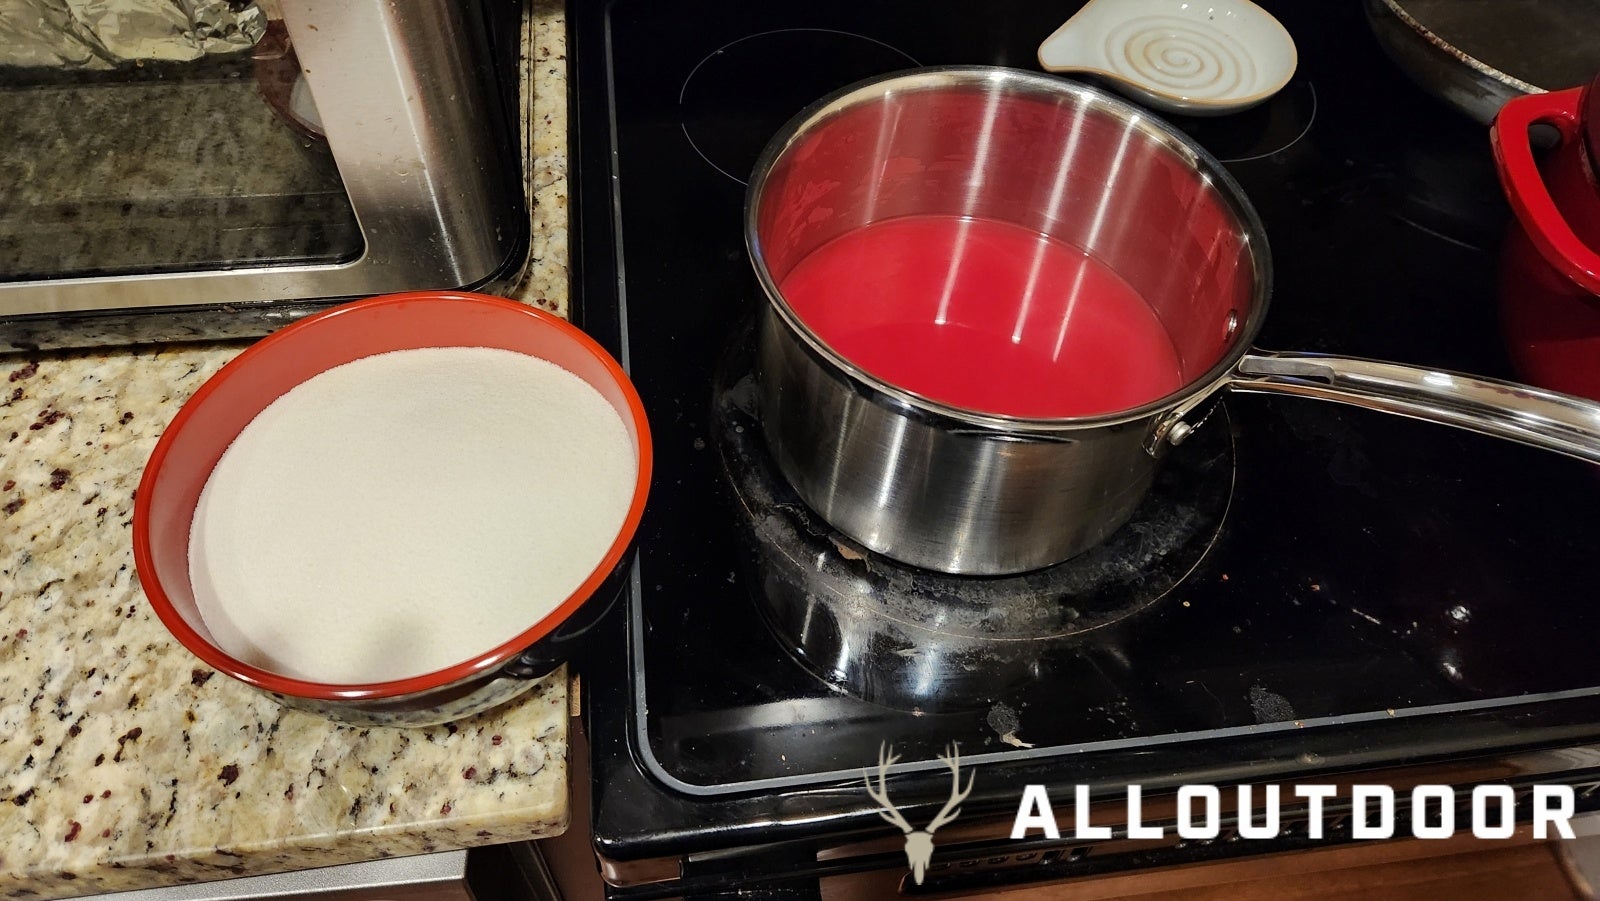
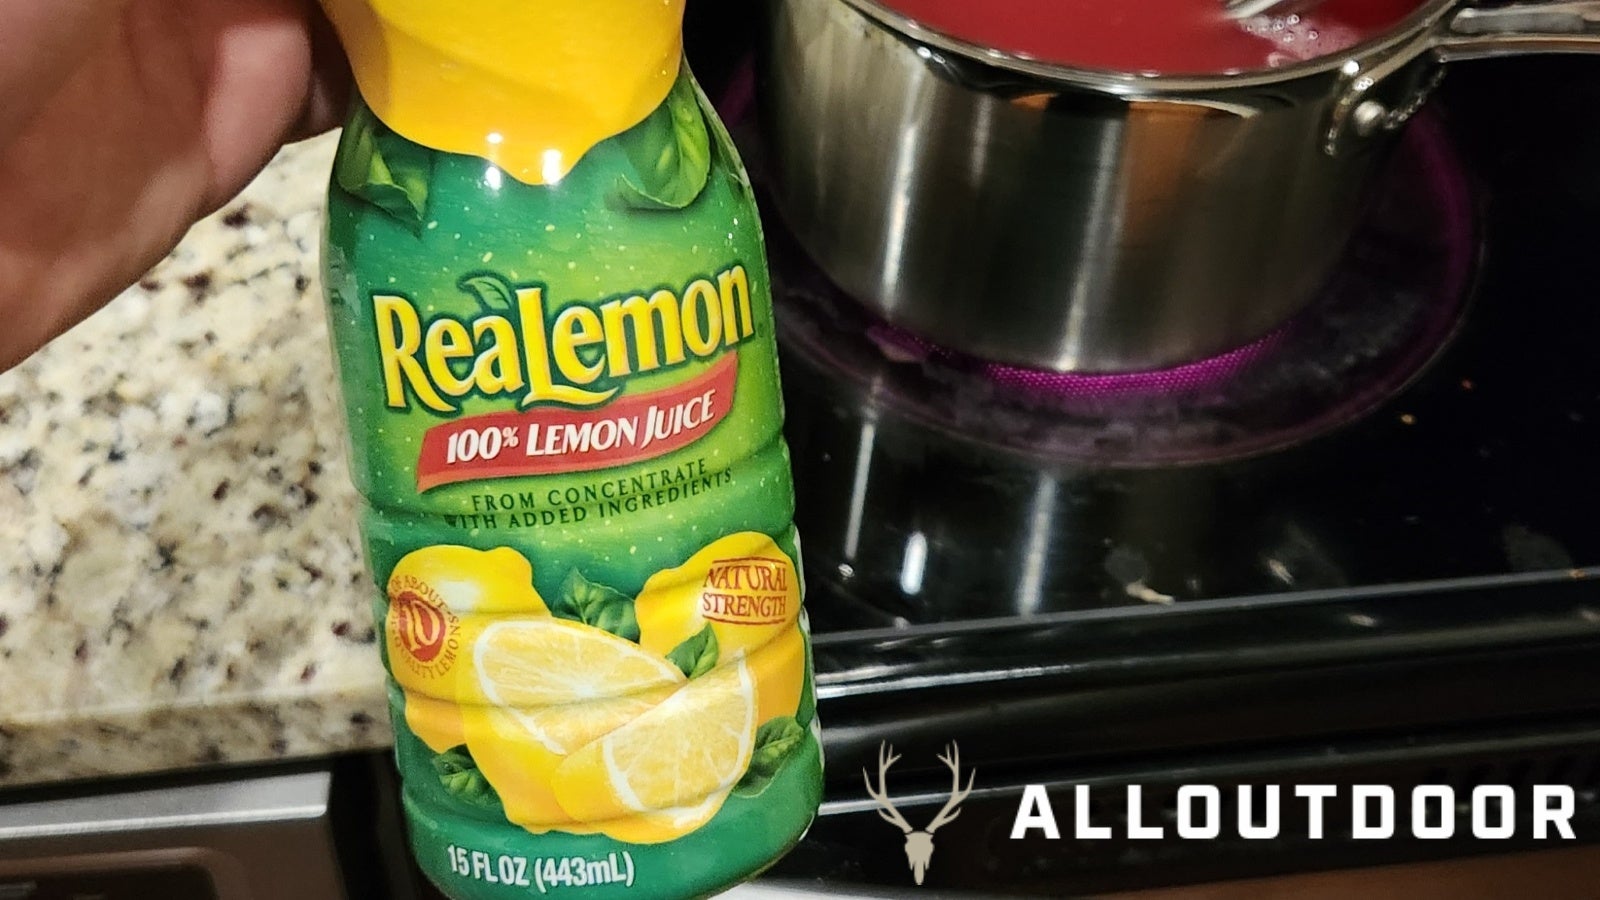
To make the prickly pear jelly, take 4 cups of the prickly pear juice and add it to a stainless steel saucepan. Measure out 4 cups of sugar and an additional 1 cup of sugar separately, 2 cups of lemon juice, and 9 tablespoons of Ball RealFruit Low or No Sugar Flex Batch Pectin. The prickly pear juice from at least my patch isn’t very sweet compared to other fruit juices, so I add in the 4 cups of sugar first as it heats up. I also add in the two cups of lemon juice at this point as well. You need to add a 1/2 cup of lemon juice for every cup of prickly pear juice to lower the pH to a safe level for canning.
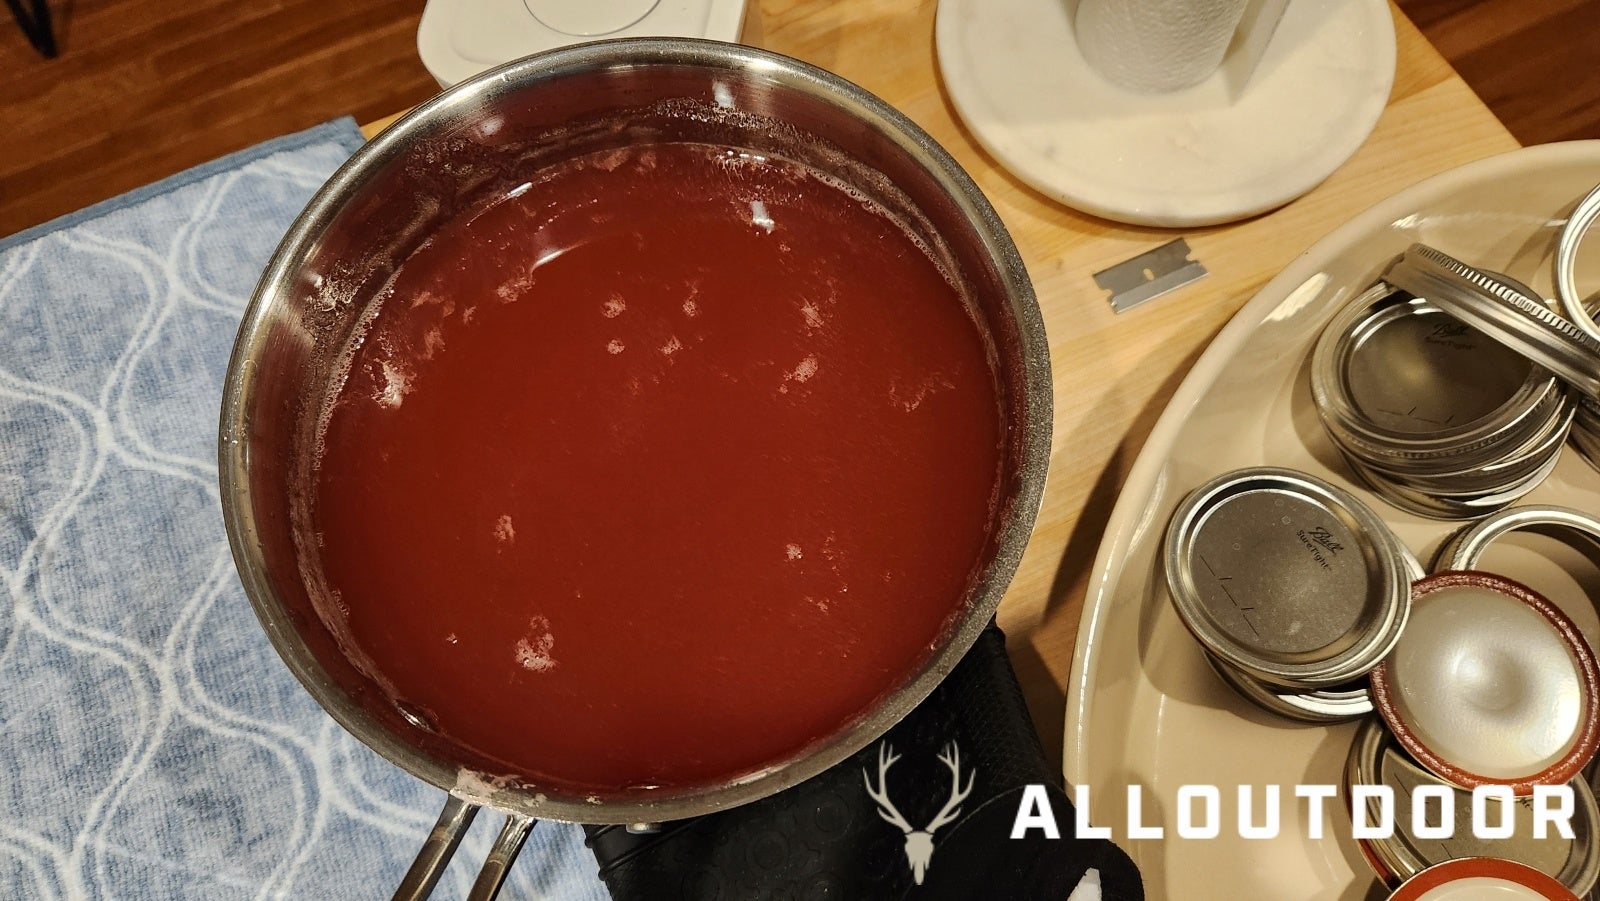
Once the sugar is all melted start gradually adding in the pectin powder, stirring it in well as you go. You don’t want any clumps. As the pectin is all mixed in you want to boil the jelly mixture for at least a solid minute at a rolling boil to activate the pectin. After that minute turn off the heat and add in the last cup of sugar, mixing till it is all dissolved. Take it off the heat after and its time to start jarring the jelly.
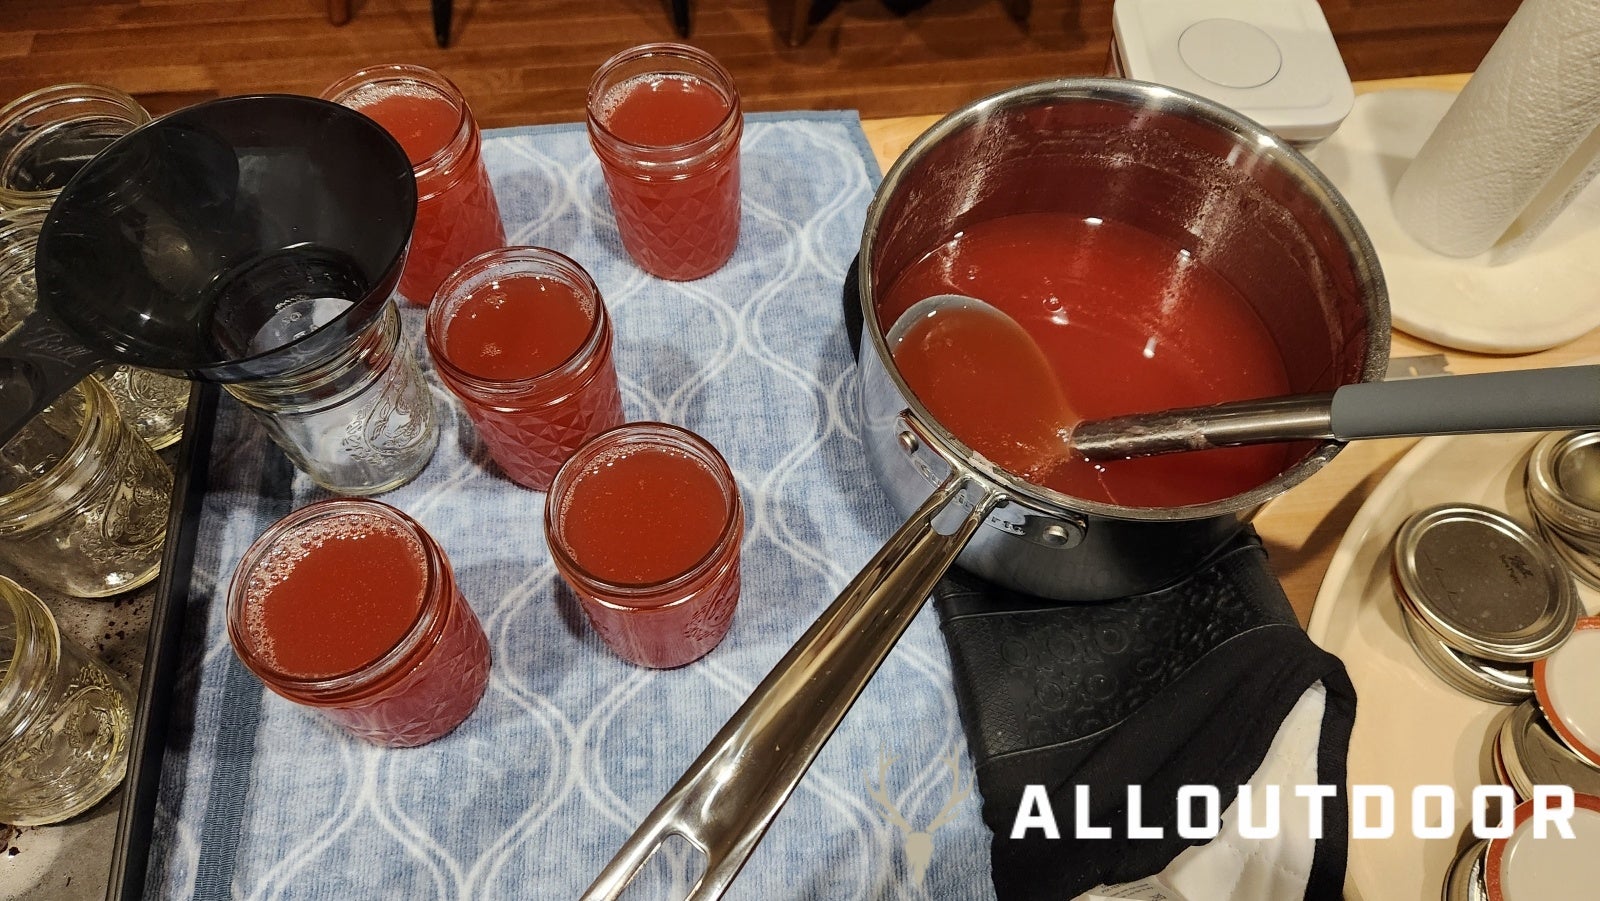
Take your jelly and start ladling it into the sterilized canning jars. Make sure to wipe off the rims of the jars with a clean cloth and then put a lid on the jelly jars. You want the lids finger tight. You can honestly stop at this point if you want, but the prickly pear jelly at this point is not shelf-stable and must be stored in the fridge till you consume it. To can it and have it shelf stable you want to get a canning boiler with a rack. You need to have enough water to cover all the jars with at least an inch of water. Have some boiling water on hand separately in case the water level is too low when you add the jars.
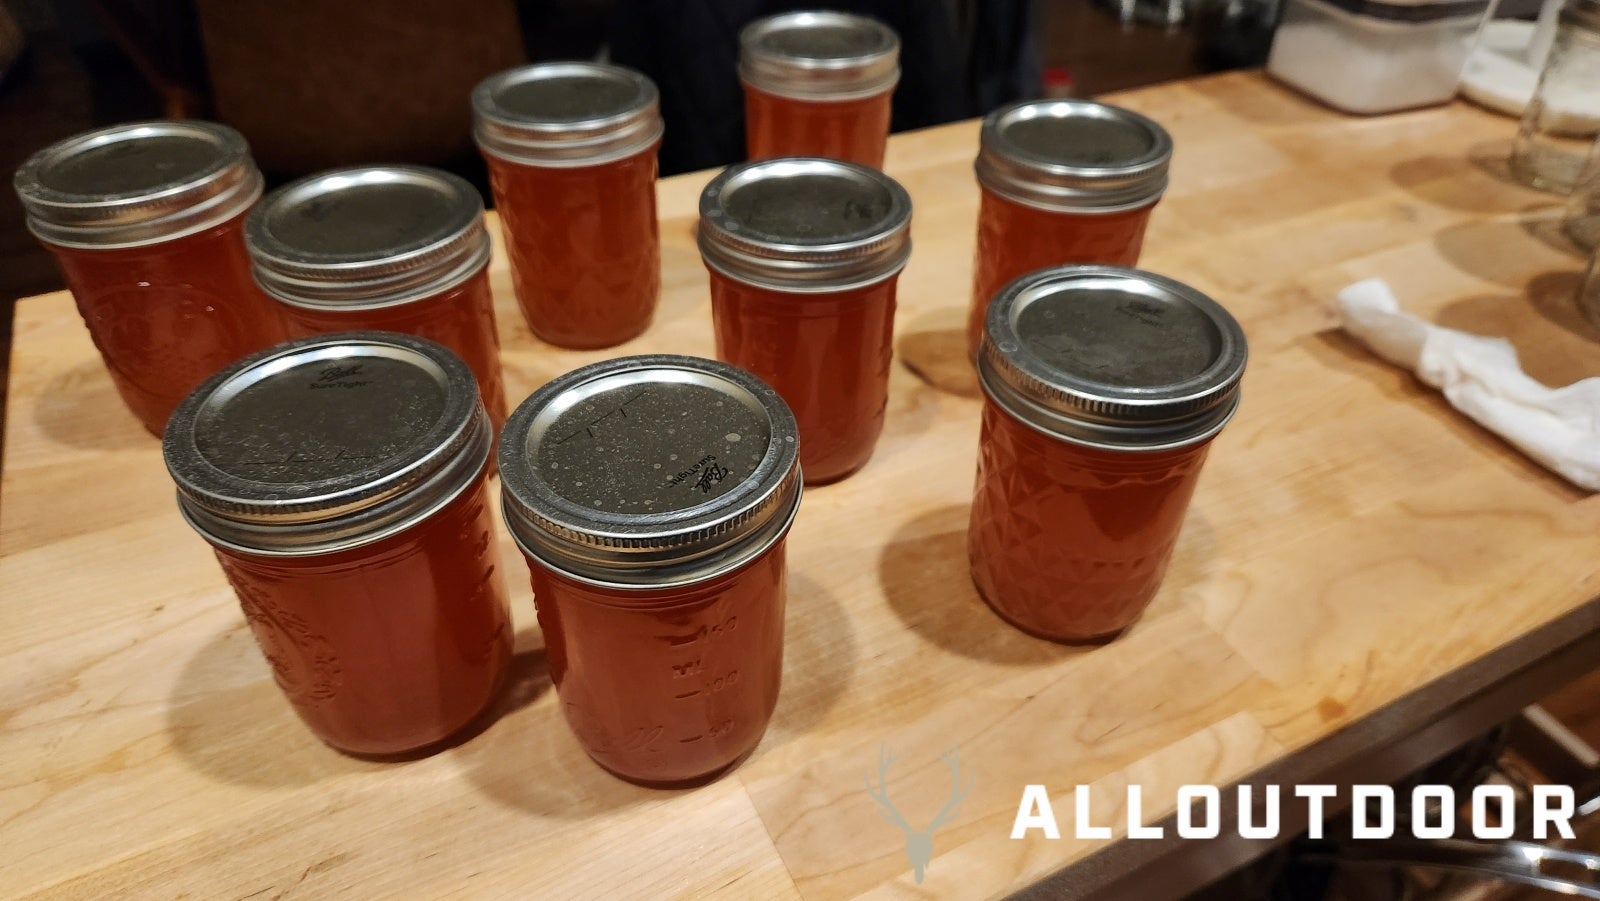
Once the water is boiling add the rack of jars into the water and cover the pot with the lid, boil for at least 10 minutes but adjust depending on altitude. Once the 10 minutes is done turn off the heat and take off the lid, let the canner cool off for 5 minutes before pulling the cans out of the water. Place them on the counter and let them cool, don’t tighten the lid bands. As they start cooling you will hear the lids pop as a proper seal forms. You want to check as well making sure the center of the lids are concave and don’t pop back up. If that is the case the prickly pear jelly is now sealed and shelf-stable for a year. If not you can try to reseal it in the canner again, or just eat it first and keep it in the fridge.
Remember you must refrigerate the jelly once you open it. This isn’t an overly sweet jam, with good earthy flavor from the prickly pears and a slight tang from the lemon juice. Goes great with gruyere cheese and capicola, or as glaze base for baked or grilled salmon.

