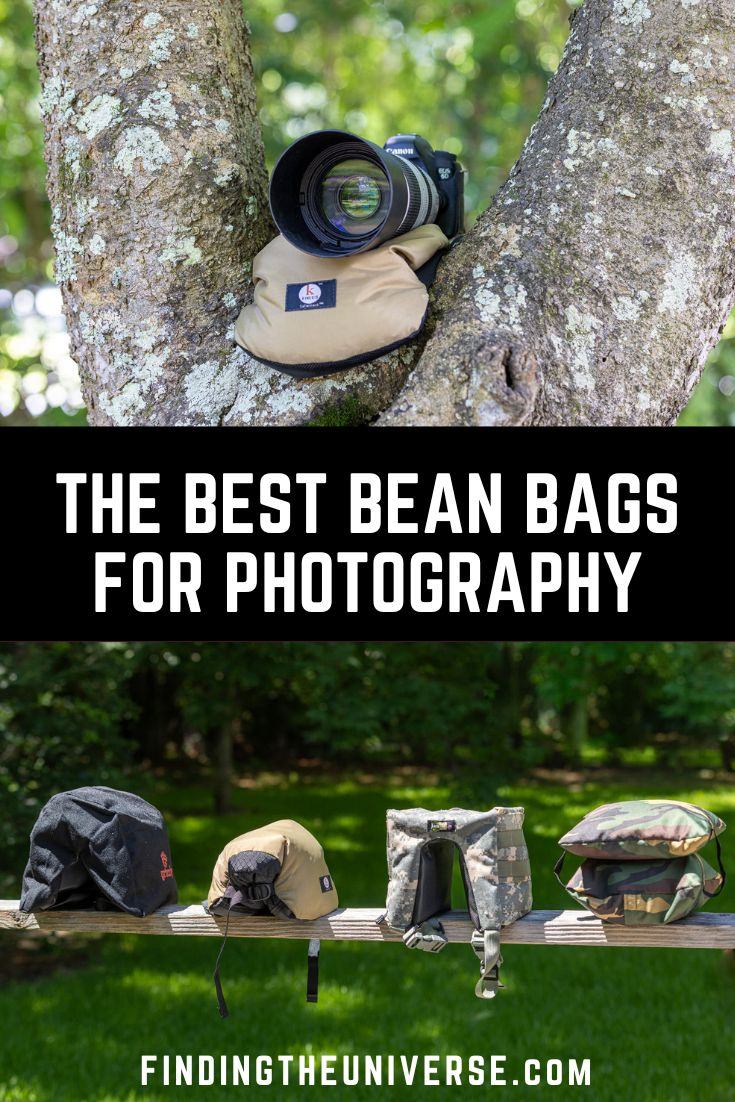
A photography accessory that I find useful for all sorts of things as a professional photographer is a photography bean bag. These are a versatile and highly portable product which can be used for a range of different types of photography.
I first got into using a photography bean bag when Jess and I went on safari several years ago. However, since then we have come to use a photography bean bag for a range of different types of photography, and I personally find them especially useful for wildlife photography.
Whilst I still regularly travel with and use my tripods of course, I have found that there are many times when a photography bean bag is a better option.
I’ve tested a number of photography bean bags in the real world, and I’ll share my favorites with you as well at a range of price points.
I’m also going to share with you everything you need to know about photography bean bags in general, so you can make your own informed choice. From what to look for, to when to use them, to what to fill them with, this guide should help you decide on whether or not a photography bean bag is right for you.
Let’s get started!
What Can You Use a Photography Bean Bag for?
You may be wondering what you need a photography bean bag for. Well, there are actually quite a few uses for a photography bean bag which make it a useful tool for photographers, even if, like me, you already own a tripod.
Personally I have quite a few tripods, but I also own quite a few photography bean bags. I first bought one for a safari, but since then I have found them to be useful for a range of photography.
As a result of research for this guide, I also have quite a few of them now, although most photographers will only need one or two.
Anyway, here are some situations where a photography bean bag will come in useful.
Wildlife photography
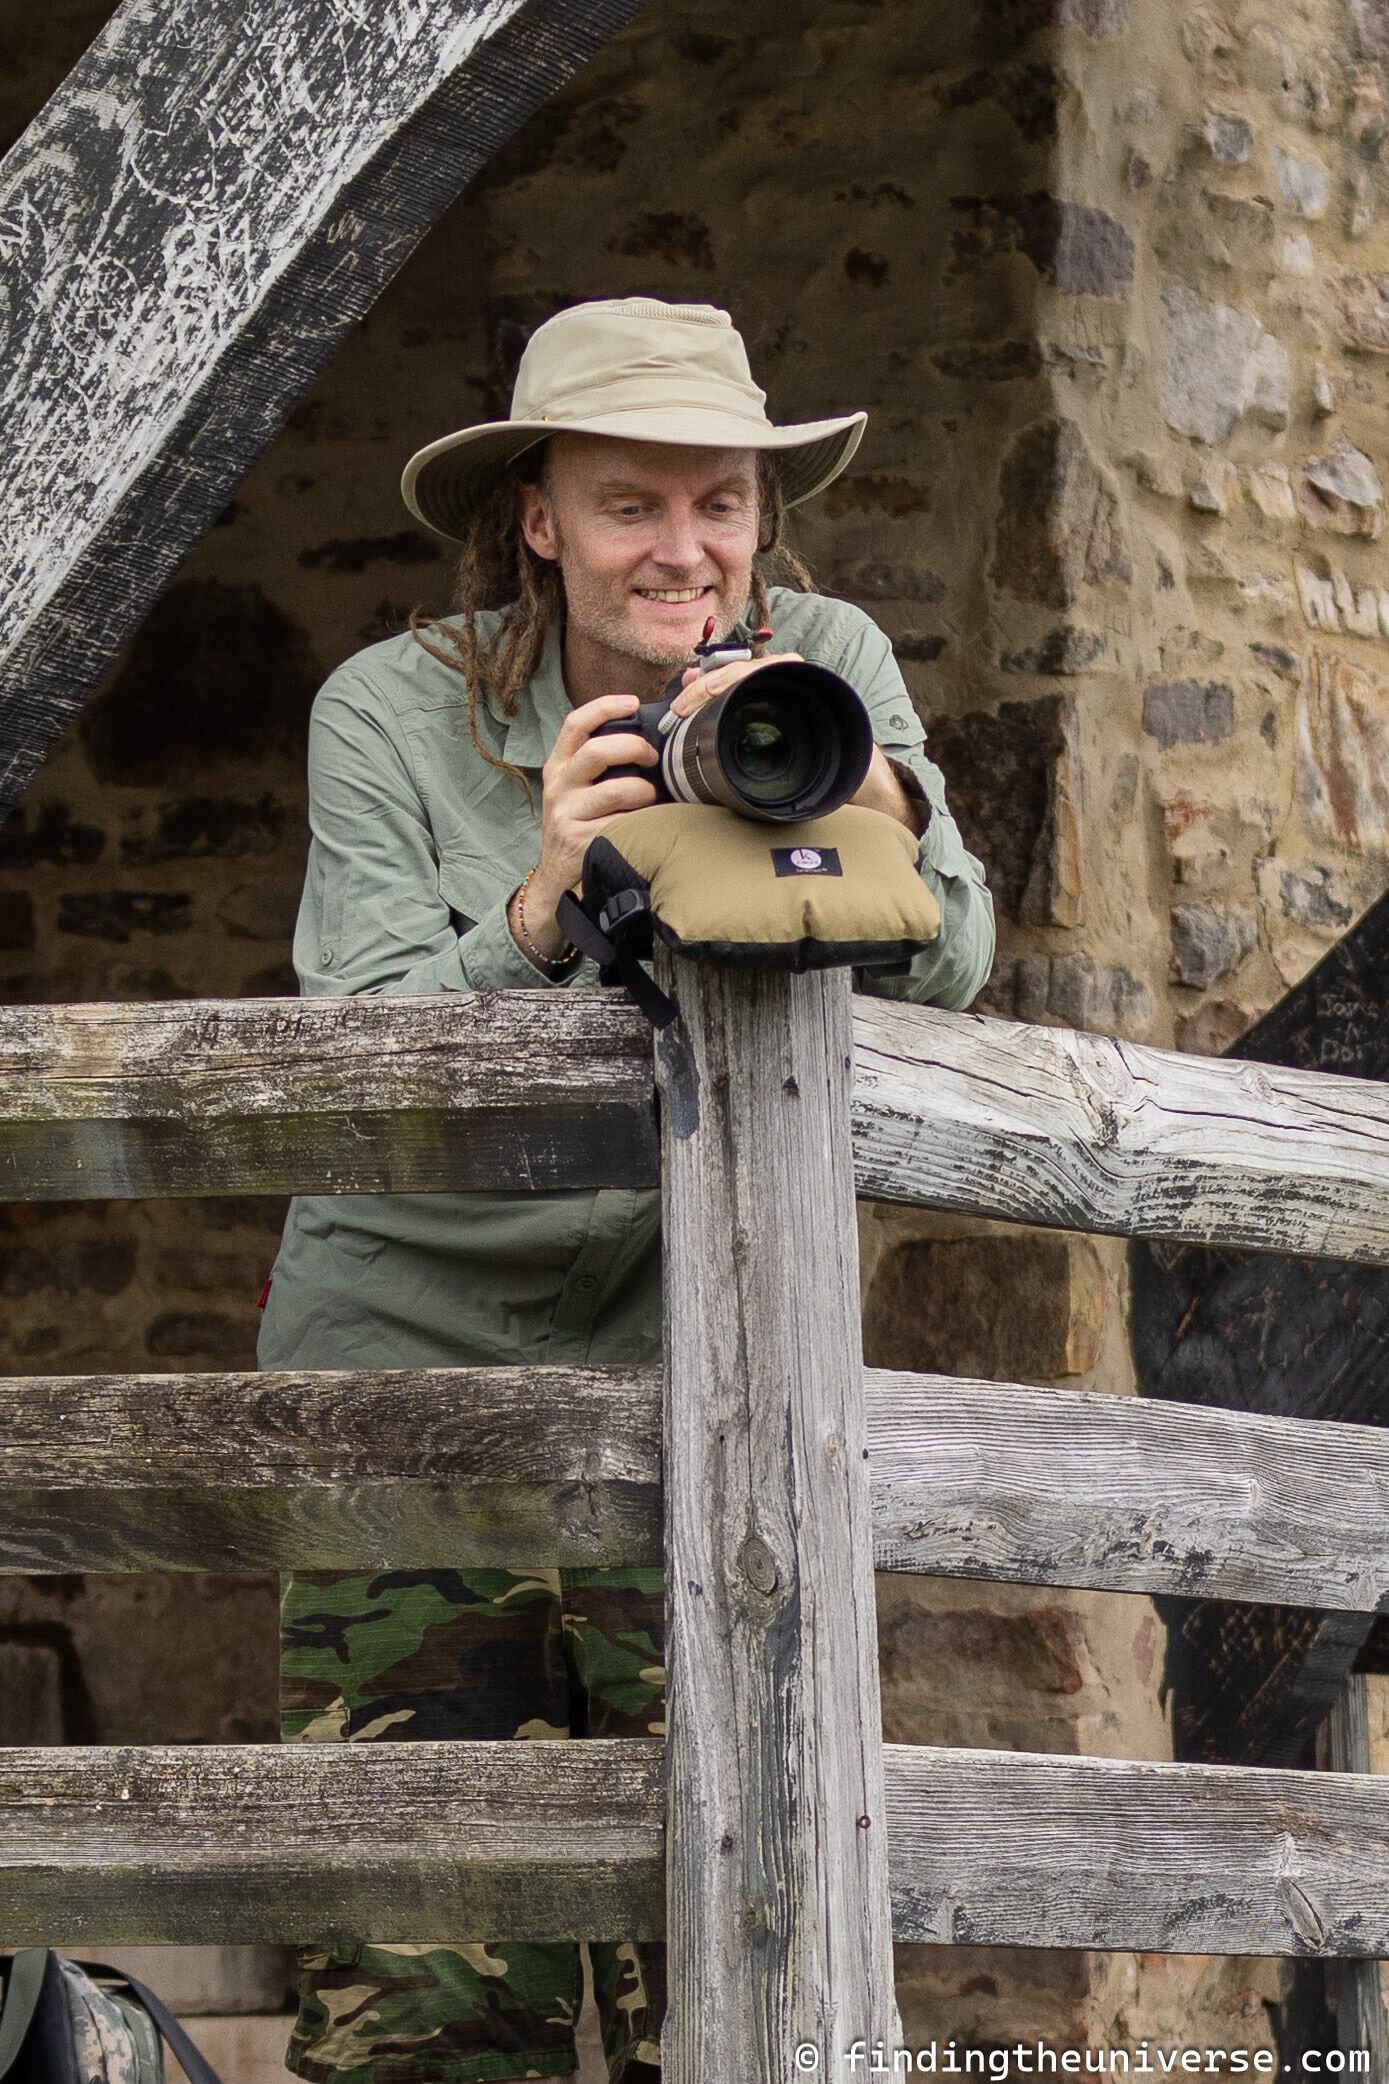
A photography bean bag can be an invaluable tool for wildlife photographers. Wildlife photography often involves sitting or lying still for prolonged periods of time with a long, heavy lens, just waiting for something to happen.
As most of us don’t have arms like Arnold Schwarzenegger, it’s not practical to hold a lens up for hours on end waiting for wildlife to appear.
With a bean bag, you can solve this problem by resting your heavy camera kit on the bean bag while you wait for the action.
Of course, you could use a tripod in this situation as well. However, a bean bag often allows you to get closer to the ground than a tripod, is more portable, and can work in a wide range of situations. It’s also very fast to set up and move, and is much more cost effective.
If you are shooting birds from a constructed wooden hide for example, a bean bag can easily be rested on the window ledge of the hide. In these situations, depending on the size of the hide, a tripod can be a bit of an encumbrance where a bean bag is not.
Overall, wildlife photography is an excellent example of when a bean bag make sense for a photographer.

Travel photography
As a travel photographer, I have long been of the opinion that a travel tripod is an essential bit of photography kit.
However, I appreciate that not everyone wants to carry even a lightweight travel tripod with them on a trip. Sometimes it might not even be possible to take a tripod, even a light one, due to luggage allowance restrictions.
So if you don’t want to, or can’t, take a tripod with you on your next trip, but still want to do photography that would benefit from a tripod such as long exposure photography, star photography, northern lights photography, wildlife photography etc., then a bean bag is a great option.
They pack light, especially if you buy the filling in destination, are versatile, and will let you get a range of photos that you wouldn’t have been able to achieve otherwise. In travel photography, a bean bag is the next best thing to a tripod.
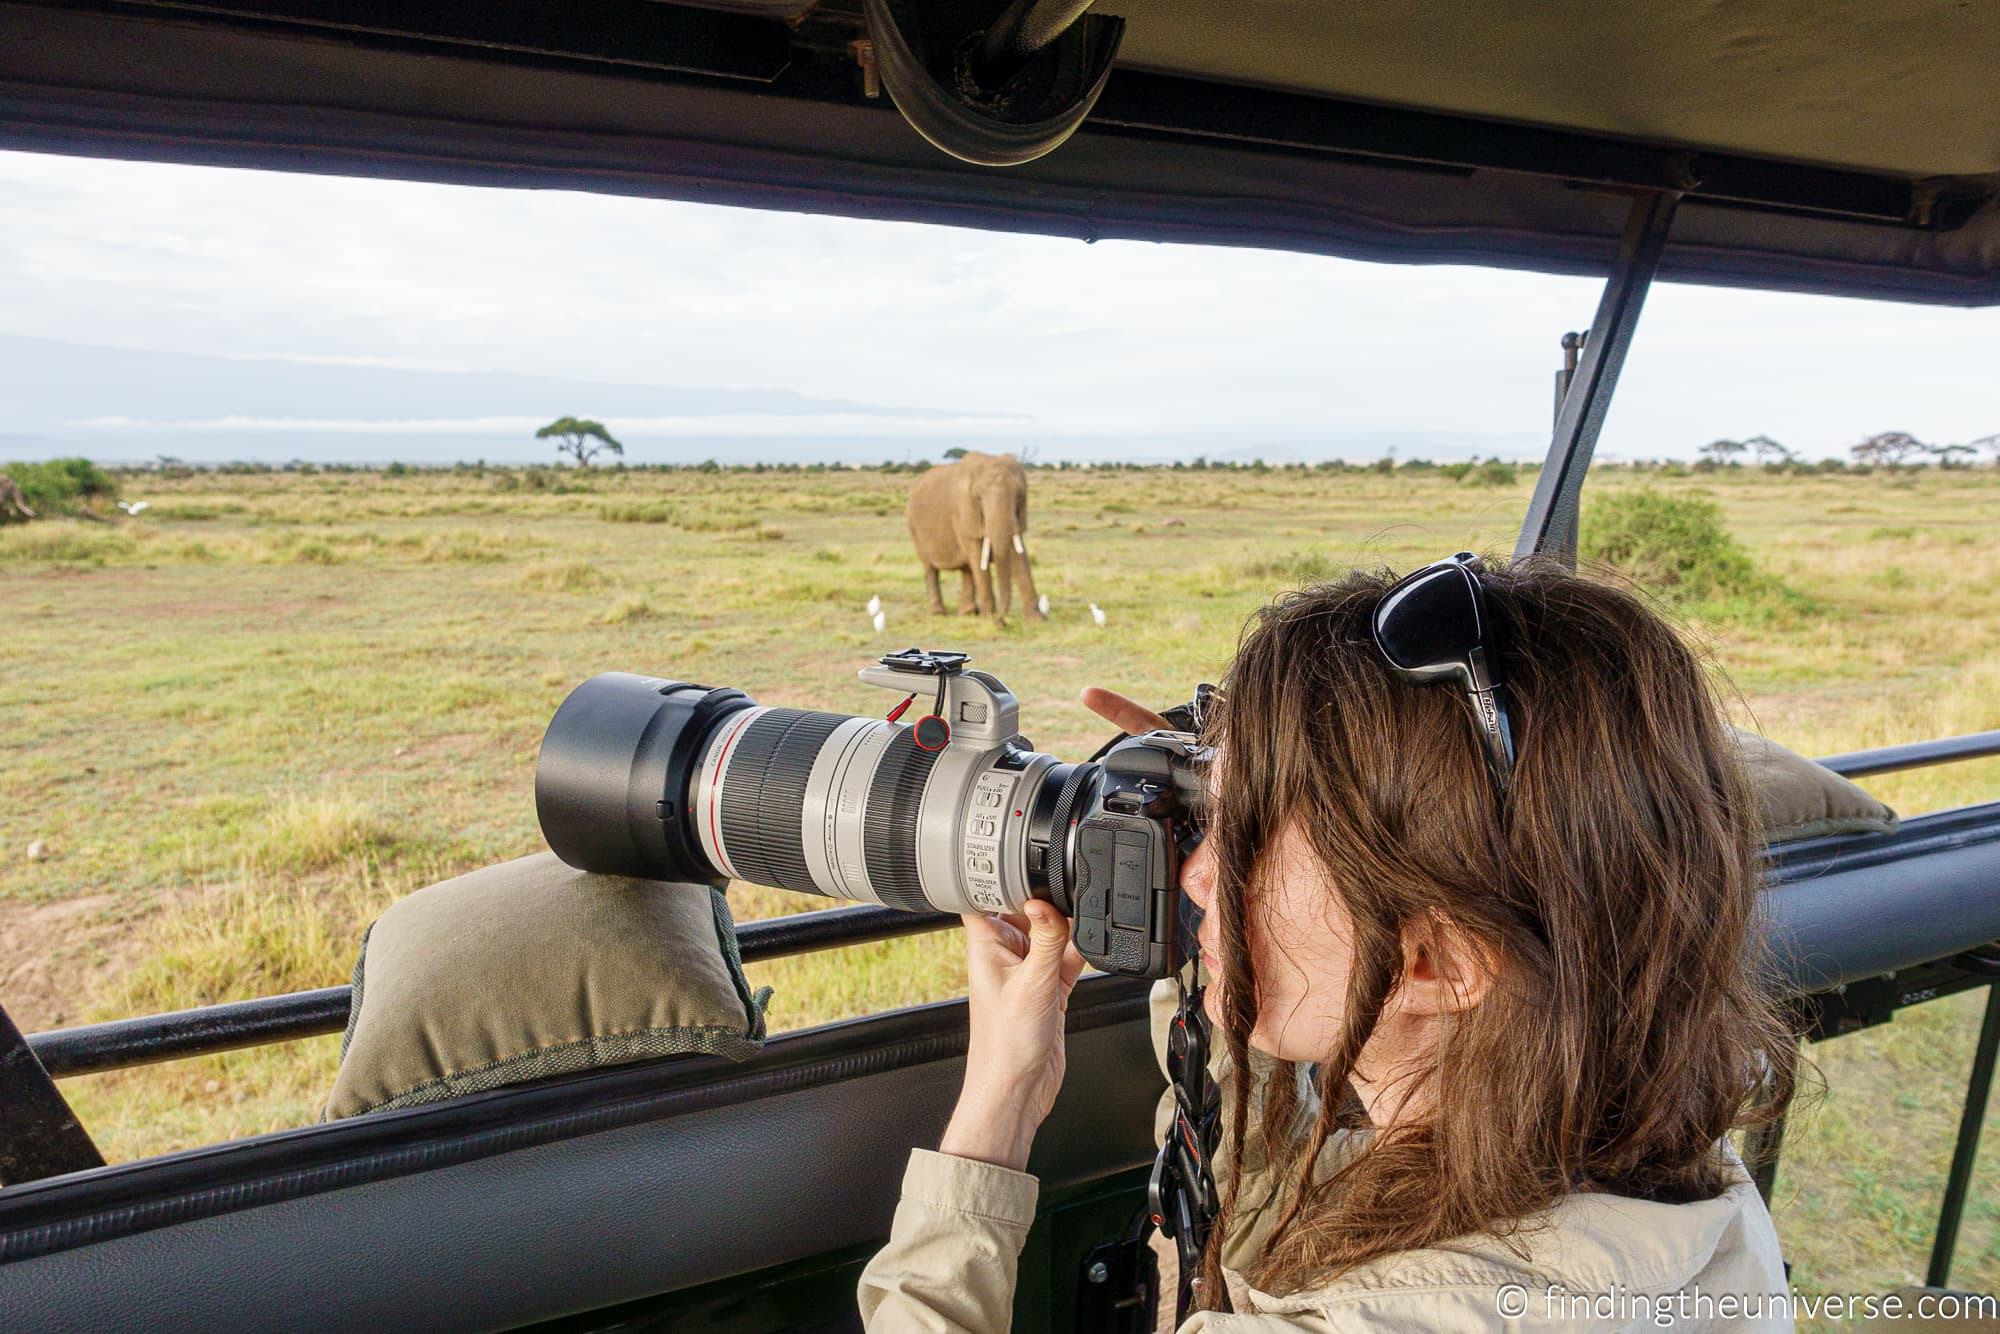
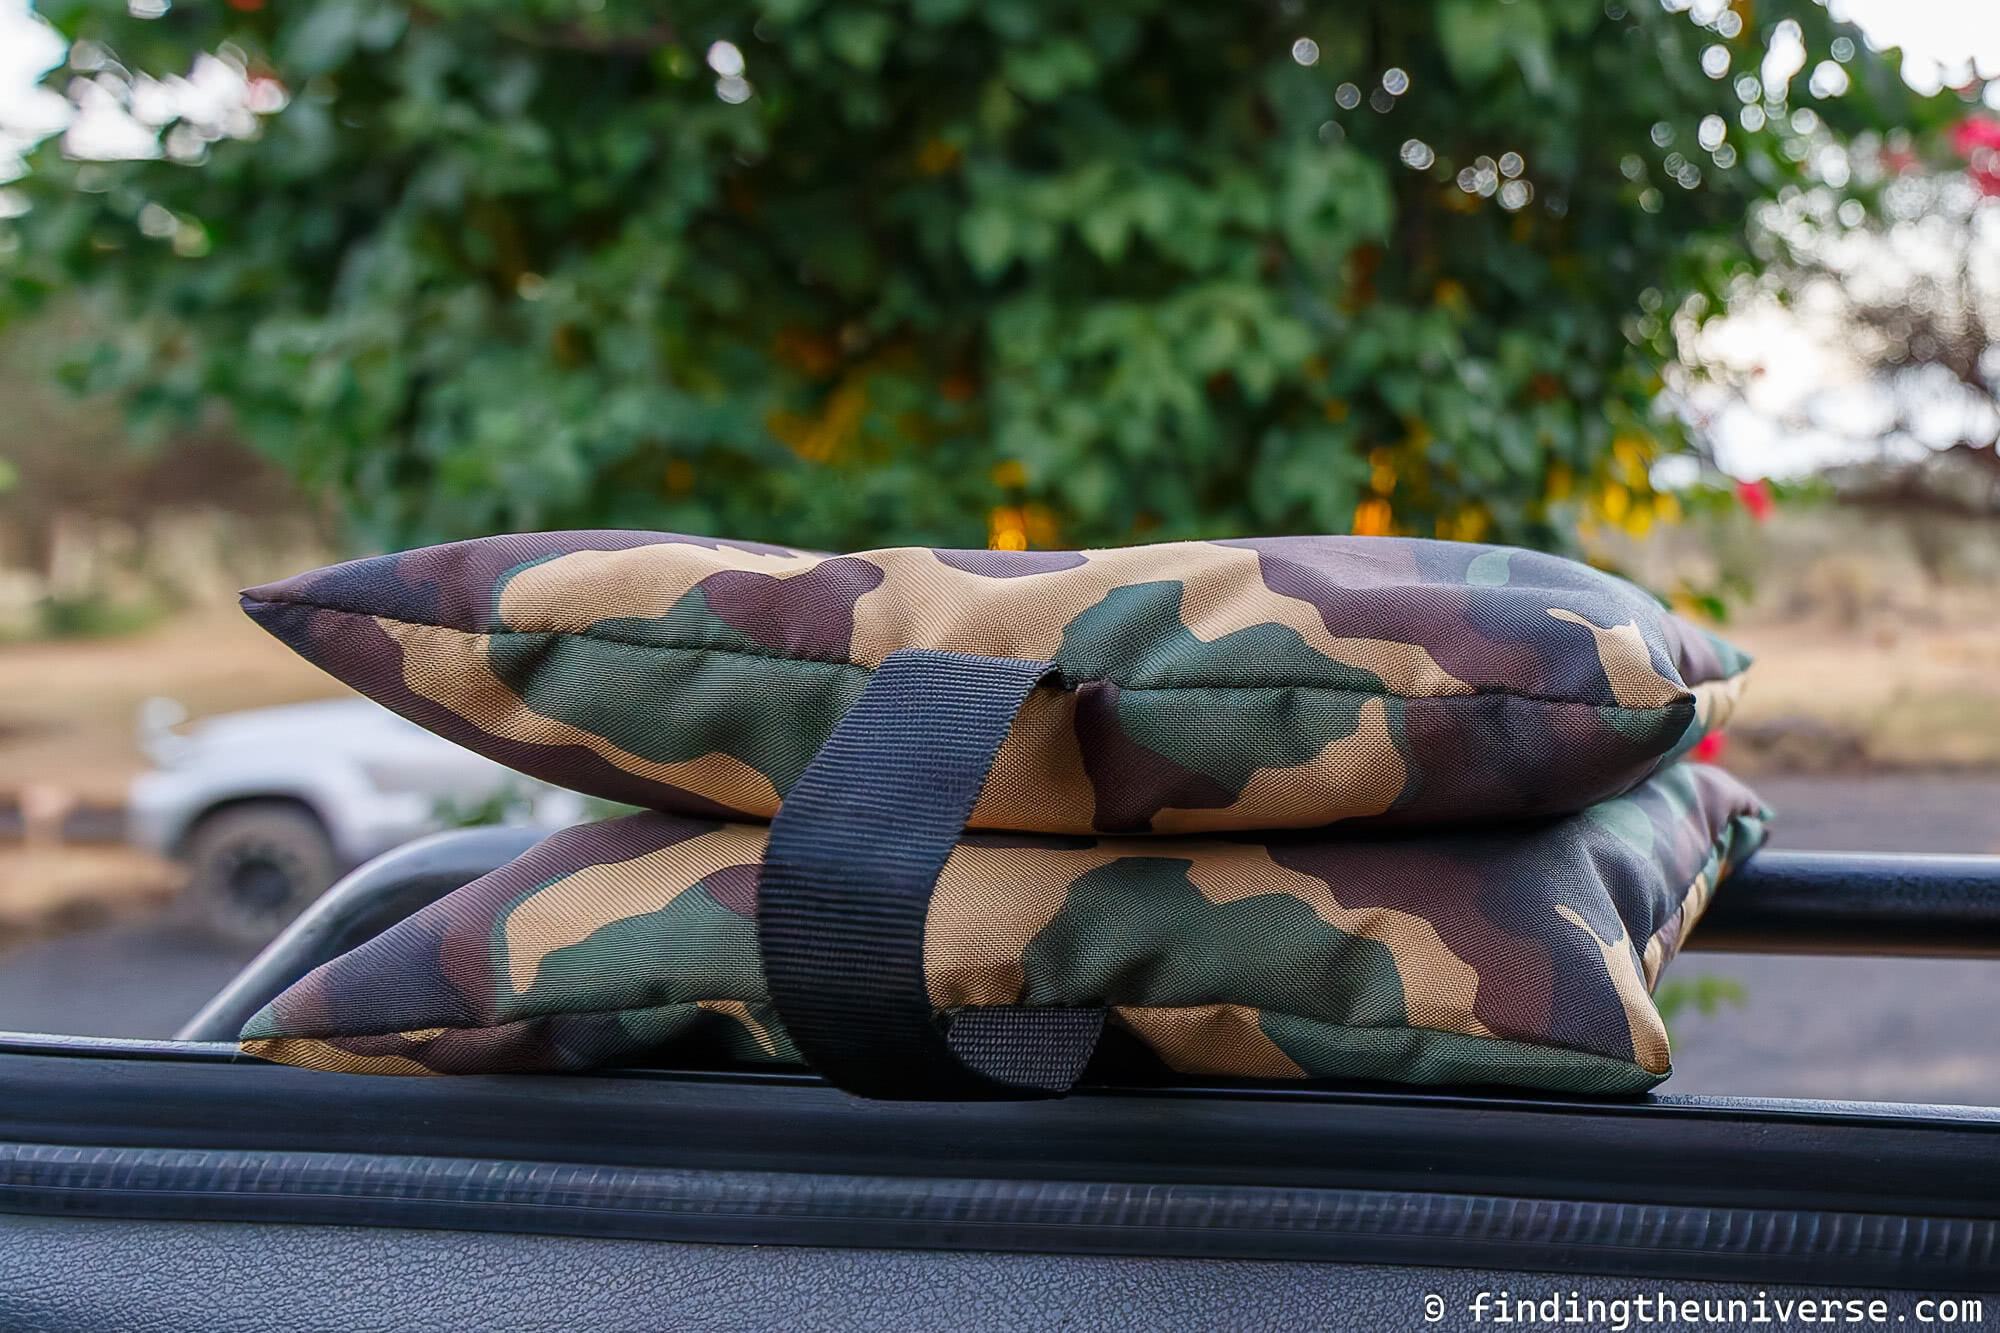
Safari / Vehicle-Based Photography
If you are doing any photography from a vehicle, then a bean bag can make a big difference to your experience.
The classic example of shooting from a vehicle is of course when you are taking photos on safari. However, there are other situations when you might want to take pictures from a vehicle, from visiting a state or national park through to visiting a drive through zoo.
Generally, if you are shooting from a vehicle, even a larger safari type vehicle where you can stand up and move around a bit, a tripod or even a monopod isn’t going to be practical. The legs get in the way, you can’t move them quickly enough to respond to wildlife movements, they won’t let you shoot from every angle, and you’ll just end up frustrated.
A bean bag solves this problem. You can place it almost anywhere, from a windowsill to the edge of a pop-top in a safari vehicle. They are relatively light and portable, and you can use them to support even larger lenses.
Overall, if you are planning a safari or any type of photography that might involve a vehicle, I think a bean bag is an essential addition to your kit.
Tripod Weight
A bean bag can also be really helpful for weighting down a tripod. Many tripods have a system underneath where you can hang ballast to improve stability.
If you have a photography bean bag which has a carry loop or d-ring, and you fill it with heavier fill like sand, beans or Poly Beads, then it can double up as useful ballast for your tripod as well.
What is the Best Filling for a Photography Bean Bag?
The great thing about a photography bean bag is that, despite the name, you can actually fill it with all sorts of things. In fact, many bean bags ship empty so you can make your own decision as to what to fill it with.
The different filling options allow you to choose how heavy or light you want your bean bag to be. A heavier bean bag will generally provide more stability whilst a lighter bean bag is going to be more portable. So you have to choose the option that works best for you.
Here are some filling options to consider and my thoughts on each. These are approximately ordered from lighter to heavier options.
- Polystyrene beads. These are a very light and cheap bean bag fill option. Their main advantage is the low weight, although they are probably a bit too light. They can also get everywhere if you are not careful!
- Cushion stuffing. You might consider filling your bean bag with the same sort of stuff you would fill a cushion with. This can work, and will be quite light, but can be a little bit too soft and squishy to properly support a camera and lens.
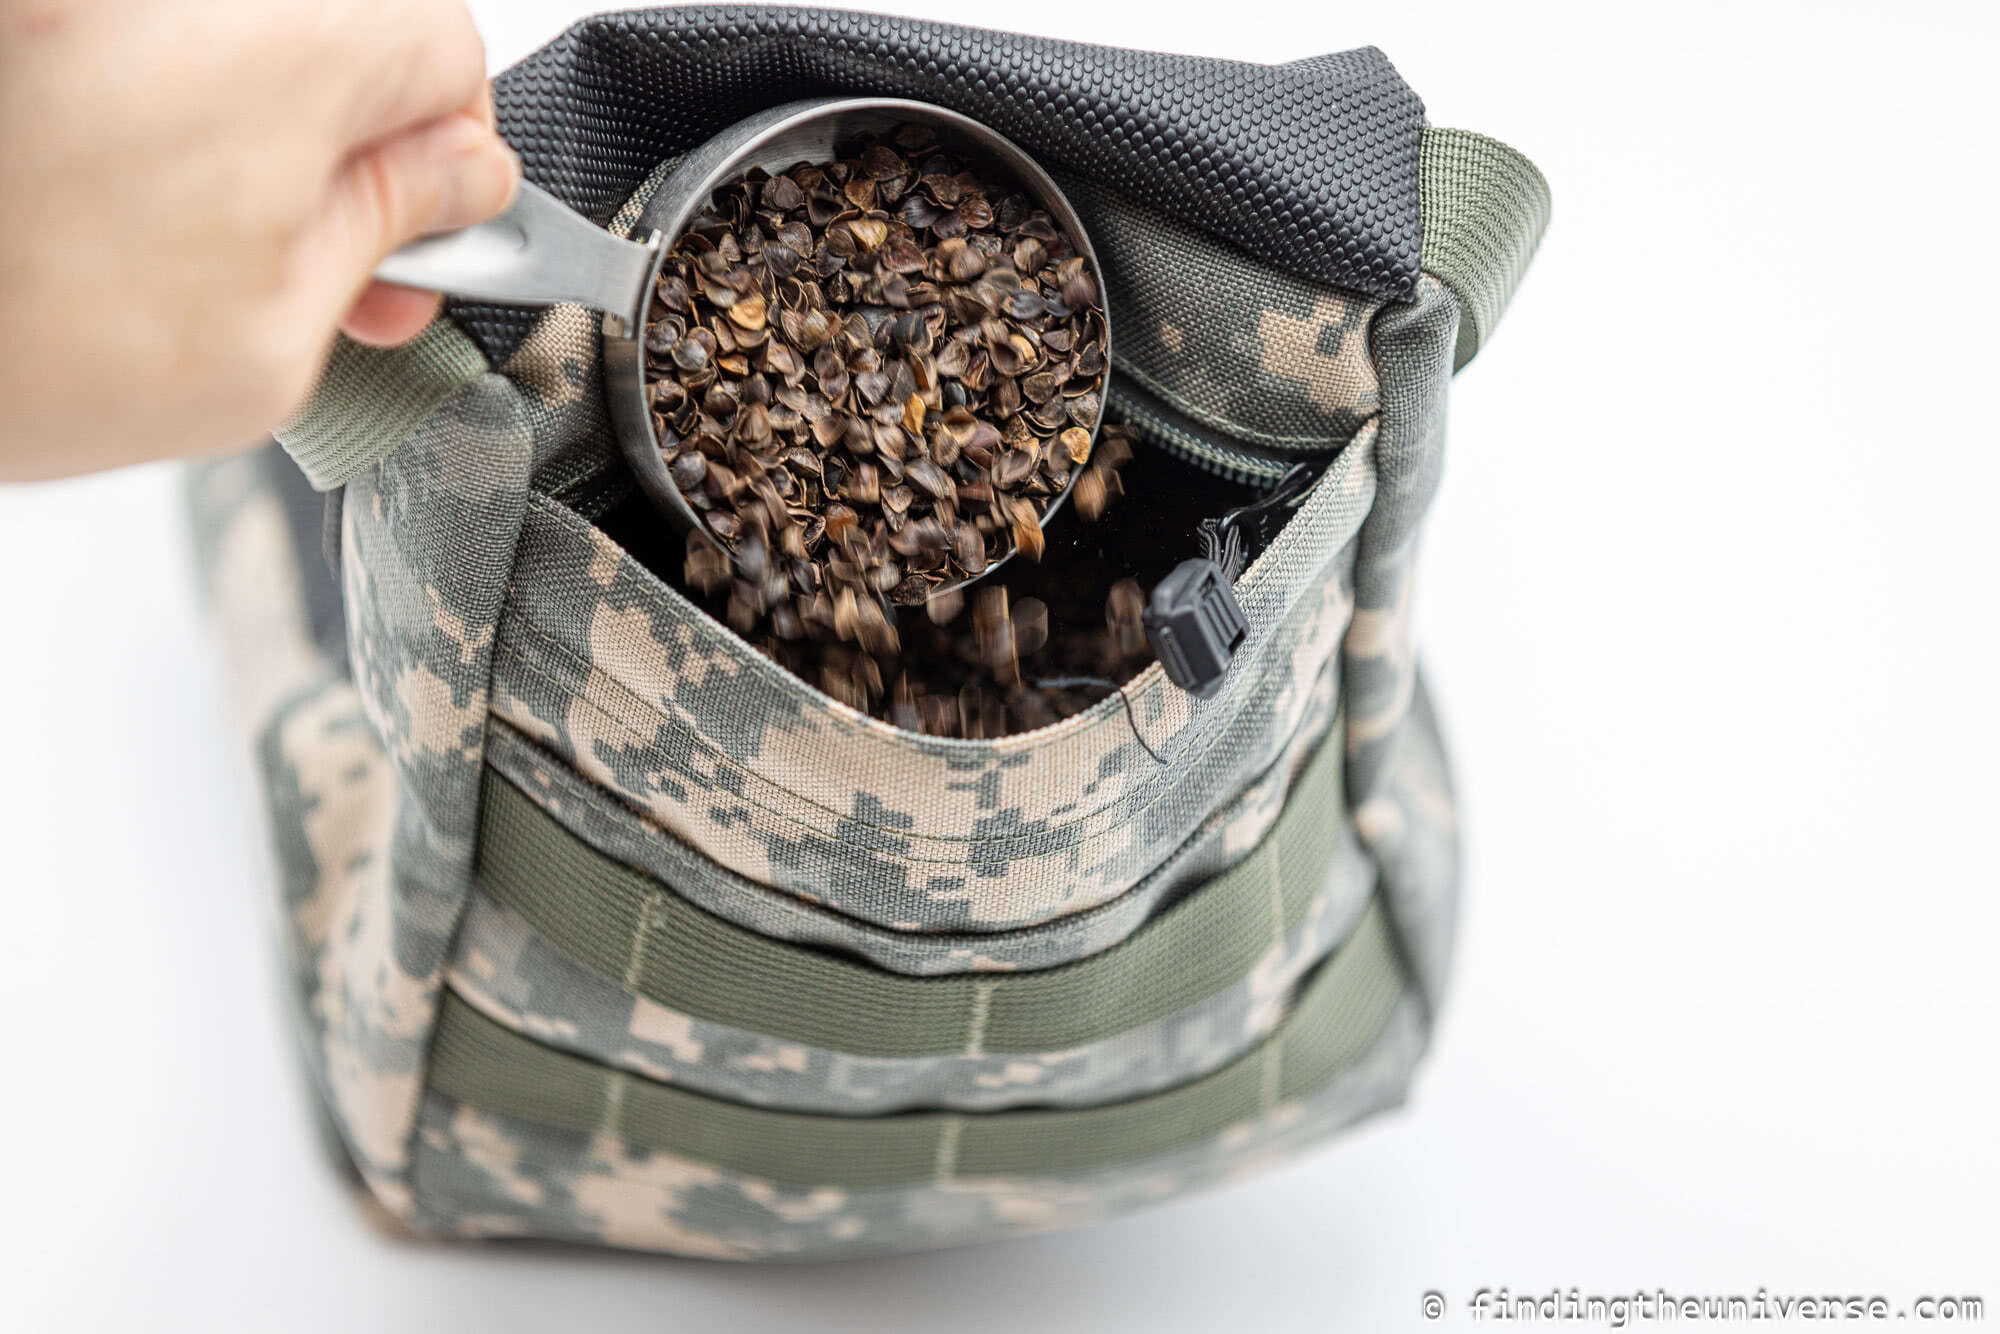
- Buckwheat hulls. These are a natural byproduct of buckwheat processing. They are popular as use for filling pillows, and make an excellent photography bean bag fill. They are relatively light but are also quite hard. They are also fairly small, which means the bag will be quite flexible in shape. The main downside is that larger lenses (>200mm) can crush them over time, reducing their usefulness.
- Dried seeds (sunflower, bird seed etc.). Dried seeds are a popular choice as a bean bag fill as they are widely available. They are going to be heavier than the previous options on this list, offering a more stable platform. The main downside is that edible seeds can attract wildlife, and being organic they won’t last forever. Seeds also contain oils which can release into your bean bag case.
- Dried beans or grains (rice, kidney beans, red beans, black beans etc.). These are similar in weight, performance and availability to dried seeds. I would say they are a slightly better option as they have less oils and will likely last longer. If you are traveling, they are widely available for purchase, making them a great option.
- Poly Beads – If you want a heavier, more durable option, then Poly Beads are the way to go. These are made from a hard plastic, so won’t break down, and are generally around five times heavier compared to something like Buckwheat
There are of course lots of other options to choose from. Some people use cat litter or sand to fill their bean bags. But I would say for most people, Buckwheat hulls, dried beans or Poly Beads are probably going to be the best options.
One tip, if you are going to be using materials which might stain or be hard to remove from the bag, is to put the fill in one or more ziplock plastic bags first and then put those inside the bean bag. This will protect the bag and the fill and make it easier to remove if necessary.

What to Look for in a Photography Bean Bag
I’m now going to cover some of the different features that a photography bean bag can come with. This will help you decide which bean bag is going to be right for your needs.
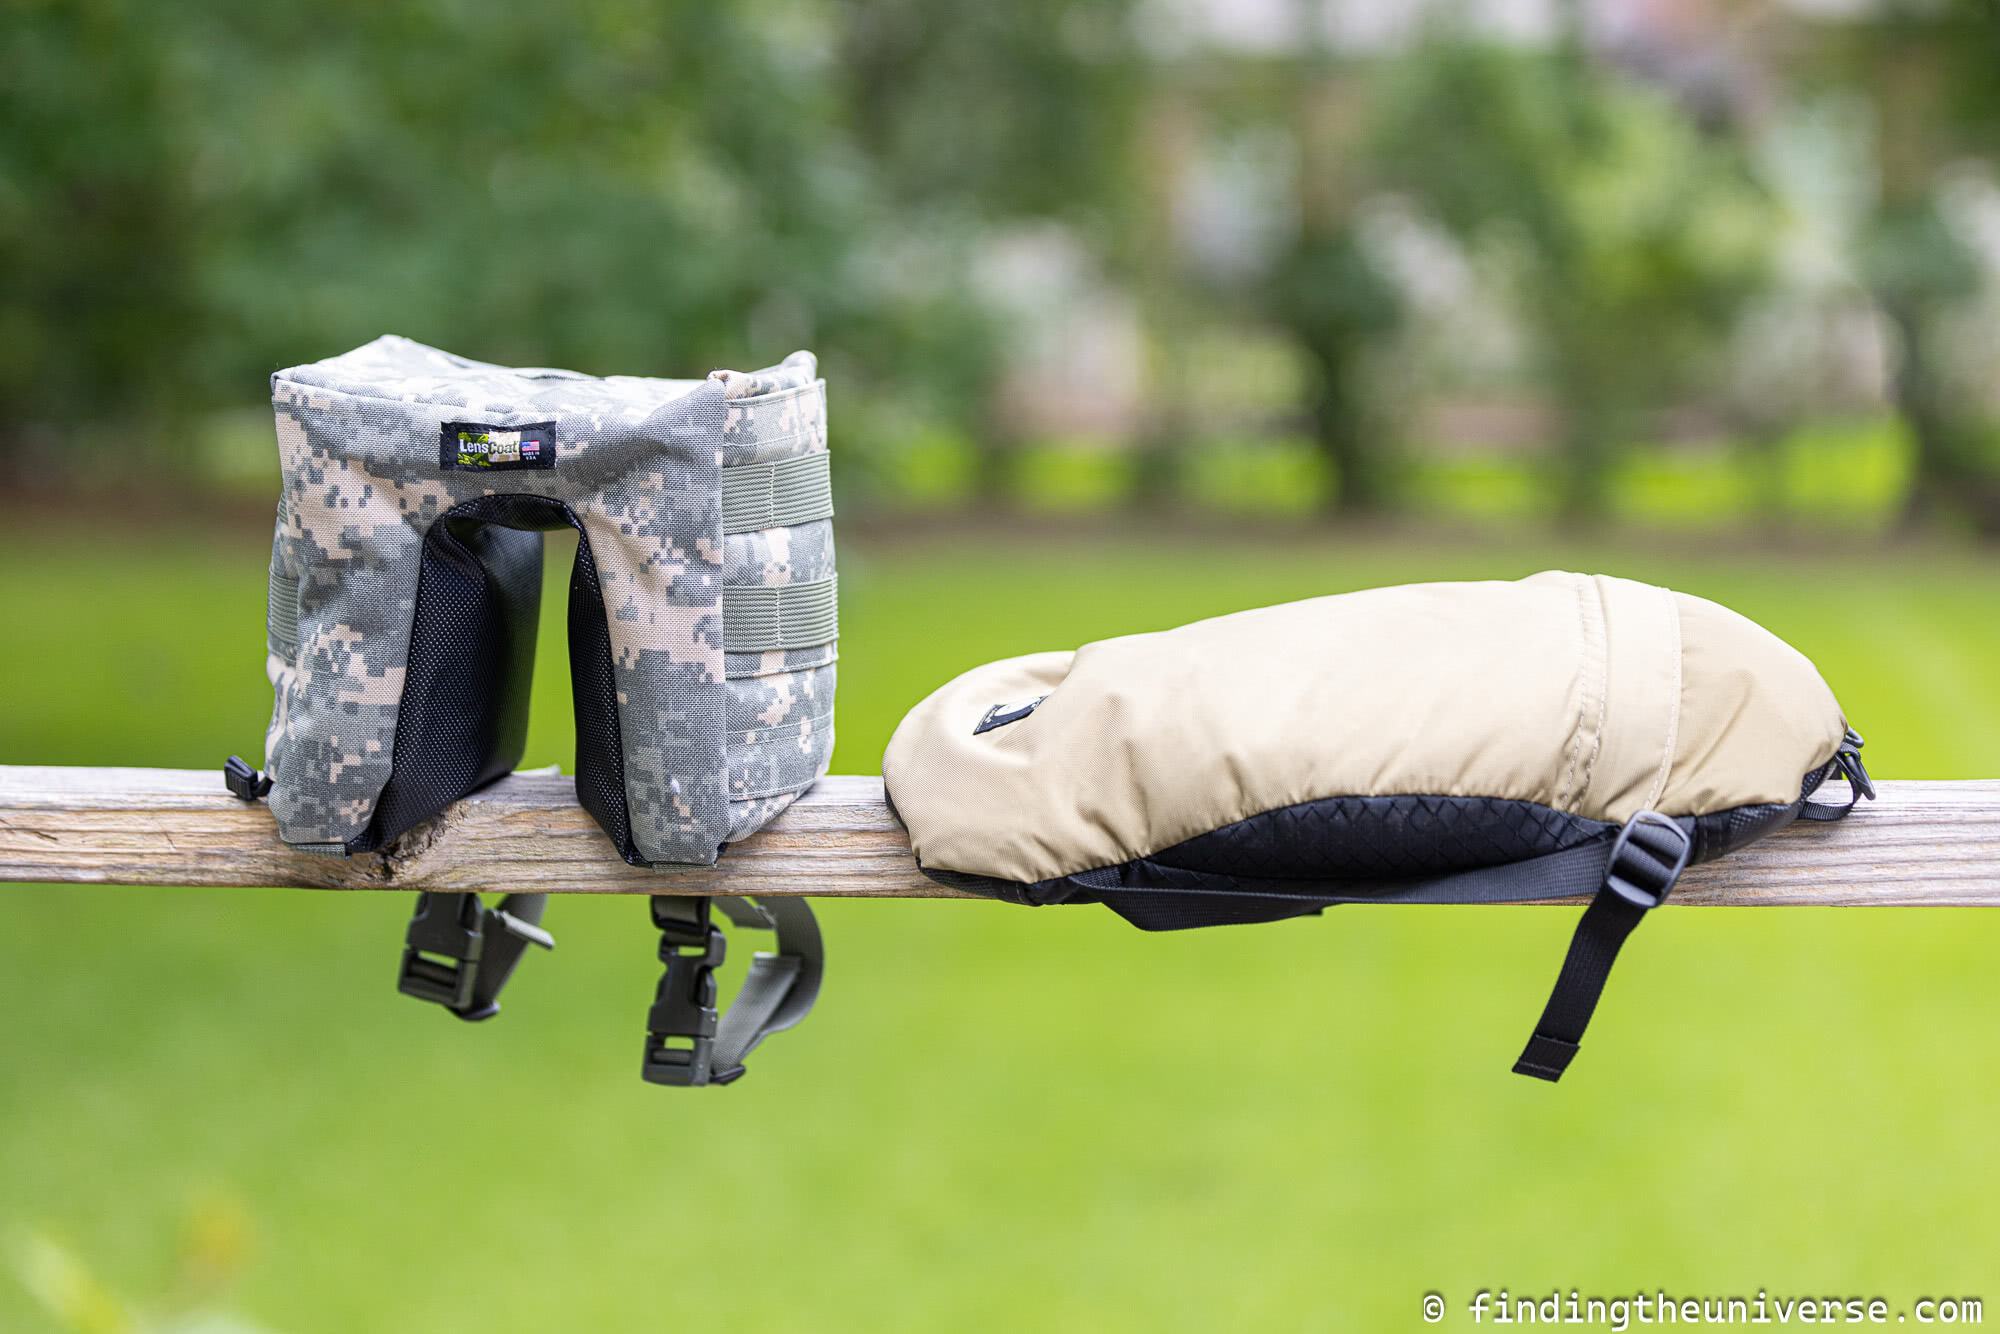
Bean Bag Shape
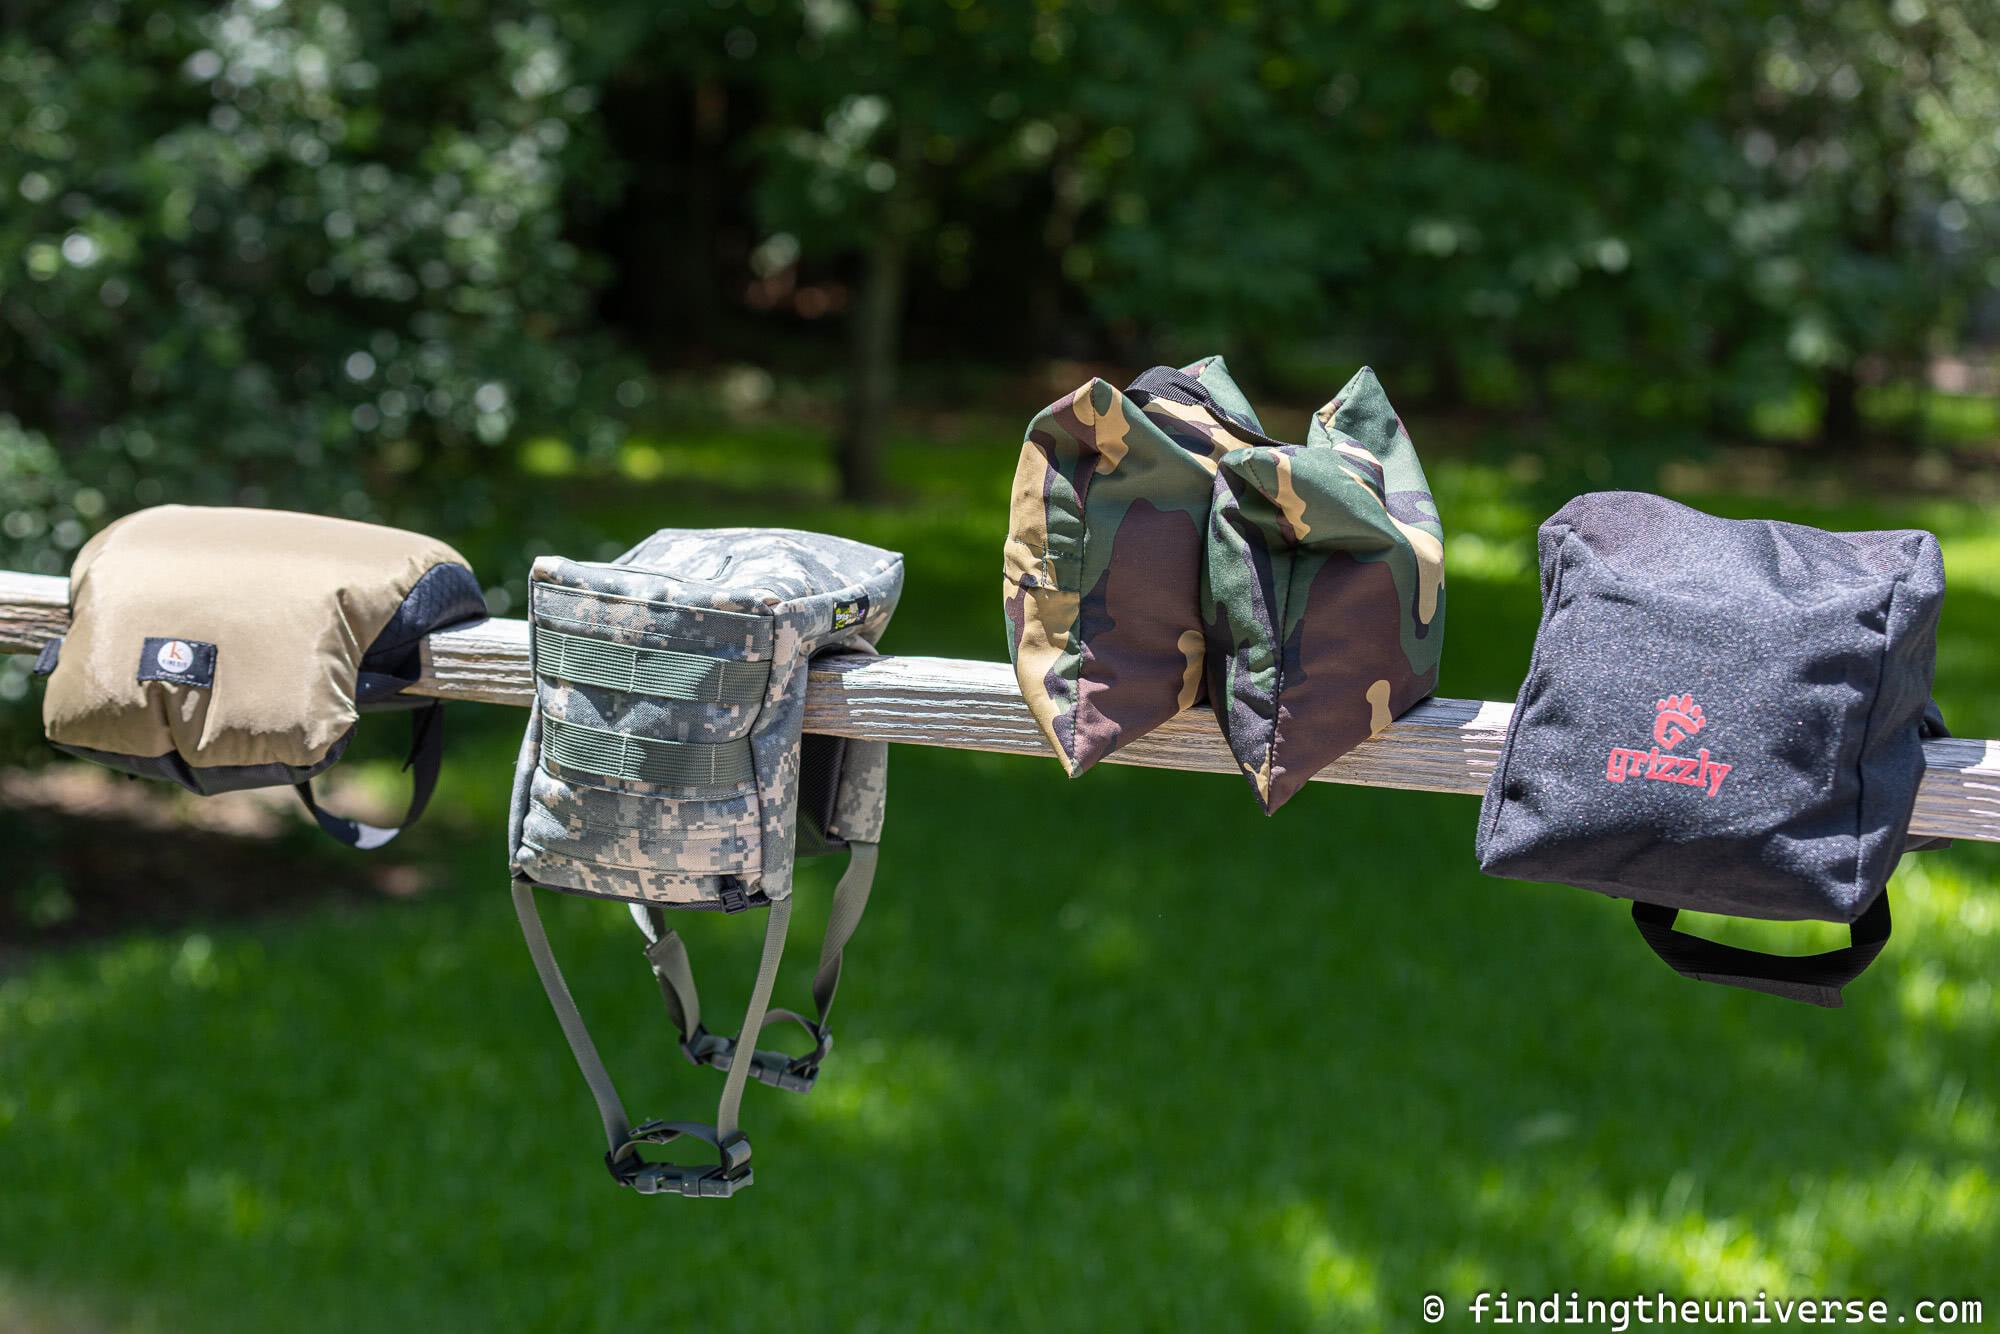
The first decision to make is what shape photography bean bag you want. The main bean bag shapes are as follows.
- Flat – a flat beanbag basically looks like a pillow. It offers versatile placement, but might not mold as well around objects such as a windowsill as some of the other shapes
- Double-cushion – a double cushion bean-bag is basically two flat bean bags sewn together in the middle. This offers good versatility, as you can use it like a flat bean bag, balancing the camera on the top, or you can use it on its side, with the camera nestled between the two cushions
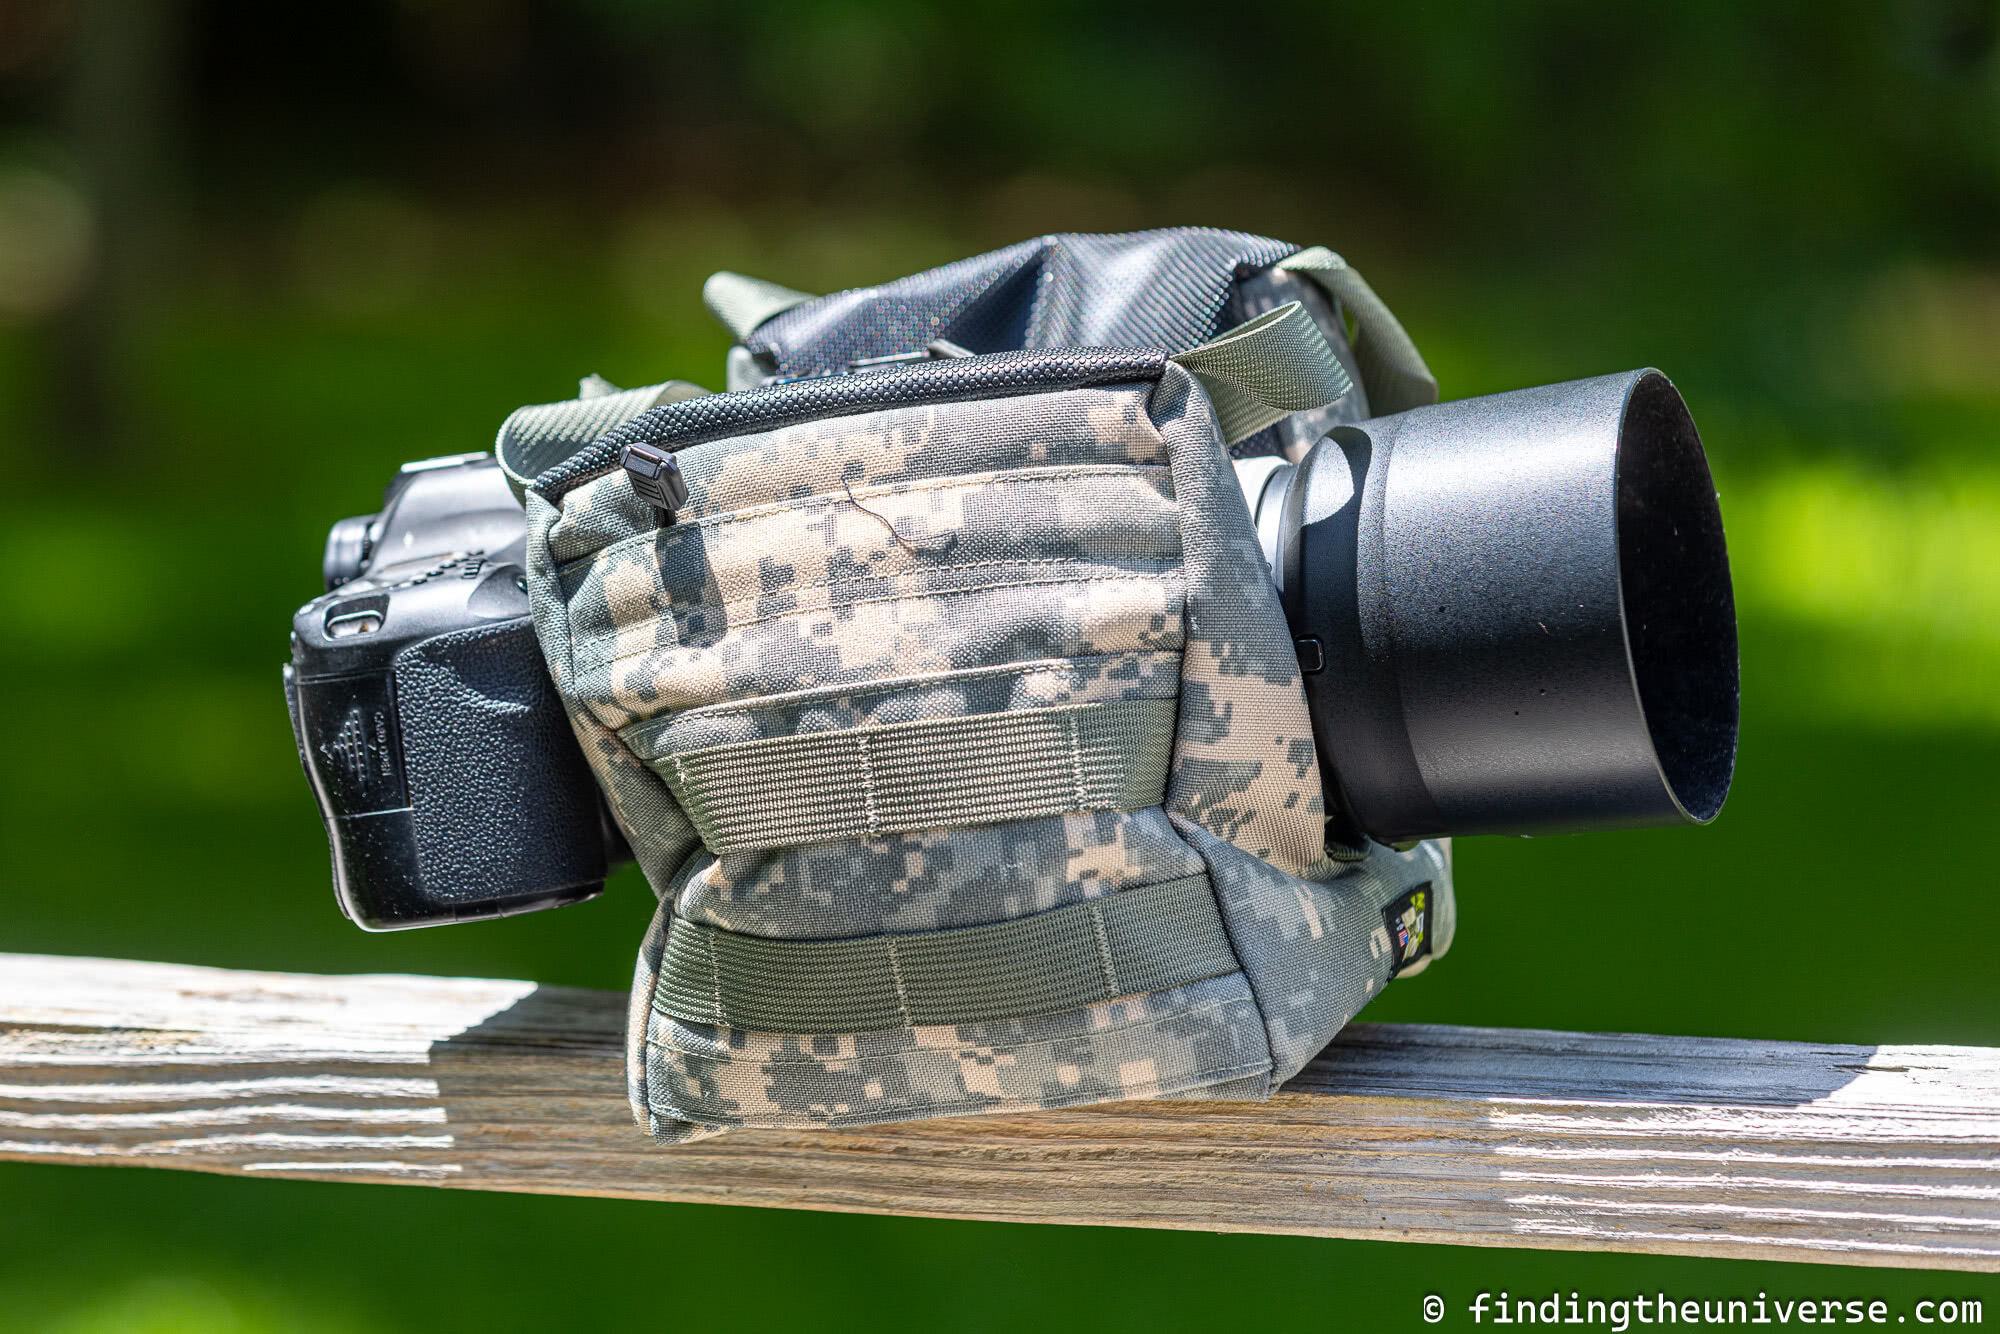
- Saddle bag – this bean bag looks like a lower-case letter “n”, or a “u”, depending which way up you have it. You can use it either way up. In the “n” shape you can place each of the legs over a windowsill or other edge for stability. In the “u” shape, you can put the camera lens between the two legs and rest the flat part on the ground.
Each bean bag shape offers advantages and disadvantages. Personally I like the saddle bag shape as it offers a lot of versatility for a range of situations. However, the flat cushion shape also works well in specific situations, such as when shooting on the ground.
Bean Bag Material
Bean bags can be made out of a range of materials which affect the durability and weight of the product.
Different parts of the bean bag may also be made out of different types of material. For example, parts of it may be made out of a water resistant material or a material that features a grippy surface.
Common materials for bean bags to be made from include Cordura, Nylon and Canvas. The main thing is to ensure the materials used offer good quality with high quality stitching. A rubberized grippy base is also a good feature to look for as it offers both waterproofing and additional stability.
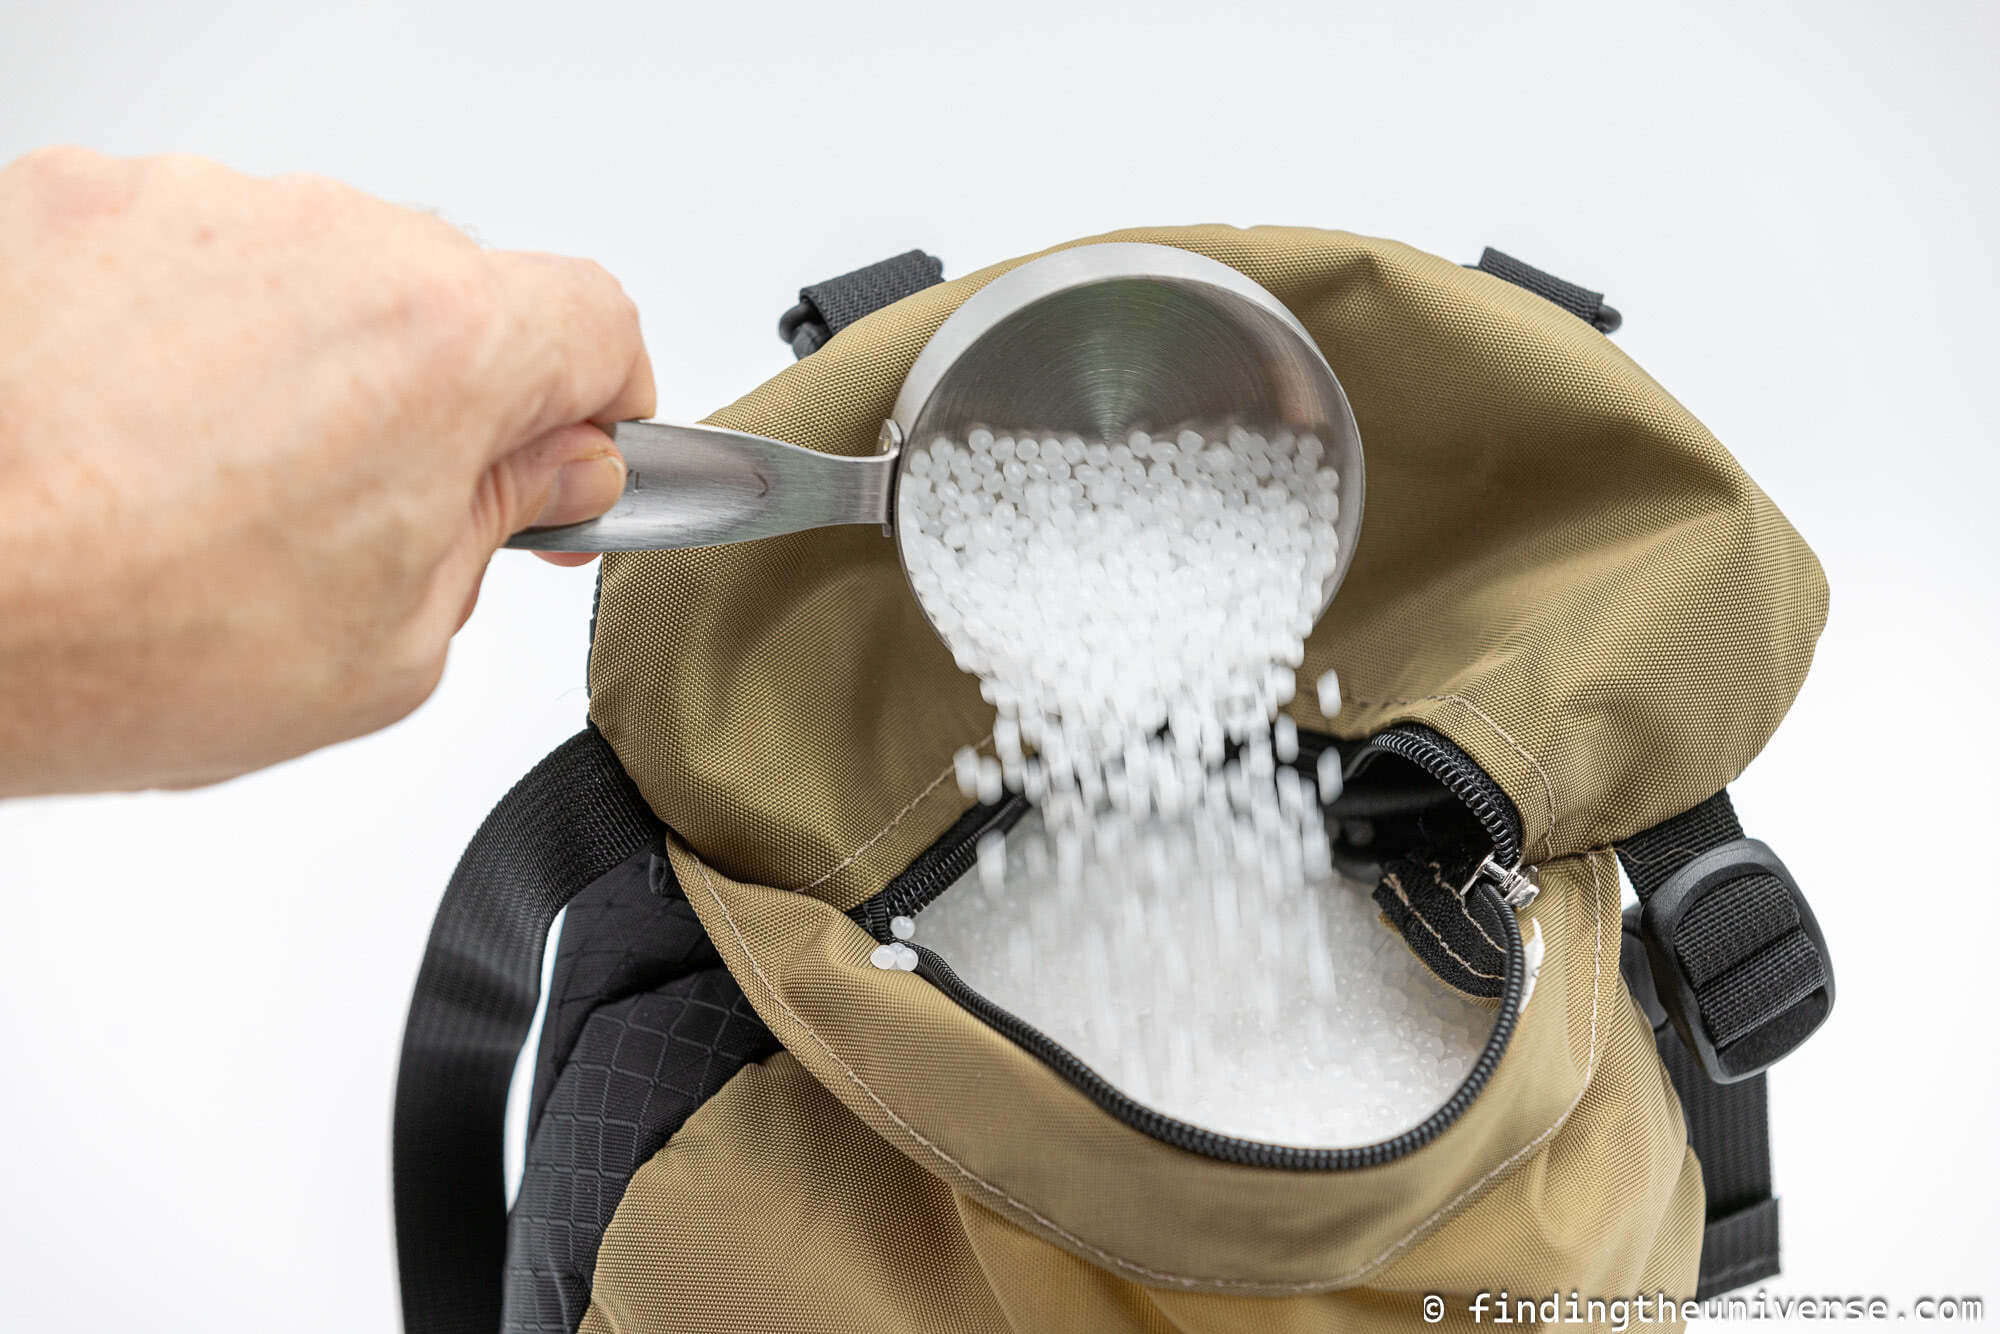
How to Fill Bean Bag
One of the good things about most photography bean bags is that you can remove and change the fill. So, if you are planning a trip where packing weight is a consideration, then you will likely want to empty your bean bag before your trip and fill it in destination.
Different bean bags offer different options for how you actually open them up to access the interior where the filling resides. These can include zippered openings and velcro openings.
Personally, I would recommend a high quality zippered opening. Velcro is not as good as it can come open in the middle of a shoot or in your bag with messy consequences.
Some bean bags offer multiple zippered openings, which can make distributing the fill to different parts of the bean bag easier. With saddlebag designs for example, the zip is often on the leg, so having two zippered openings can be particularly helpful to ensure both legs get an even amount of fill.
Size of Bean Bag
When shopping for a bean bag, you will want to decide on how big you want the bean bag to be. This will affect a few things.
First, a larger bean bag will be able to accommodate a larger lens. If you have a particularly large lens (300mm and up on a full frame camera), you will want to be sure the bean bag is going to be large enough to fully cushion and support it.
Of course, a large bean bag will require more filling, and the final filled weight of the bag will also be heavier (although this is also obviously affected by what you fill it with).
Bean Bag Color
The color of your bean bag is also something to consider. Most bean bags come in wildlife friendly colors, including browns, khakis, greens and black. Some also have a camo style print.
Most colors will work for most uses. However, for specific photography situations, some colors will be better than others. For example, if you are going on safari it is often recommended to avoid colors like black or blue as these can attract tsetse flies. So in this situation, a khaki or sandy color would be good.
If you are planning on using your bean bag for wildlife photography in general, and will be trying to blend in with your surroundings, then a camo style bean bag might be worth considering.
Additional Features
Some manufacturers like to differentiate their bean bags by offering additional features. If you are comparing two similarly priced bean bags and one has extra features that you find useful, then that one might be a better fit for you.
Features I have seen include zippered pockets to hold accessories, grippy bases, straps for carrying, the ability to convert between a pillow shape and a saddle shape, and even tripod thread for mounting tripod heads or gimbals.
The Best Photography Bean Bags
I’m now going to go through a number of photography bean bags of different styles and at different price points. I have personally tried out the majority of these bean bags myself.
If I haven’t tried a specific model, then I have tried another version from the same brand, and would expect the experience to be similar.
Many brands have multiple bean bag options, with the differentiators being the size of the bean bag and the lenses they can support. Some brands also offer multiple bean bag styles.
These bean bags are ordered approximately by price from lower to higher, but prices always vary so do click through the check the latest price for each model when comparing.
Grippa Bean Bag (UK only)
The very first camera bean bag I bought was this budget option called the Grippa Bean Bag.
It is essentially two square bean bags sewn together with an interior join so beans can flow from one side to the other.

Despite its budget nature, it actually worked very well on my safari. When I purchased it prior to a safari trip it came prefilled with very light polystyrene beads, which made it light (if bulky) to travel with. The interior is accessed with a zip which means you can empty it and refill it, and it can also be purchased empty.
Honestly, I’d probably recommend purchasing it empty and filling it with something other than the polystyrene beads. They are a little light, and they also make a bit of noise when you use the bag, which might scare wildlife away.
That said, I had a good experience using this bean bag on safari in East Africa, and if you are in the UK looking for a more budget oriented option, it’s definitely one to consider.
Dimensions: 21.6 x 21.2 x 20.5 cm / 8.5 x 8.3 x 8.1 inches
Item Weight: 0.22kg /7.76oz (no fill)
Purchase: Check price on Amazon UK here.
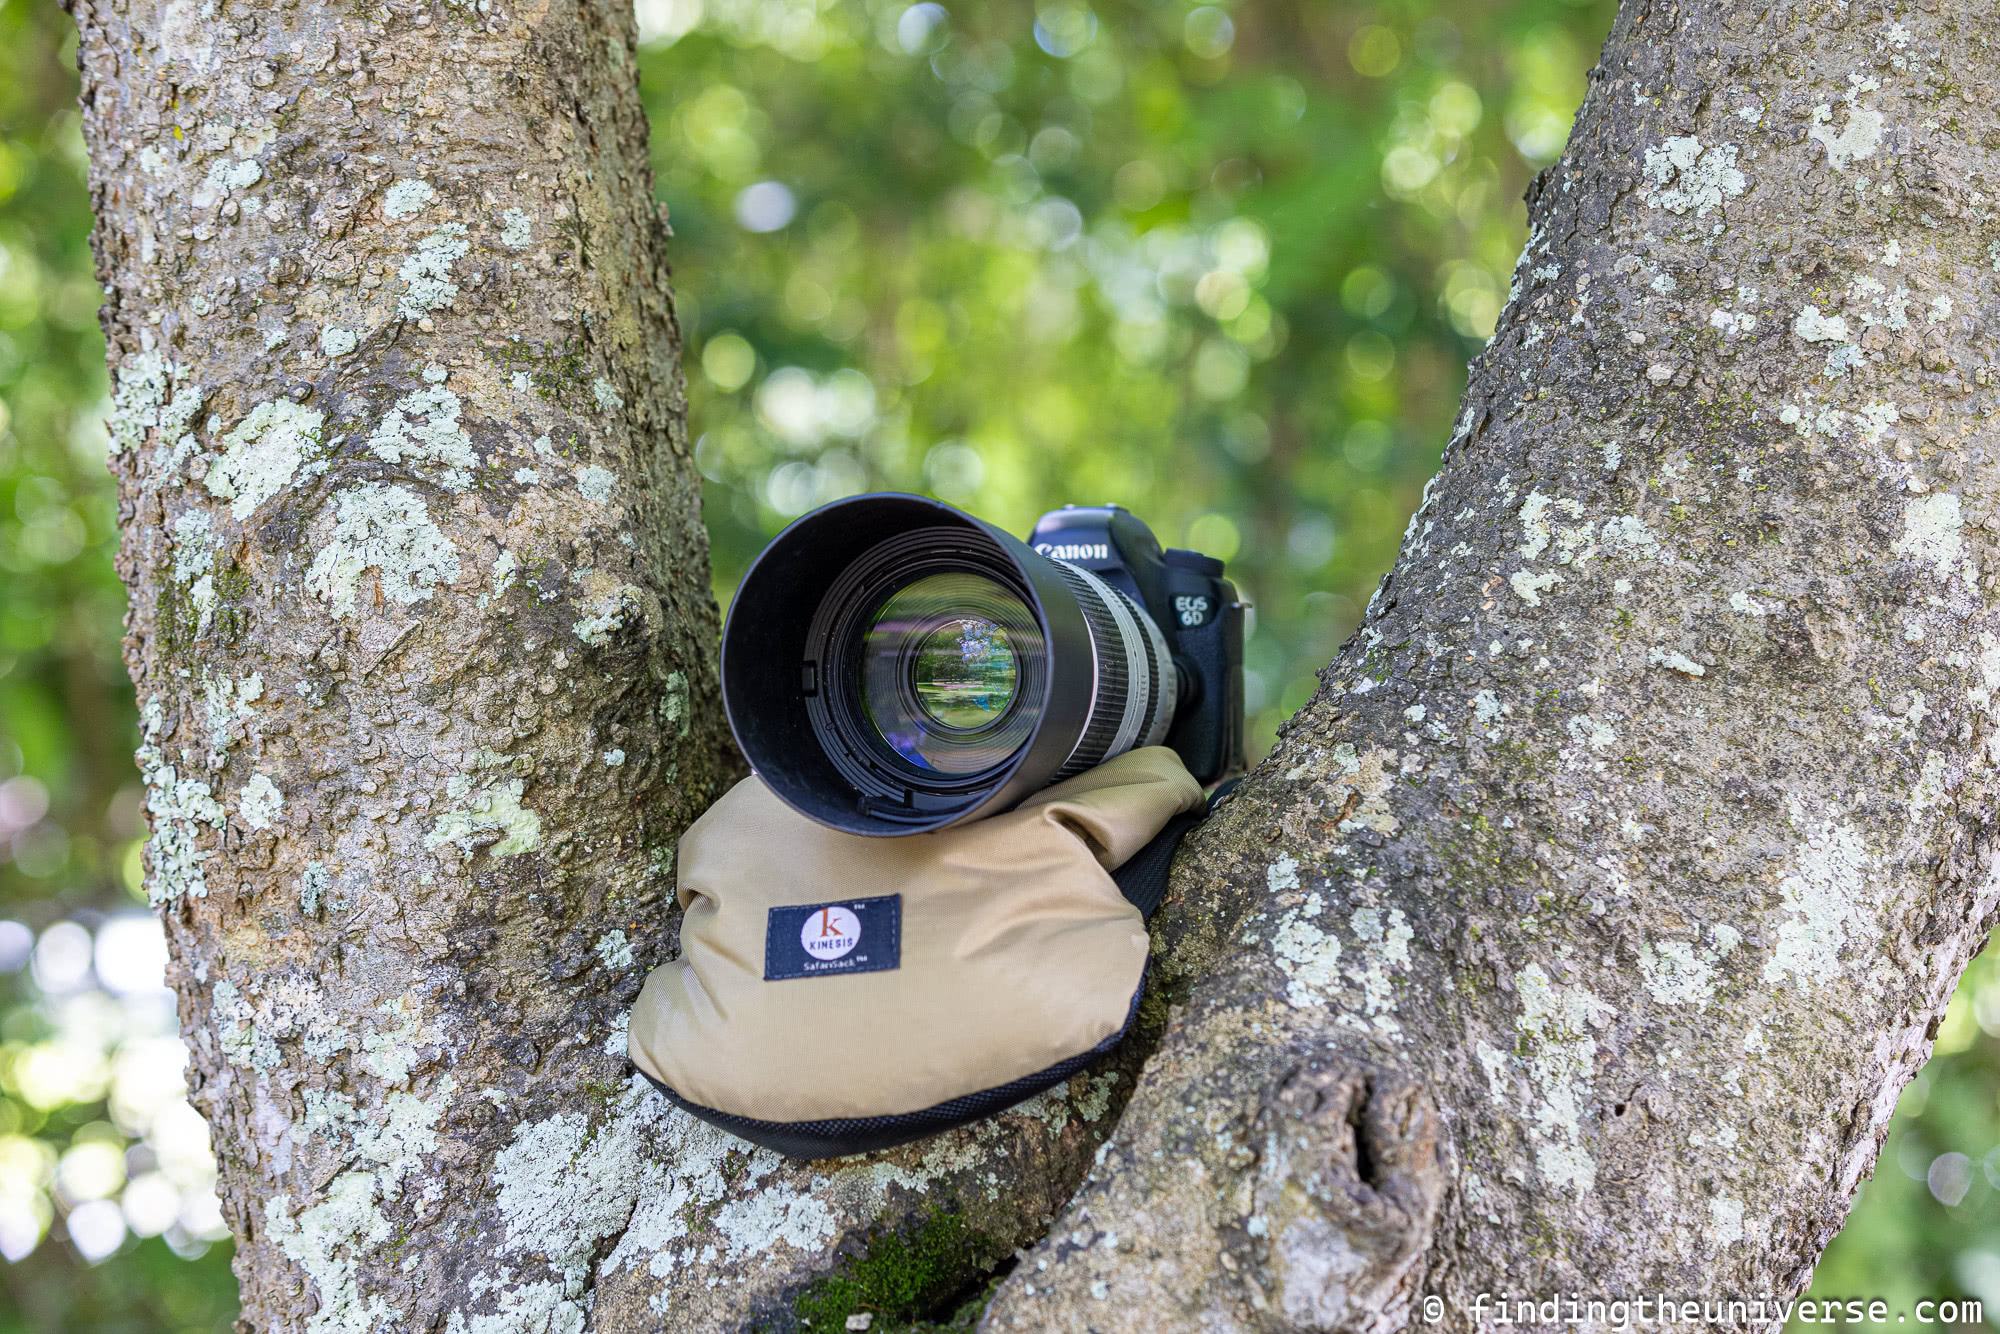
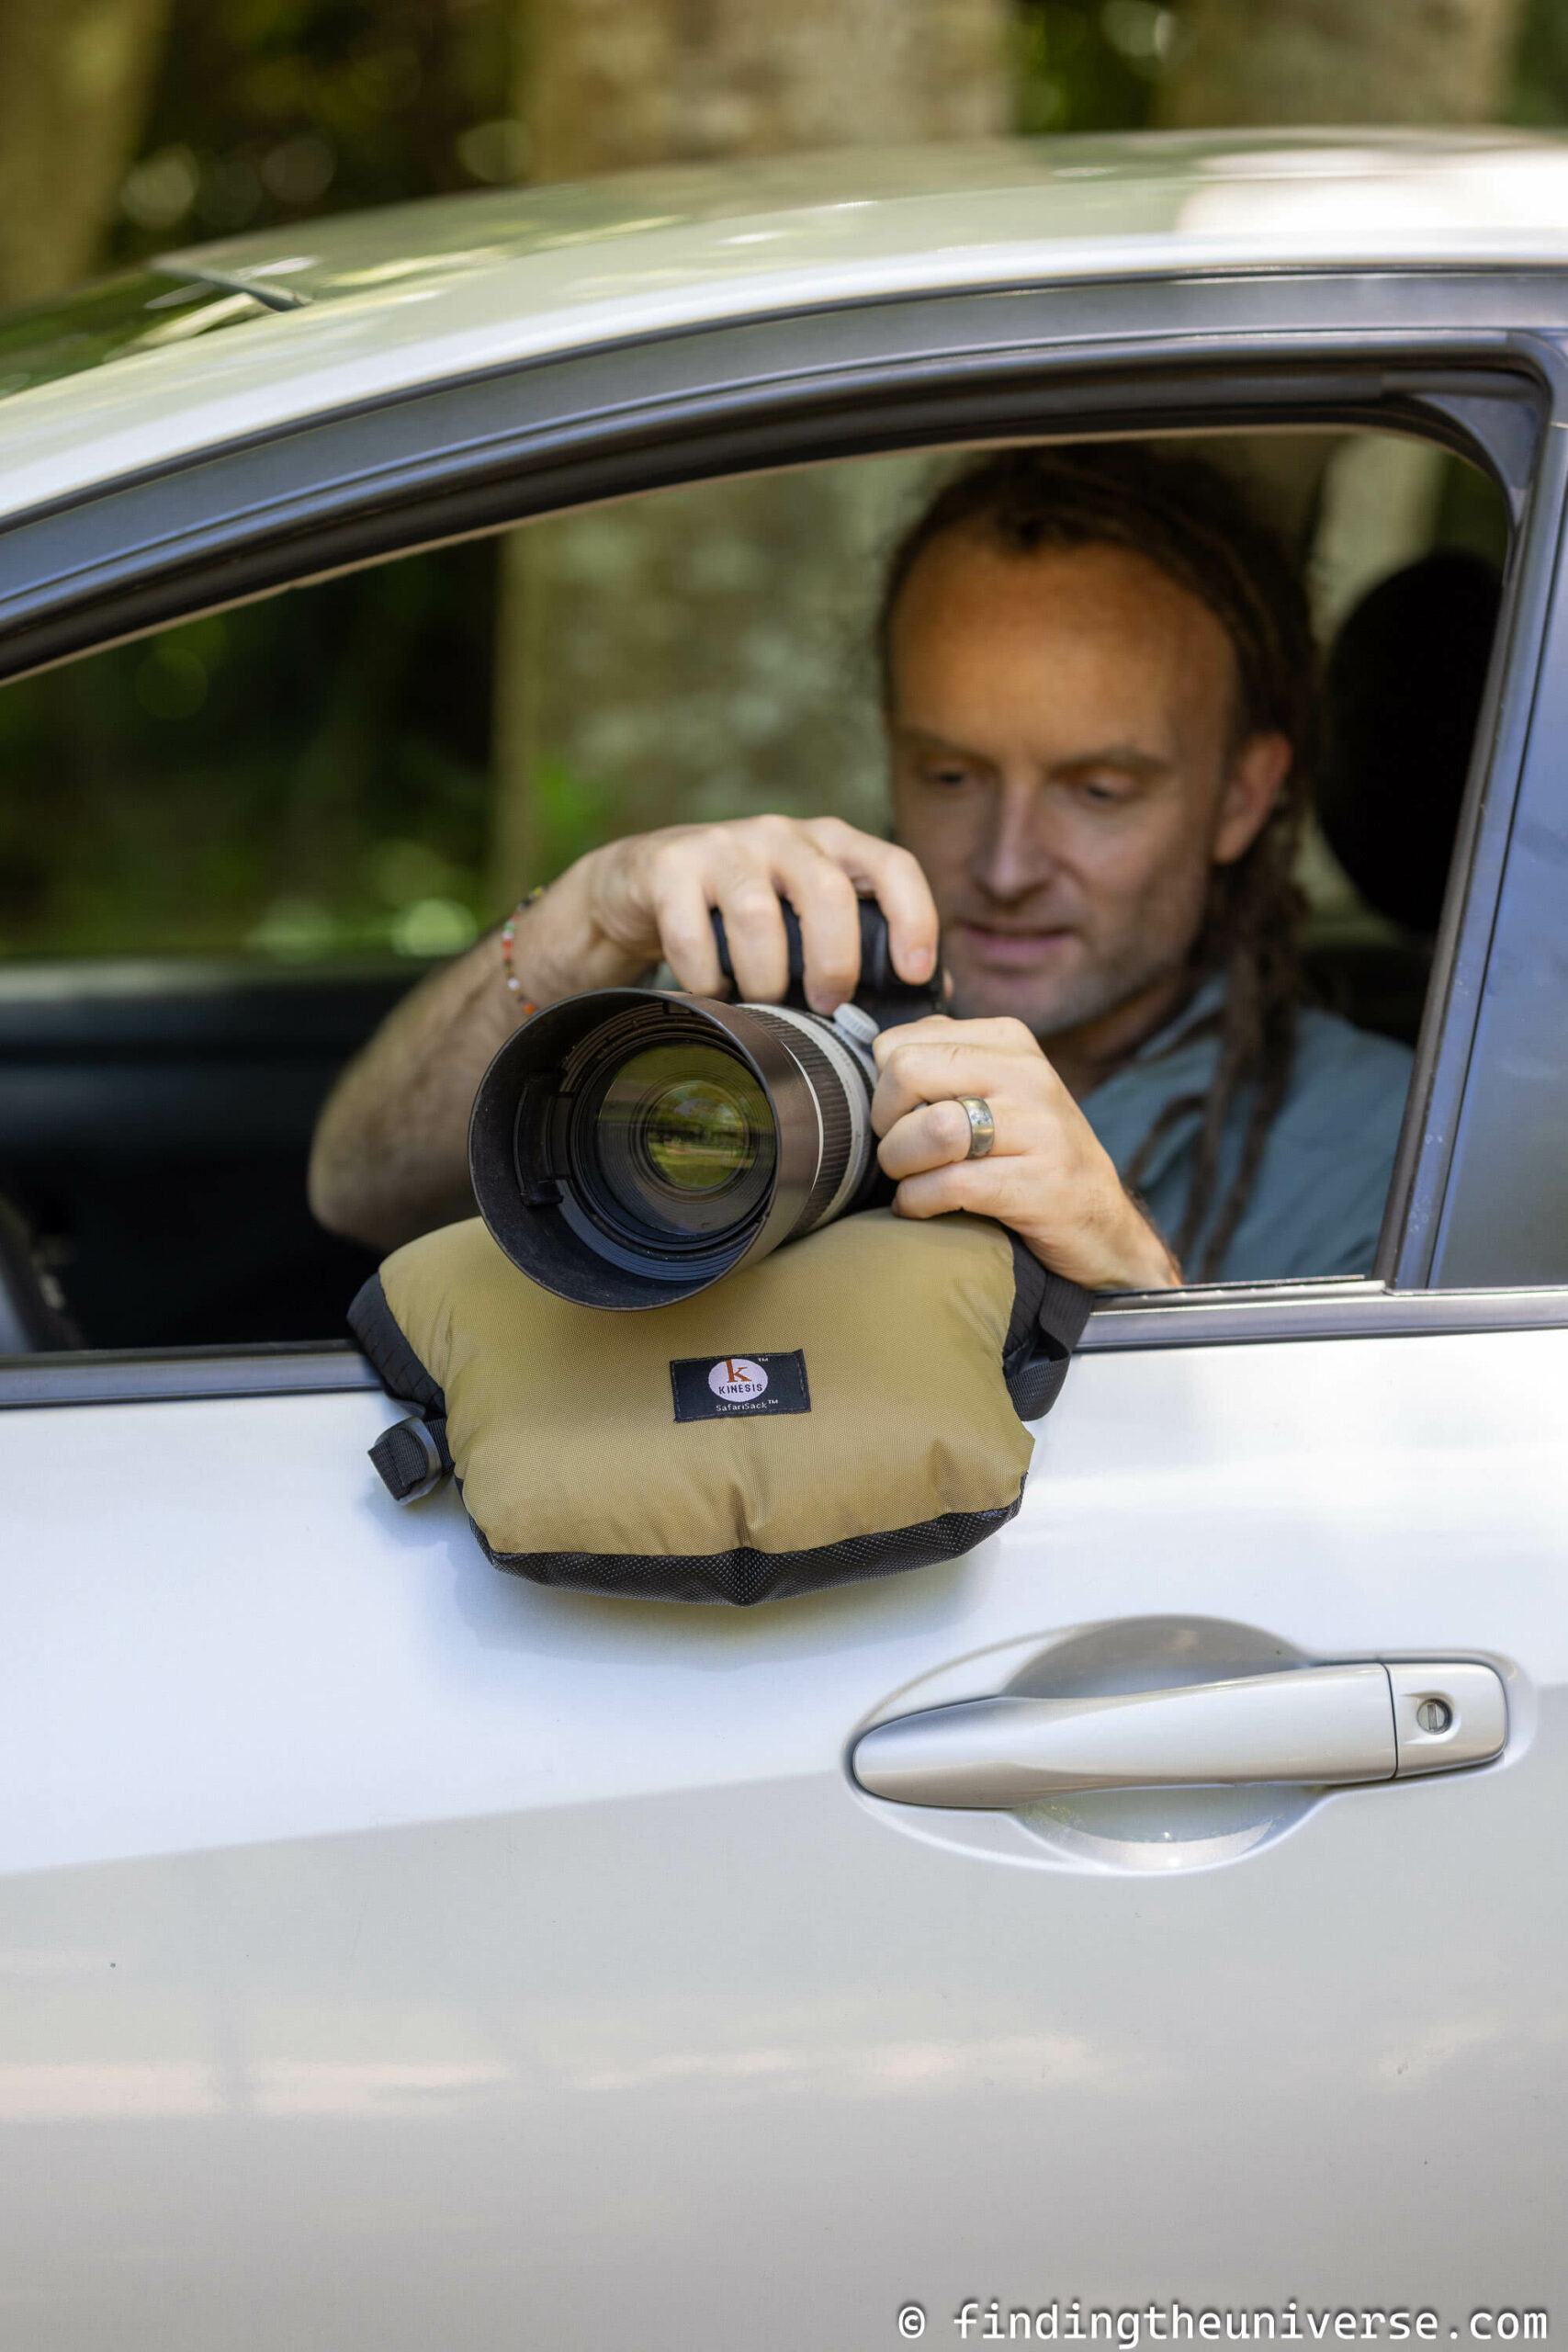
Kinesis SafariSack 1.4
Kinesis makes a range of photography bean bags with a primary focus on bean bags that work well for safari. Of course, their bean bags also work well for all kinds of other uses, but their original mission was to create bean bags specifically for the needs of photographers on safari. Their bags are all made in the USA.
Safari photography often has you taking photos from a vehicle, either through a side window or through a pop-up roof viewing area. You tend to have to move quickly and adjust your position, and there tend to be all sorts of odd bits of metal on a safari truck to work around.

As such, the Kinesis SafariSacks are designed to be flexible and tough to stand up to the rigors of being bumped around and placed over all sorts of shapes.
The Kinesis SafariSack 1.4 is currently their smallest model, designed for lenses up to 200mm in length. It has zippered access to the fill area, and a rubberized base which has grippy sections at each end of the bag.
The bag is made of 400-denier and 420-denier Diamond Ripstop nylon fabrics, and the base is SlipNot, a rubberize-type fabric.
This SafariSack is designed to be used in flat mode. On safari this is generally best for use on top of a vehicle. It also has a quick release strap which can be used to secure the bag, for example to a roof mounted rack, offering additional peace of mind. It can also be used as a carry strap, and extended with an optional accessory for use as a shoulder strap.
Personally, I’d recommend purchasing the version which comes with the optional shoulder strap as it makes it easier to carry.
Kinesis provides estimated weights for the bag when it is filled with different materials. With Buckwheat the weight would be 240g / 8.5oz. With Polybeads, it would be 910g / 2lbs. You can normally purchase the bag empty or with either buckwheat or polybeads supplied.
Personally, I would recommend buying the variant with the buckwheat fill and the Y208 extension strap.
I have a larger Kinesis SafariSack and the build quality of their products is excellent.
Dimensions: 20 x 28 cm (7.9 x 11″)
Item Weight: 0.08kg / 2.9oz (no fill)
Purchase: Check price on Amazon here and B&H Photo here.
LensCoat LensSack Jr.
LensCoat are a US based company who have been creating products aimed at wildlife photographers for many years. The company was started by wildlife photographer Scott Elowitz, and their products are all made in the USA.
LensCoat are particularly well known for their LensCoat lens covers. This is a neoprene wrap which goes around a lens, offering thermal protection, waterproofing, and camouflage.

However, they also make a range of photography bean bags.
The LensCoat LensSack Jr. is a flat style bean bag although depending on how you fill it you can shape it in a “v” shape if you prefer. It has a non-slip grippy bottom along the full base of the bean bag and the bag itself is constructed from water-resistant heavy-duty Cordura.
It has a locking zipper for fill compartment access as well as a carry-strap and 4 d-ring securing points.
Compared to the Safari Sack 1.4 this is a slightly larger bean bag which can handle larger lenses, I’d estimate up to 400mm would work fine on this bean bag. It also has the advantage of offering grip along the entire base of the bean bag, which is a nice feature.
If you have a bigger lens or would prefer an even larger flat style bean bag from LensSack, check out the LensCoat LensSack which offers the same features but in a larger size.
I own a saddle bag shaped LensCoat bean bag and have found the product to be well made and durable.
Dimensions: 38 x 20 cm (19.5 x 11.5″)
Item Weight: 0.08kg / 2.9oz (no fill)
Purchase: Check price on Amazon here and B&H Photo here.
Grizzly Camera Bean Bag
The Grizzly Camera bean bag is a saddlebag style bean bag which offers a no-frills but fairly well-made bean bag product at a good price. I bought this to compare it to some of the more expensive options on the market.
The bag itself is made from 1000 Denier Cordura Nylon which, looks and feels (to my touch) hard wearing. It’s relatively large, able to work with lenses up to 600mm comfortably I would say.

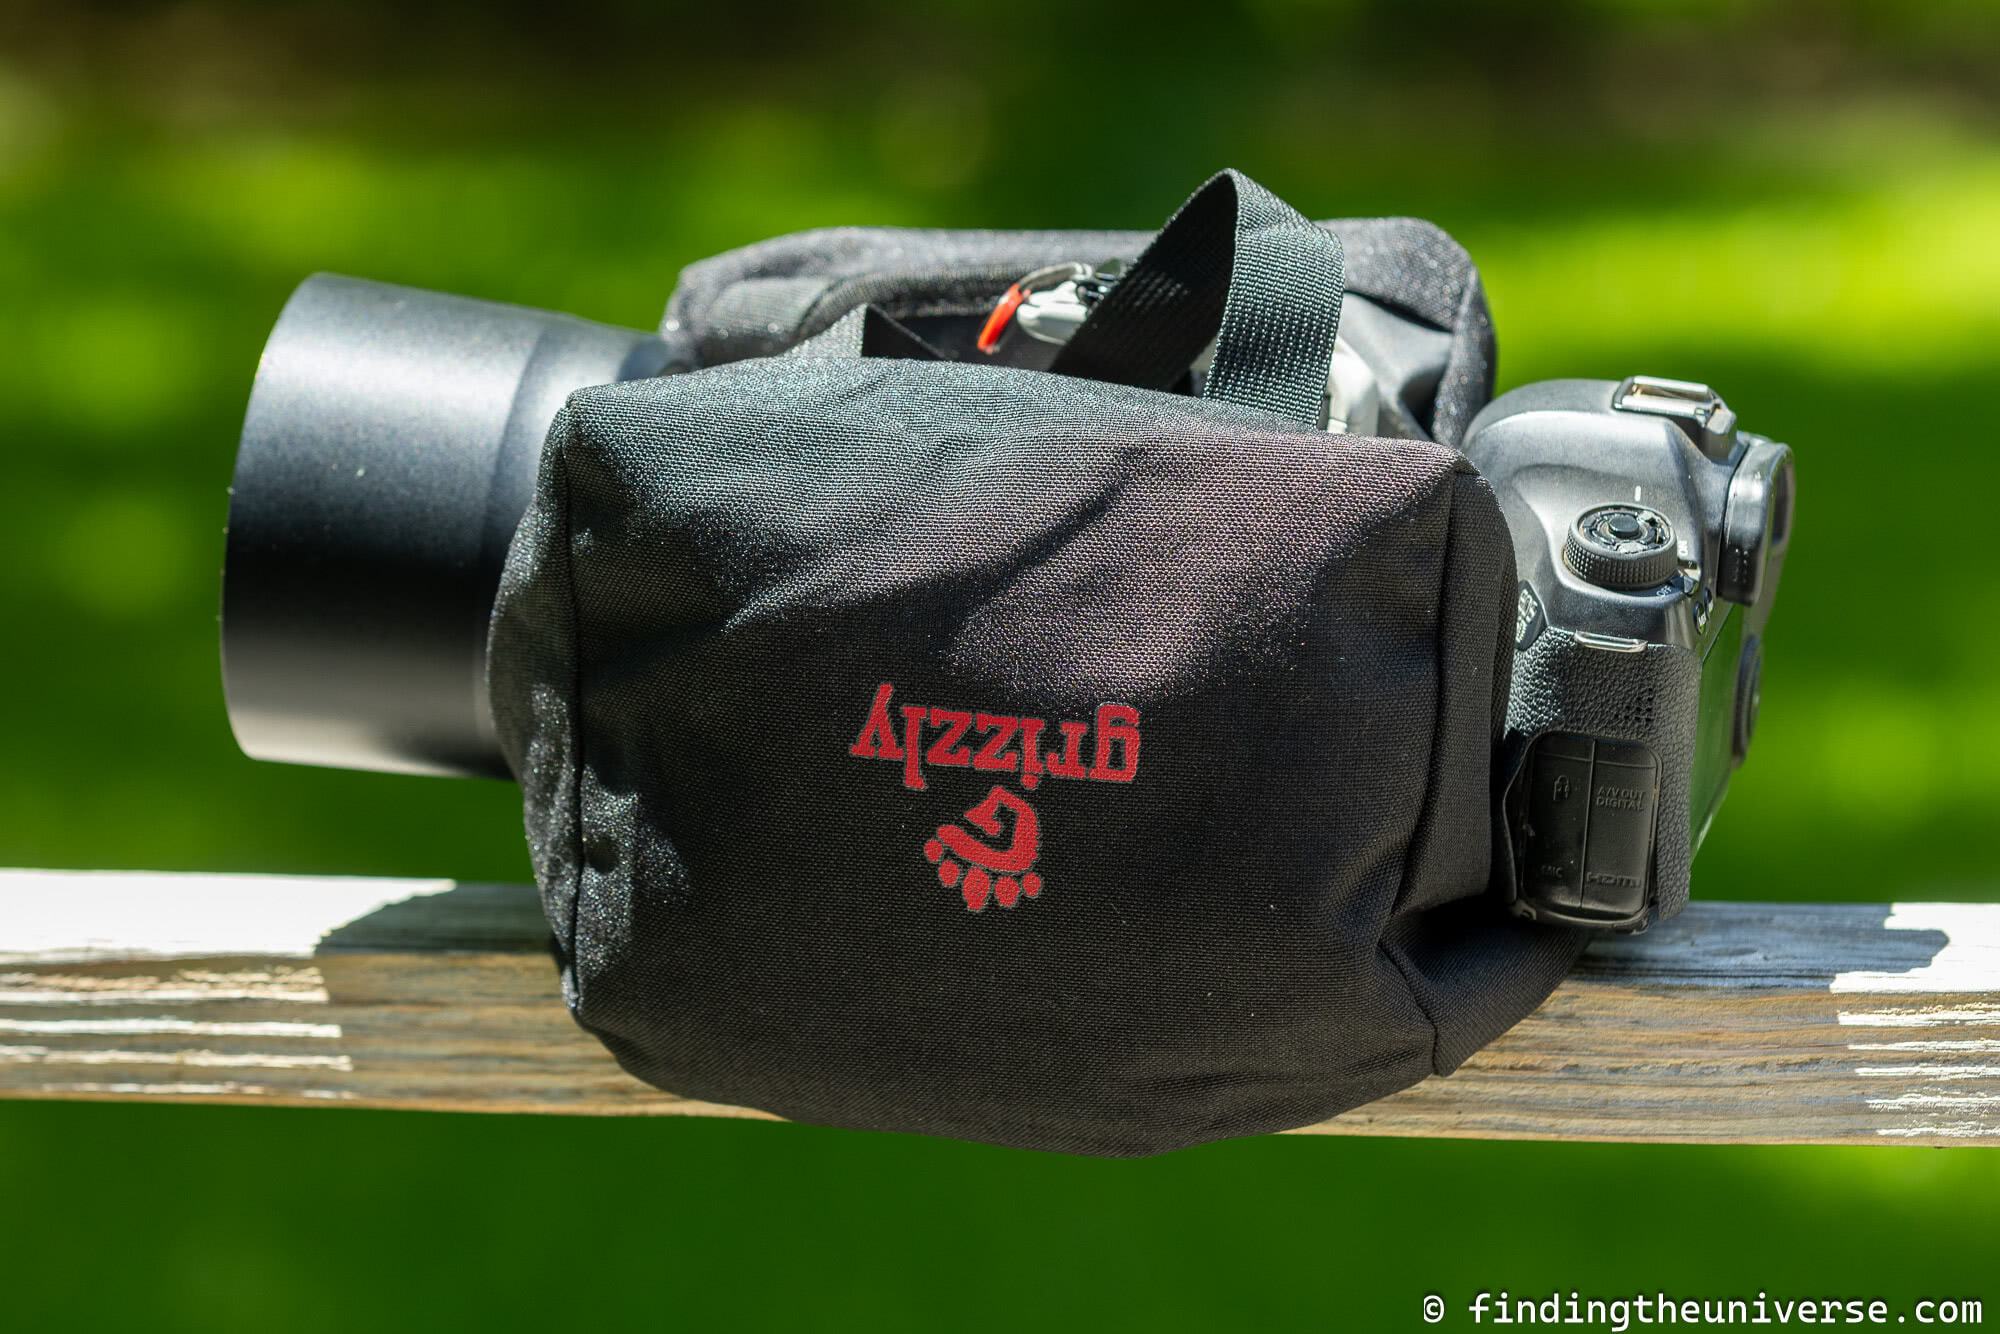
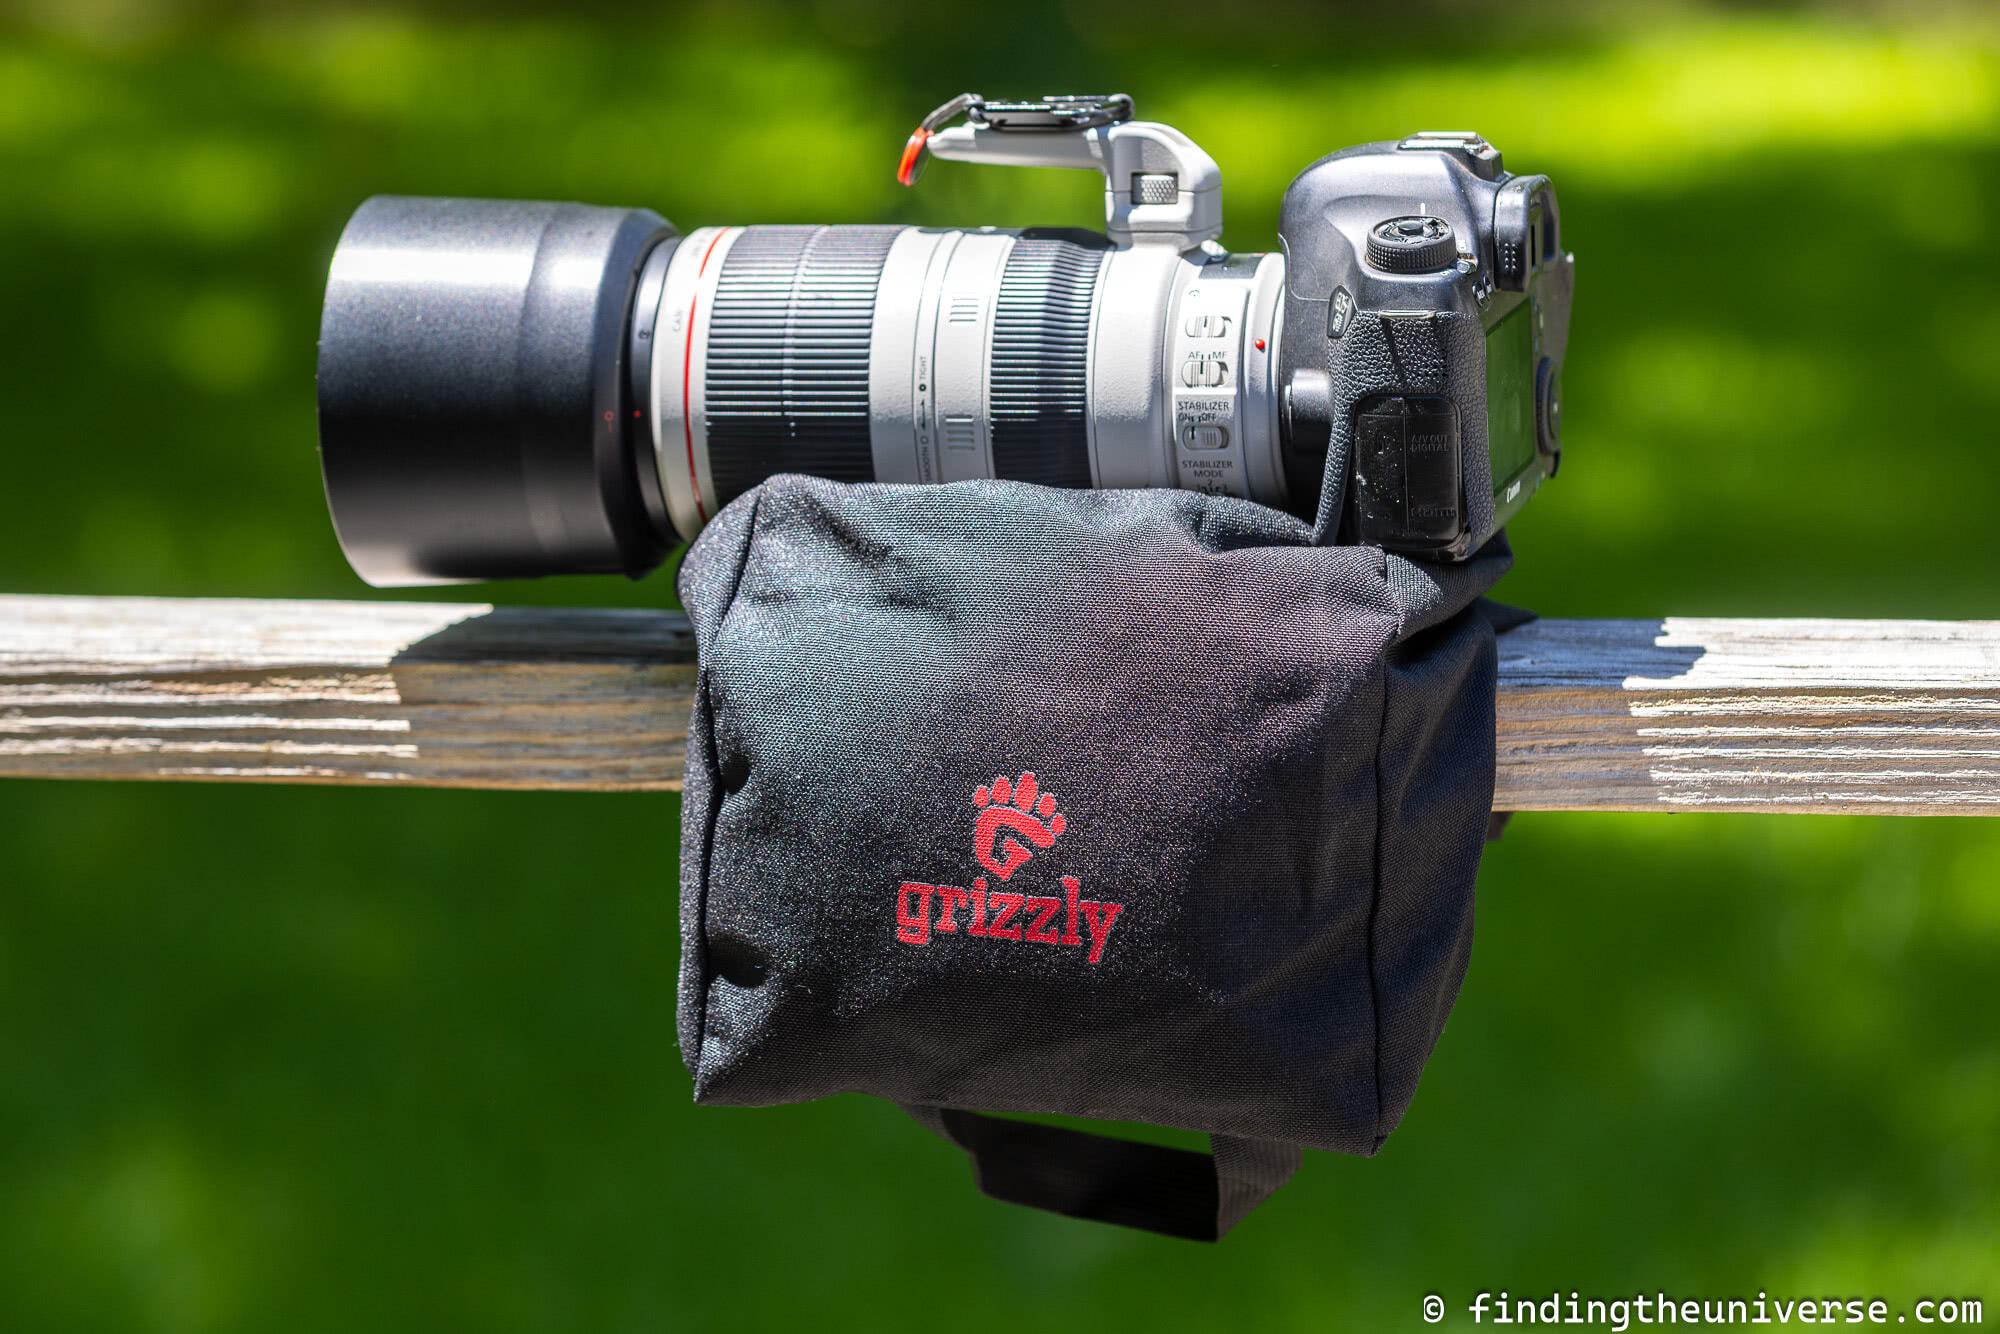
The saddle area which would normally sit over the windowsill, fence post or other support is made from a rubberized coating for waterproofing and durability. This base is a little smooth though, especially compared to the Kinesis or LensCoat products.
It has a single high quality YKK zipper, which is functional if not as handy as having two zippers. There’s also a carry handle.
Overall, for the price, this is a good saddlebag option. You don’t get the extra features and more premium construction of higher end bags but it is certainly good enough for regular use.
Dimensions: 25 x 20 x 20 cm (10 x 8 x 8″)
Item Weight: 0.15kg / 5.6oz (no fill)
Purchase: Check price on Amazon here and Etsy here.
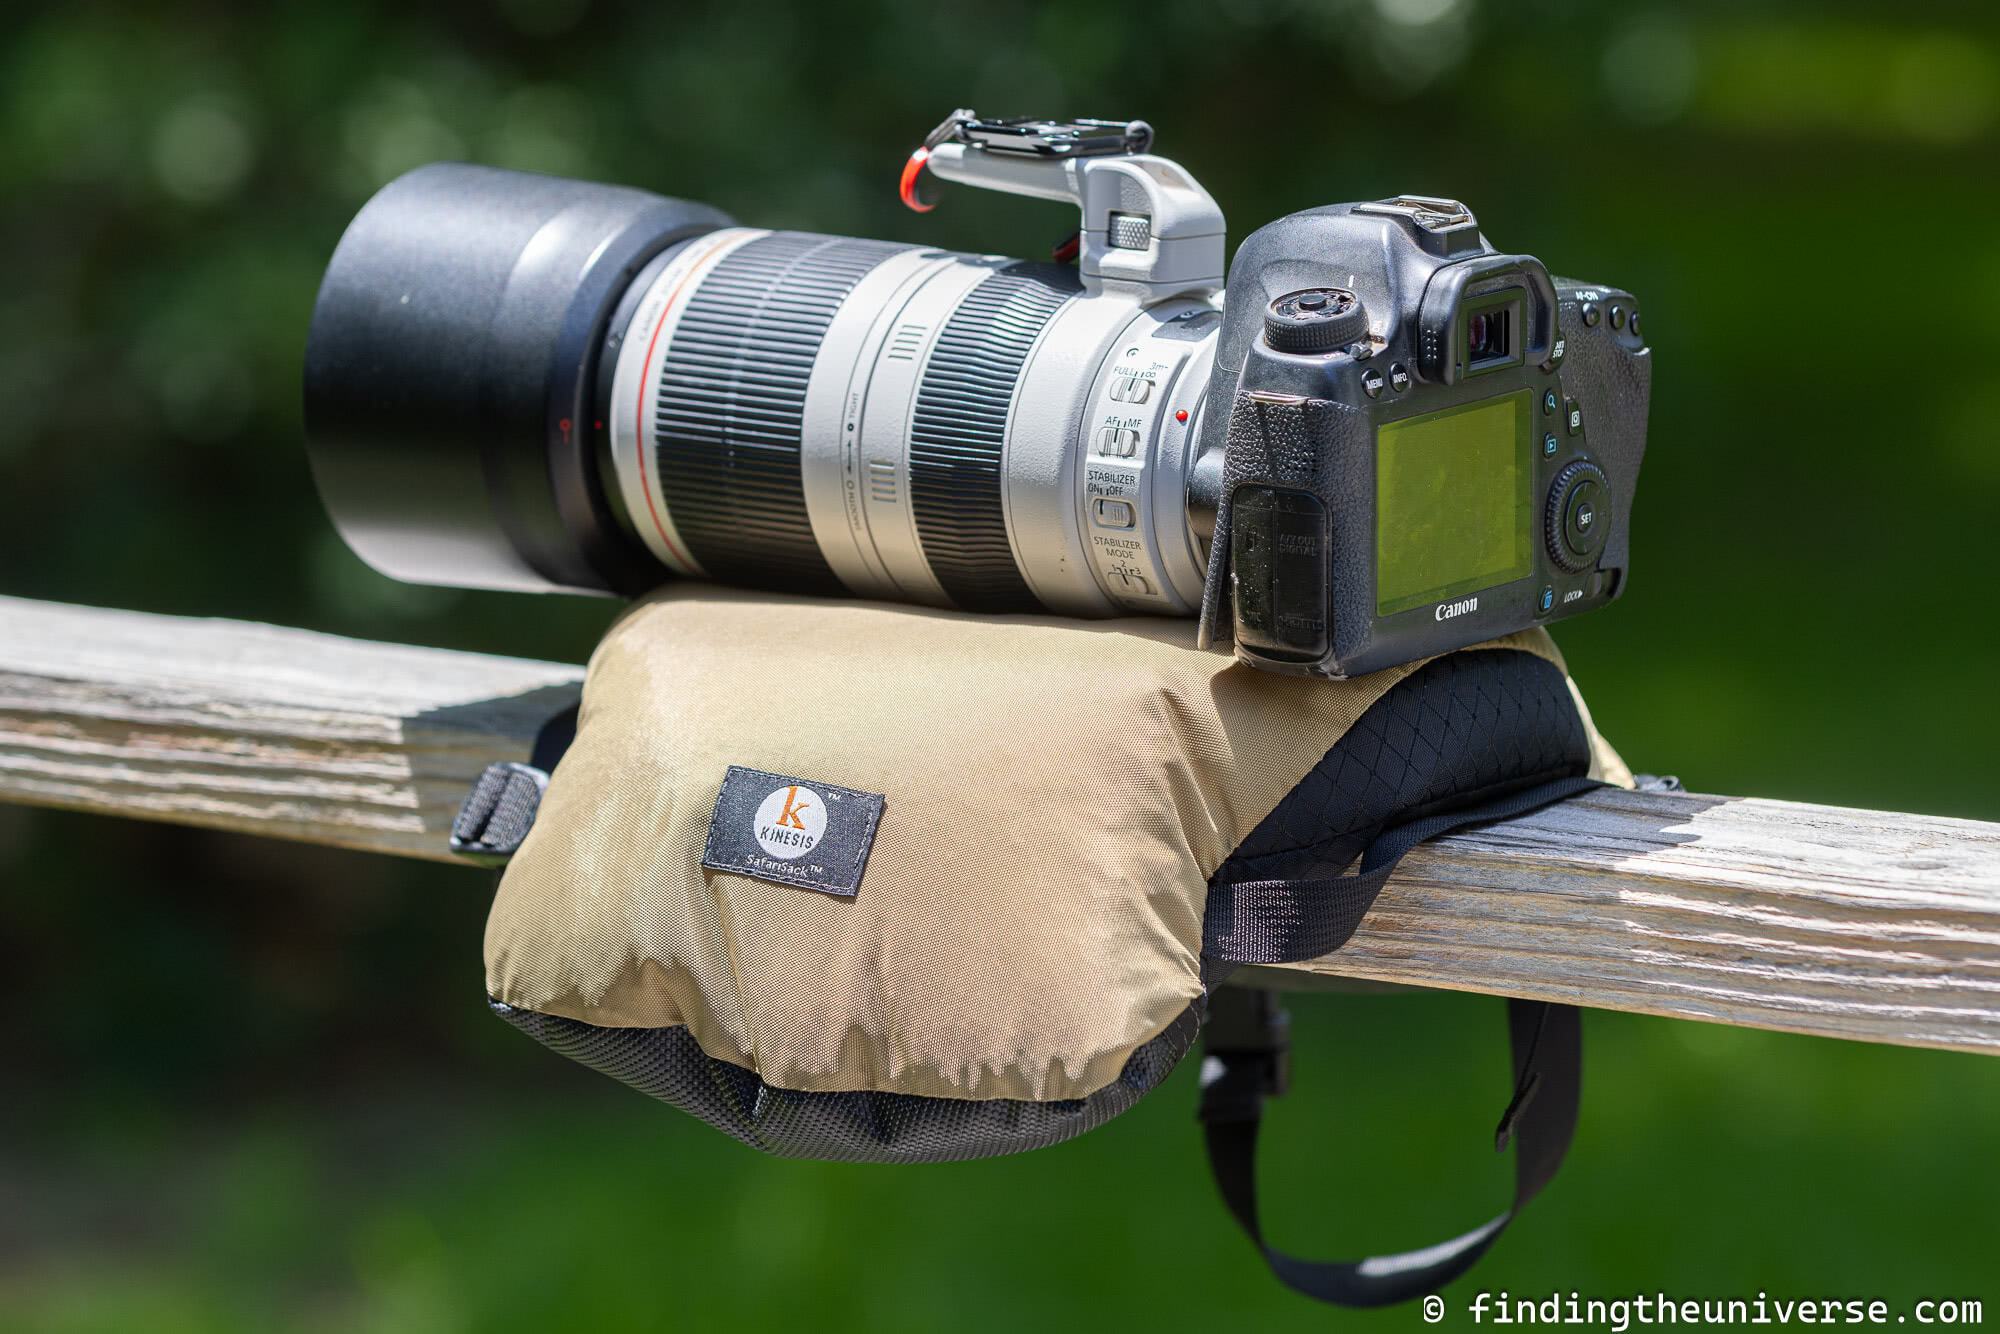
Kinesis SafariSack 4.2
The Kinesis SafariSack is one of my personal favorite photography bean bags that I’ve used, primarily because of its versatility.
It is essentially a larger version of the SafariSack 1.4, which works with longer lenses up to 800mm. However, it does have some key added features that make it worth the upgrade beyond larger lens capacity, even for smaller lenses.

The main differentiating feature it has is that it’s designed to be used as both a flat bag and also in a more saddlebag shape. To achieve the saddlebag shape, you just tighten the two straps underneath the bag which pull the ends together to form the “legs” of the saddle.
It is designed with a gusset in the middle of the bag so that when in saddlebag mode this area has more fill and thus provides more support. That said, Kinesis do recommend filling the bag slightly less than full if planning on using it in saddlebag mode.
Whilst it’s obviously not quite as firm of a shape as a purpose-built saddlebag, I find that it works well and molds well to different surface shapes.
Like the 1.4 model, the 4.2 also has a rubberized bottom, and a carry handle which can be extended into a shoulder strap with the optional Y208 extension strap. I would definitely recommend purchasing the version with the carry strap as it makes it a lot easier to carry around. The carry handle also has d-ring attachments.
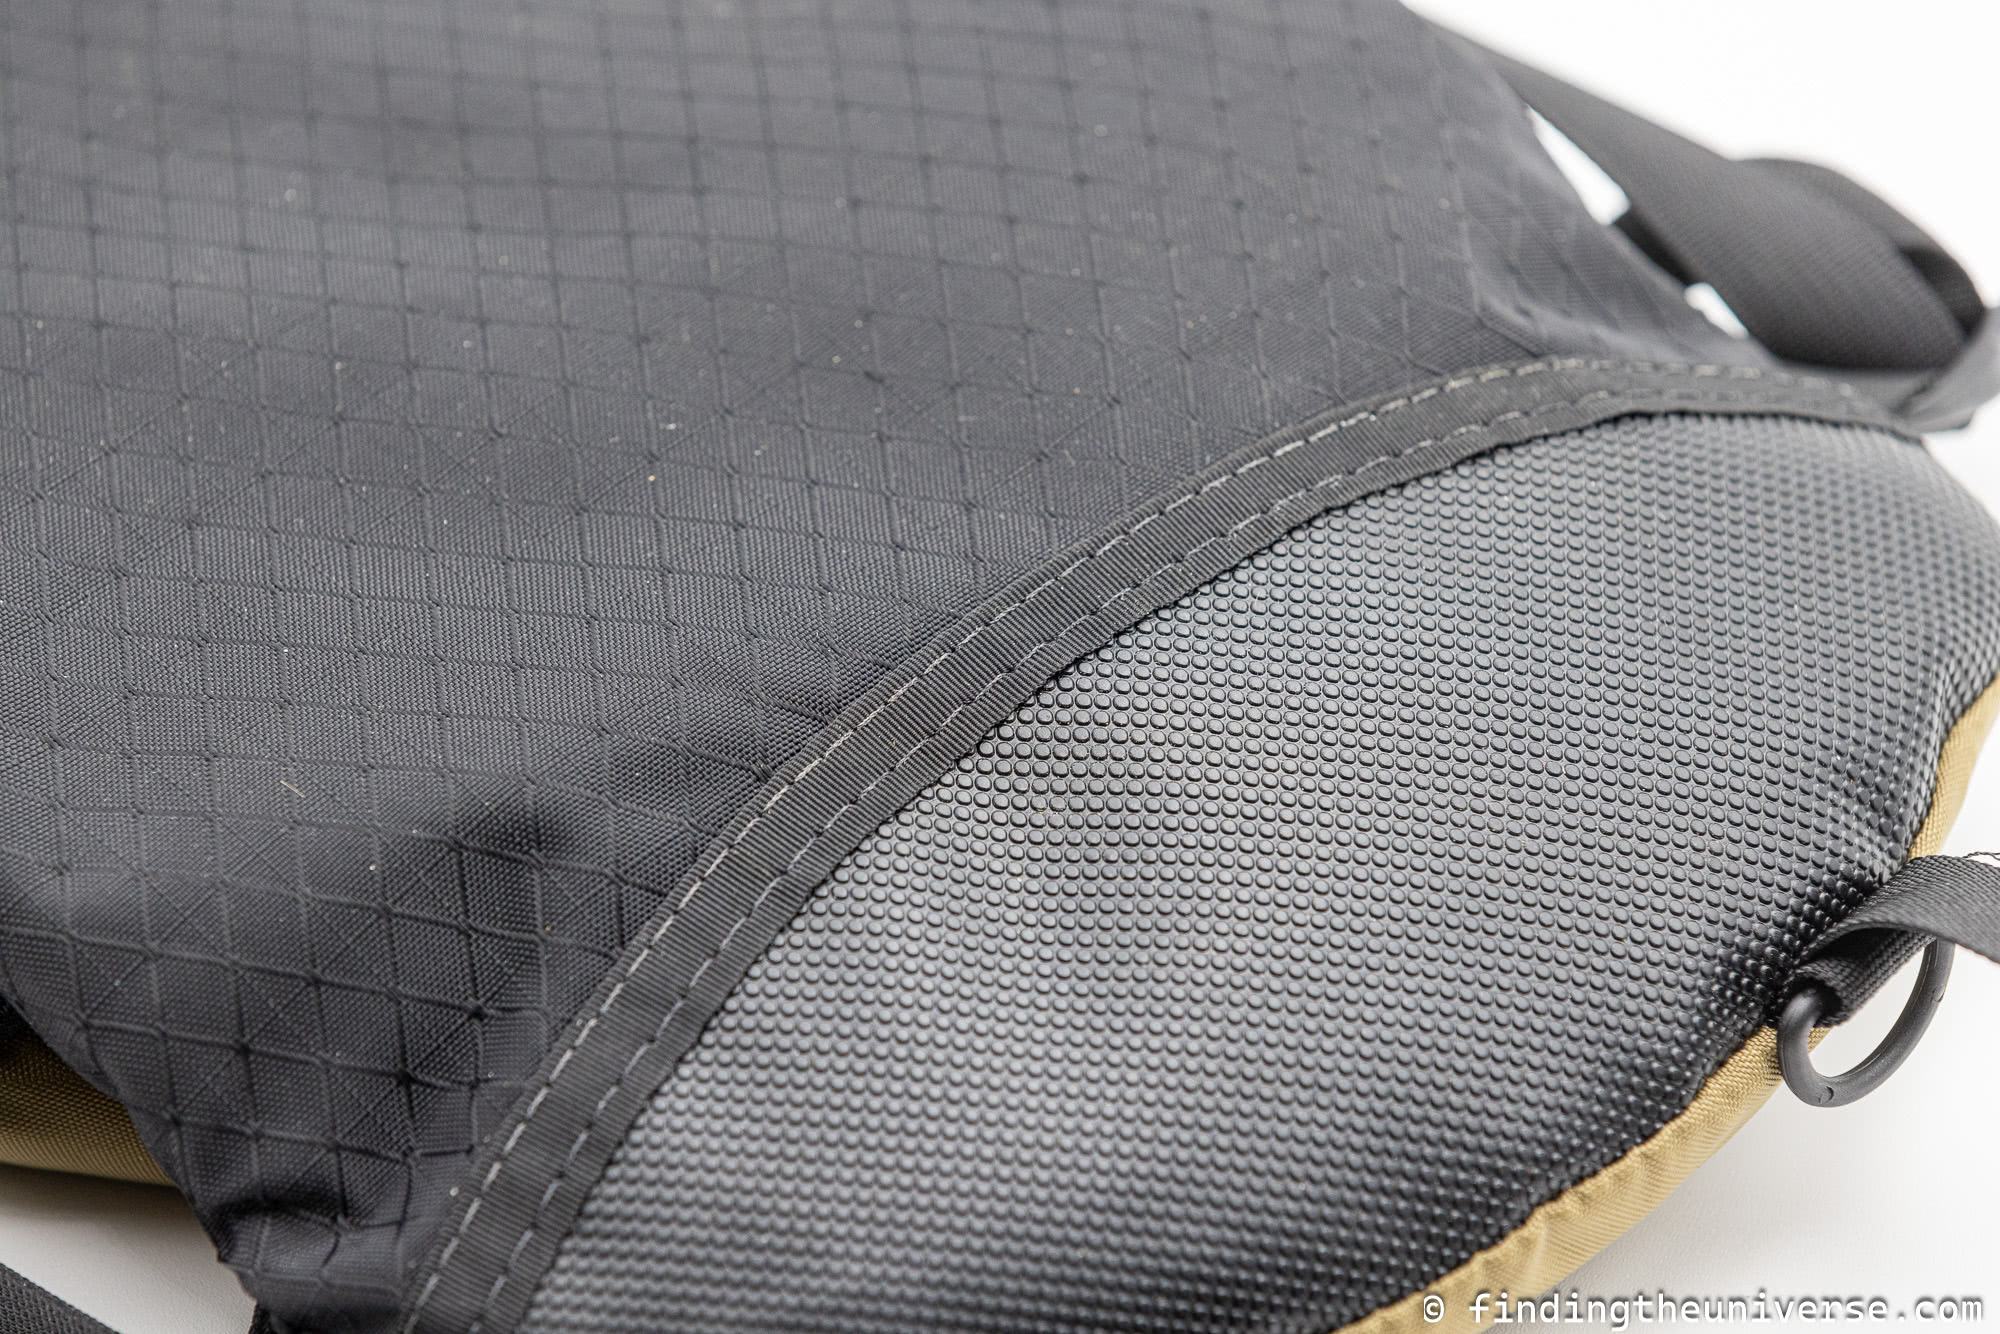
The bag is made of 400-denier and 420-denier Diamond Ripstop nylon fabrics, and the base is SlipNot, a rubberized-type fabric.
Parts of this base at each end of the bag have extra grip, as you can see in the below image, which helps especially when using the bag in a more saddlebag configuration for grip.
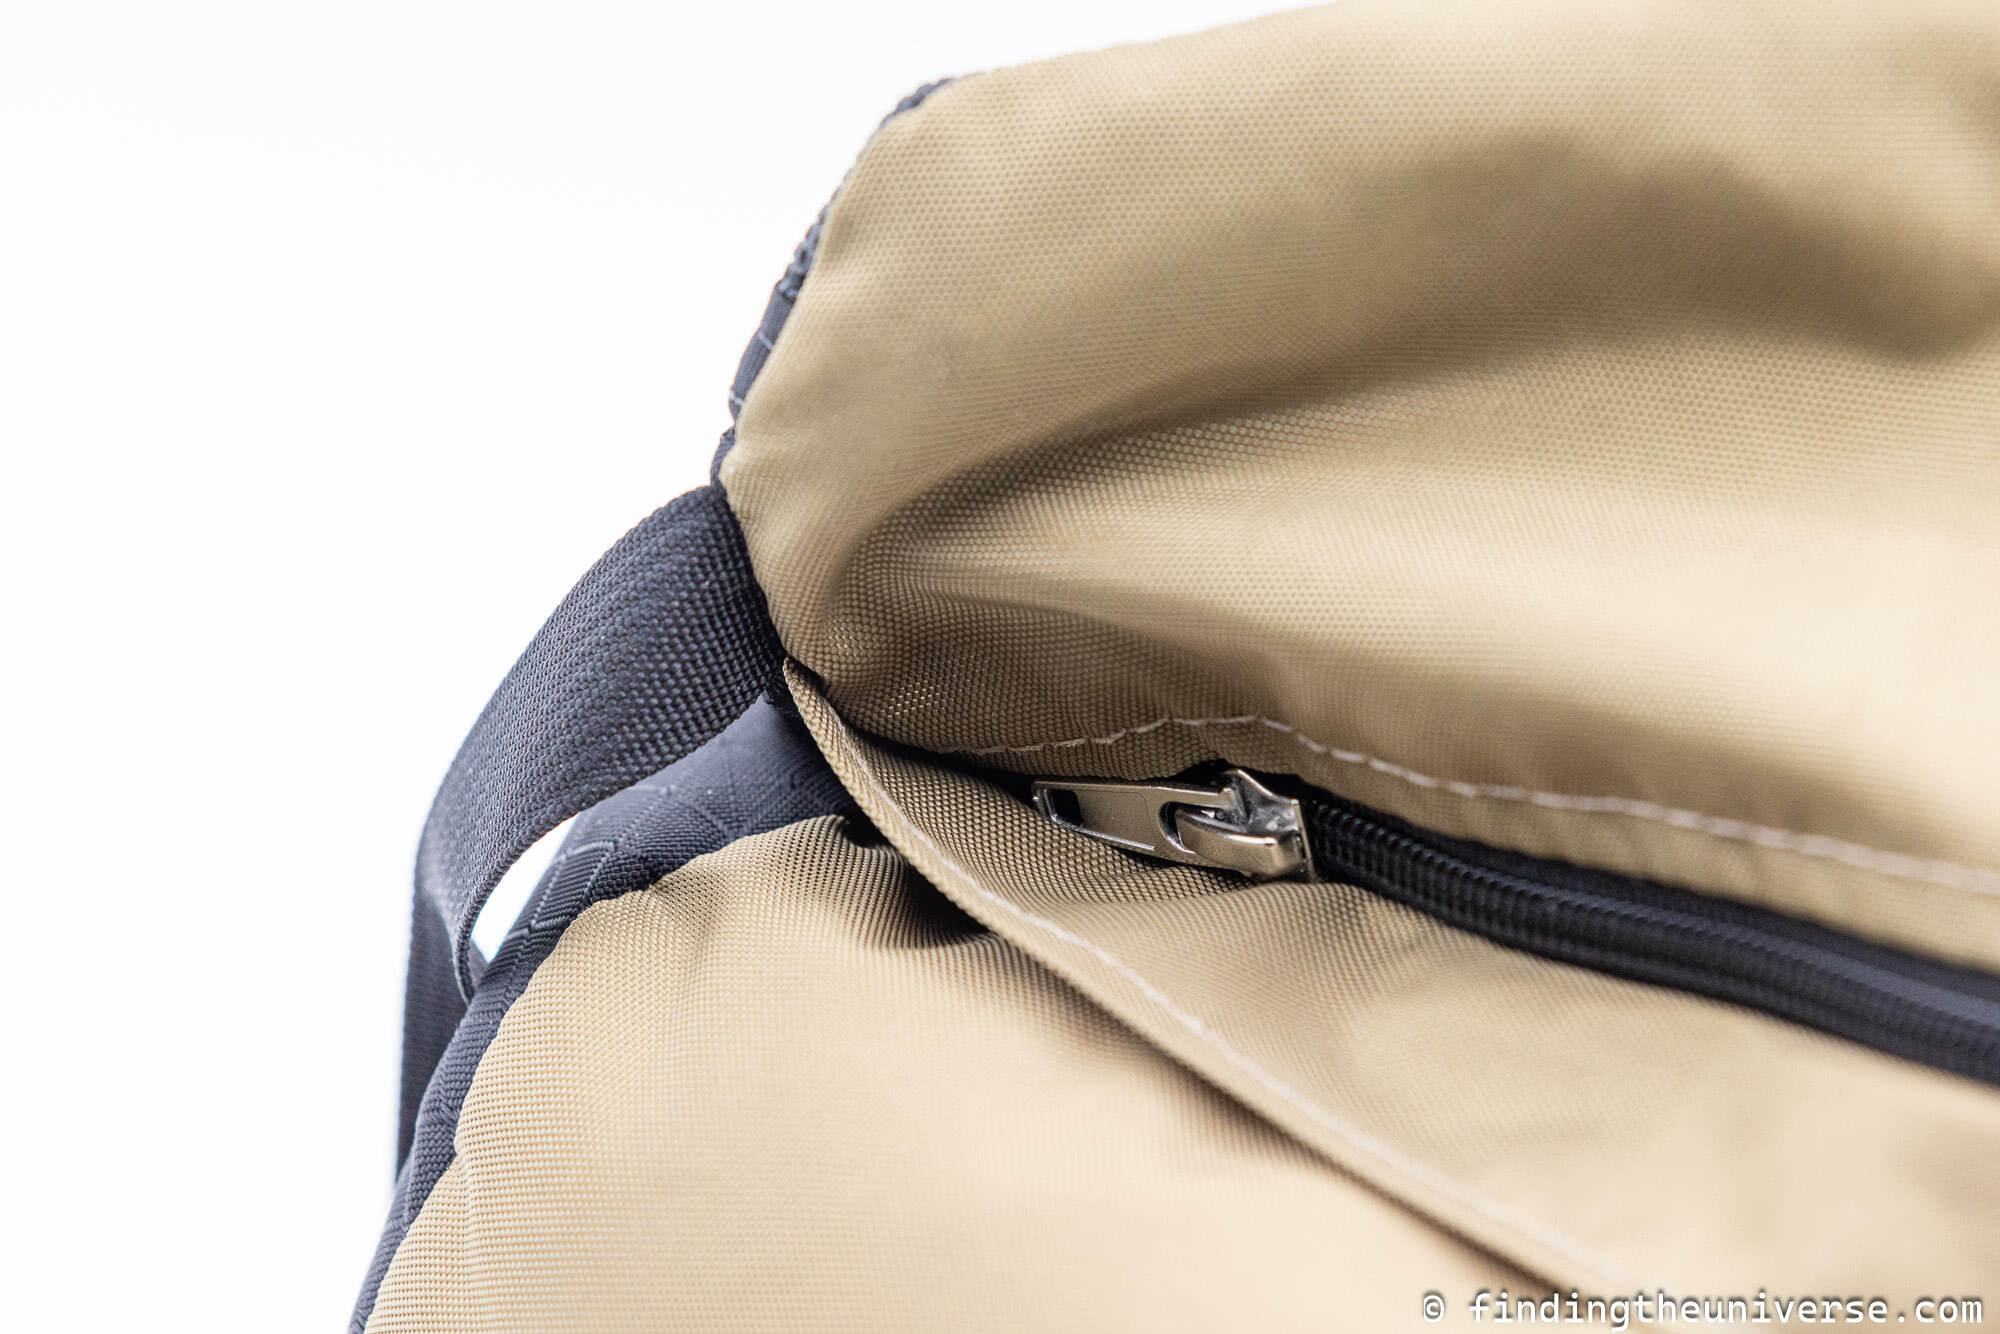
Another thing I like about all the Kinesis SafariSacks is that the fill zipper stops about half an inch from the edge of the bag. This means there is room for the zipper pull to fold over flat up to the edge of the bag. It is then secured under the zipper flap.
This means it’s a lot easier to know when it is properly closed. The other bean bags I’ve used require you to try and push the zipped closed right up to the edge of the bag. This can make it hard to know if it’s properly closed.
A properly closed zipper on a bean bag is really important as otherwise your fill can start to pour out, which is not a good situation to be in.
Kinesis provides estimated weights for the bag when it is filled with different materials. With Buckwheat the weight would be 0.66kg / 1lb 7oz. With Polybeads, it would be 2.5kg / 5lbs 8oz.
You can normally purchase the bag empty or with either buckwheat or polybeads supplied, and with or without the carry strap. I would recommend the version with the Y208 extension strap which will make it easier to secure and carry.
Then, I’d suggest the version with buckwheat if you have a lens up to around 200mm, or plan to travel with it. If weight is not an issue and you have a larger lens, then the Poly Bead option is the best option.
Dimensions: 24 x 40 cm (15.7 x 9.4″)
Item Weight: 0.144kg / 5oz (no fill)
Purchase: Check price on Amazon here and B&H Photo here.
LensCoat LensSack Pro Jr.
The LensCoat LensSack Pro Jr. is my favourite saddlebag style “u” shaped photography bean bag that I own. It is really well made and has some unique features that I’ve not seen in other photography bean bags.
First, the basics. It’s made of heavy-duty water resistant Cordura, with a rubberized base and reinforced stitched seams. The base (the inside of the “u”) offers grip across its whole surface, which is a really nice feature for ensuring stability and grip.
The LensSack Pro Jr can support lenses up to 500mm (for larger lenses look at the LensCoat LensSack Pro). It has two YKK locking zippers, one on each leg, making it easy to fill and empty.
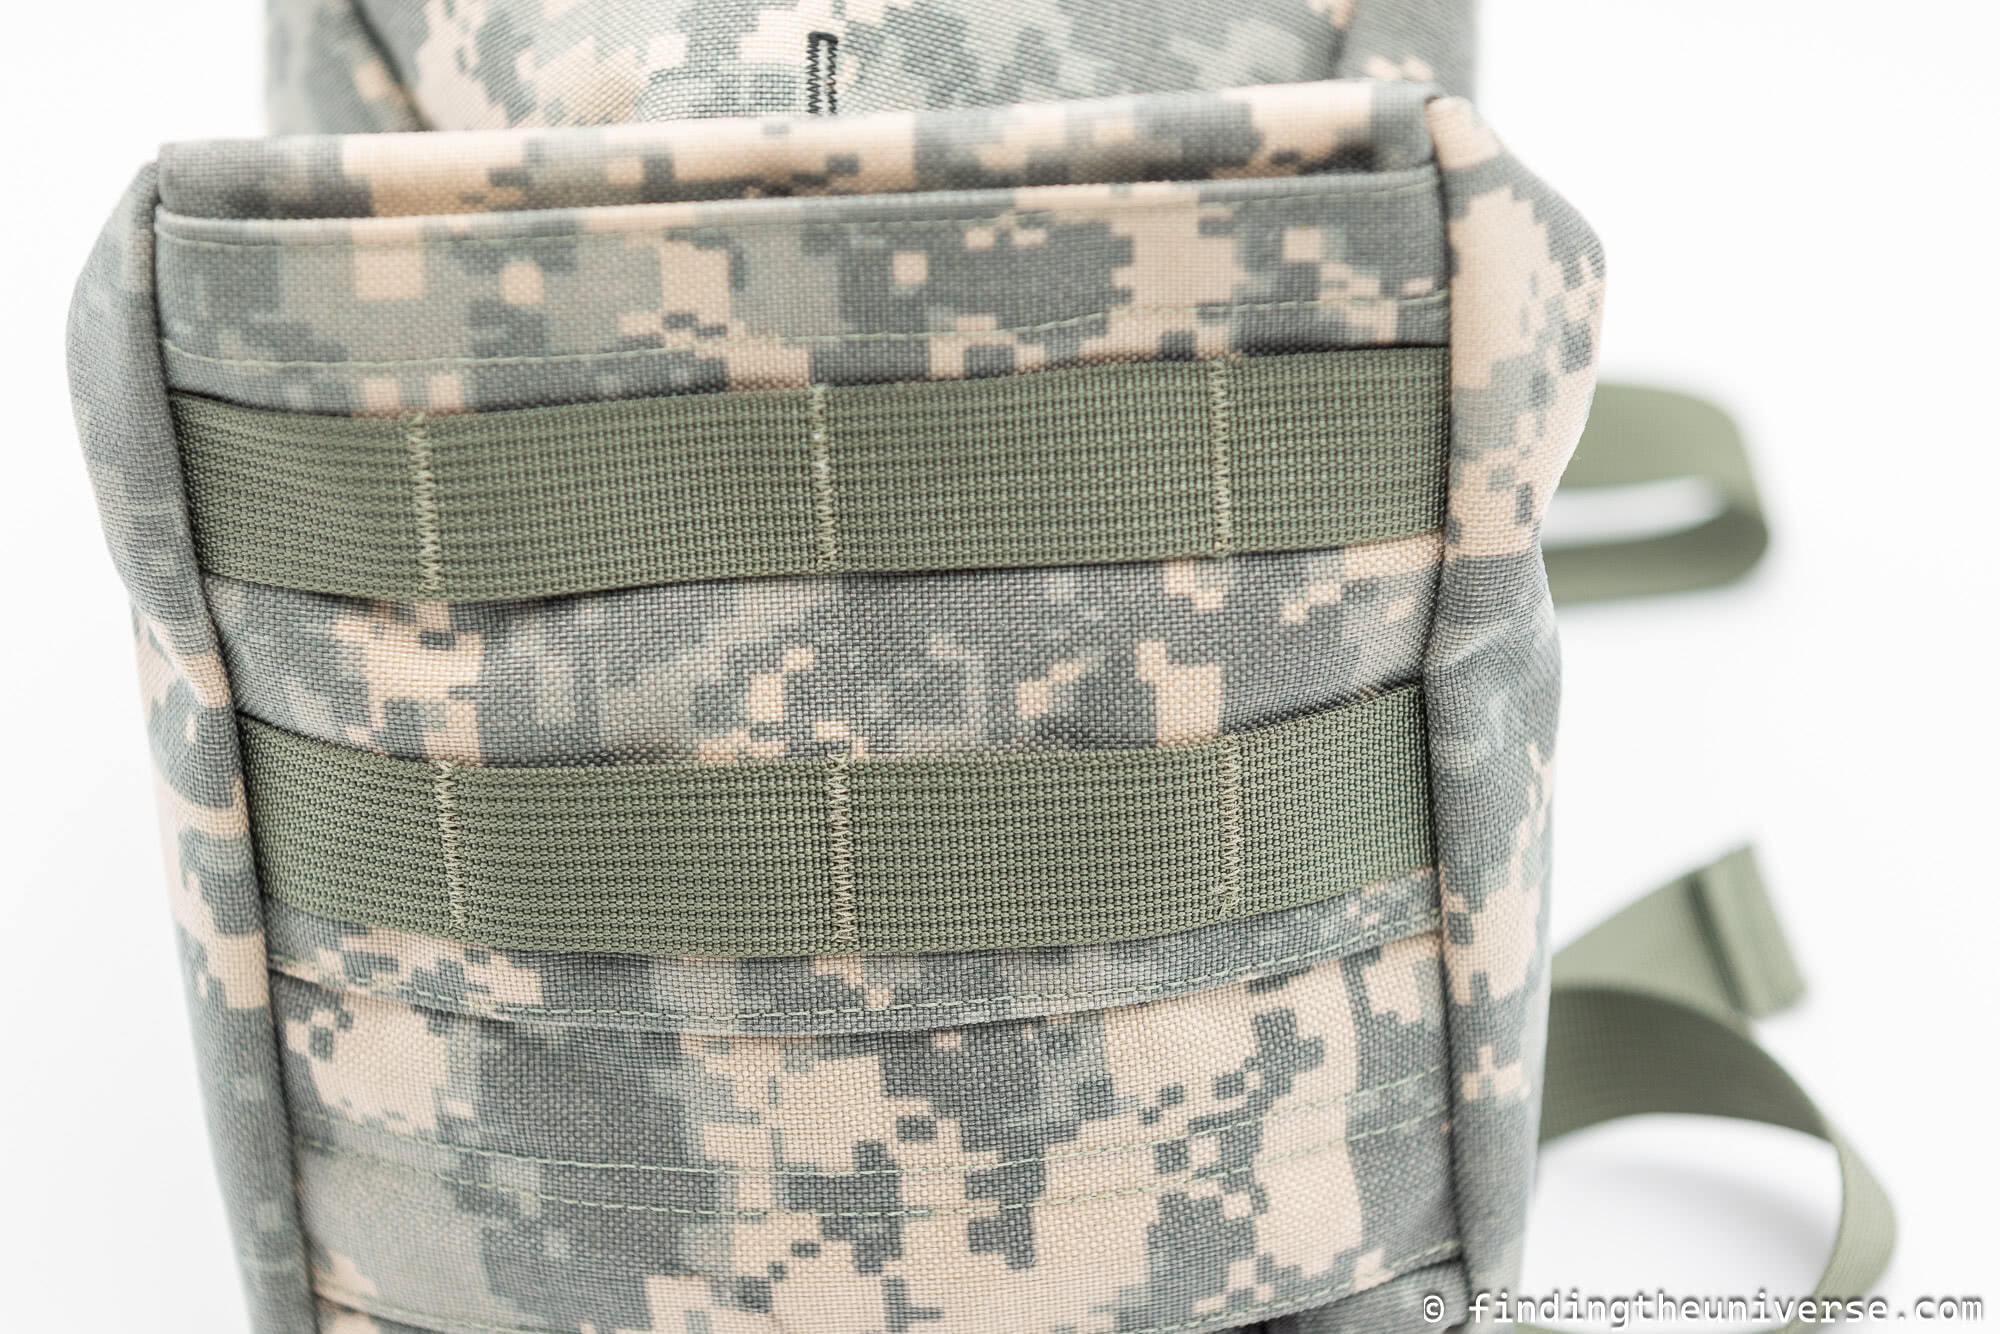
In terms of extra features, you get two adjustable quick release straps at the end of each leg which can be used for carrying and securing the LensSack. There is also a M.O.L.L.E webbing system on the outside of each leg which you can attach pouches and accessories to.

Each leg also has a storage compartment which is secured by Velcro, and is suitable for carrying things like spare batteries, memory cards and so-on.
The real stand out feature though is that it comes with a removable lightweight aircraft grade aluminum plate with a standard 3/8″-16 mounting screw. This is the standard size for a gimbal or ball head, meaning you can actually attach these accessories directly to the bag if you want.

Now, the price of this bag is certainly higher than some of the other options on the list, but I think the products features and premium quality more than justify that price point. It’s also made in the USA.
If you are looking for a high quality, well-made saddle bag style photography bean bag, I would say either the LensCoat LensSack Pro Jr. or Pro (for larger lenses up to 800mm) should definitely be on your short list.
LensCoat provides an estimated weight when filled with sunflower seeds of 2.5kg (5lb 8oz), without the mounting plate.
Dimensions: 17.7 x 16.5 x 19.1 cm (7 x 6.5 x 7.5 “)
Item Weight: 0.26kg / 9oz (no fill). Add 0.12kg (4.2oz) if using mounting plate
Purchase: Check price on Amazon here and B&H Photo here.
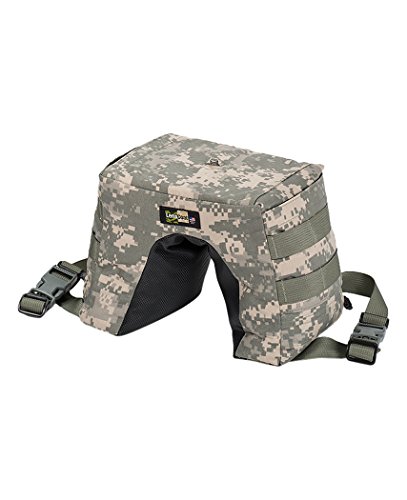
Kinesis SafariSack 7.3
I wanted to include the Kinesis Safari Sack 7.3 in this list as it’s a true saddleback “u” shaped bag from Kinesis. It’s also, at time of writing, the largest photography bean bag that Kinesis make, and the largest in our list.
So, if you need a truly huge photography bean bag for a really big lens (think 600mm and up), then this is a good option. I think for most people this might be just a bit much, but I felt it was worth including so you can see all the options.

In terms of features, you get all the quality you would expect from Kinesis.
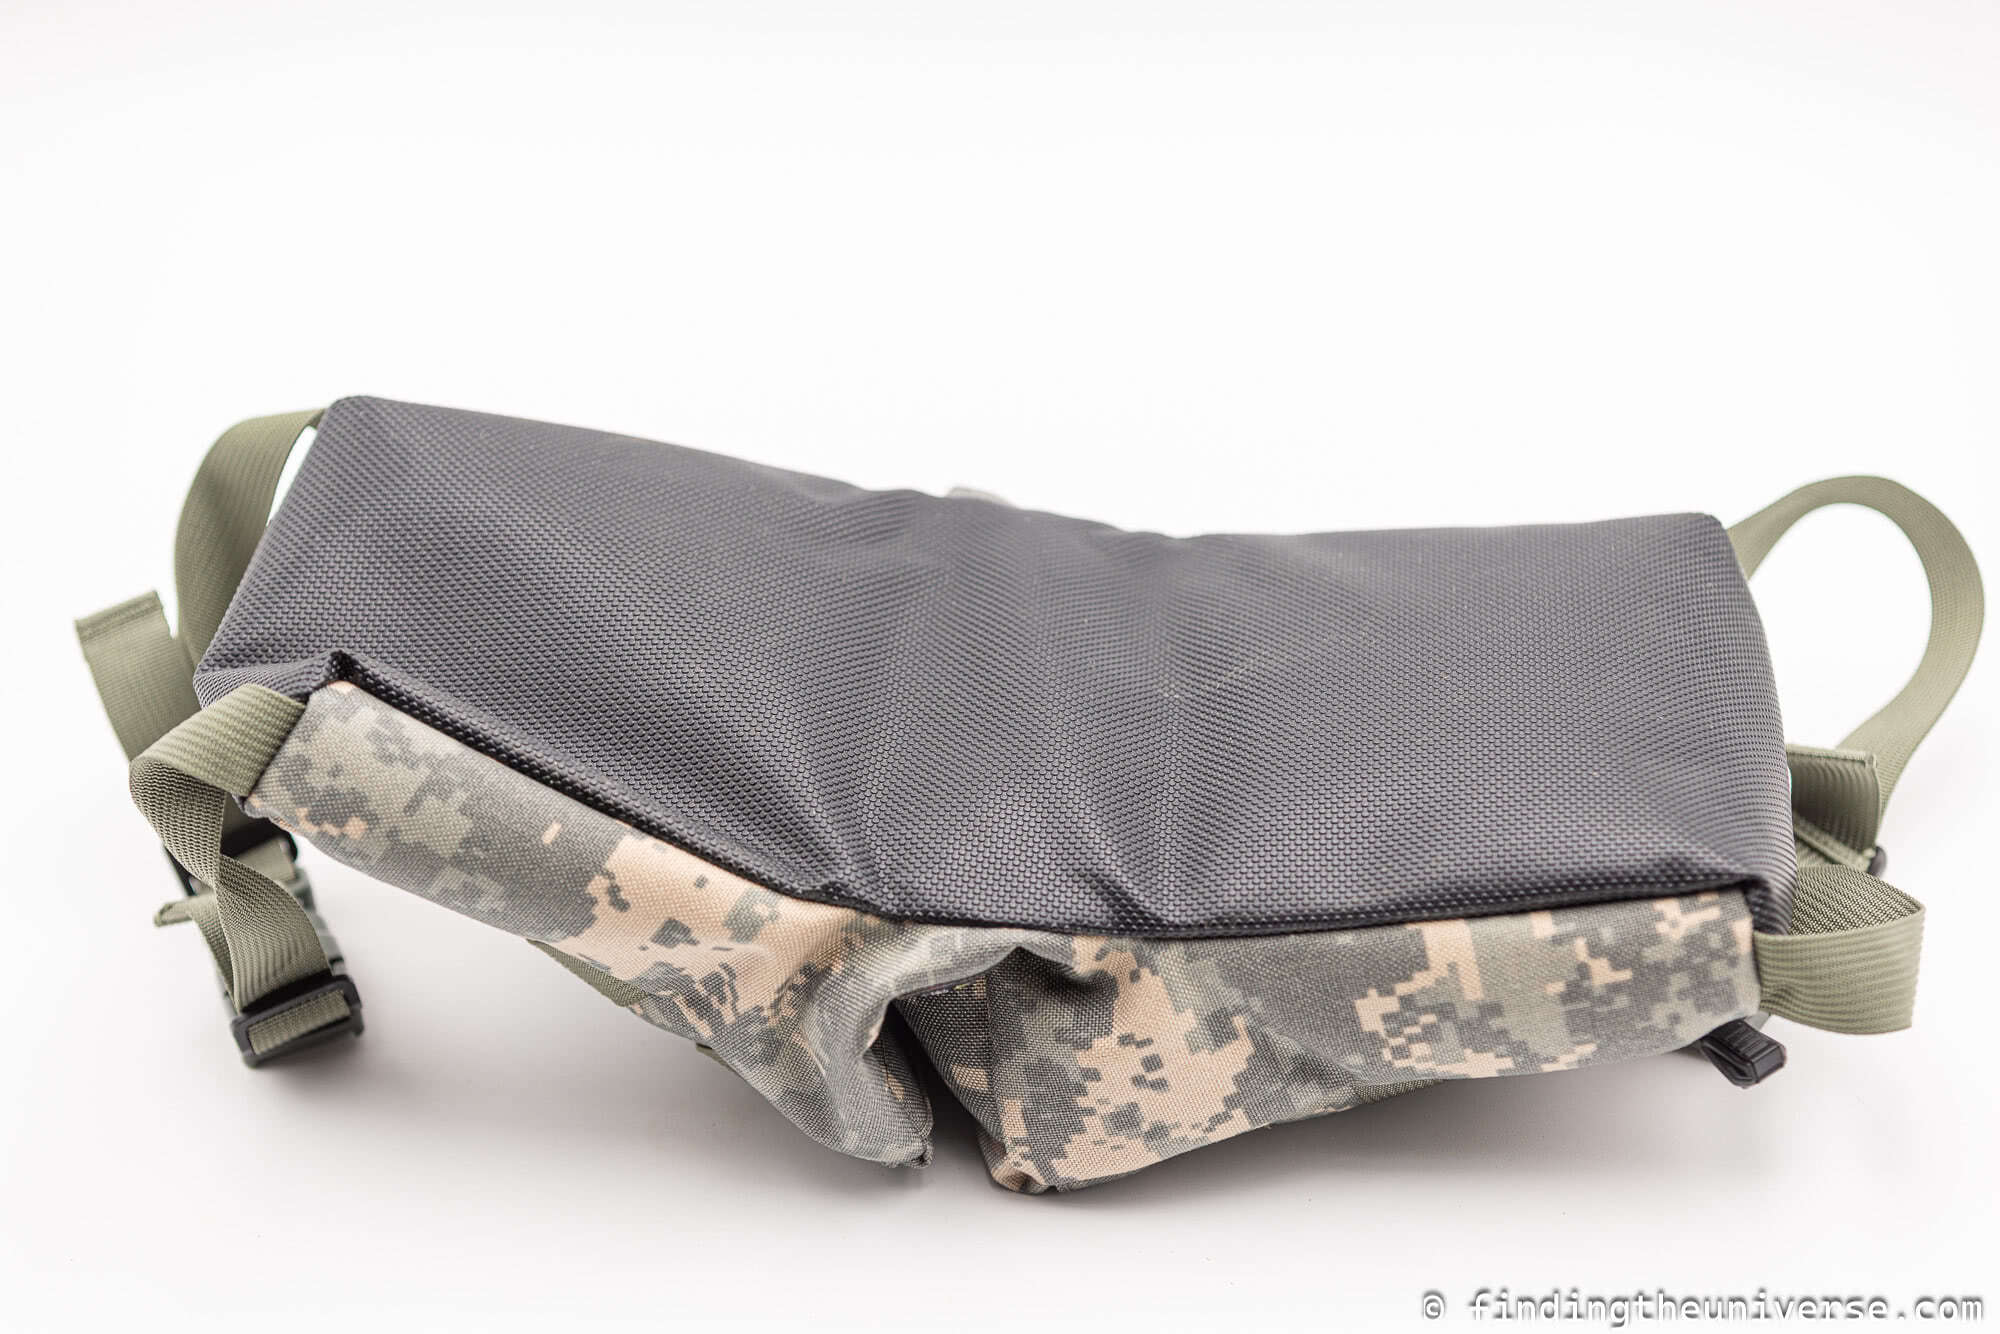
To start with, it’s made from the same materials as their other bags, which is a combination of 400-denier and 420-denier Diamond Ripstop nylon fabrics. The base (internal part of the “u”) is coated with SlipNot, a rubber-like fabric, which offers grip. Note the grip is across the whole part of the rubberized area.
Access to the interior is via only one zip, but as the zip is in the saddle part of the bag rather than in the legs, it does make distributing the fill evenly fairly easy.
In terms of additional features, there’s M.O.L.L.E style webbing slots on both sides of the bag for attaching accessories, there are a pair of carry straps sewn in to the top of the bag and there are also straps on the “feet” for easy pick up when it’s inverted.
Overall, if you need a really big photography bean bag I would say it’s a choice between this one and the LensCoat LensSack Pro. They are both great products, you would just need to decide which fits your needs and budget best.
Kinesis suggest using this bean bag with either Poly Beads, or the Git-Lite product. The latter is similar to Poly Beads but is roughly half the weight.
As this bag is designed for larger lenses, a fill like buckwheat is likely to get crushed over time.
With Poly Beads, the total weight of this bag is 9lbs 30z / 4.24kg. With Git-Lite, you’re looking at 4lbs 7oz / 2kg.
Dimensions: 20 x 40 x 22 cm (7.8 x 15.75 x 8.7 “)
Item Weight: 0.2kg / 7oz (no fill)
Purchase: Check price on Amazon here and B&H Photo here.
Tips for Using a Photography Bean Bag
Now that you have chosen your photography bean bag, I wanted to share a few tips to get the most out of it, based on my experiences.
- Invert your tripod collar. If you have a camera with a tripod collar, rotate this so it’s at the top of the camera rather than the bottom, as otherwise it’s going to get in the way of the camera resting fully on the bean bag. Of course, if you are using a product like the LensSack Pro Jr with the ball head, you might be using the tripod collar, so ignore this tip!
- Fill it in destination. If you are traveling, as you likely will be for safari, you can save your luggage space by filling the bag in destination rather than travelling with an already full bag
- Choose your filling wisely. There are multiple options for a filling. I find buckwheat, sunflower seeds, or larger dried beans works well. The shape of rice means that is can compact a bit too much and means you can lose some of the flexible shape benefits of a bean bag. Polystyrene balls can work but I find them to be a bit too light and noisy, and they can be very challenging to work with, not to mention environmentally unfriendly.
- If you are using an organic product to fill your bean bag you will want to take care that it doesn’t get wet, and be aware that it might need to be replaced from time to time. A good idea is to put the filling into a Ziplock bag and sealing that, then putting the ziplock bag into your bean bag. Depending on the shape of the bean bag and the size of the access hole, you may need to use multiple bags.
- When it comes to filling your bean bag, patience is the key. Make sure the zippered part is as high as possible relative to the rest of the bag, and pour the filling in carefully and slowly. You don’t want to make a mess everywhere and have to waste time trying to collect errant bits of fill!
Further Reading
That’s it for my guide to the best bean bag for photography. If you found this useful, you might enjoy some of my other photography content. Here are some articles to get you started.
- I have a detailed guide full of safari photography tips to help you get great photos on safari whatever your camera is
- If you’re looking for a camera strap, see my review of the Peak Design camera strap system to see if that might work for you.
- We also have a guide to the best cameras and lenses for safari, to help you decide what camera gear to take on your trip of a lifetime. We also have a detailed guide to what to pack for safari.
- I have a guide to my favourite photo editing applications, as well as the best alternatives to Lightroom
- Once you’ve taken all your photos you don’t want to lose them! Read our guide to backing up your photos for an idea of how to keep them all safe.
- Wildlife photography can often result in noisy images. See my guide to the best noise reduction software for some ideas on how to get the best out of your photos even when they might be a bit noisy
- We have a guide to how to use a compact camera, how to use a DSLR camera, and how to use a mirrorless camera. We also have a guide to how a DSLR works
- Knowing how to compose a great photo is a key photography skill. See our guide to composition in photography for lots of tips on this subject
- We have a guide to what depth of field is and when you would want to use it.
- We are big fans of getting the most out of your digital photo files, and do to that you will need to shoot in RAW. See our guide to RAW in photography to understand what RAW is, and why you should switch to RAW as soon as you can if your camera supports it.
- You’re going to need something to run your photo editing software on. See our guide to the best laptops for photo editing for some tips on what to look for.
- If you’re looking for more advice on specific tips for different scenarios, we also have you covered. See our guide to Northern Lights photography, long exposure photography, fireworks photography, tips for taking photos of stars, and cold weather photography.
- Color accuracy is important for photography – see our guide to monitor calibration to ensure your screen is set up correctly.
- If you’re looking for a great gift for a photography loving friend or family member (or yourself!), take a look at our photography gift guide,
- If you’re in the market for a new camera, we have a detailed guide to the best travel cameras, as well as specific guides for the best cameras for hiking and backpacking, the best compact camera, best bridge camera, best mirrorless camera and best DSLR camera. We also have a guide to the best camera lenses.
- If you want a camera or lens, but the prices are a bit high, see our guide to where to buy used cameras and camera gear for some budget savings options.
- We have a guide to why you need a tripod, a guide to choosing a travel tripod, and a round-up of our favourite travel tripods
Looking to Improve Your Photography?
If you found this post helpful, and you want to improve your photography overall, you might want to check out my online travel photography course.
Since launching the course in 2016, I’ve already helped over 2,000 students learn how to take better photos. The course covers pretty much everything you need to know, from the basics of how a camera works, through to composition, light, and photo editing.
It also covers more advanced topics, including astrophotography, long exposure photography, flash photography, and HDR photography.
You get feedback from me as you progress, access to webinars, interviews and videos, as well as exclusive membership of a Facebook group where you can get feedback on your work and take part in regular challenges.
It’s available for an amazing one-off price for lifetime access, and I think you should check it out. Which you can do by clicking here.
And that’s it! I’d love to hear about your thoughts on bean bags for photography, and am happy to answer any questions you have. Just pop them in the comments below and I’ll get back to you as soon as I can.