We are obsessed with the creamy goodness that is oat milk. Oat milk is a delicious and creamy non-dairy milk option that you can add to all your favorite recipes!
Forget buying the store-bought oat milk with added sugar and additives and make your own oat milk recipe at home!
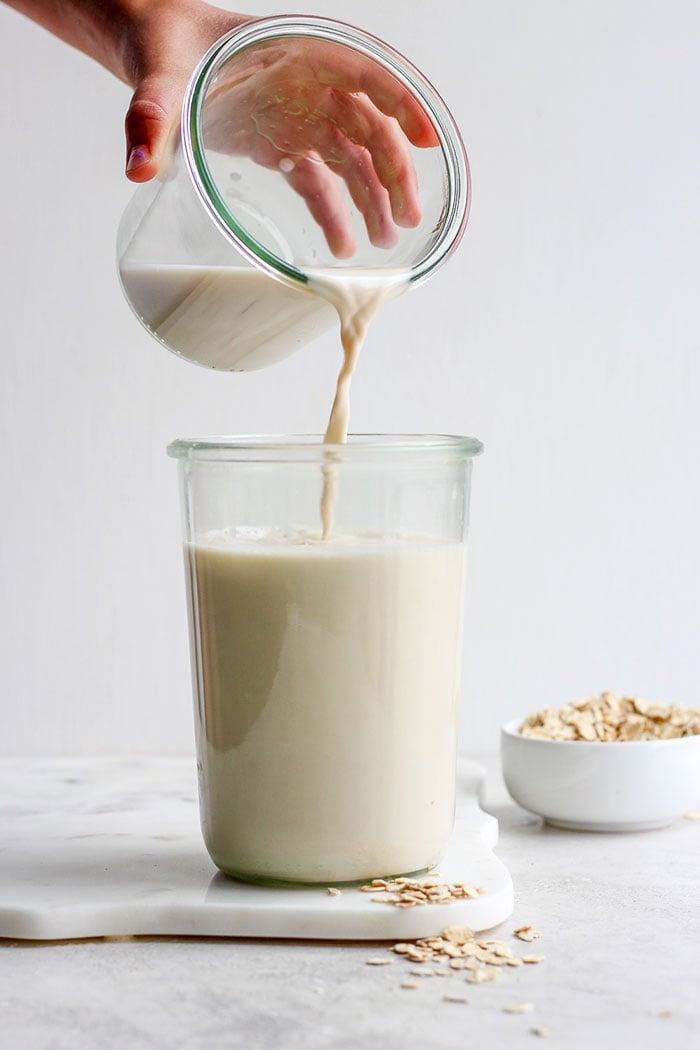
Best Nondairy Milk = Oat Milk!
If you’re anything like us, you’re oat milk obsessed! We love it in our overnight oats, in our smoothies, and of course in our iced brown sugar oat milk shaken espresso.
Oat milk is a non-dairy milk alternative made from rolled oats and water. It’s slightly sweet and tastes a little nutty, but is rather mild in flavor.
While it can be more expensive at the store (and at coffee shops), it’s extremely affordable to make in your own kitchen!
Why use oat milk?
Oat milk is an excellent alternative to cow’s milk that you can use 1:1 in so many recipes. It has a mild, nutty flavor, and is vegan and gluten-free. If you are looking for a creamy liquid for coffee drinks, oatmeal recipes, smoothie bowls, or in baking!
oat milk health benefits
There are many health benefits to drinking oat milk. It’s vegan, dairy-free, soy-free, and nut-free. It’s high in calcium and vitamin B, and lower in fat. Per 1 cup serving of oat milk:
- 2.5g fat
- 130 calories
- 2g fiber
- 5g protein
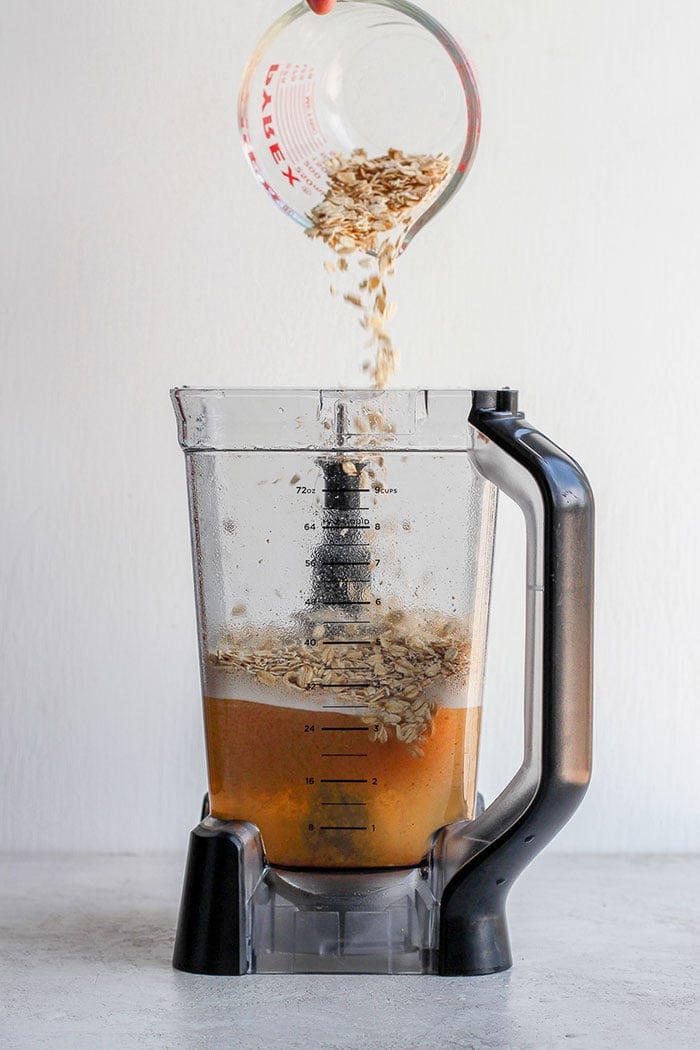
What You Need to Get Started
The good news is, you really only need 2 ingredients to make oat milk and then any flavor add-ins you desire. Here’s a list of ingredients and kitchen tools you need to get started:
- Old Fashioned Rolled Oats – quick-cooking oats will work too.
- Water – we recommend filtered water, if possible.
- Salt – this balances out the slight sweetness from the oatmeal.
- Medjool dates – if you’re looking to sweeten your oat milk, we love Medjool dates because they’re naturally sweet without additives.
- High-powered blender – we use a Vitamix, but any high-powered blender works.
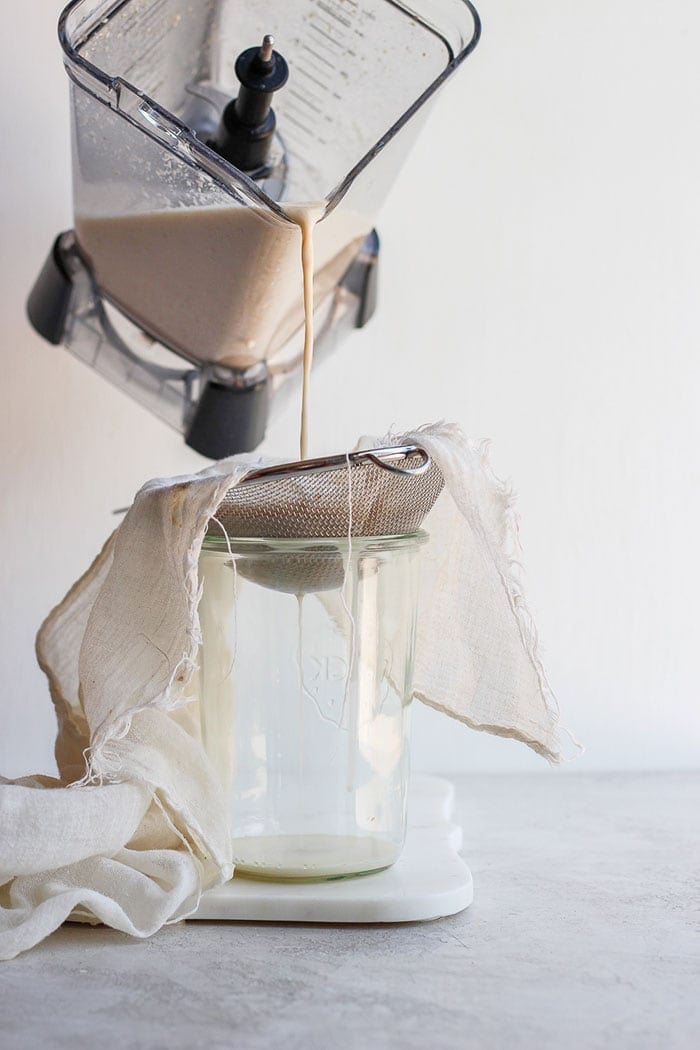
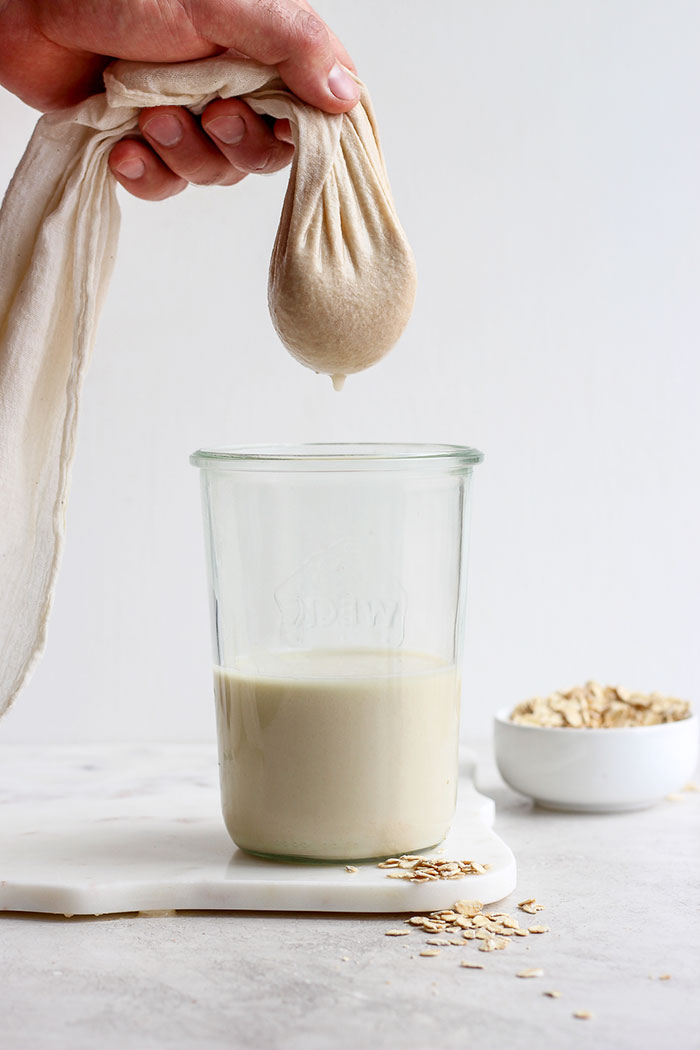
- Use a tea towel or cheesecloth – this is used to separate the oats from the liquid after blending.
- Mason jar or jug – this is used for storage. A 32 oz. Mason Jar with a spout is ideal!
Other Sweetner Options
Instead of Medjool dates, try one of the following sweeteners:
PS: not a sweet oat milk fan? Leave out the sweetener altogether!
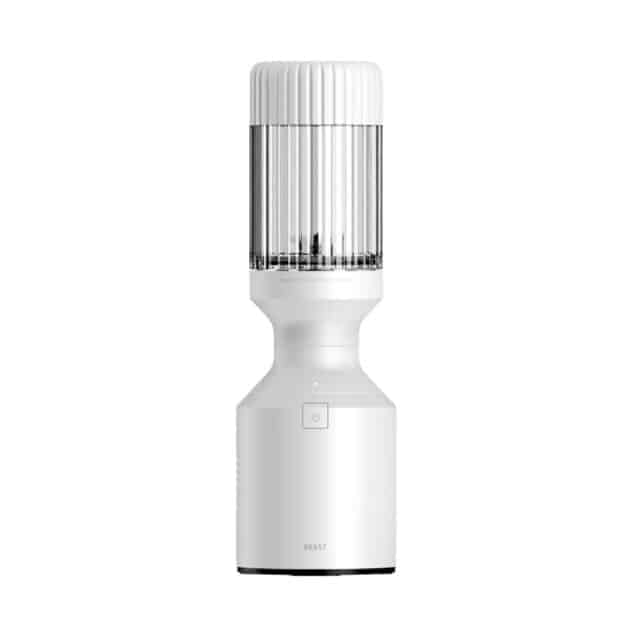
Our Favorite
Beast Blender
The Beast Blender is our go-to blender for smoothies, dips, soups, and everything in between. It’s the perfect size and moderately priced. Oh, and oh-so powerful!
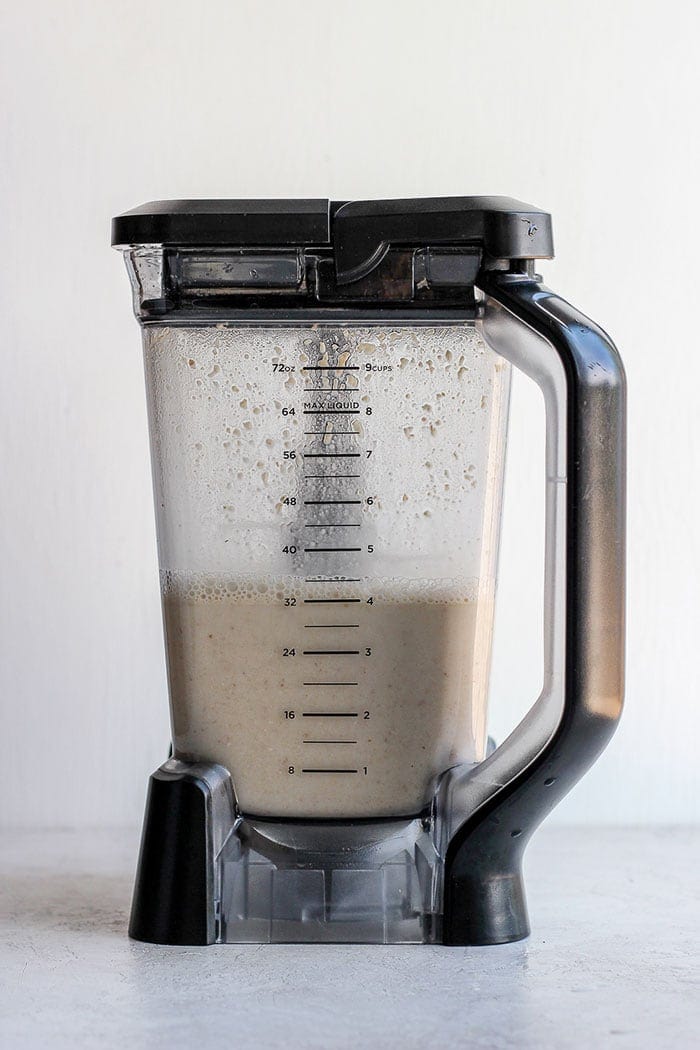
Tips and Tricks on How to Make Oat Milk
Use a high-speed blender: a high-speed blender is important. We recommend either a Vitamix or Beast blender.
Do not soak the rolled oats before blending: We found that soaking the oats before blending left a slimy film on the oats creating a less-than-appealing consistency to the oat milk.
Do not blend until the oats have dissolved: this will cause your oat milk to have a strange slimy and pulpy consistency.
Blend oats and water before any other flavors: You want to blend the water and the dates before anything else so that the water is sweetened before the oats are added. If you add the dates in with the oats, they will not blend up enough and the sweetness will get lost when you filter out the oat chunks in step 2.
Use a sieve and tea towel: we found that using a tea towel to separate out the oat milk from the pulp is the easiest method.
How to Use Oat Milk
Looking for ways to use your oat milk? Here are some of our favorites!
Smoothies: try it in our strawberry banana smoothie, breakfast smoothie, or triple berry protein smoothie.
Muffins: we’ve got tons of healthy muffins on Fit Foodie Finds. Use oat milk for the milk listed in the recipe 1:1.
Oatmeal: oat milk just makes sense in oatmeal. Try it in baked oats, steel cut oats or protein oats.
Homemade
Almond Milk
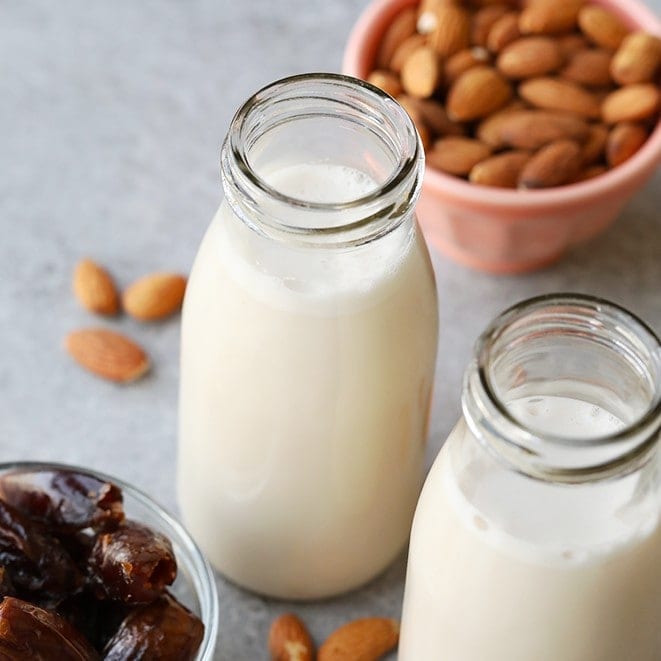
All you need for homemade almond milk is raw almonds, water, and your favorite sweeteners.
Storage
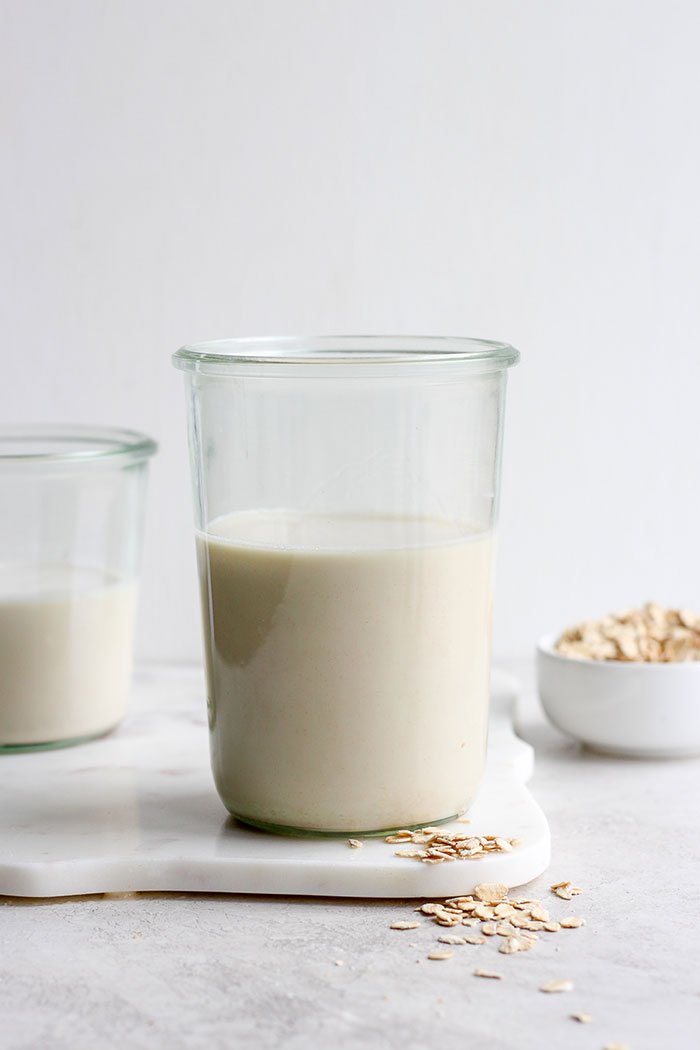
If you buy oat milk from the store, follow the expiration date on the oat milk container. For homemade oat milk, after making the oat milk, transfer it into a mason jar or airtight container and seal it tightly.
Label the oat milk with the date it was made and place it in the refrigerator for up to 7 days!
Photography: photos taken in this post are by Erin from The Wooden Skillet.
