It’s Thursday, which means it’s time for another 10-year throwback post from the Speedhunters archive. This time around it’s our first look at Jun Imai‘s iconic S30 Datsun 260Z.
Even if you’re not familiar with Jun’s name, we can guarantee that you’ll be familiar with some of his work. And not just his 1:1 creations. At the time of this original feature in October 2013, Jun had been working in Mattel’s Hot Wheels design department for almost 10 years. He’s the guy largely responsible for bringing the die-casts we all love to hunt for to fruition. While he’s since moved on from Hot Wheels HQ in El Segundo, he’s still based in California and still working his 1:64 design magic, but nowadays for his own company: KAIDO☆HOUSE.
We re-featured Jun’s Z again in 2017, but in the six years since there have been even more changes, many of which you can see on his Instagram. A third feature is long overdue, so hopefully we can make that happen in the near future. In the meantime though, the story below gives you a great insight – in Jun’s own words – on how the car came together the first time around.
Welcome To Imai Works
If there’s one thing I can admit to, it’s this: I absolutely love a project, and every aspect of it. From the initial vision, whether it’s a picture in my mind or a sketch on a sheet of scrap paper, to the procurement of the assets, then working through the pains and pleasures of the process – it’s all good fun. The moment you get to the home stretch and embark on that maiden voyage down the street (in whatever it might be) there is almost no greater reward. The dedication, time management, and the support you get from friends and family, it all comes together at that moment. For those who have been there, you know the feeling; you couldn’t wipe the smile from your face if you tried.
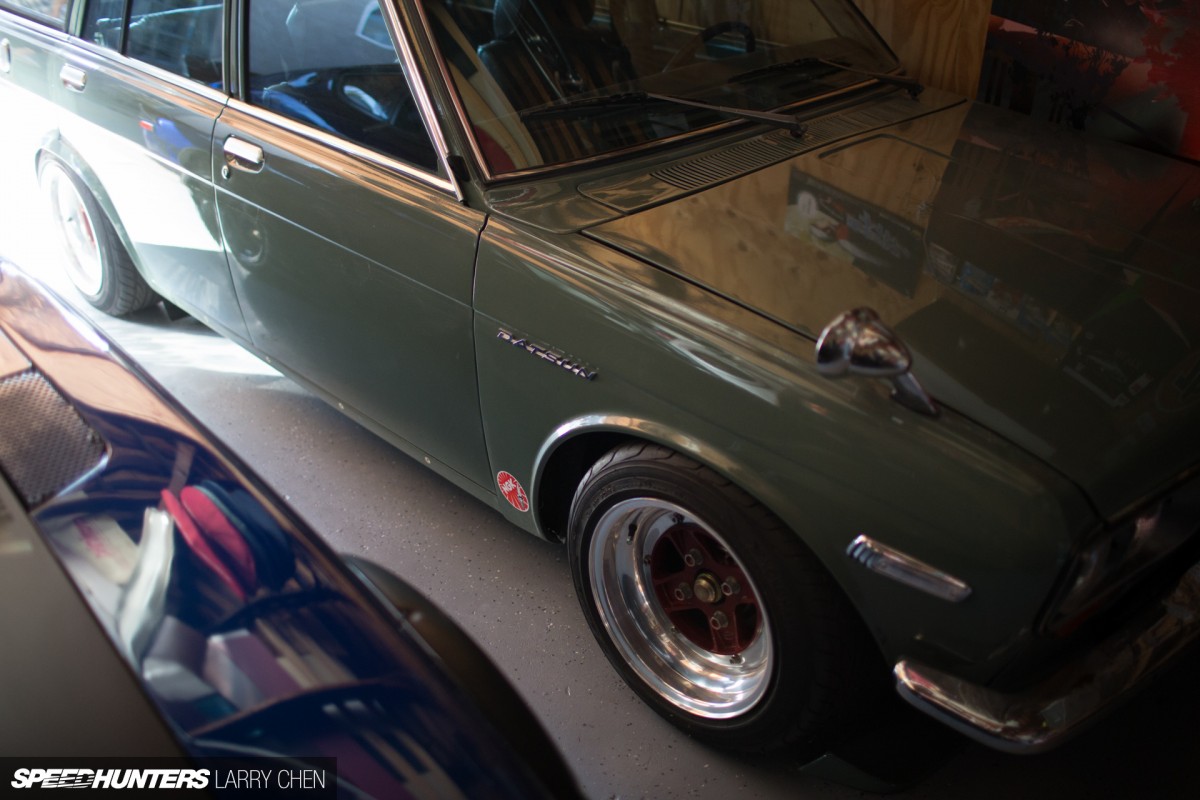
Welcome to my humble garage, which I affectionately call ‘Imai Works’. I named it that because this is where all of my personal projects, big or small, go down. I wanted to share a few of these projects with you before we get to my latest build. And you will have to excuse the mess, as my workspace was still reeling with energy from the pre-JCCS thrash-a-thon a week before, getting cars ready for the show. This also happens to be the favorite part of the house for my two year old daughter. We spend many weekend mornings here, where she assists me by hiding my sockets, wrenches, and anything else she can get her little hands on.

It’s a small workspace, but I manage to fit a lot of stuff in here. On any wall, you’ll see art pieces from friends, a bustling toy collection and memorable souvenirs from my travels.

I even have a few derelict 1/10 scale projects sitting around, waiting for a bit of love. One of these days…

Now about those 1/10 scale projects. RC cars were a big part of my childhood. I’ve spent many days riding my bike to the hobby shop after school to gaze at the shiny kits and cool box art. I hoped that I’d be presented with one for a birthday or holiday.

Although I completely thrashed the first few cars I got, eventually I became quite good at building, tuning and racing these things.

About 10 years ago, I started resurrecting whatever old cars I had, and began restoring them, along with other used and abused examples of my favorite models growing up.

Although RC cars are great fun, I decided to make the jump and work on a full scale project a few years back. I picked up a 1971 Datsun 510 wagon that some of you may be familiar with – it debuted at the 2012 JCCS event after a lengthy build process. All of it was done right here, in the Imai Works garage, from the suspension to the bodywork. I’m currently doing a quick refresh on it; perhaps we can look at it in more detail in the near future.

But the real reason I’m here today is to talk about my latest project, a 1974 Datsun 260Z that I purchased shortly after JCCS 2012. I was quite satisfied with the progress on my 510, so I wanted to change things up and build something different. While I went for a more shakotan style with my wagon, I really wanted to build a works-style street bruiser. At first, I had my eye on a first generation Toyota Celica, but I was never happy with the examples I looked at. Literally a day after looking at another beat Celica, a good friend of mine called and asked if I knew anyone who would like to buy his 260Z.
I took this as a sign, and immediately thought of the possibilities. A works style Z? A vision popped up in my head, and I was sold. A deal was made, and I took delivery of the car a few days later.
The Project Begins
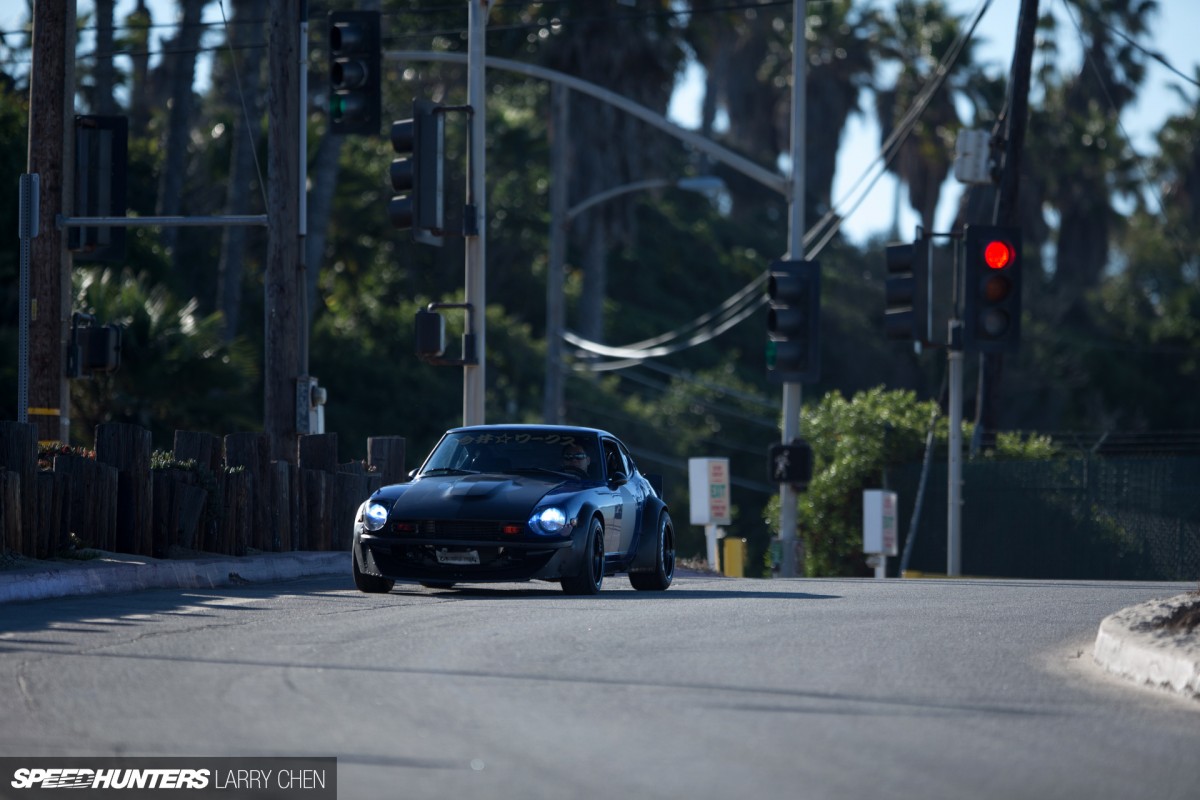
The car certainly had an eclectic mixture of good and bad. Stainless brake lines, a semi-decent repaint on a solid body, the gauges and lights worked occasionally and it ran for a little bit before overheating. Not too tragic for an old car. But it was the bad stuff that would take me for a hard ride. It was running on five cylinders, second and fifth gears were gone, the engine was leaking fluid from every possible area, and it looked like no one had ever bothered to clean any of it during the many years of operation and neglect. To top it off, a week before the car was sold to me, my friend bumped into a truck on a freeway on-ramp, crumpling the hood, passenger side fender and accompanying sugar scoop. Malaises aside, this car meant a lot to my friend, and I wanted to make sure it became something he’d be proud to see after a makeover.
I’ve built a personal strategy that has worked for my projects, regardless of scale. I’m a budget-minded builder, and I enjoy finding cost effective solutions. I try to reuse everything I can before throwing it away and replacing it. Of course, if the integrity of a part is compromised in any way, it will be replaced. But many times, a good cleaning and light restore can make a part look, work and feel like new. Be it intake manifolds, suspension components or even the engine hardware, most parts are worth saving.

On the other hand, there are lustful components that are worth blowing the budget for, and make all the difference. For me, wheels and tires make or break a car. Since I was building this car for brutal balance, I was not going to compromise here. I went full tilt and settled for the best.

Work Meister CR01s wrapped with meaty Yokohama ADVAN Neova AO48s was the perfect combination for this project.
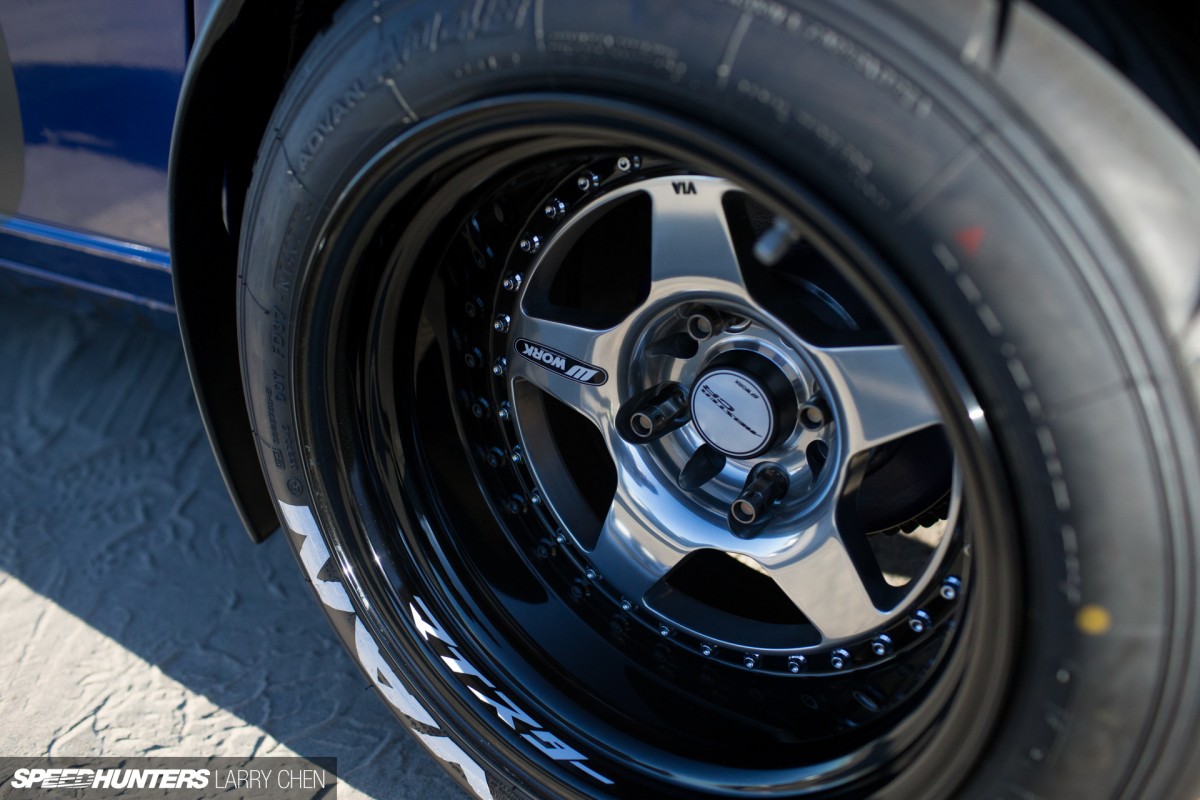
The measurements are 15×9 ET-58 wrapped with 205/50 for the front, and 15×10 -58 with a 225/50 for the rear.

When it was time to order the wheels, it was a total brain buster deciding on finish. I ended up committing to the polished faces with gloss black barrels, and I couldn’t be happier. The offsets are aggressive, but they complete the look along with the track ready rubber.

With offsets like these, the faces disappear into the barrels in various angles…

… and devour Andrew Jacksons without a hiccup. Thanks for the $20, Larry!
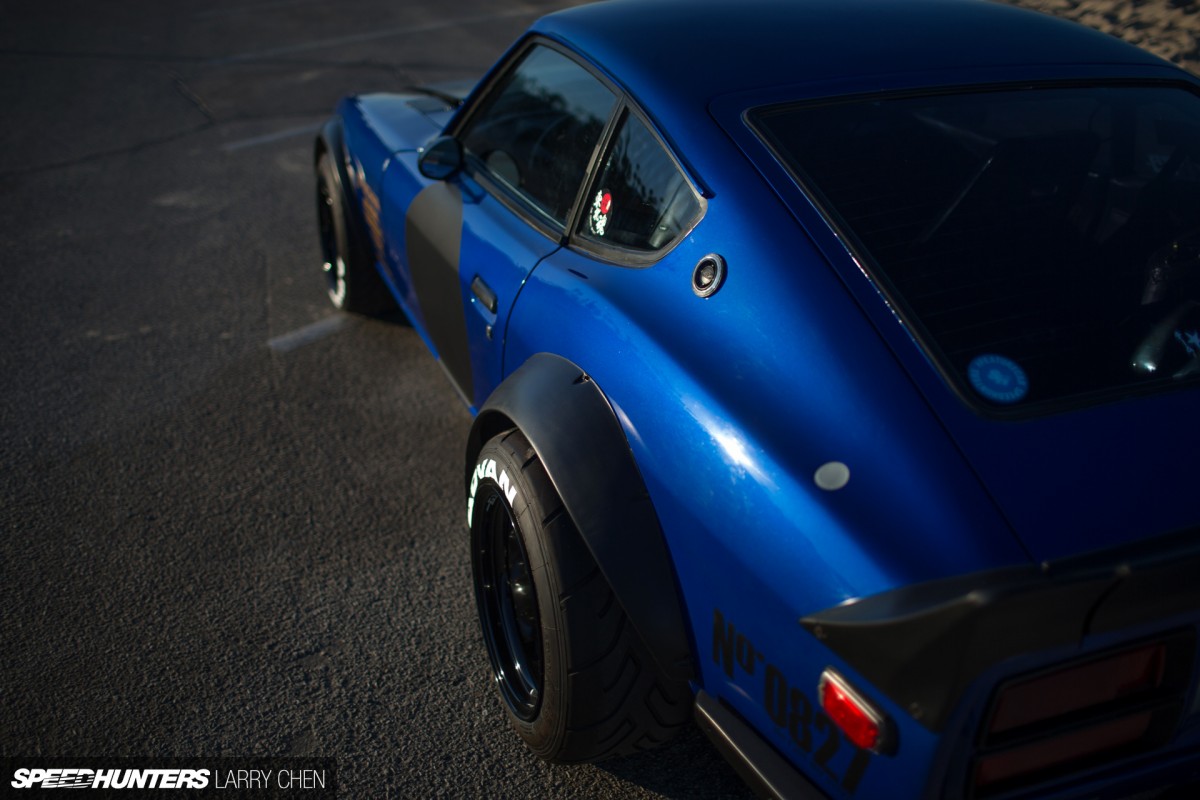
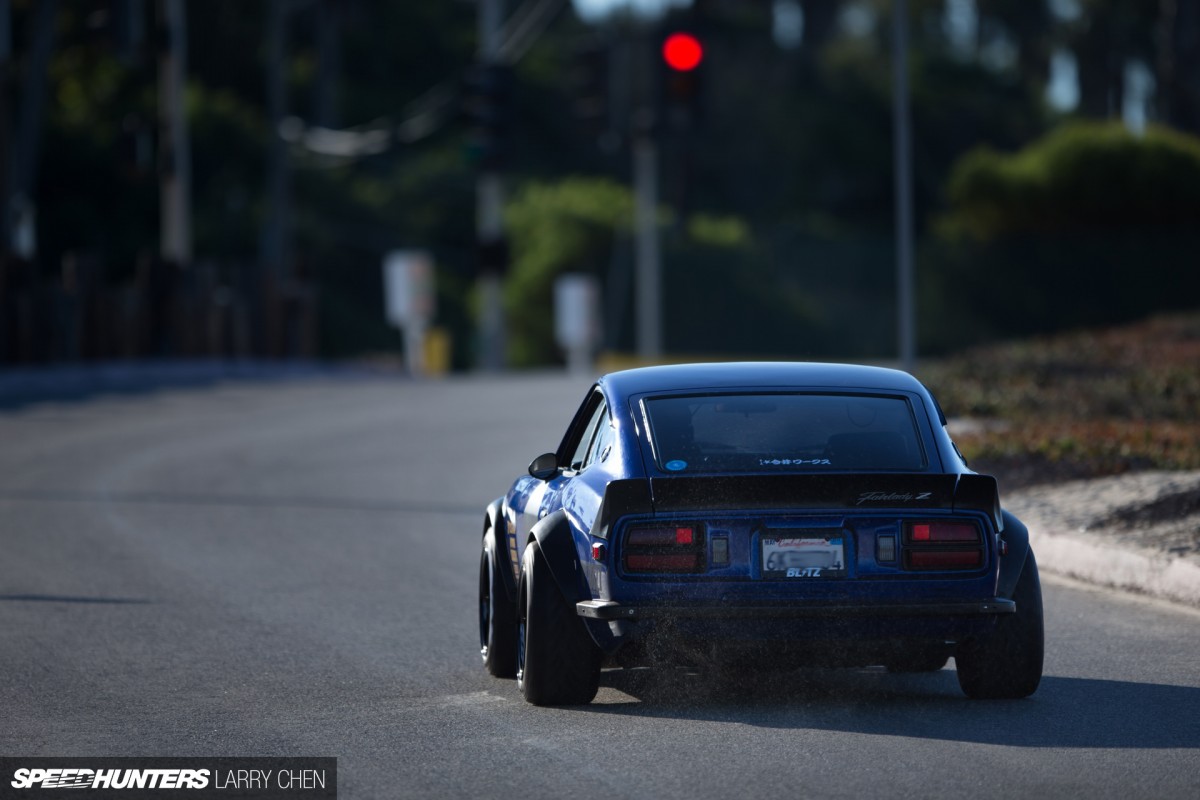
Containing this footwork required some massive flaring, so I sourced a set of works-style flares from Japan. For the many who asked me where they are from, they are made by Arita Speed. Purchasing them was no problem for me, but I had to go through a network of friends in Japan and here in LA who went through some creative shipping solutions to get them to my door.

The results are worth the effort, and they are complemented by the three piece wing that was a lucky find on Craigslist. Most people usually remove the rear bumper with the works flares, but I kept mine to keep it street. All of the ancillary and trim parts are finished in matte black. This was an easy way to get a cohesive and aggressive look. For those of you considering the works flares, keep in mind that they are designed for the G-nose, which I do not have and aren’t easily sourced in the US. I came up with a solution that you’ll see in a moment.
The Little Touches

As a designer, I enjoy giving my projects personal touches. These are the little bits of details I look forward to creating for my car, whether it’s a one-off sticker design…

… or a unique part I made using raw materials I have in the garage. Someone recently asked me how I drilled all of those holes in the inspection lid. I just told him that I have a steady hand and a lot of drill bits. Of course, I later mentioned that it’s a custom part.

And if you can’t fix it, feature it. After straightening and grinding the fender metal, I got this neat blown-out look, like the tail end of a jet engine. I couldn’t be bothered with repainting it at the time, so I just added a clear coat and a message. It’s a lot of fun when those who aren’t necessarily car folks see this and ask if a ball of fire is going to shoot out from there.
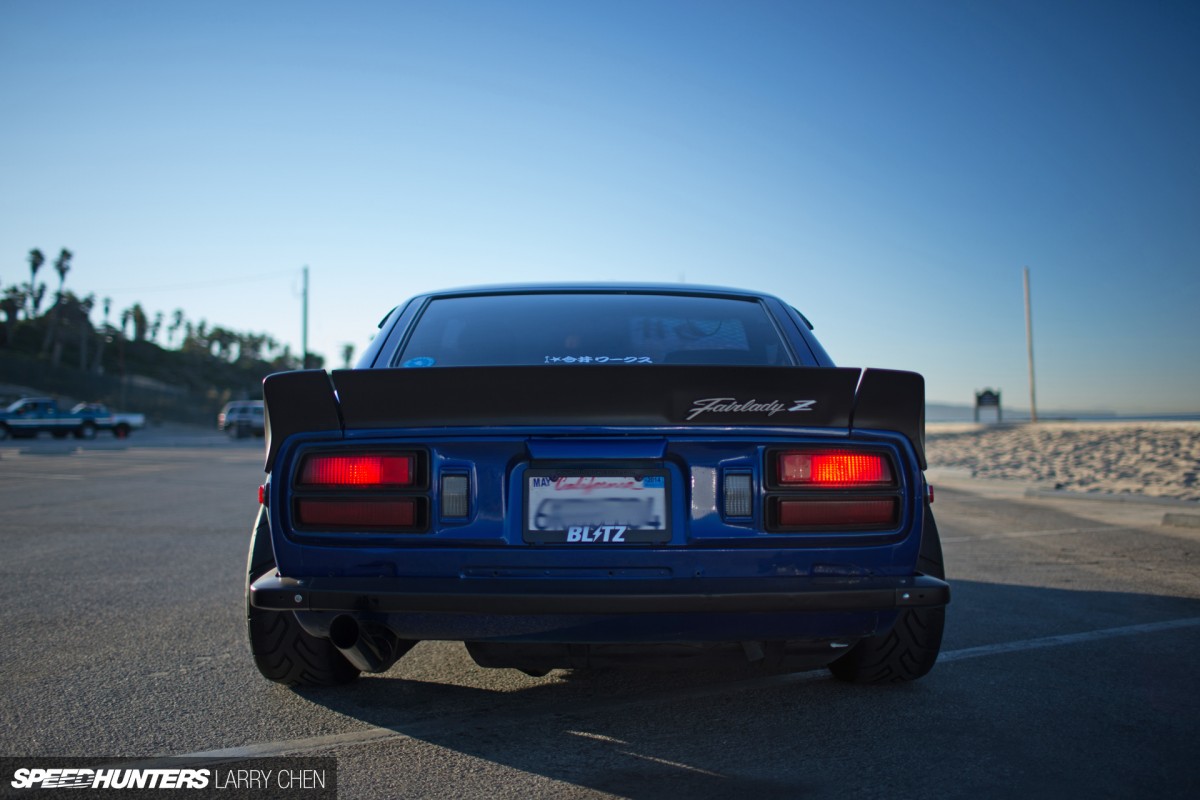
The NOS Fairlady Z emblem was a gift from a great friend. It took him a long time to track it down, and that means a lot to me.

I got the #MaximumAttack sticker when I met with Rod at SEMA last year. I’ve been waiting for the perfect place to stick it on to, and here it is! It’s a neat location because it glows bright orange in front of the headlight.

Getting the engine bay sorted took a very long time. I began working on it immediately after I got the car, because frankly I couldn’t even see the block or head under all of the sludge and grime. When I was done scraping the gunk off, I was happy to find a L28 block in there. I began dismantling everything from the engine bay for a proper cleaning, inspection and refinish/replacement process. I didn’t want to go overboard here, but as you know, the further you dig, the more stuff you find.

It took a few months with the limited time I have, but I managed to make some simple and effective modifications. First I painted the engine bay and block. I relocated the battery to the inside of the car, and rewired the entire engine harness. Every connection was on the verge of breaking off, so I started with fresh wire and connectors, and rewired it all. While at it I did a mild wire tuck and hid the many relays to reduce the clutter. I cleaned and rebuilt the carbs, and had the head fully rebuilt by a local machine shop as it was cracked on the inside, which explained the dead cylinder. I cleaned, restored or replaced every part that came off before it went back on the engine. I’m happy that I was able to save much of the components, aside from the gaskets and rubber hoses which I replaced. I added a Koyorad radiator, and replaced the ailing transmission with an identical replacement five-speed. As long as the tranny was out, I replaced the tired clutch with an Exedy OE unit.
The Joy Of Project Cars

And to be honest, this was the first time I’ve ever gone so far on mechanicals. I’ve never taken an engine apart to this point, let alone redone all of the wiring, replace a transmission and do a clutch job. I followed the FSM’s and advice from friends to a T, and got it all done. I was elated when the Z fired up after all of the work. I had a friend come by to help me tune the carbs, and it was good to go. Eventually I’d like to go with a set of triples and really make the motor sing, but for now I’m content and the fresh headwork makes the engine feel like new.

The interior was pretty complete, but I spent a lot of time cleaning things up and getting the gauges and lights to work. I found an old Nardi wheel for $10 at a swap meet in Japan, which was perfect for this car. Again, budget is key and I do my best to stay on it.

The TRD-like racing bucket was also a swap meet find in Japan. I originally had it in my 510, but have repurposed it for Z duty. But why is it on the passenger side? I wanted to use it as the driver’s seat for this Z, but it’s unbearable after a few miles. It looks great, and it’s lightweight, but it’s a backbreaker and that’s why I roll the stocker under my rear. Mounted behind the seats are a set of Pioneer TSX-200 speakers, a modern tribute to the old school shakotan speaker boxes.

Now back to the exterior for a minute. Using the works flares without a G-nose requires a bit of trickery. I researched the ways people get around it, and I wasn’t happy with them. I wanted that huge chin spoiler look while using the stock valance, at the same time blending in to the flares. After trying a few premade solutions that didn’t work, I ended up making my own. It took several cardboard mockups, but after the tenth made mine out of a variety of materials including ABS, and it works great. It creates a good amount of downforce and has held up to some hard driving and unforgiving LA roads!

Despite all that I’ve done, I still have a way to go on this project. I didn’t discuss suspension on this feature, simply because this car currently doesn’t have a good set-up at the moment. I’m planning on a proper coilover system with adjustable inserts, and a brake upgrade. Perhaps the next time around, I’ll have that sorted. In the meantime…
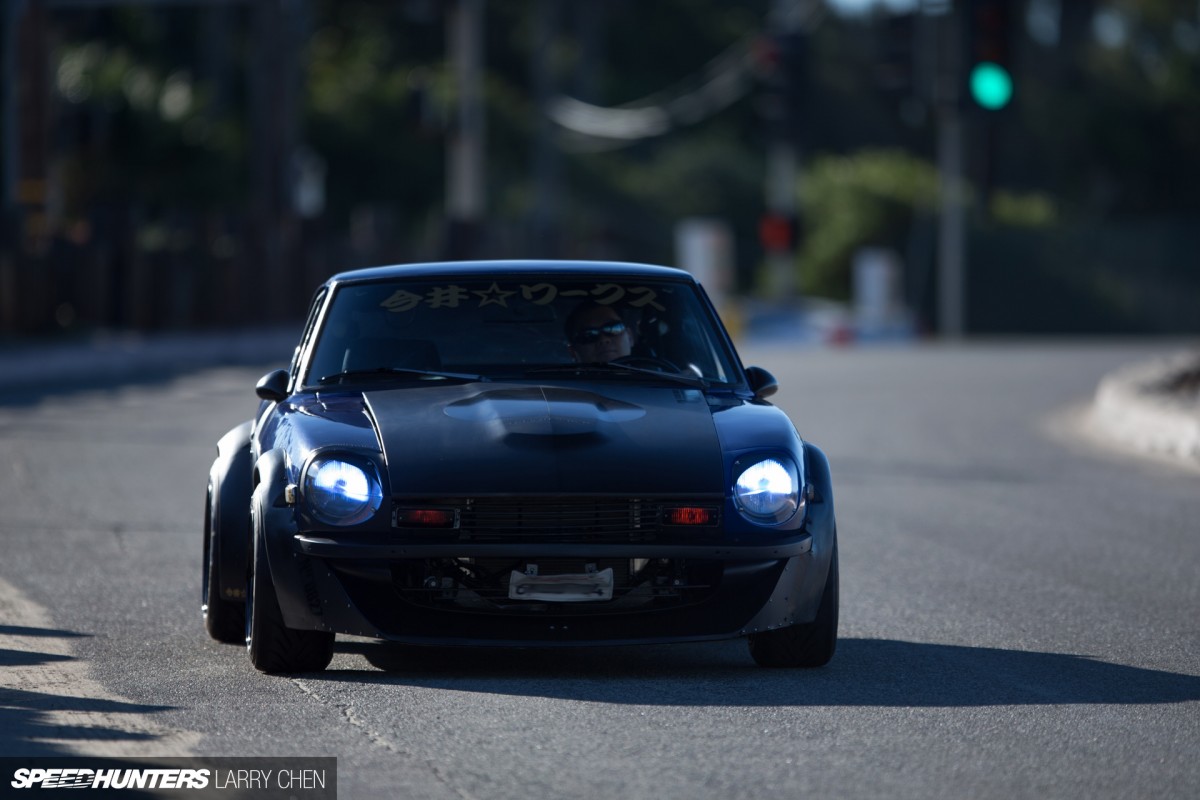
… I enjoy the ride, and you couldn’t wipe the smile off my face.

I have really enjoyed sharing my story with all of you Speedhunters out there, and hope you’re having as much fun as I am working on these projects. Be inspired, and get creative. See you around!
Jun Imai
Instagram: kaidohouse
Photos by Larry Chen
Instagram: larry_chen_foto
[email protected]
