
A New Adaptable & Affordable Rack For Tacoma
There’s no shortage of roof rack options for the Tacoma. Considering the small cab and limited bed space, having a place to mount and store large gear can be extremely useful.
As we build our rigs, most of us are cost-conscious. Aftermarket parts’ costs have risen dramatically, and things quickly add up. For most, a roof rack proves to be one of the best value mods for its utility and versatility.
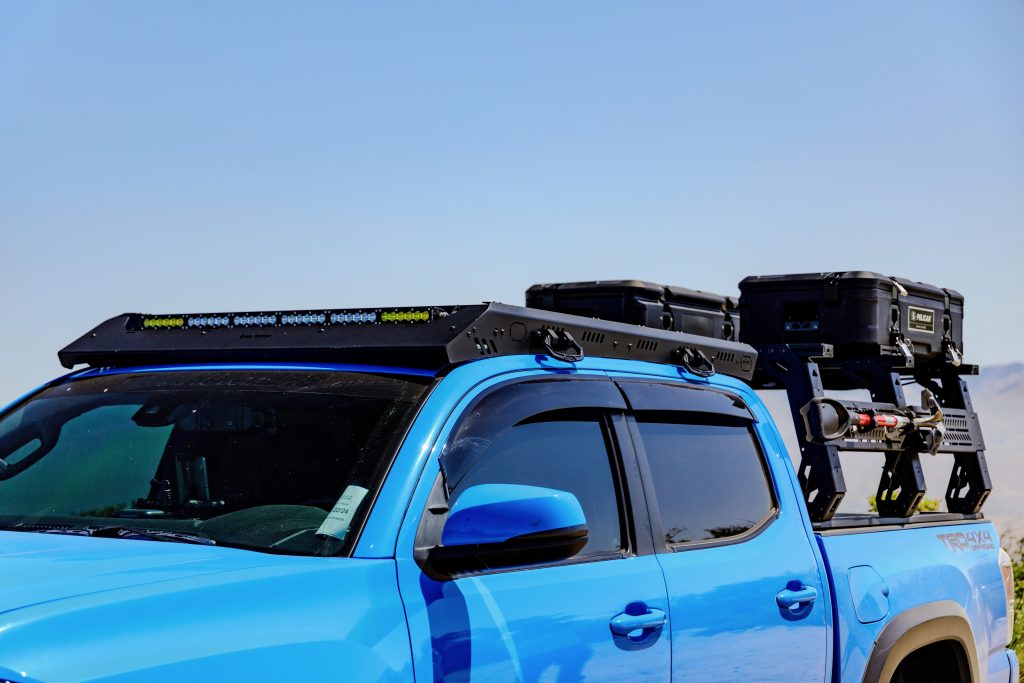
The new upTOP Overland Kilo has adjustable and adaptable load bars, an adjustable windscreen, and a weight capacity of 250 lbs. dynamic or 850 lbs. static. To top it off, you also get a lifetime, no-hassle warranty, as they do on all their products. Let’s get into it!
We got ours from R4T, a close partner and dealer for upTOP products!
Installation
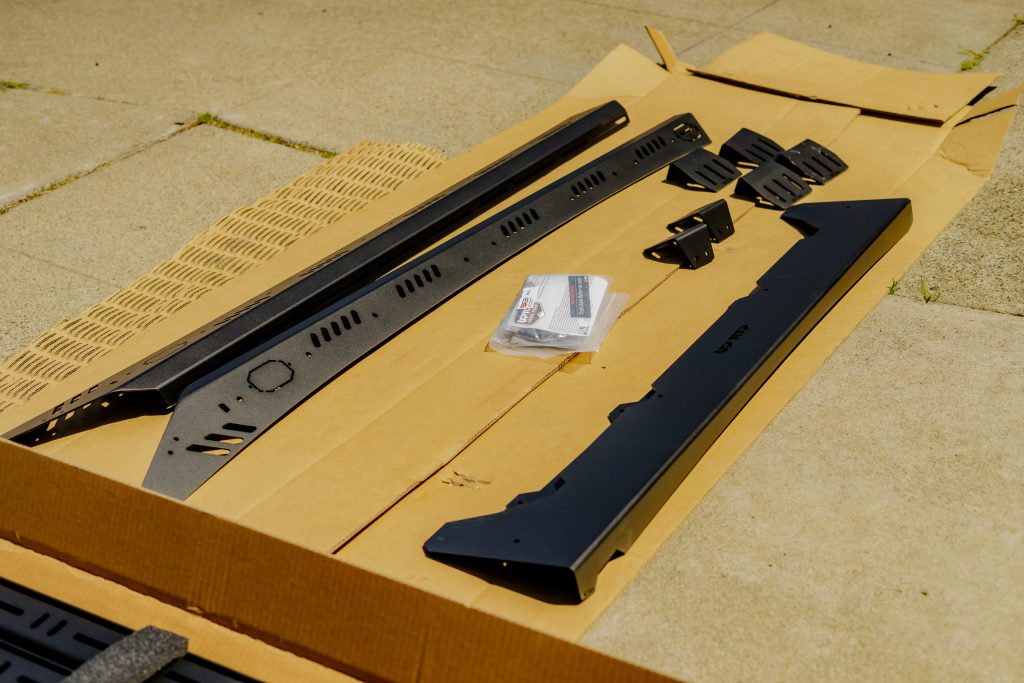
As with all upTOP products, the Kilo is packaged extremely well. It contains (6) mounting legs, (2) side fairings, a modular wind fairing, (5) load bars, and a hardware bag.
Installation was fairly simple, only requiring a few tools. However, I recommend having a second set of hands to help avoid scratching or denting your roof as you put everything together.
Tools Required
- Box Cutter
- Painter’s Tape
- RTV Silicone
- 5/32″ & 3/16″ Allen Wrench
- 5mm Allen Wrench
- 7/16″ & 1/2″ Wrench
Step 1. Apple Vibra-tite
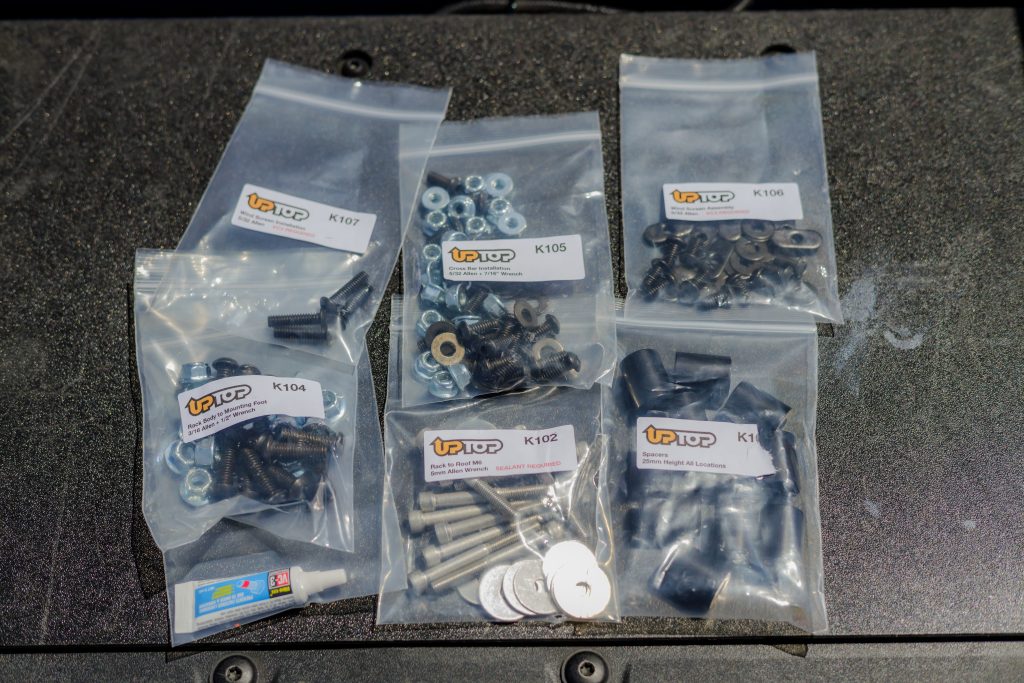
Apply the included VC-3 Vibra-tite to any screws that say “VC3 is required”. Specifically, hardware bags K107 and K106. Since the Vibra-tite will need at least 20 minutes to cure, take care of this before you start assembling the rack.
Step 2. Remove Weather Stripping
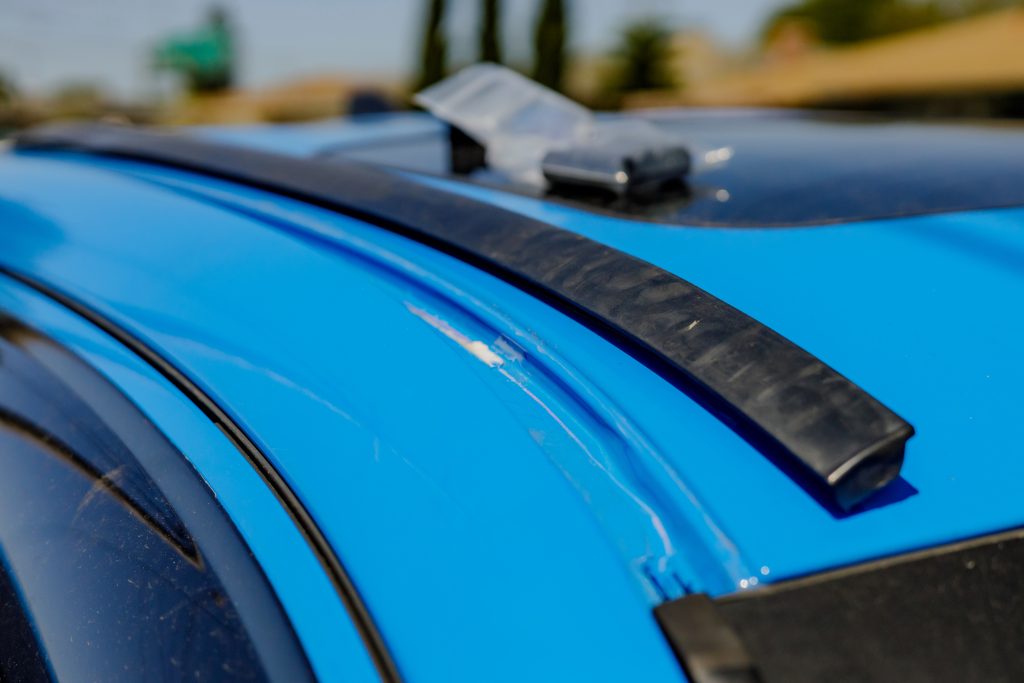
To access the pre-drilled holes in the Tacoma’s roof, you need to remove the weather stripping. Pulling from one side should make this fairly easy as it’s all one piece (as long as you do not have a rack installed). With that removed, wipe the channel clean.
Repeat the steps on the other side.
Step 3. Prep Mounting Holes
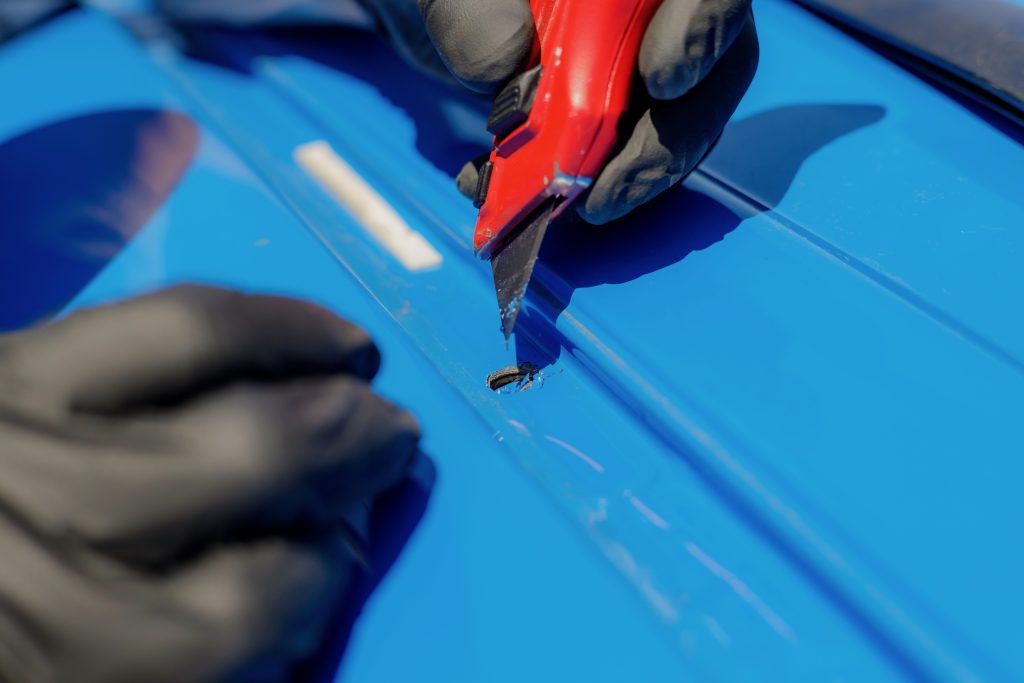
The pre-drilled holes are covered with 3M tape. Again, these will be exposed if you did this before. Use a box cutter carefully to expose each one of these mounting holes. There should be two in the front, one in the middle, and two in the rear on each side of the truck.
Step 4. Apply RTV Silicone
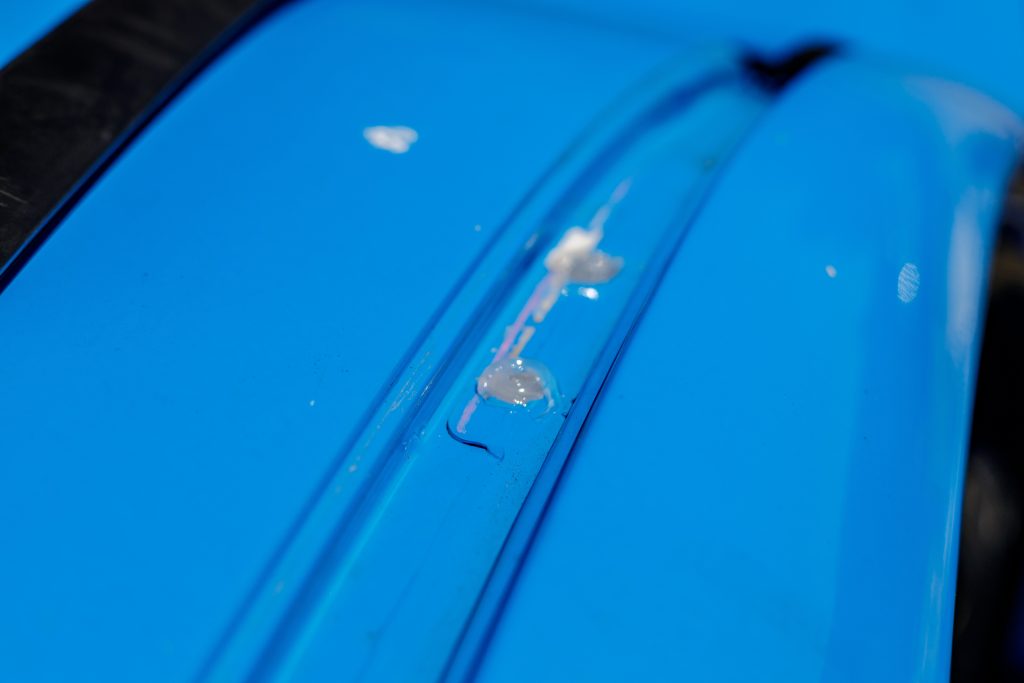
Next, fill each hole with silicone to prevent water ingress. I used RTV silicone because it is specifically formulated for vehicles and extreme-temperature applications.
Step 5. Place Mounting Spacers
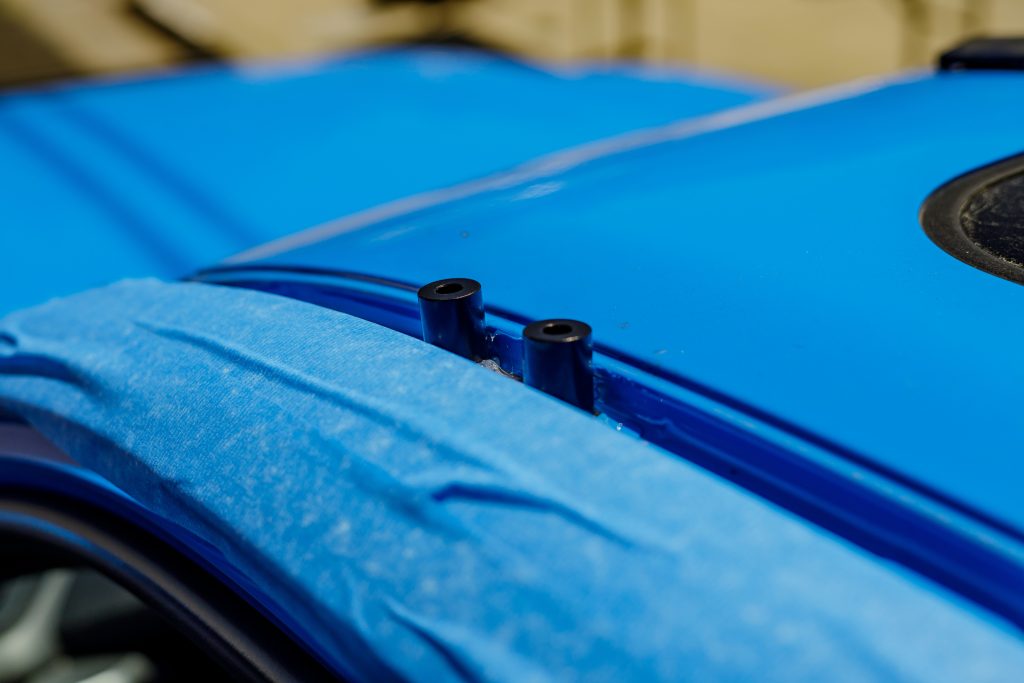
To prevent scratching your paint, I recommend applying painter’s tape to the roof on each side of your vehicle. Take the spacers from the hardware bag and place them over each mounting hole, lining them up the best you can.
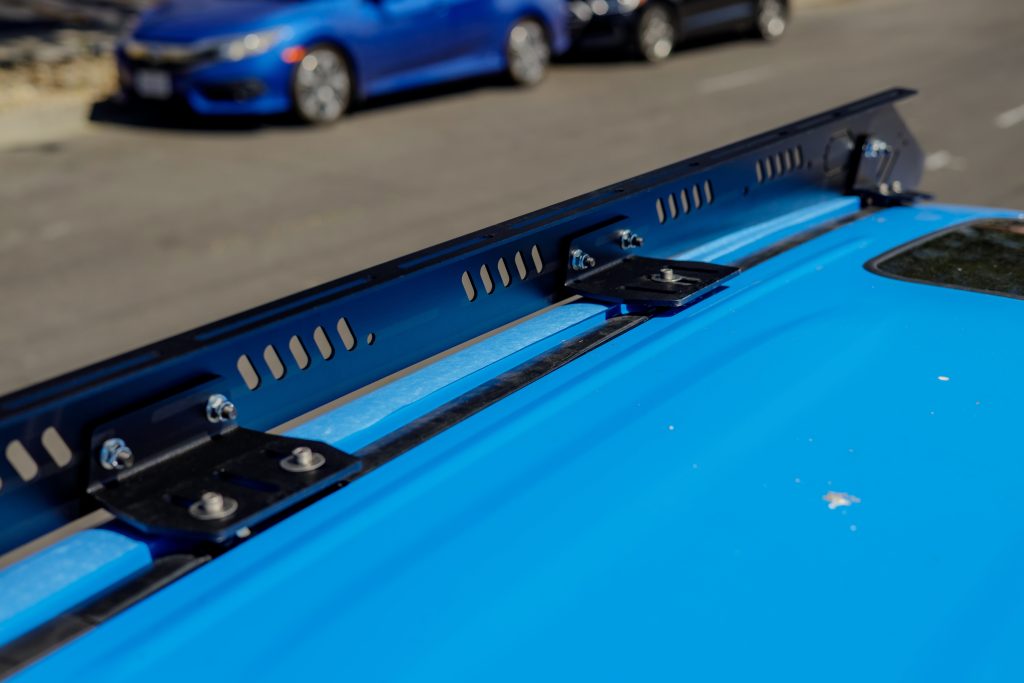
Step 6. Attach Mounting Legs
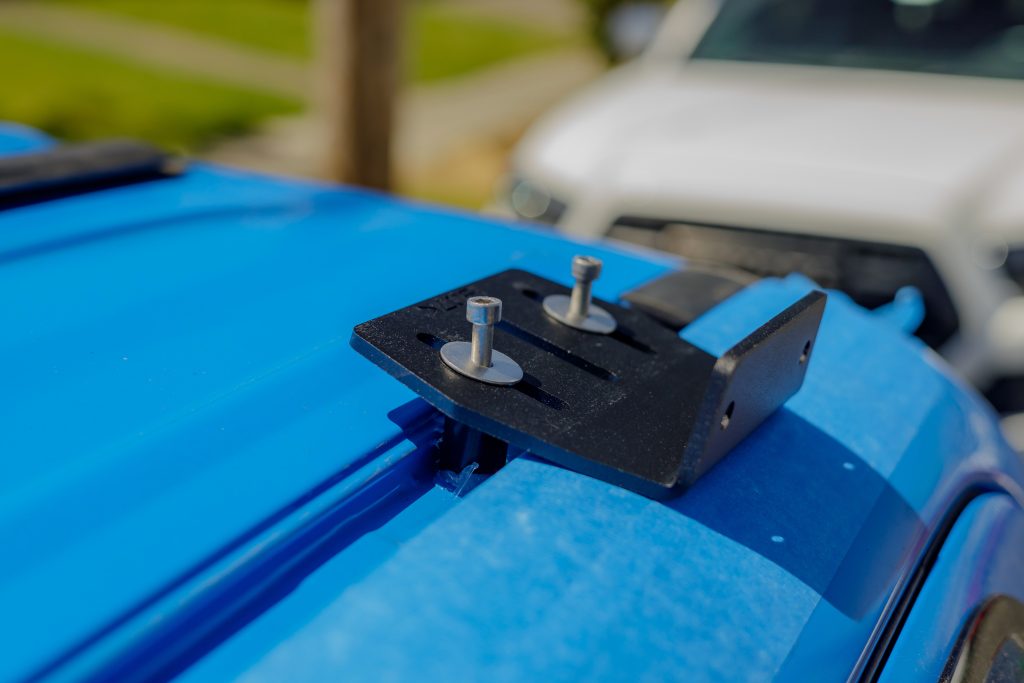
Grab each of the mounting legs and hardware from bag K102. The rear and front legs will use two slots, and the middle leg will use the middle slot. Also, the legs with three slots will be used on the rear and middle, while the legs with two slots will be used on the front.
Each screw will use a washer between it and the mounting feet. Don’t fully tighten these screws yet, as you’ll need to make final adjustments once the rack is on.
Step 7. Attach Side Rails
Using the hardware from bag K104, attach the side rails to the mounting legs. Ensure that the fairing follows the roofline and that the upTOP logo is at the rear. Use a 3/16″ Allen wrench and a 1/2″ wrench to install the hardware, but do not fully tighten these yet.
Repeat the steps for the other side.
Step 8. Reinstall Weather Stripping (Optional)
Reinstalling the weather stripping isn’t required, but it does give a more professional installation look. Some people drill holes in the weather stripping to be lined with the mounting holes while others cut sections of the weather stripping around the mounting holes. I did the latter, but there’s no right or wrong way.
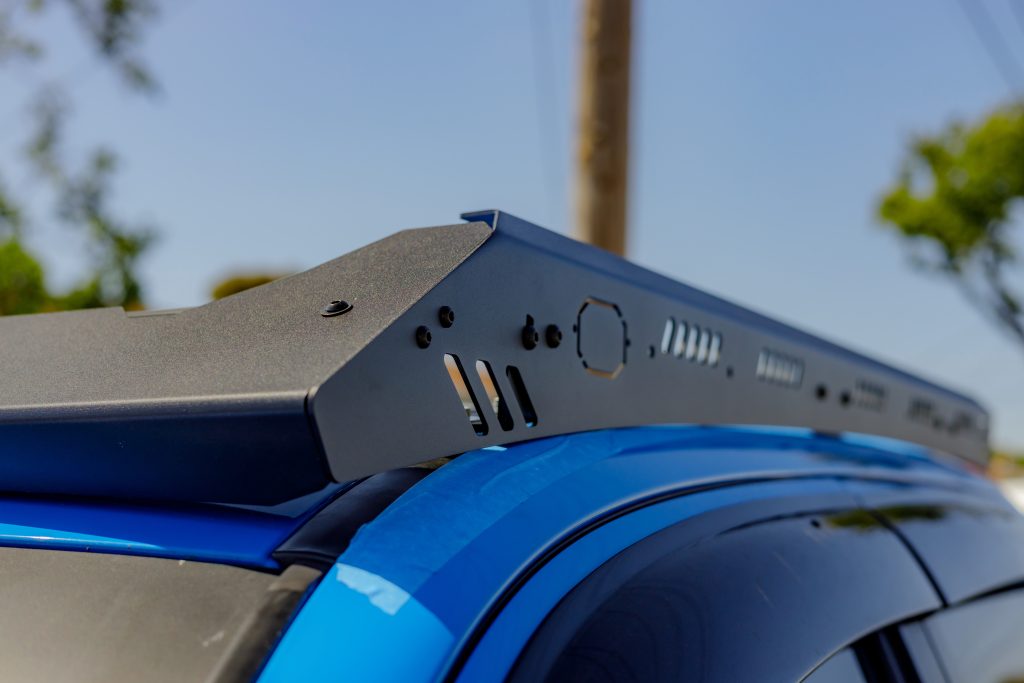
Step 9. Attach Front Fairing
Grab the front fairing and hardware bag K106. In each of the holes of the windscreen, install the screw and washer through the wind fairing and into the nut in the crossbar behind it. Make sure the lip on the nut is facing outwards and not inwards toward the fairing.
Leave enough space between the fairing and nut on each of these screws so that you can slide the bar between each mounting location. The lower section of the fairing should slide on the lower channel of the bar.
Once the bar is aligned with the fairing, tighten down each of the screws. Then, using the hardware from K107, attach it to the side rails with a 5/32″ Allen wrench. If you are going to mount a lightbar, this is a good time to do so.
If you are using the top part of the fairing (the lightbar cover), slide (4) additional nuts into the top channel of the fairing bar with the lip facing outwards. Space them out the best you can according to the mounting hole locations. Once you have lined up the mounting holes with the nuts, install the washers and screws.
Step 10. Attach Crossbars
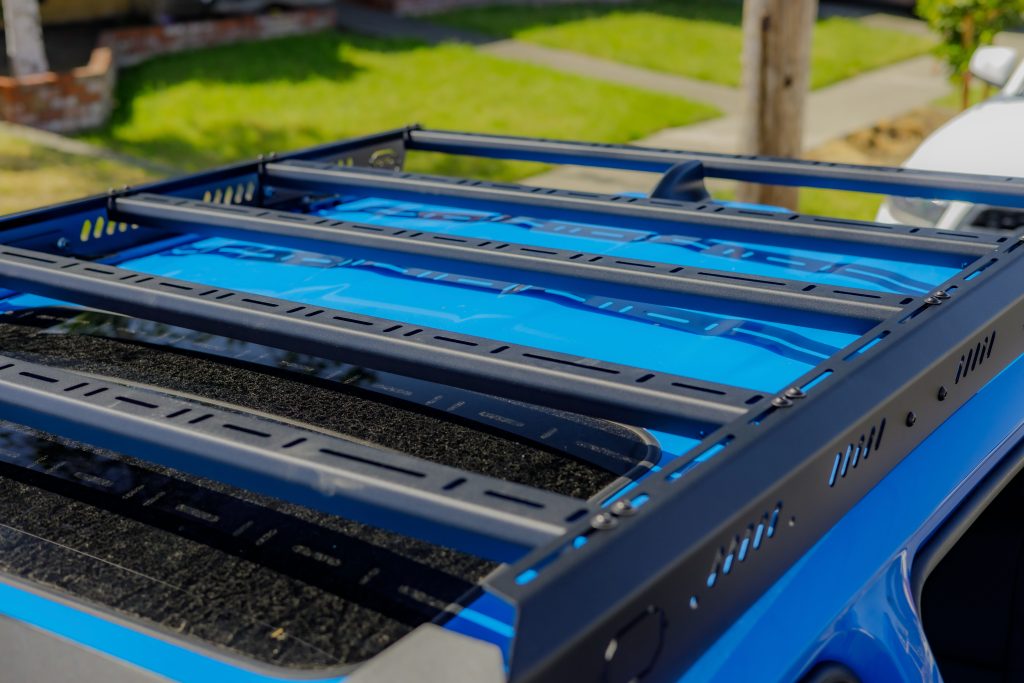
Grab the hardware from bag K105 and put in a screw and washer in the locations you plan to place the crossbars. Attach each crossbar one at a time using two screws and washers per side. Don’t fully tighten the screws yet so that you can adjust the crossbars’ final spacing once they’re all installed.
Once all the crossbars are installed, adjust them for even spacing and to be as square as possible. Then, fully tighten all of the screws.
For those with moonroofs, ensure that a crossbar isn’t directly above the side when tilting the moonroof open. In my experience, the moonroof did hit the crossbar.
Step 11. Final Adjustments
With the crossbars tightened and in place, it’s time to fully tighten the remaining hardware. If you still have the painter’s tape on the roof, remove it before tightening everything down, as it will become much harder to remove afterward.
Torque Specs
- Leg Mounts – 90 in/lbs or 7.5 ft/lbs
- Side Rails – 125 in/lb or 10.4 ft/lbs
- Crossbars – 75 in/lbs or 6.3 ft/lbs
As always, double-check that you haven’t missed a screw or bolt and go over the entire rack once more. Then, you’re done with the installation!
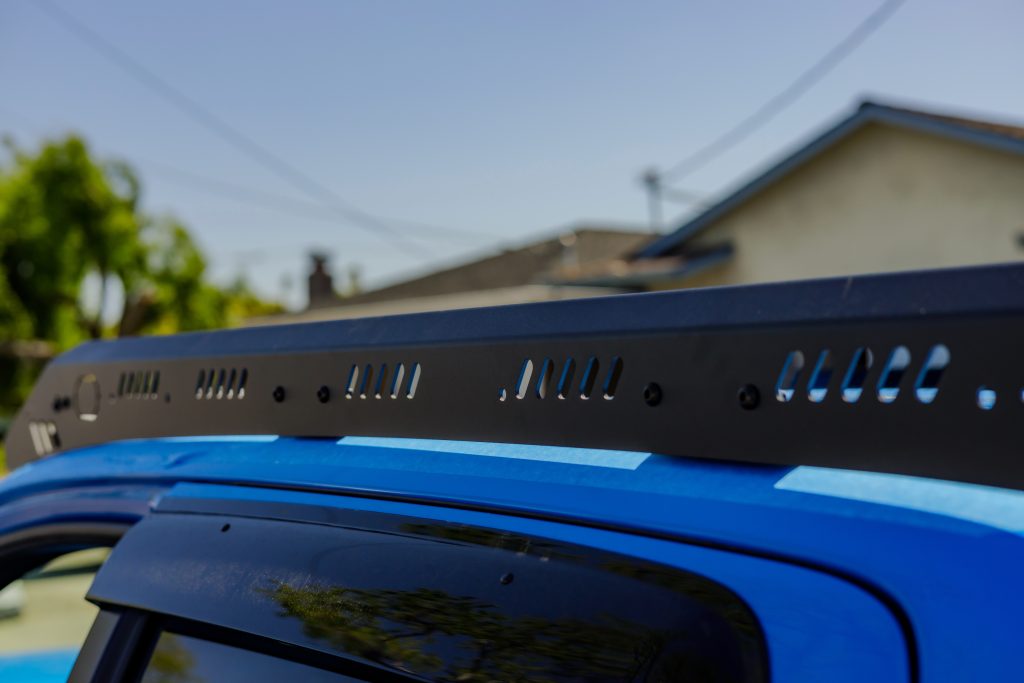
Initial Impressions
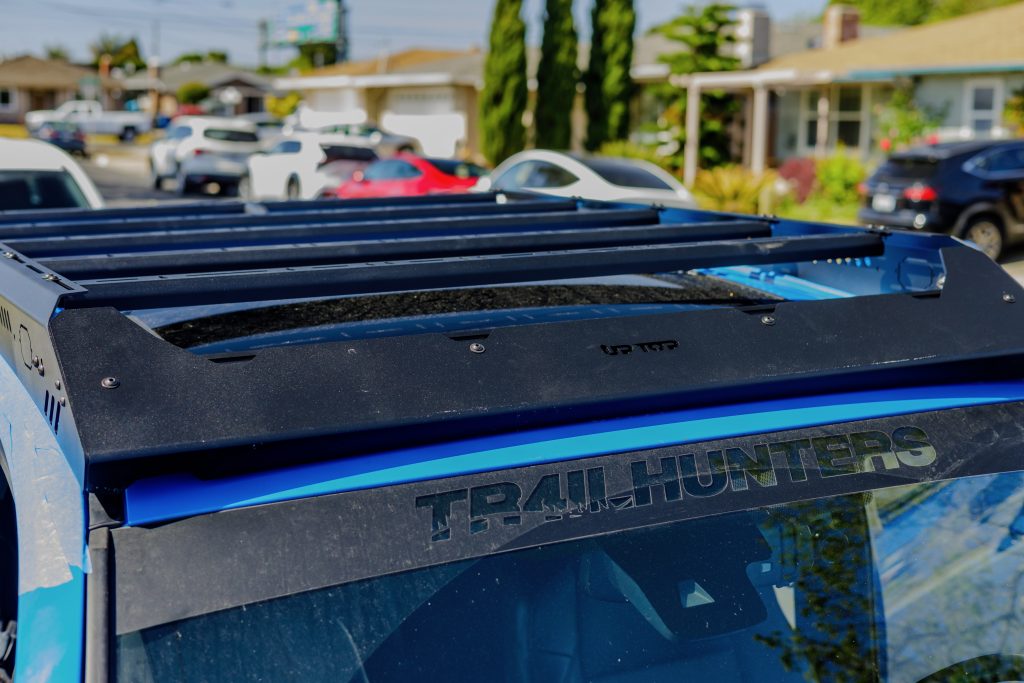
My first impressions are that this rack is extremely solid. Considering its price point, I was a little skeptical at first. However, that doubt has faded away after seeing the final result. I like the modular front fairing that allows for a sleek lightbar install if you opt for one.
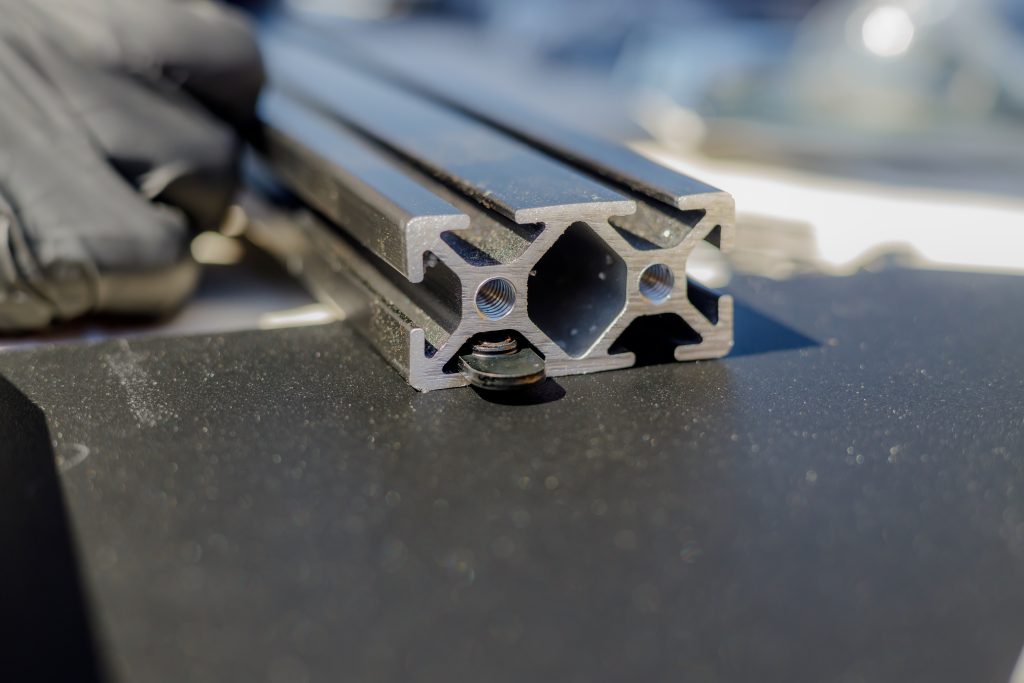
Something unique about the crossbars on this rack is that they use pass-through bolts through the pre-drilled holes in the crossbar instead of sliding bolts through a T-channel like most racks do. With pass-through bolts, the possibilities are greater because you’re not limited to bolts that fit within a crossbar channel.
Final Thoughts
If you’re looking for a functional, versatile roof rack at a great price point, the Kilo is an excellent option. Considering its features and price, this rack meets most people’s needs and is compatible with many accessories. upTOP also has specific accessories like the lightbar and the grab handles to further enhance the utility of your rack.
Above all else, their customer support is second to none. The service I have received has been beyond exceptional, and I appreciate that I always get accurate information. If you call with a question, they will have an answer.