Need a little meatless freezer meal prep inspiration? You can prep all 5 of these vegetarian freezer meals in under an hour for just $75.
Prep them, pop them in the freezer, and take them out when you need a healthy and delicious meal on a busy night!
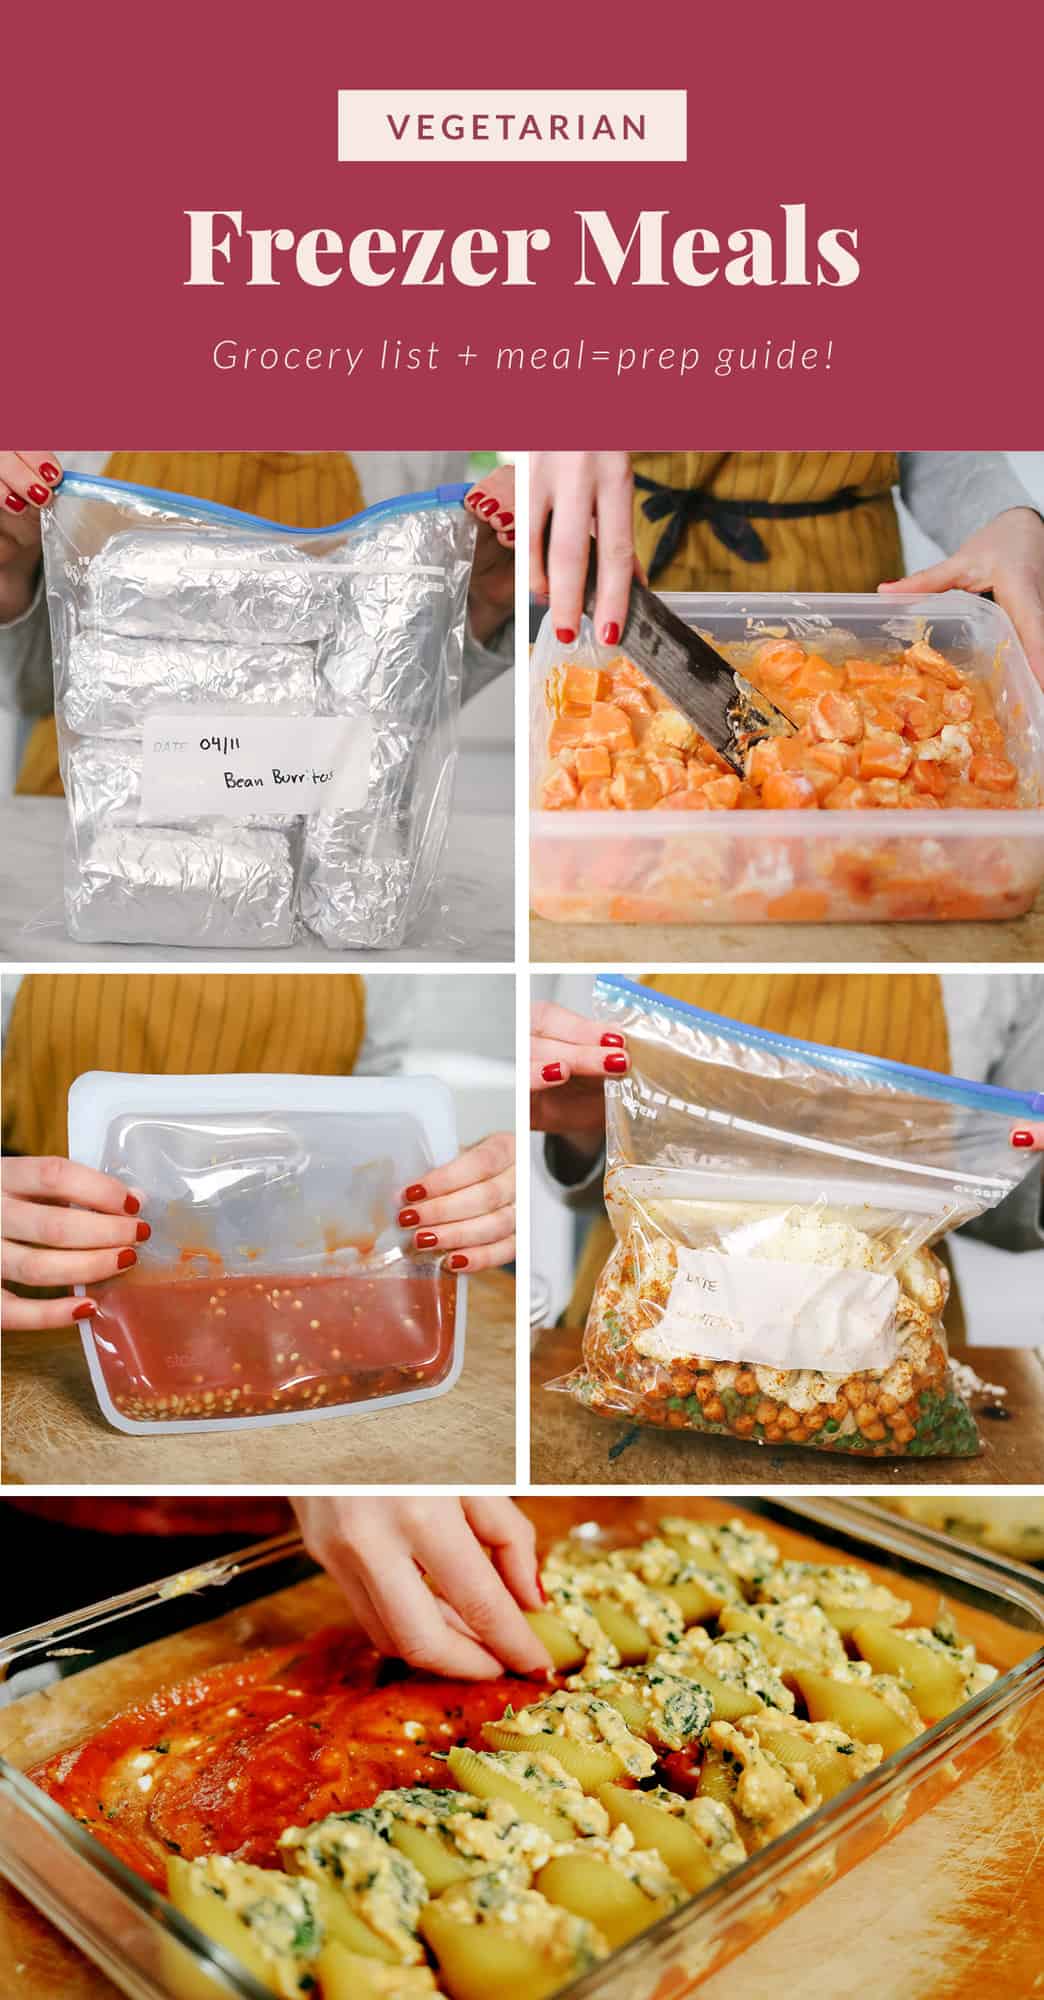

5 Vegetarian Freezer Meals
Today we’re going to teach you how to make all 5 of these vegetarian meals into freezer meals. Feel free to check them out individually below if you’d like to skip the freezer part and make them immediately!
So many people loved our Crock Pot Freezer Meals + grocery list post, and we’ve had so many requests for a vegetarian-specific freezer meal prep series over the years, and today’s the day! Your wish is our command. We love vegetarian freezer meals just as much as all of you! Here are a few reasons why–>
- $2.50/serving: You can meal prep these 5 vegetarian freezer meals for only $75 for ALL the groceries! You guys, that is $2.50 per serving.
- You can give them as a gift: If you are looking for a GREAT gift for new moms or someone who needs a pick-me-up, these vegetarian freezer meals make a great gift.
- Only takes 2 hours: you can prepare all 5 of these meals at once in under 2 hours for the freezer. Then pull them out of the freezer on super busy day, and rest easy knowing you’re whipping up a healthy and delicious meal in no time.
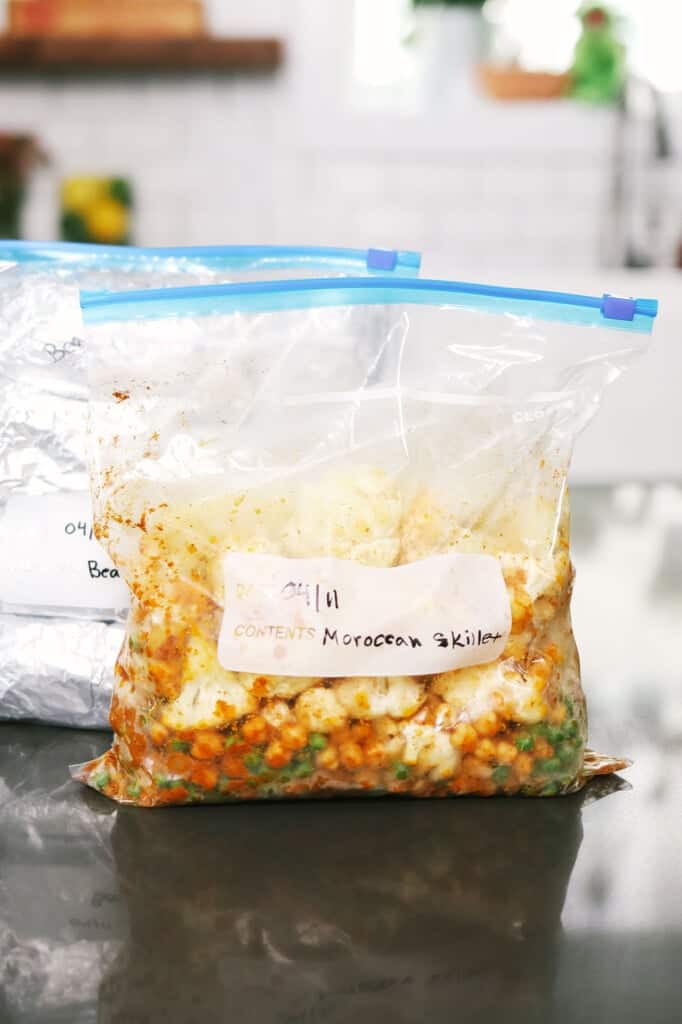
Your Vegetarian Freezer Meals Menu

- Instant Pot Lentil Tacos
- 6-Ingredient Bean Burritos
- Sweet Potato Spinach Stuffed Shells
- Moroccan Chickpea Couscous
- Instant Pot Sweet Potato Carrot Ginger Soup
Downloads: Grocery List + Meal-Prep Guide
Like we mentioned above, these 5 recipes are such a fantastic gift for new moms, loved ones in need OR to just have on-hand in your own kitchen at all times.
We created a printable grocery list with directions for each recipe, as well as a master grocery list in case you want to make all 5 recipes at the same time, which we highly recommend doing!

Kitchen Tools/Containers Required
Do not feel pressure to buy anything special to freeze these meals in! If you have freezer-safe plastic bags, those will work just fine.
But we do have some freezer meal essentials that make freezer meal prep in our own kitchens easy breezy lemon squeezy. Here are our go-tos:
It only takes 5-ingredients to make this nutritious (and vegan!) Instant Pot Lentil Tacos recipe. Serve it on a tortilla, in a bowl or on nachos!
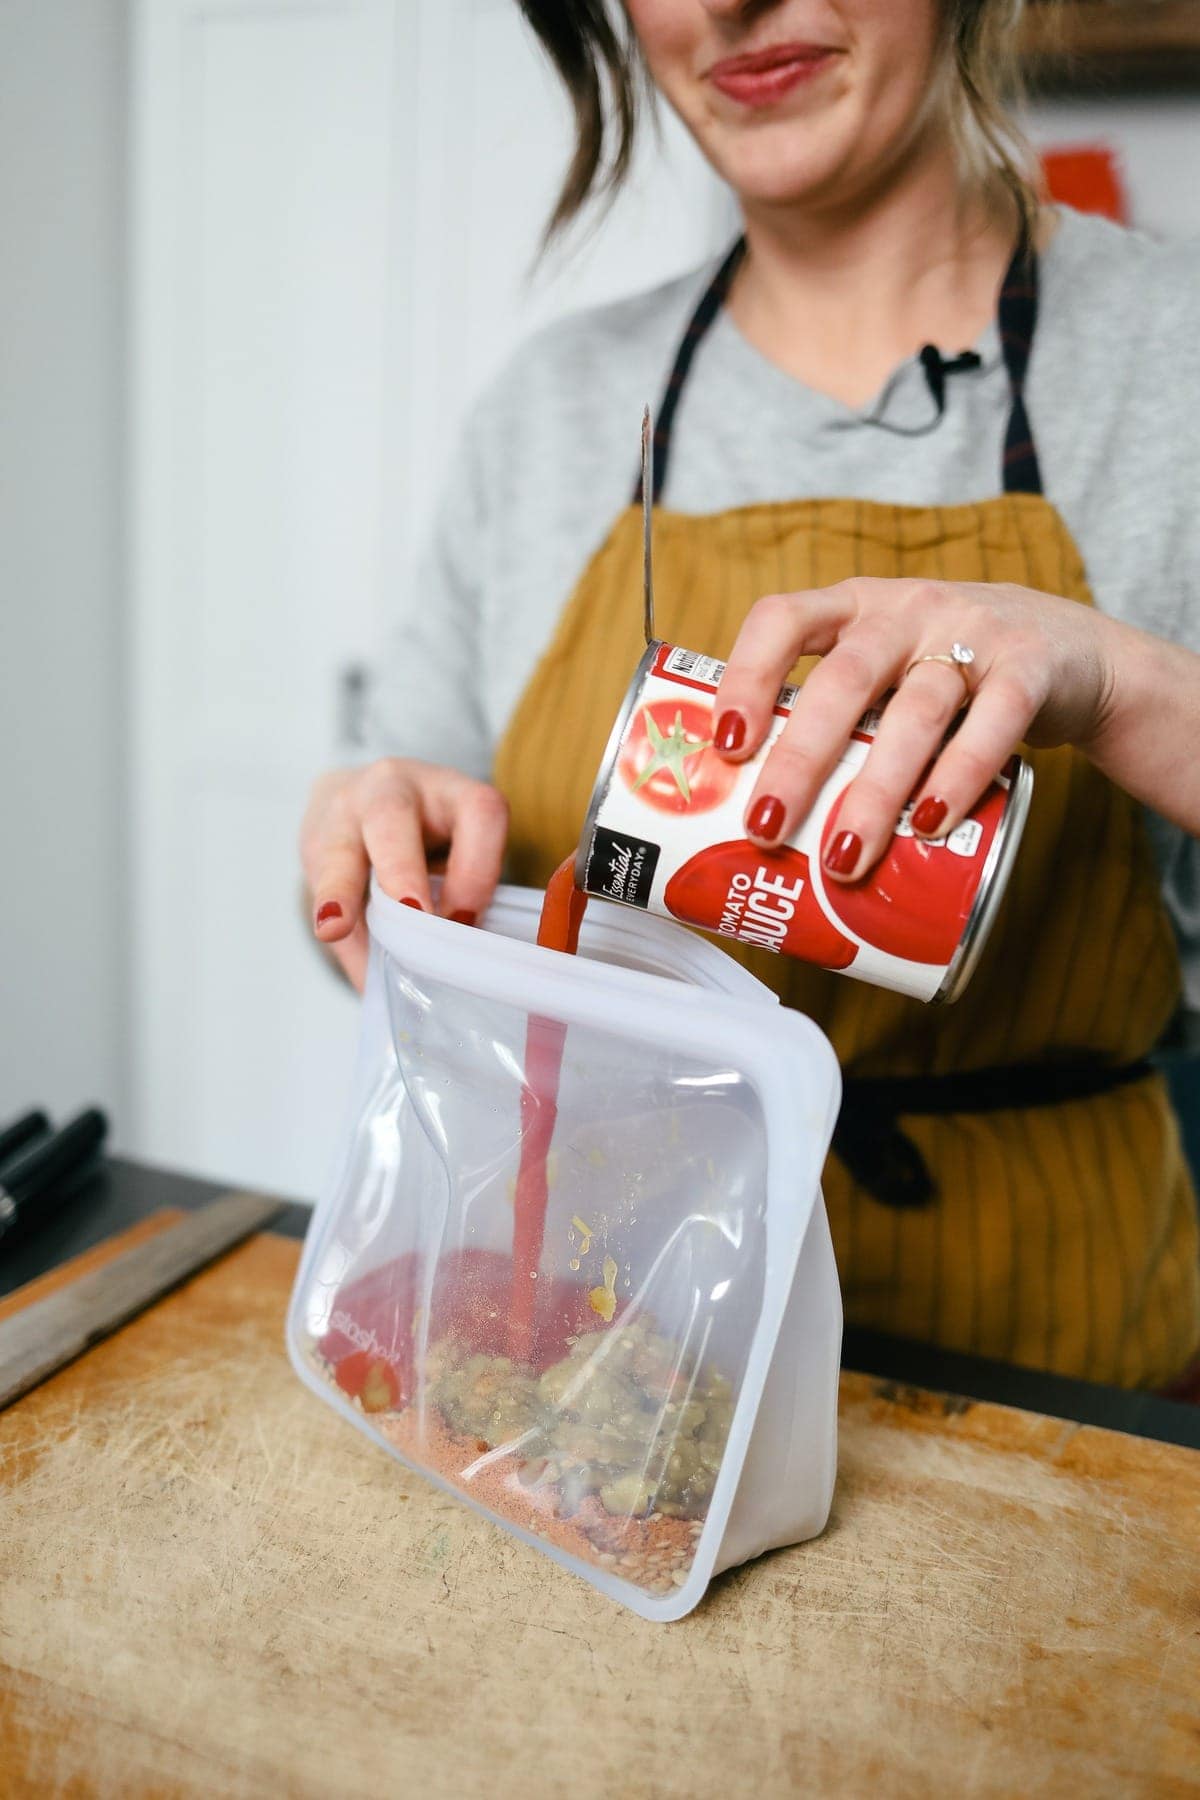
Freeze Together
- 1 cup uncooked green lentils
- 1 4.5-oz can green chiles
- 1 15-oz. can tomato sauce
- 3 tablespoons taco seasoning
Freezer Directions
- Place all ingredients into a freezer-safe container such as a plastic gallon-size bag, Stasher bag, or glass container and mix.
- Remove as much air as possible and seal.
- Freeze for up to 3 months.
When you’re ready to cook
Ingredients to add Before Cooking
- 1.5 cups vegetable broth (any kind of broth or water)
Cooking Directions (from frozen in the IP)
- Run the frozen lentil tacos bag under hot water for a few seconds to loosen the lentils from the bag.
- Then, transfer the entire contents of the bag into the Instant Pot and add 1.5 cups vegetable broth.
- Place the lid on the Instant Pot, seal the vent, and set the Instant Pot to manual > high > and set the timer to 15 minutes*. It will take your Instant Pot around 5 to 10 minutes to build pressure before it starts to count down from 15.
- Once the timer goes off, open the vent to quick release and let the steam pour out. Once the Instant Pot unlocks, open the lid and stir.
- Let sit for about 10 minutes before serving. Serve with all of your favorite taco fixings.
Notes
- If your lentils are still a little crunchy after 15 minutes, close the lid and cook for an additional 2 minutes at a time until they’ve reached your desired texture.
- As the lentils sit, they will absorb more moisture and thicken.
Make Ahead Bean Burritos that only require 6 ingredients! These are the perfect grab-and-go meal when you’re in a pinch…especially if you’re vegetarian!
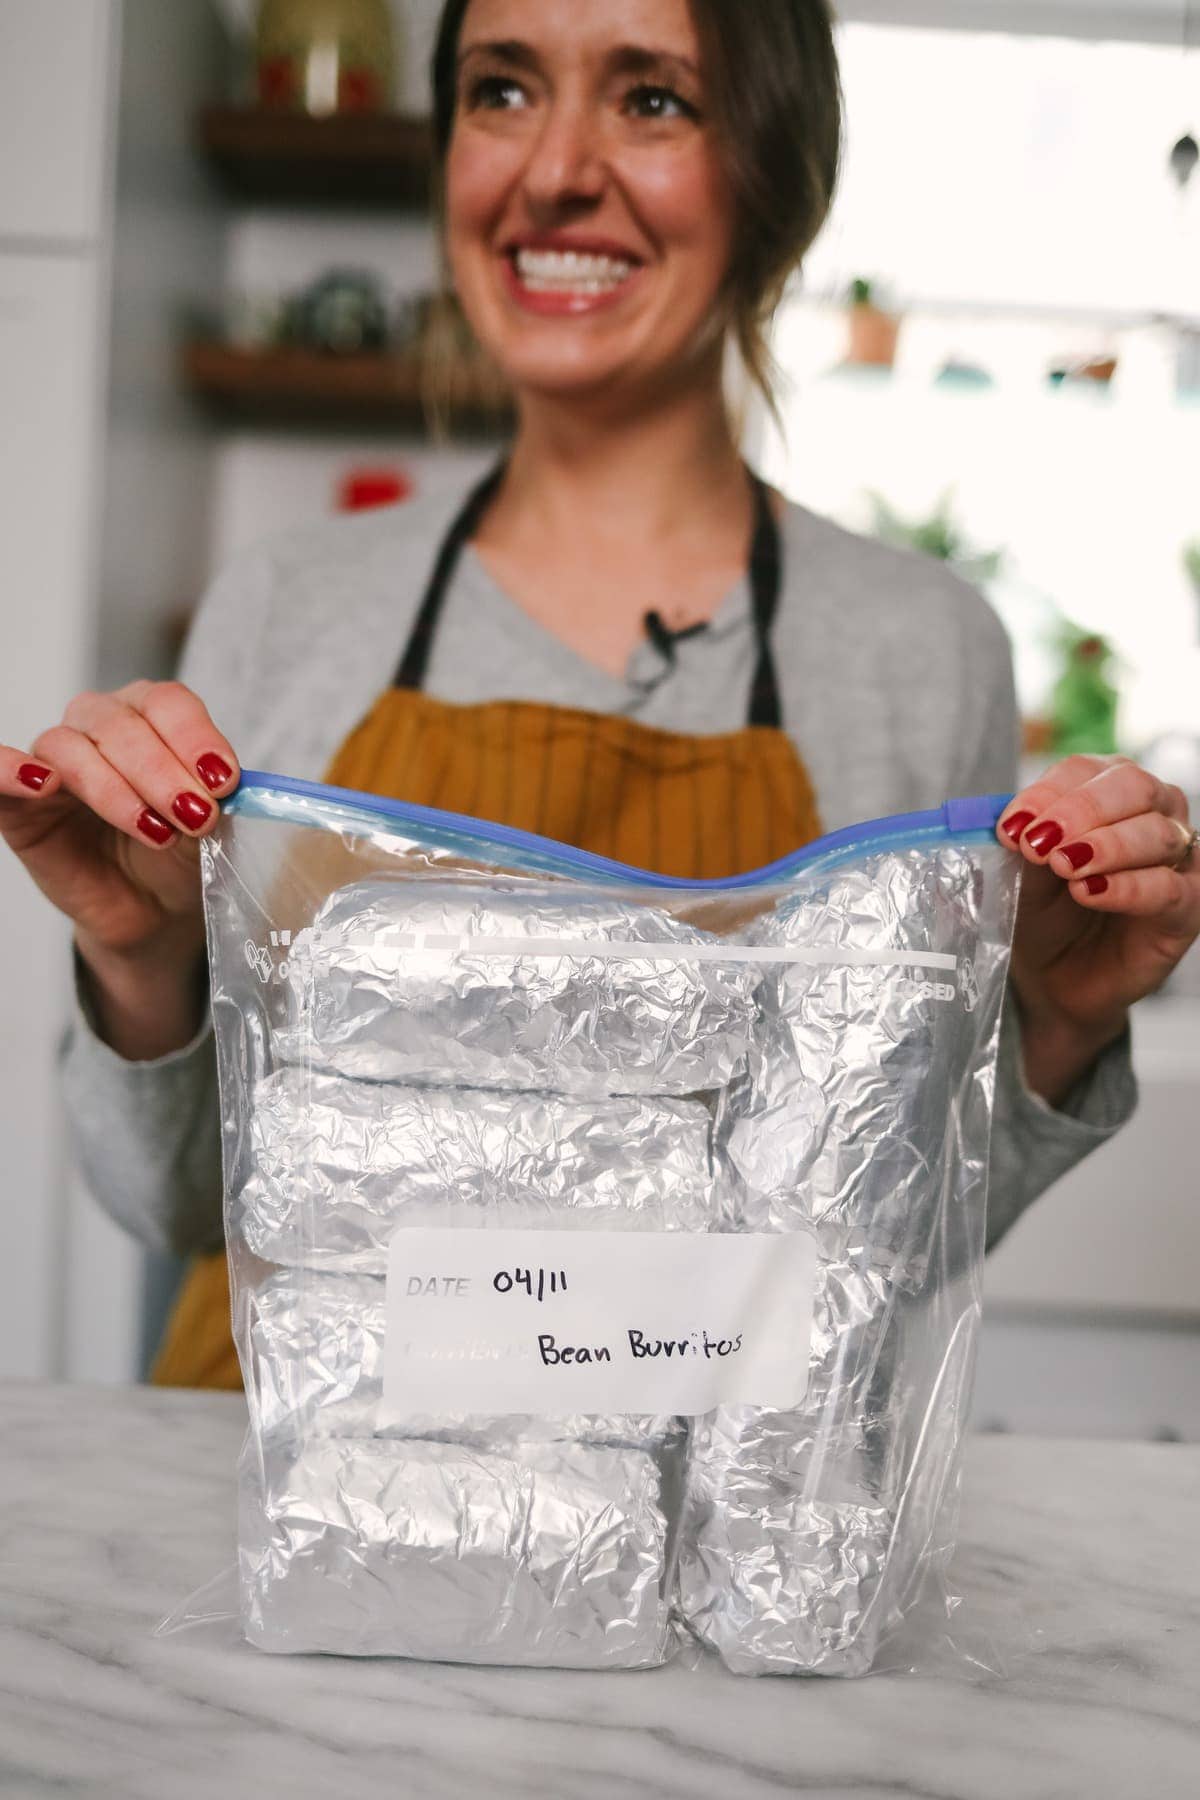
Freeze Together
- 6-8 12-inch flour tortillas
- 1 15-oz. can refried beans
- 1 15-oz. can black beans, drained and rinsed
- 1 cup long-grain brown rice
- 2 cups water
- 1.5 cups shredded cheddar cheese
- 1/2 cup salsa, any kind
Freezer Directions
- Begin by making your brown rice. If you are using precooked brown rice, please disregard this step. Place brown rice and water in a medium pot and bring to a boil over medium/high heat. Once boiling, reduce heat to low and cover. Let simmer for around 35 to 40 minutes or until water is fully absorbed.
- While the brown rice is cooking, prepare the rest of your burrito. Lay tortillas on a clean, flat surface.
- Using a tablespoon as your scooper, spoon on around 3 tablespoons of refried beans onto each tortilla and spread it out.
- Then, spoon on 3 tablespoons of black beans, 3 tablespoons of cheddar cheese, and around 3 tablespoons of cooked brown rice onto each tortilla.
- Finally, spoon on a heaping tablespoon of your favorite salsa (or more to taste).
- Tightly wrap each burrito by folding in 2 sides and rolling it up.
- Tightly wrap each burrito with tinfoil and remove as much air as possible. Then, label and date the burrito was made. Freeze burritos for up to 3 months.
Notes
- Brown rice: option to use pre-cooked brown rice. In that case, use around 1.5 cups cooked.
- Tortillas: This will make 6-8 burritos depending on how packed you like them!
Cooking Directions
From Frozen in Microwave
- Unwrap the frozen burrito and discard the aluminum foil. Place the frozen burrito on a microwave-safe plate and place in the microwave.
- Cook the burrito for 1 minute and 15 seconds on high, flip the burrito, and then cook for an additional 1 minute and 15 seconds on high, or until fully cooked.
From Frozen in Oven
- First, preheat the oven to 350ºF.
- Place burrito(s) in the oven leaving it wrapped in tin foil and bake the burrito for 50-55 minutes or until fully cooked.
For Extra Crunch:
- After burrito is cooked in the microwave or oven, heat a large skillet over medium/high heat. Add 2 teaspoons of olive oil.
- When olive oil is fragrant, place the burrito flap side down in the pan. Cook for 2-3 minutes or until the burrito starts to brown. Flip and repeat for 2 more minutes.
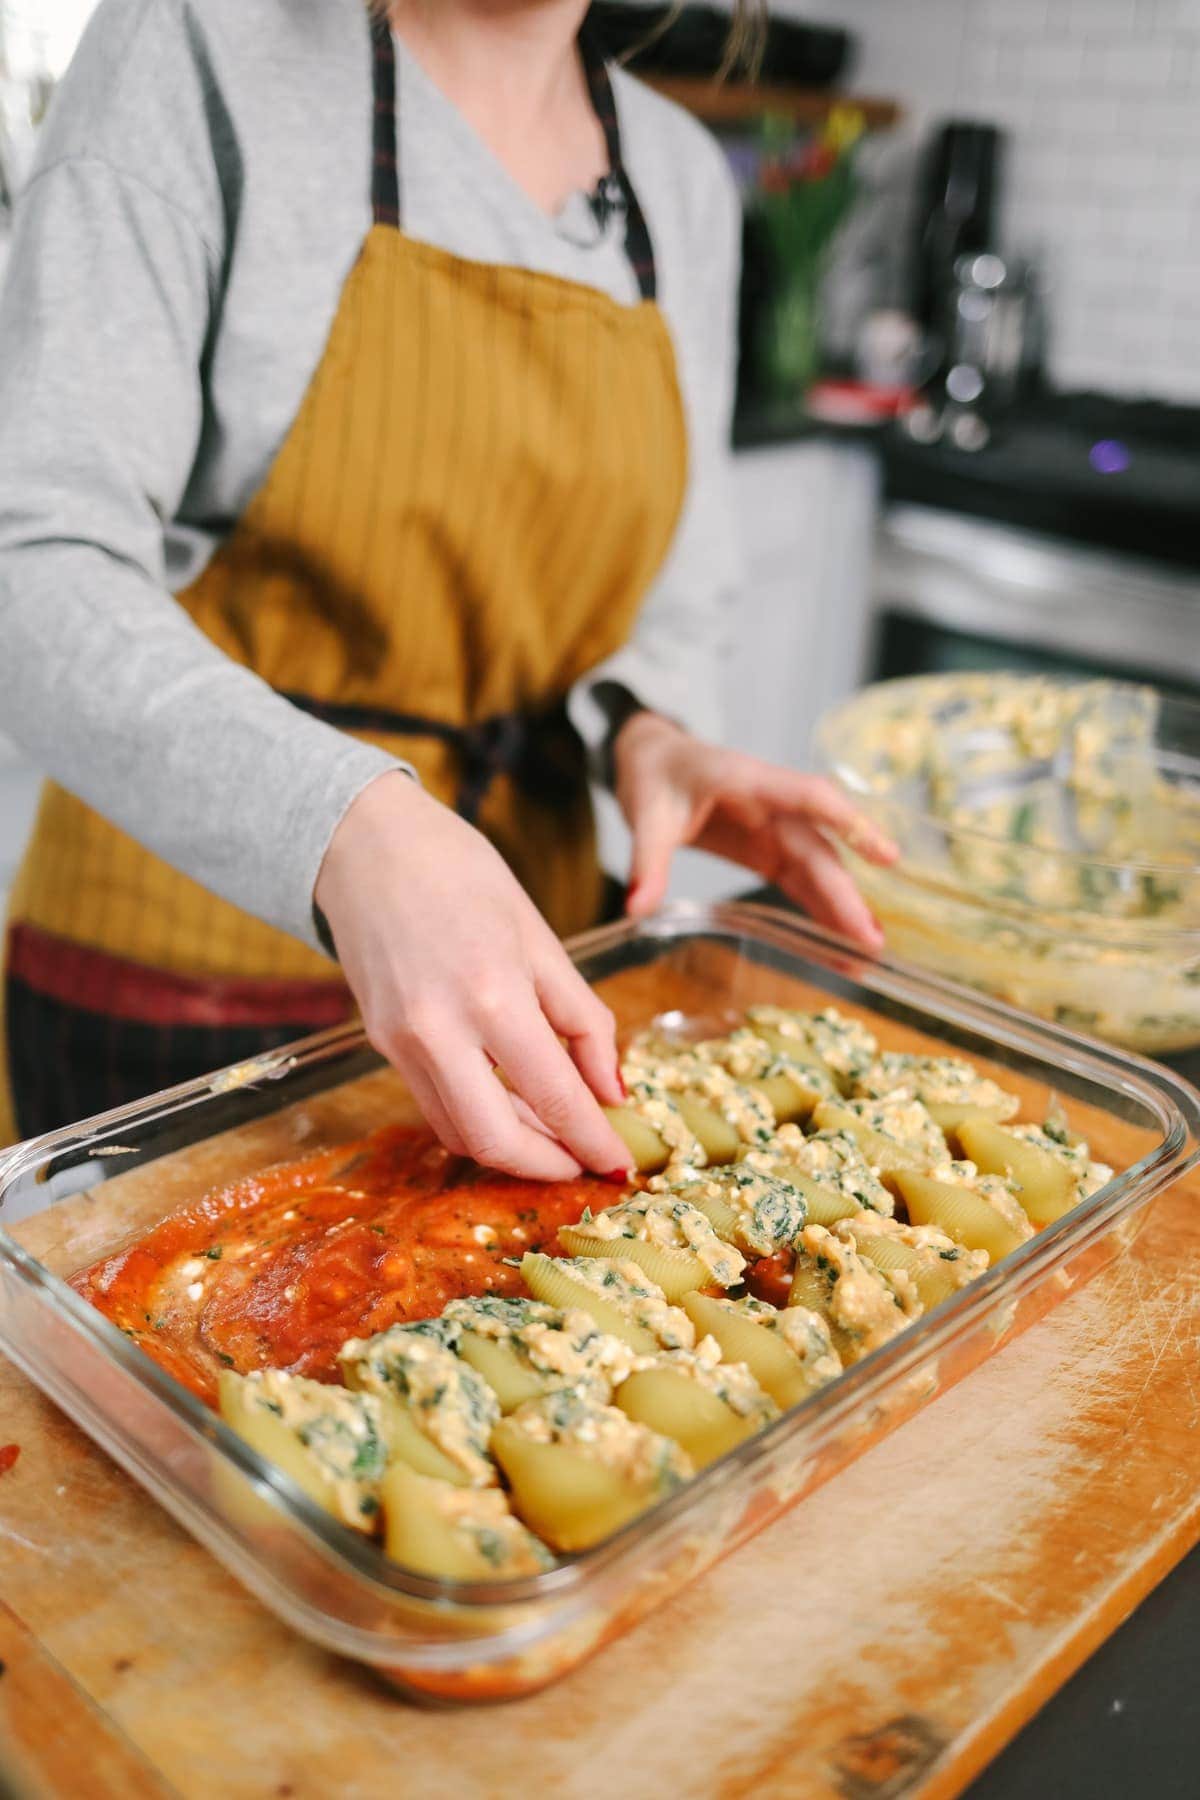
Vegetarian Sweet Potato, Spinach and Ricotta Stuffed Shells that don’t require ANY pre-cooking of the noodles and that are packed full of flavor.
Freeze Together
- 2 tablespoons olive oil
- 1/4 large white onion, finely diced
- 5 oz. fresh spinach
- 1 cup full-fat ricotta cheese
- 1 cup 4% cottage cheese
- 1 15-oz. can sweet potato puree (or pumpkin puree)
- 1/2 tablespoon minced garlic
- 1/8 teaspoon salt
- 1 24-oz. jar organic marinara sauce
- 12-oz. jumbo shells, uncooked
Freezer Directions
- First, heat a large nonstick skillet over medium/high heat and add olive oil.
- When olive oil is fragrant (that’s when you know it’s hot) add the onion to the pan and sauté for 1 minute. Then, add in fresh spinach and toss.
- Sauté the spinach over medium heat for 4-5 minutes or until the spinach is wilted and then remove from heat.
- In a large bowl, mix together the ricotta cheese, cottage cheese, sweet potato puree, minced garlic, salt and wilted spinach mixture. Set aside.
- Prepare a freezer-safe casserole dish by adding 1 cup of your favorite marinara sauce, 1/2 cup of the cheese and sweet potato mixture to the bottom of the casserole dish. Use a spatula to mix and then spread the sauce out evenly on the bottom of the dish.
- Stuff the uncooked jumbo shells individually by scooping the sweet potato and cheese mixture with the shell until it is full. Place the shell on the bottom of the casserole, open side up. Repeat until all shells are used or until the casserole dish is full.
- Finally, pour the remaining marinara sauce over the shells.
- Make sure the shells are completely cool before covering with either the casserole dish cover or with a piece of plastic wrap and then tin foil.
- Before placing the stuffed shells into the freezer, label and date the lasagna.
- Place in the freezer for up to 3 months.
When you’re ready to cook
Ingredients to Add Before Cooking
- 1/2 cup vegetable broth
- 1 cup shredded mozzarella cheese
Cooking Directions (from frozen in oven)
- Preheat the oven to 375ºF.
- Remove stuffed shells from the freezer and discard plastic wrap if you used that or remove any plastic/non-oven-safe lids.
- Next, pour ½ cup of vegetable broth over the noodles and cover the entire dish with tin foil.
- Bake at 375ºF for one hour. Uncover and sprinkle the mozzarella over the shells and bake for an additional 10 minutes to melt the cheese.
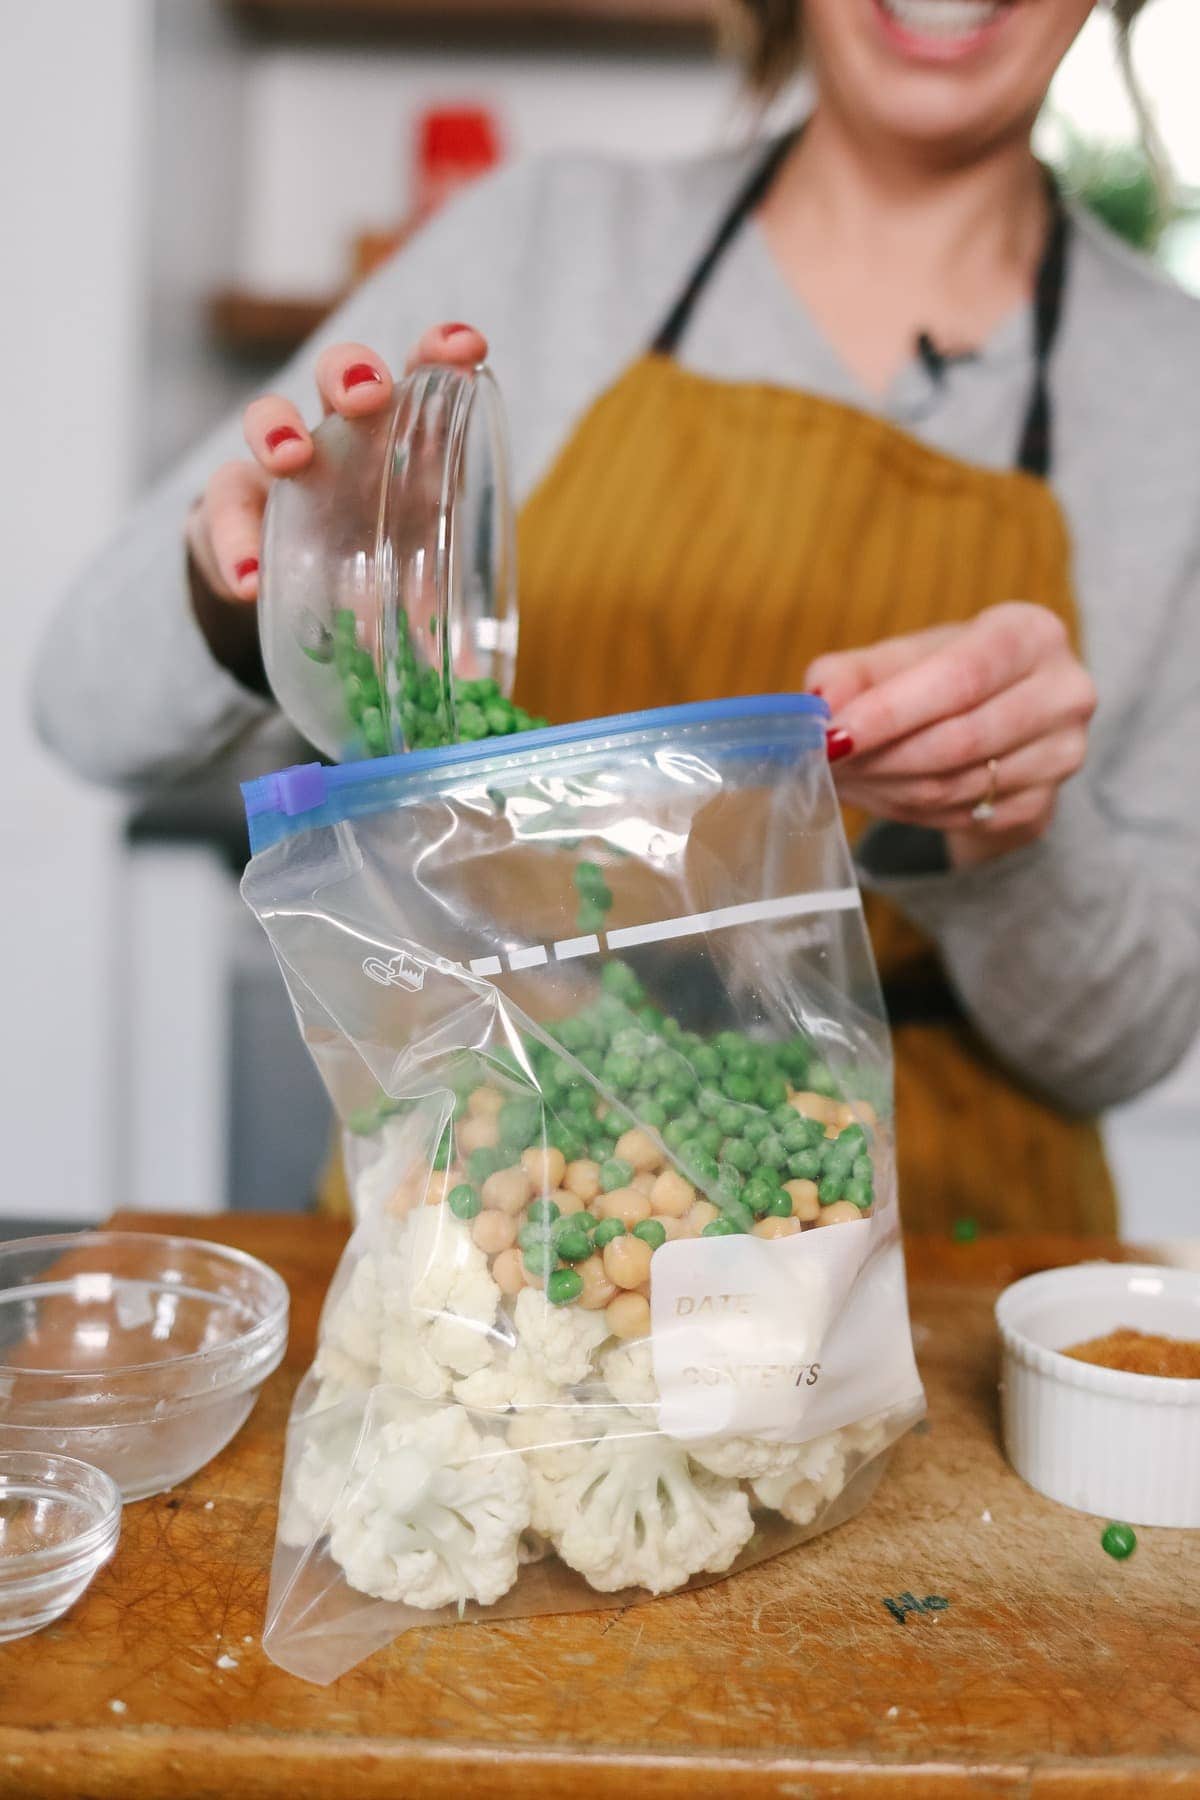
This gorgeous, anti-inflammatory Moroccan Chickpea Couscous Skillet is a healthy vegetarian meal that’s freezer-friendly!
Freeze Together
- 1/2 large white onion, diced
- 4 cloves garlic, minced
- 4 cups fresh cauliflower, chopped
- 2 tablespoons Moroccan spice mix
- 1/4 teaspoon salt
- 1-15 oz. can garbanzo beans, drained and rinsed
- 1 cup fresh English peas
- 1 cup uncooked couscous
Freezer Directions
- Place onion, garlic, cauliflower, Moroccan spices, salt, garbanzo beans, and peas into a freezer-safe gallon-size bag or container.
- Then, place couscous into a separate small bag (plastic or reusable) and seal the bag. Place the couscous bag inside of the gallon sized bag with the rest of the ingredients. You will cook the couscous separately when you are ready to prepare the skillet.
- Remove as much air as possible from the gallon size bag and seal.
- Label and date the bag and place in the freezer for up to three months.
When you’re ready to cook
Ingredients to Add Before Cooking
- 3 tablespoons olive oil
- 1.5 cups vegetable broth (or any kind of broth)
Optional Toppings
- 1/4 cup feta crumbles
- 1/4 cup chopped mint
- 1/4 cup hummus
Cooking Instructions (From frozen on the stove top)
- First, heat a large skillet over medium/high heat and add olive oil.
- When olive oil is fragrant, turn heat to medium and pour the frozen cauliflower mixture into the skillet and cook for 10-15 minutes. Stirring every couple of minutes.
- When the cauliflower is fully cooked and not frozen, add broth to the skillet and turn the heat up to high heat.
- Bring broth to a boil and then add couscous. Remove from heat, stir, and cover.
- Let the couscous sit for 5 minutes. Then, uncover and fluff with a fork.
- Add optional toppings and enjoy!
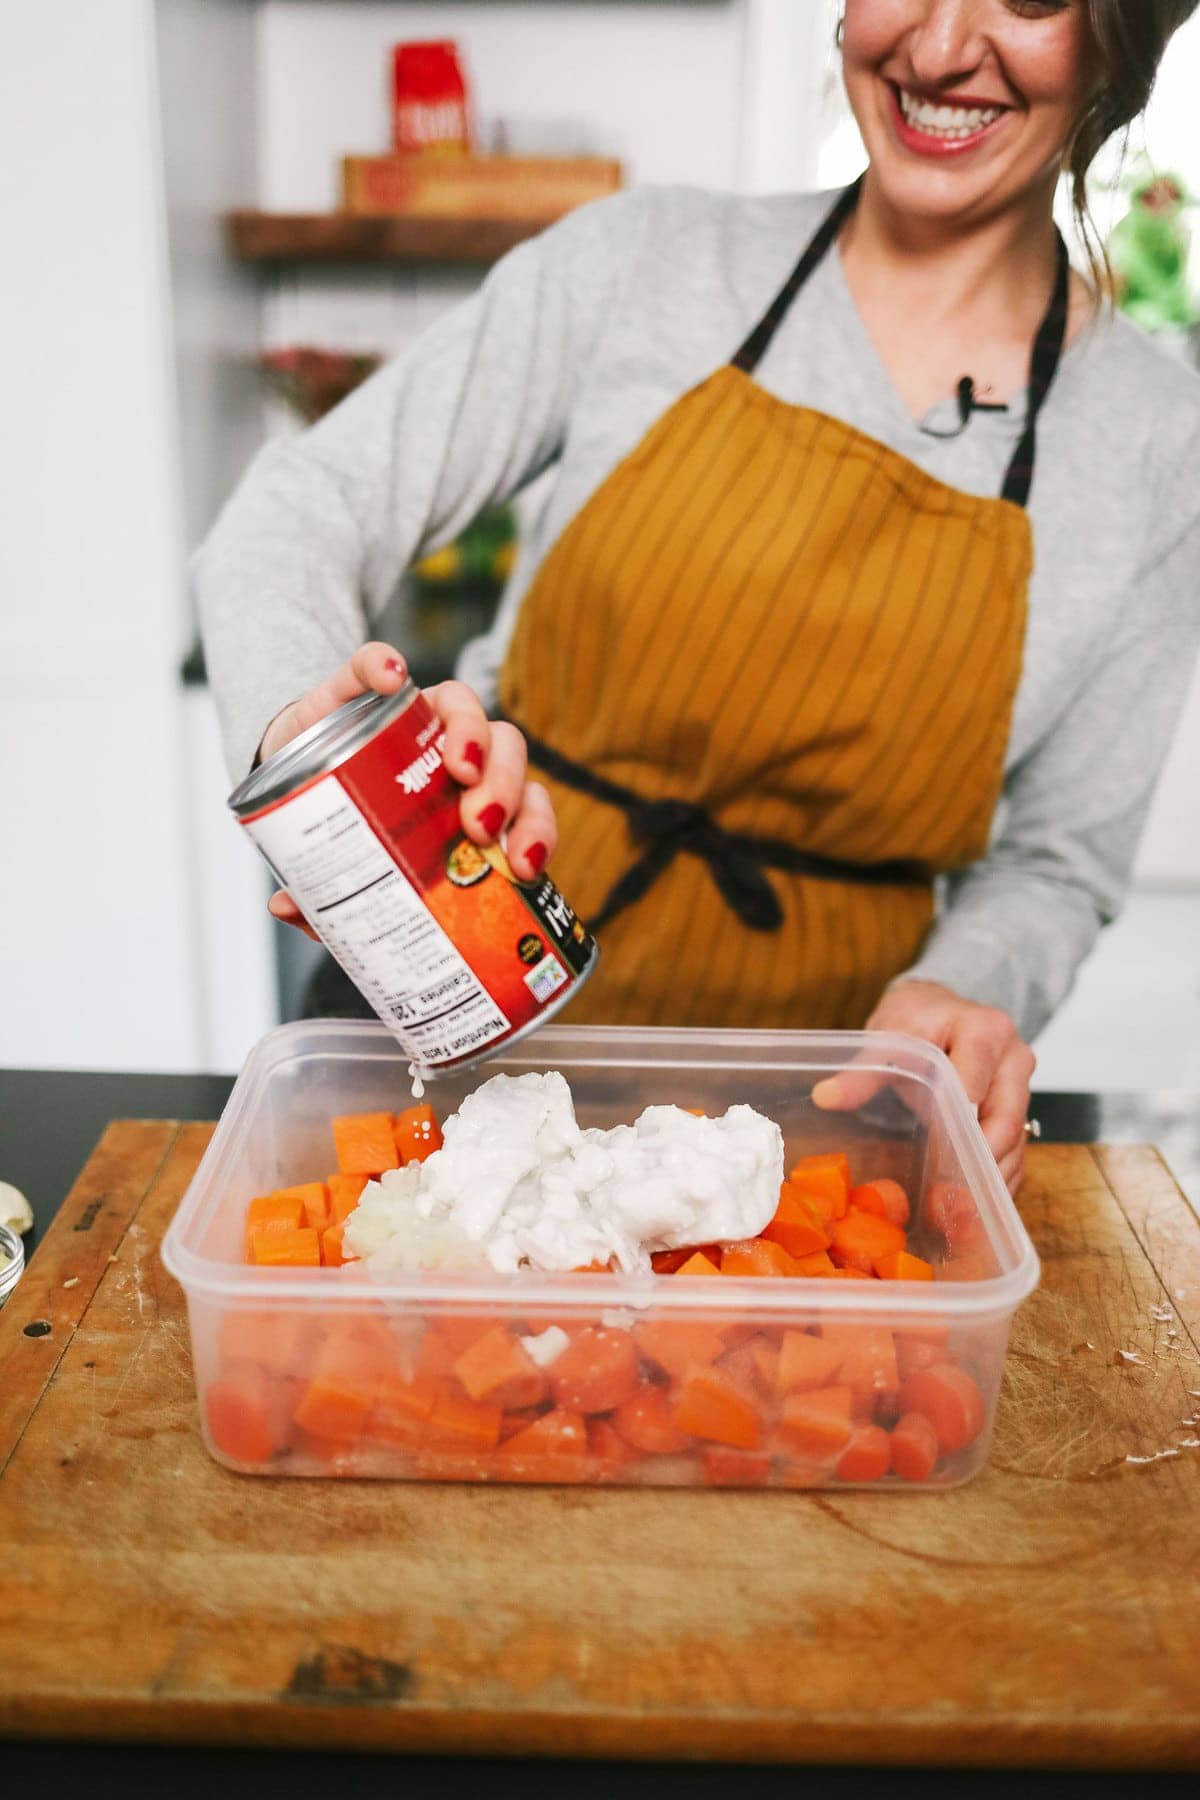
Beautiful Instant Pot Sweet Potato Carrot Ginger Soup made in under 30 minutes with fresh ginger, coconut milk, and red curry paste.
Freeze Together
- 8 cups water
- 1 teaspoon salt
- 1/2 large white onion, chopped
- 4 cloves garlic, chopped
- 2 large sweet potatoes, peeled and diced (~5 cups)
- 4 large carrots, chopped
- 1 tablespoon freshly grated ginger
- 2 tablespoons red curry paste
- 1 15-oz. can full-fat coconut milk
Freezer Directions
- First, we need to blanch the sweet potatoes (we do this so that the sweet potatoes don’t become grainy and discolored in the freezer!). Prepare an ice water bath in a large mixing bowl. Add about 2 cups of ice and 8 cups of cold water into the bowl. Set aside.
- Then, in a large pot bring 8 cups of water and 1 teaspoon salt to a boil. When the water has come to a rolling boil add the diced sweet potatoes to the pot and let them boil for 3 minutes (no more than 3 minutes!).
- Remove the sweet potatoes from the boiling water with a slotted spoon and immediately place the sweet potatoes in the ice bath.Let the sweet potatoes sit in the ice bath for 10 minutes or until the sweet potatoes are cool.
- Remove the sweet potatoes from the ice bath and place them on a dish towel to dry them off.
- Then, place onion, garlic, sweet potatoes, carrots, ginger, curry paste and coconut milk into a freezer safe bag or container and mix well. Seal the bag.
- Label and date the bag and place it in the freezer for up to 3 months.
When you’re ready to cook
Before Cooking
- 1 cup vegetable broth (or water)
- 1/4 teaspoon salt
- 2 tablespoons fresh lime juice
Cooking Instructions (From Frozen in the IP)
- Remove soup from the freezer and run the container under warm water to loosen ingredients from the container.
- Next, place the frozen ingredients into the Instant Pot. you may have to break the frozen soup into a couple of pieces for it to fit in the Instant Pot.
- Add the vegetable broth and salt into the Instant Pot.
- Cover Instant Pot and turn the valve to seal. Then, set Instant Pot to manual > high > and turn the timer to 3 minutes. It will take around 10-15 minutes for your instant Pot to build enough pressure to start counting down.
- Once the timer goes off, quick-release the Instant Pot by opening the vent and let the steam pour out.
- Open Instant Pot and mix. Use a fork to test both the sweet potato and carrot chunks. You want to make sure they are cooked all the way through. The sweet potato cooks faster than carrots, so those will likely be more cooked than the carrots. If things are cooked enough, simply cook for 1-2 more minutes on high.
- Now it’s time to blend! You can either use a Vitamix/high-speed food processor or an immersion blender. Blend until smooth. At this point, feel free to add a little bit more vegetable broth to thing things out as needed.
- Finish things off with 2 tablespoons of fresh lime juice and blend one more time.
- Serve immediately and top with fresh cilantro, minced red onion, and a sprinkle of everything bagel seasoning.
