
Switch Panel Mount With OEM Fit & Finish – Compatible With Popular Controllers
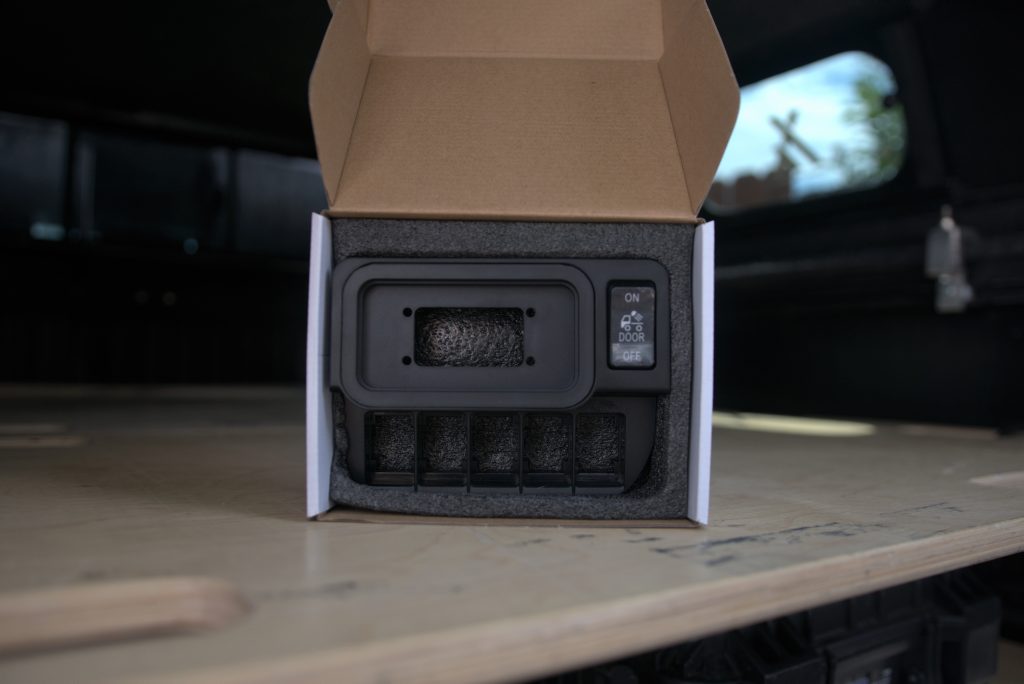
This switch panel trim piece for the 3G Tacoma offers a well-needed solution to your ever-growing list of accessories. Designed with MESO Customs, a reputable company based in California, this panel embodies a high level of craftsmanship and attention to detail. It is made from injection-molded plastic with a texture finished to match the dash.
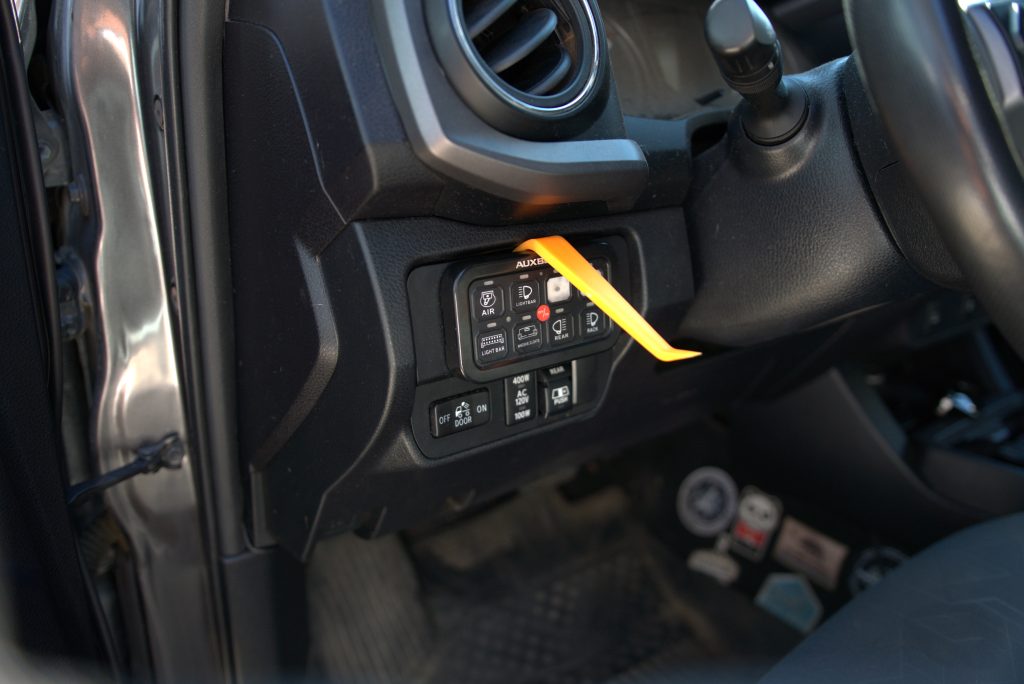
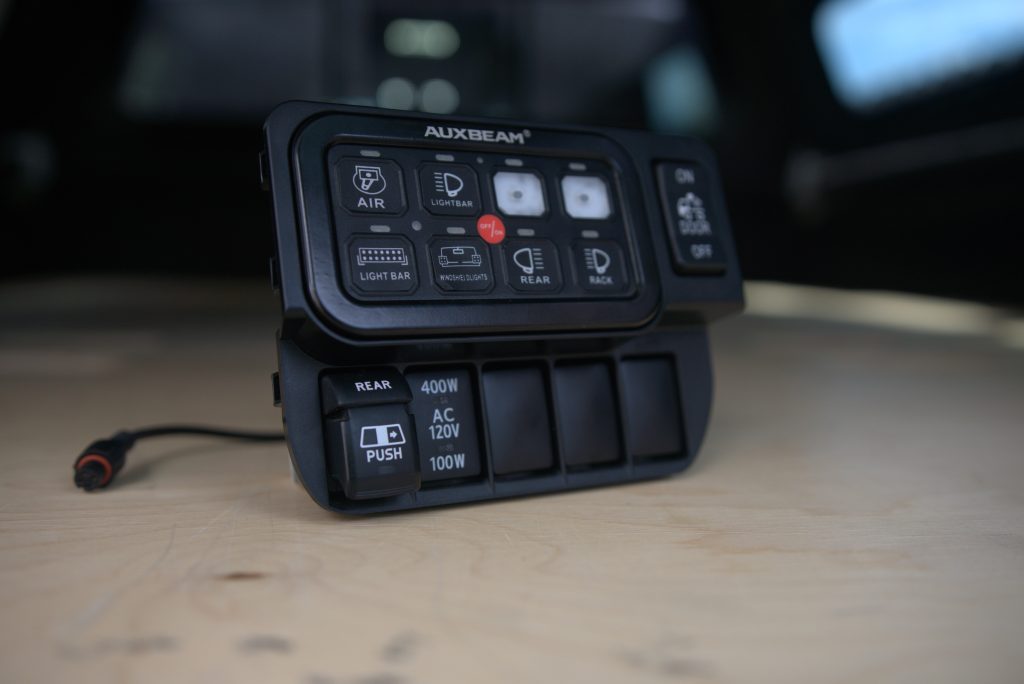
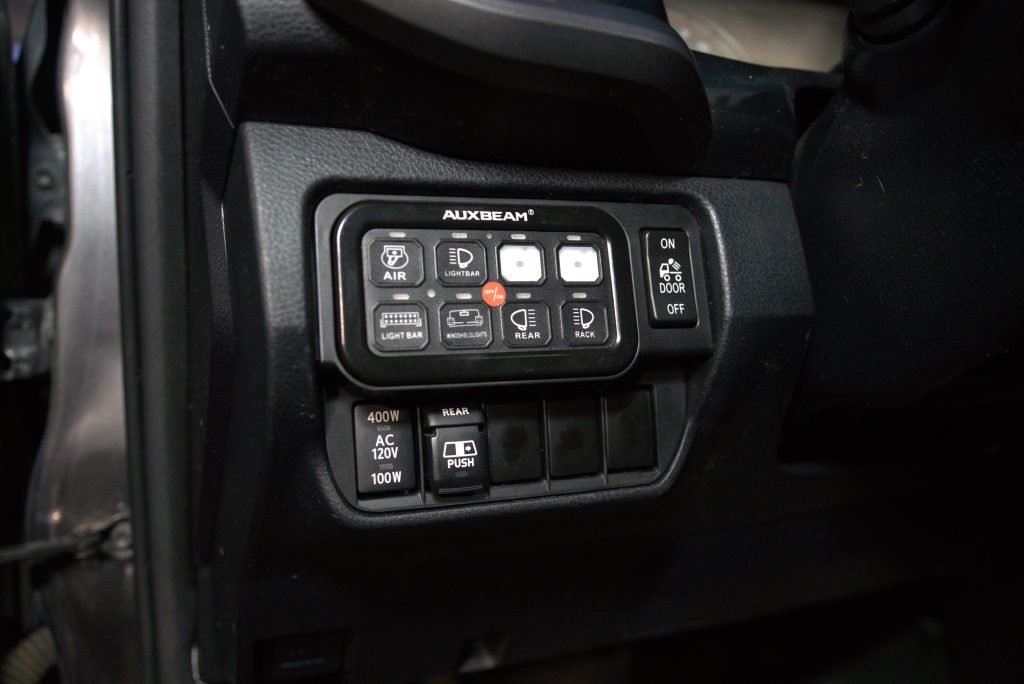
It seamlessly replaces the stock panel on the driver’s side of the truck and allows you to integrate an 8-button switch controller as well as additional auxiliary switches. Most notably, it accomplishes this with an OEM+ look.
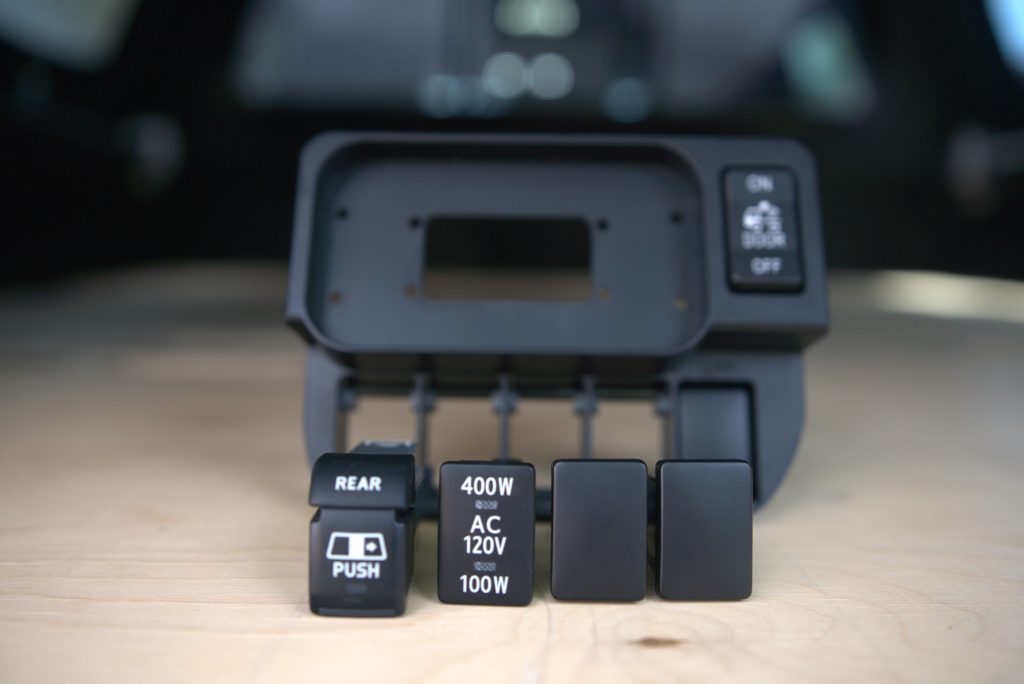
The panel boasts compatibility with several known brands including Auxbeam and SwitchPros ensuring the highest level of customization. Furthermore, the bottom of the panel accommodates five Toyota small-style switches (not to be confused with the larger ones that this panel replaces).
Notably, the panel also repositions the cargo light switch vertically to optimize its placement for improved accessibility and includes a cover replacement in the box.
Overview
This product offers a range of options to cater to individual preferences. Firstly, there’s the Clutch Start Button option, along with the availability of additional blank switches. This button is exclusively designed for manual transmission Tacomas and enables the truck to start without the need to depress the clutch pedal. This feature proves particularly valuable for off-roading on steep terrains.
Another important consideration is the number of blank switches required. For reference, the 3rd Gen Tacoma has an inverter button for the rear bed and a rear window control button, leaving three switch locations vacant on the factory panel.
It is highly customizable and allows owners to truly dial in their setup.
Design
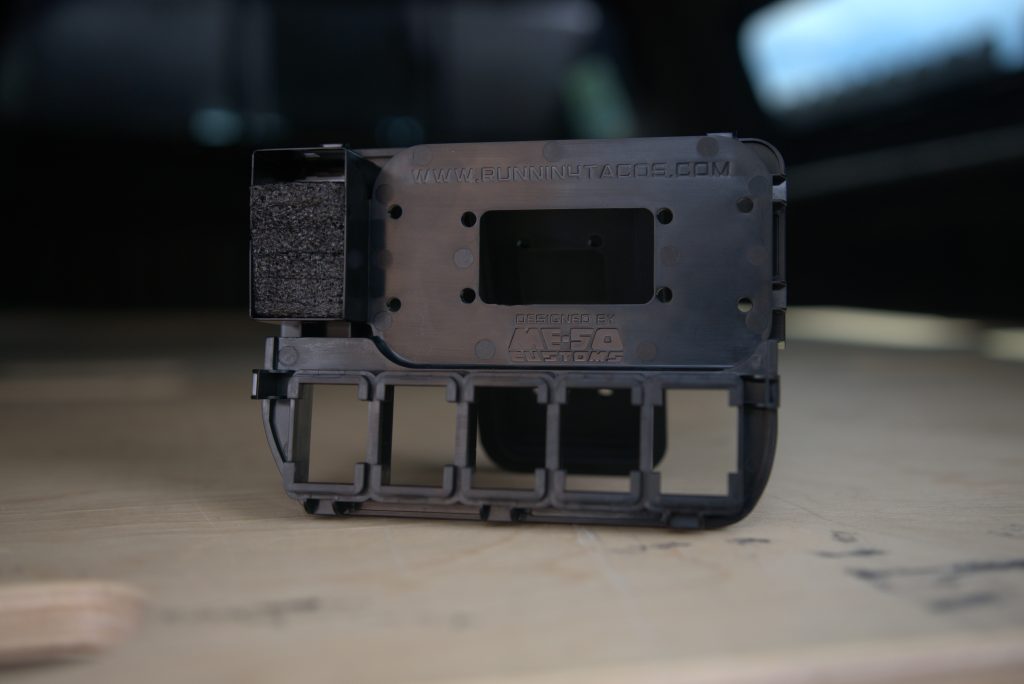
The R4T switch panel arrived in well-designed and simple branded packaging. Crafted with precision using injection molded plastic, the product bears simple branding on the back surface. On the front, a discreet yet tasteful R4T logo is positioned on the right side of the panel.
The tray for the 8-switch controller is designed well and offers a removable option to accommodate different brands. Additionally, the inclusion of a new face for the vertical cargo light button is much appreciated.
The panel fits seamlessly into the factory location for clean integration into the vehicle’s interior. The smooth matte finish looks refined and of high quality.
Overall, this is a highly customizable and practical solution for owners looking to add accessories in an OEM-like fashion.
Installation
Installation isn’t too difficult and requires minimal tools. You’ll mainly need a trim removal/pry tool and however many blank switches your application calls for. Be sure to pick up the appropriate amount when ordering.
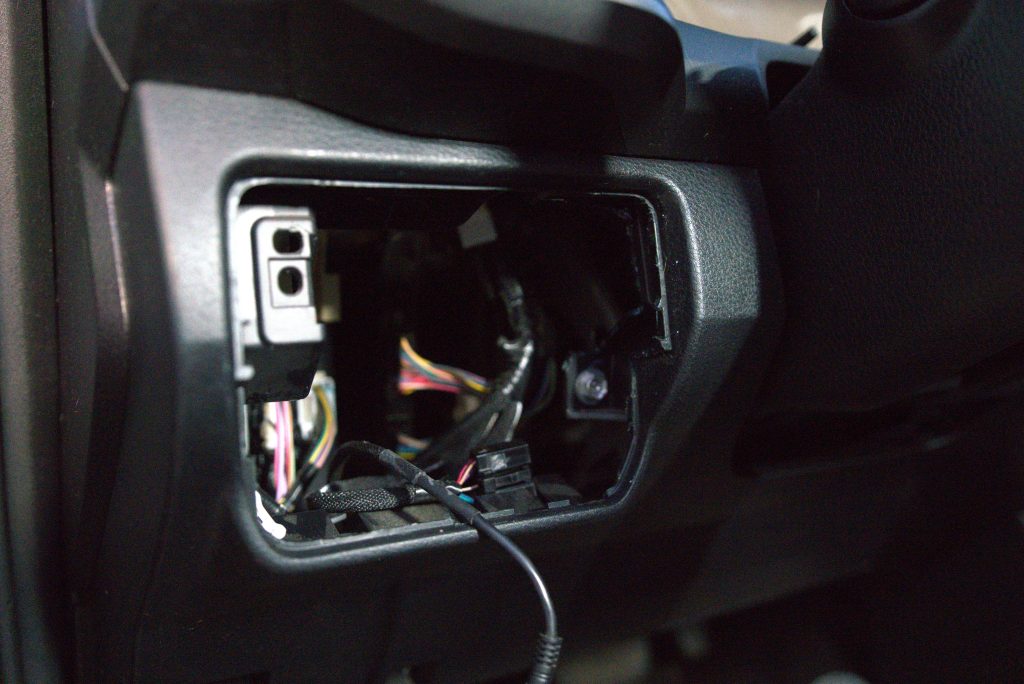
Step 1. Remove OEM Panel

Begin by carefully inserting a pry tool at the top of the OEM trim to disengage the clips holding it in place. A firm amount of pressure may be needed to pop the clips behind the dash.
Next, gently pull it back and upward to remove it from its current location. Some clips may need a little more pressure to come undone but, you may also move the pry tool to the bottom of the panel.
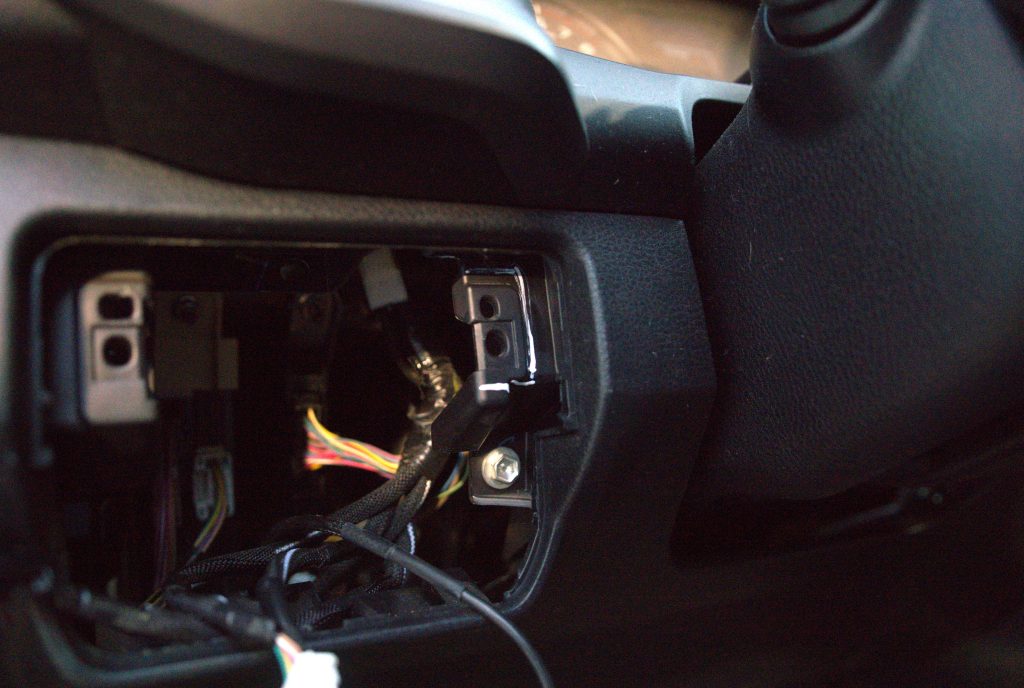
Step 2. Unplug Connectors
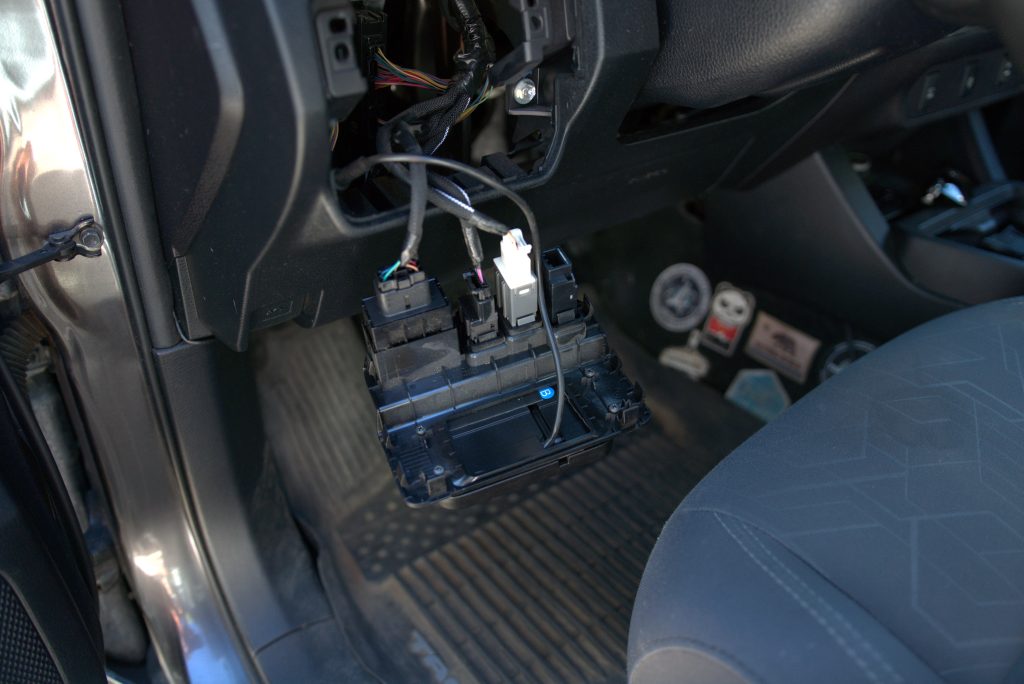
Before you can remove everything, disconnect any plugs attached. I highly recommend taking a picture before disconnecting everything so that you have a reference when installing the new panel.
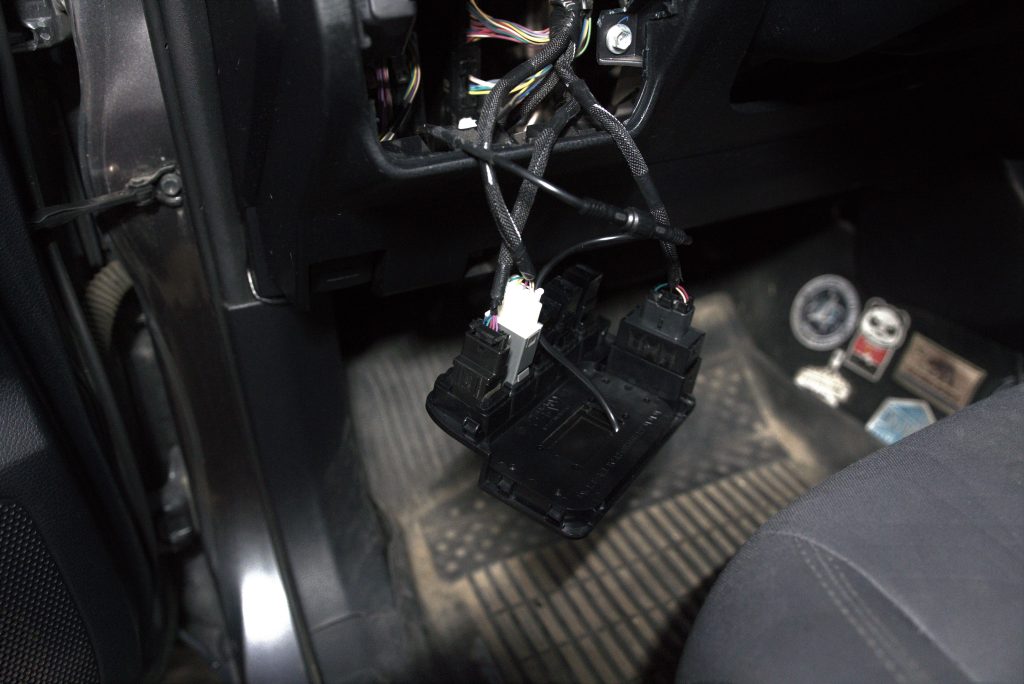
Step 3. Remove Existing Switches
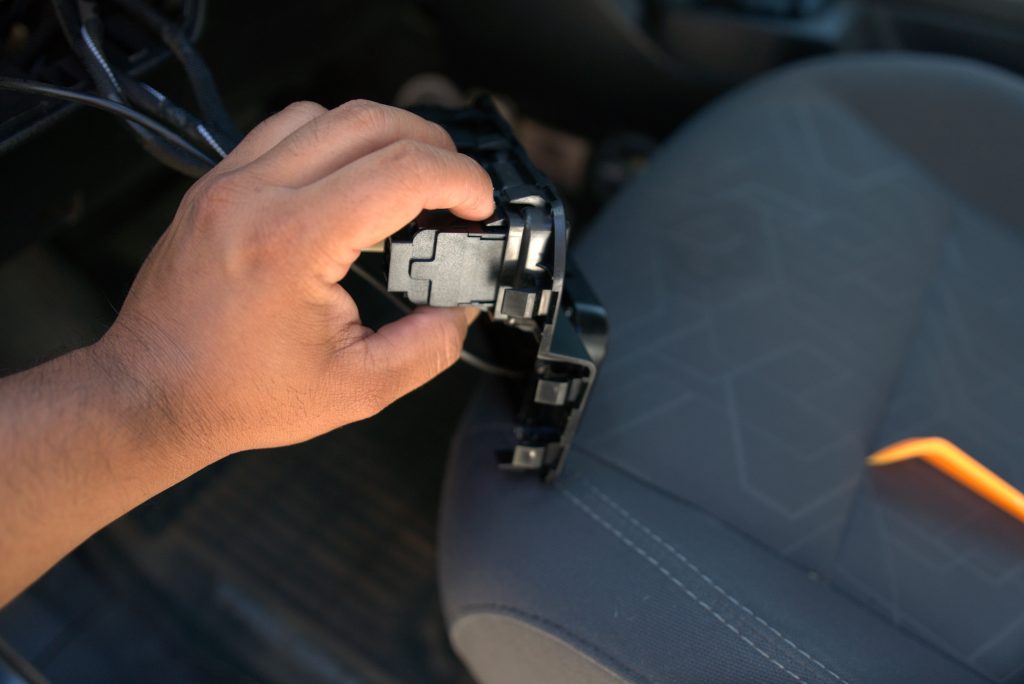
If there are any existing ones that you want to move to the R4T panel, remove them now. Depress the clips and push toward the front.
Step 4. Cargo Switch Face Plate
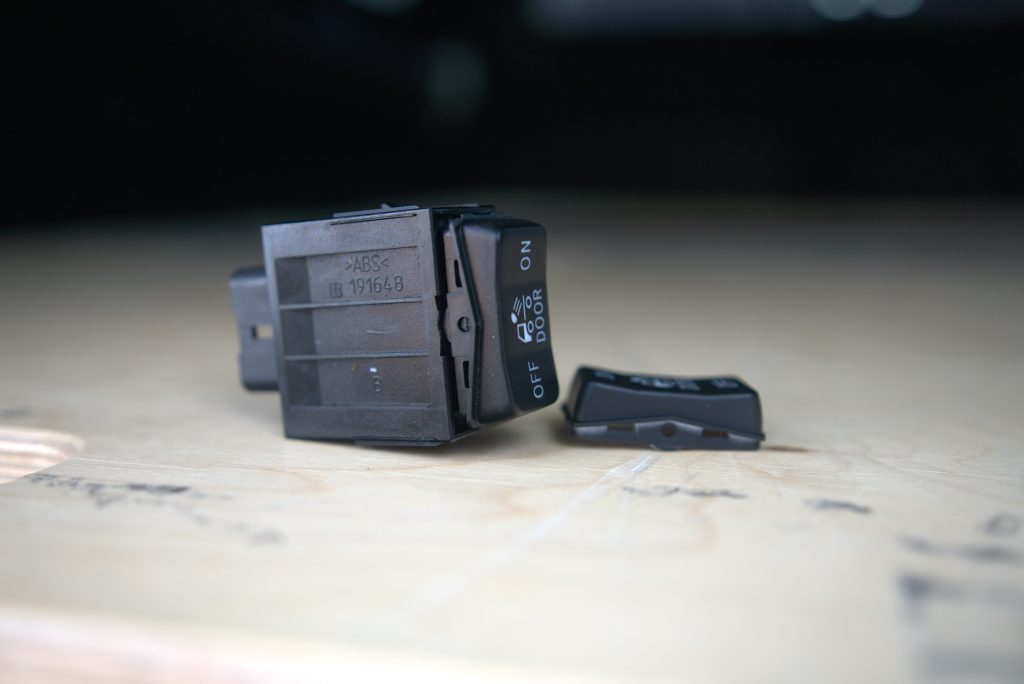
Locate the cargo light cover and using a plastic pry tool, delicately swap the switch face with the new one provided in the kit.
Step 5. Reinstall Switches
Relocate the OEM switches to the bottom section. Fill any empty locations.
Step 6. Assemble New Panel
Route your switch controller’s cable through the R4T switch panel and secure it in place. I found the best way to do this was with double-sided tape.
Step 7. Mark & Cut Dash Trim
Use the auxiliary panel to line up the trimming that is needed. Then, mark a cut line on the tab in the top right-hand corner for the install location. Double-check the location for any wires in the way that can get damaged.
A Dremel, snips, or utility knife can be used to trim the plastic. I used the latter by heating the knife with a torch and using very little pressure to make the cuts. This created smooth lines and did not damage anything else around the area.
Step 10. Reconnect Wiring
Next, plug everything in. Be sure no cables are pinched or bound.
Step 11. Mount Panel
Align the bottom of the switch panel into place and slowly push it back into the dash – do not apply much pressure. Next, check that all cables are not pinched and tabs are lined up. Finally, push firmly on all four corners until the unit slots firmly into place.
Final Thoughts
I’ve built numerous cars over the years and there are key features that I appreciate. Specifically, the beauty of the simplicity of a well-designed product.
The panel embodies this perfectly, offering a straightforward and refined solution that people commonly have when modifying their Tacoma. It integrates really well.
If you’ve been looking for a sleek way to mount your aftermarket controller, this is your answer!