
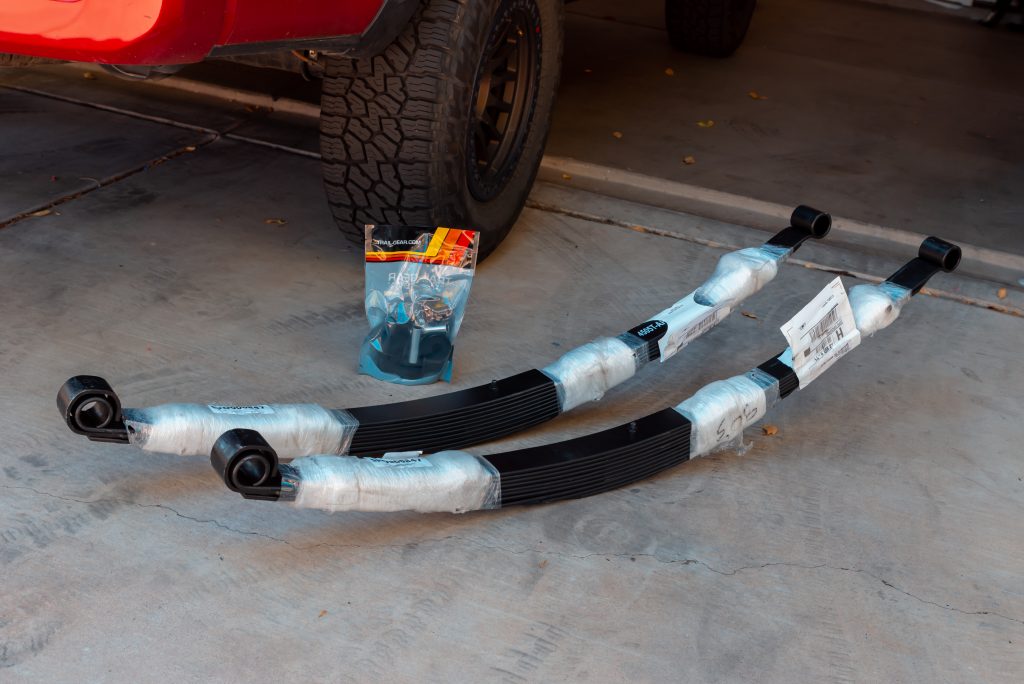
3″ Rear Leaf Springs With 3 Different Weight Capacity Options
As we build our trucks, the weight starts to add up pretty quickly. The Tacoma’s rear end can only support so much. Adding items like a bed rack, an RTT and your gear will soon start to cause it to sag. Not to mention, we want LIFT! If you have this problem, these are a great way to remedy it.
One of the most functional upgrades for your Tacoma to support added weight (and lift your rear end) is upgraded leaf springs. When I first lifted my Tacoma, I didn’t have a lot of weight and just added an Add-A-Leaf kit. If you plan to really deck out your setup, a complete upgrade is what you need.
Find It Online
Discount Code
- Use code – TRAILCO – for 10% off!
Reasons To Upgrade

Upgrading your leaf springs provides more support for hauling, towing, and more rear-end stability. Over time, added weight will wear out your OEM springs and they’ll start to sag. The same thing can happen with add-a-leafs. They’re a good short term solution, but there are better options.
If you already have a lift and you haven’t upgraded, they will still improve the ride quality and “future-proof” you against the inevitable mods to come.
Installation
Installation is fairly straightforward and only requires a few tools.
Tools Required:
- 1/2″ Ratchet
- 17mm, 19mm, 22mm Sockets
- Floor Jack & Jack Stands
Step 1. Lift & Support Truck
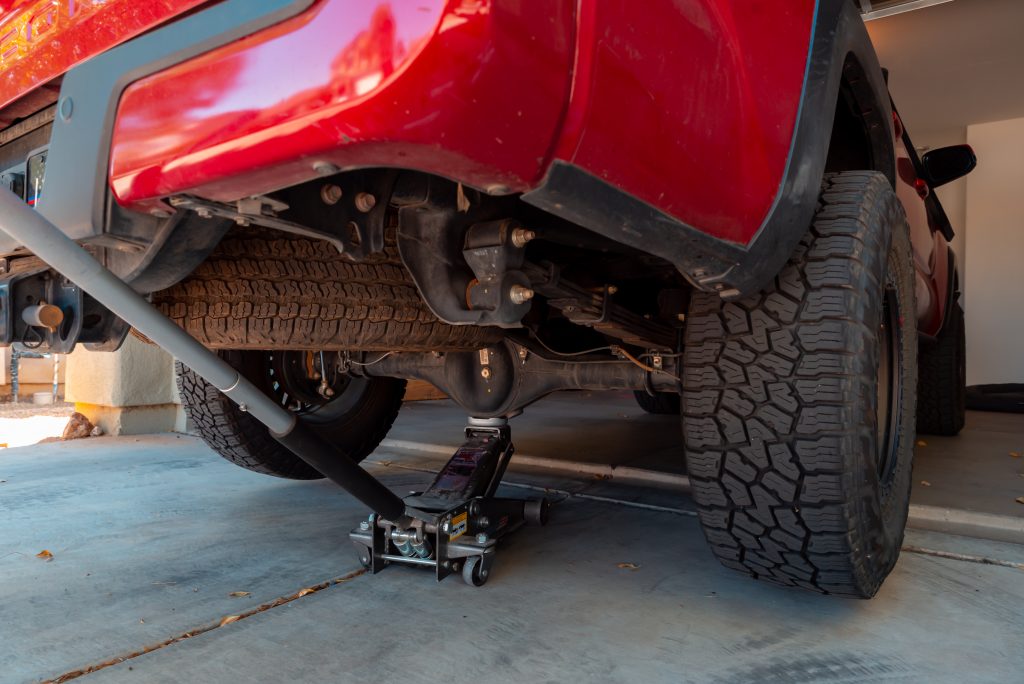
Jack up your rear end and set your jack stands. I placed mine in front of the rear wheels, so the axle can droop while the frame is supported. This will help to get the new springs in.
Step 2. Disconnect U-Bolts
Start by removing your rear bump stops and U-bolts, which hold the leaf springs onto the rear axle. I have the DuroBumps rear bump stop flip kit installed, so my bump stop nuts are on top. If you still have factory bump stops installed, those nuts will be on the bottom side of the axle.
Remove the U-bolt nuts (four total on each side) and then the U-bolts and bump stops.
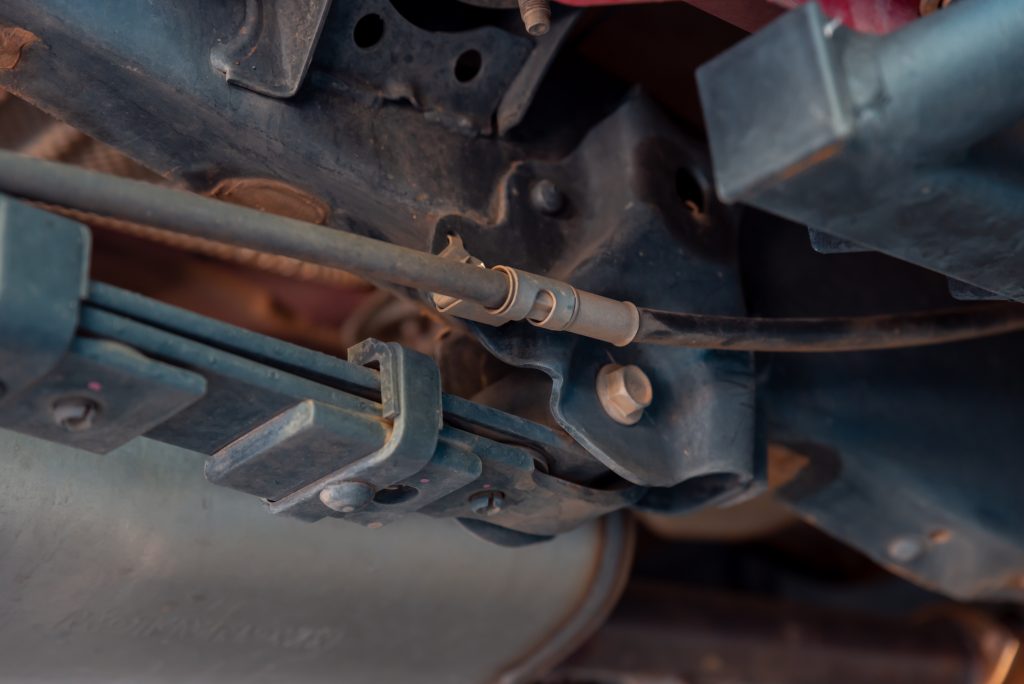
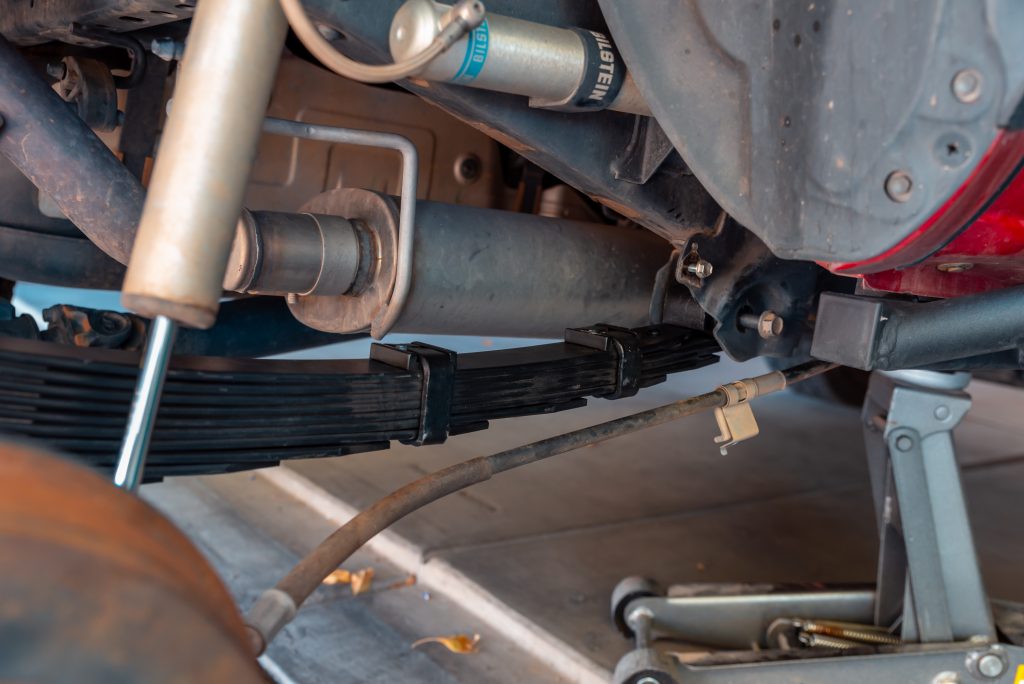
Step 3. Disconnect Lower Shock Bolt
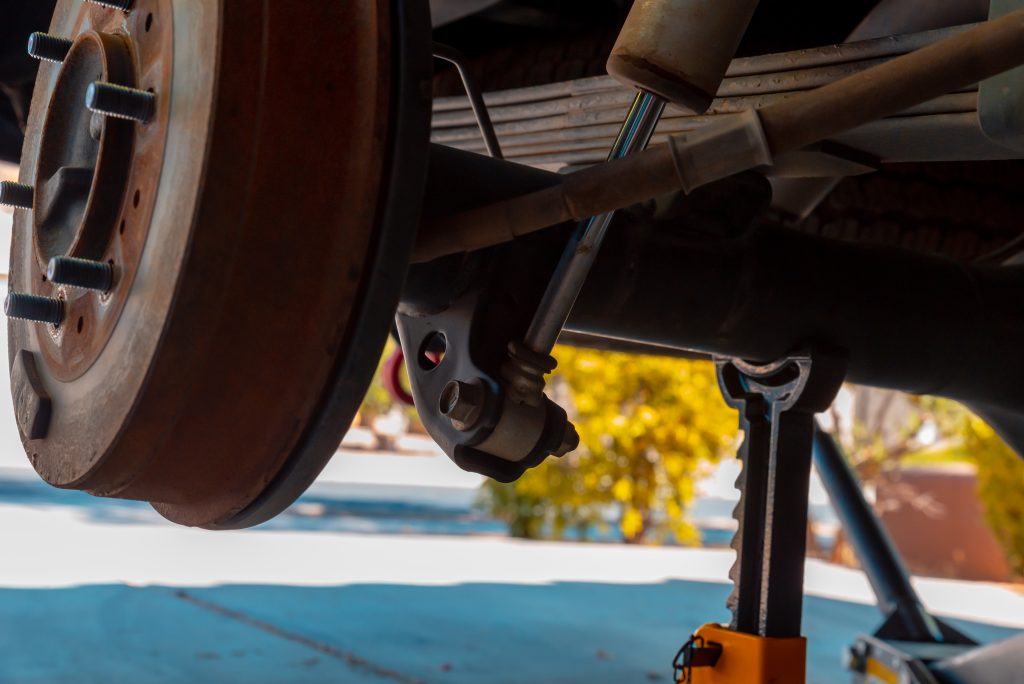
Next, you will need to remove the 17mm lower bolt from your rear shock. Disconnecting the rear shock from the axle will help make pulling the leaf spring out much easier.
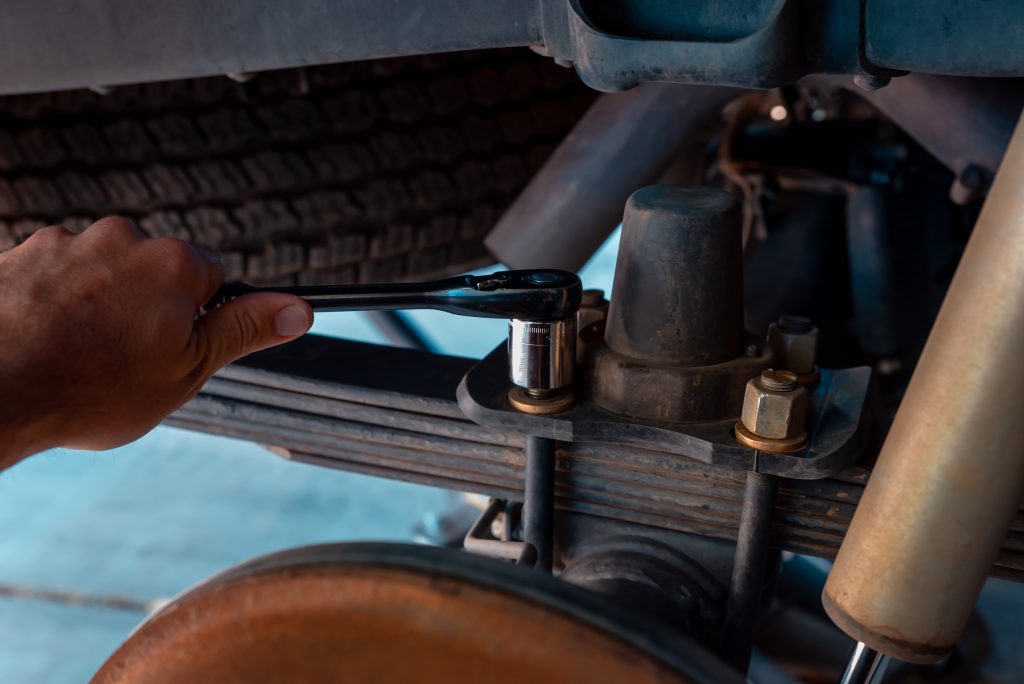
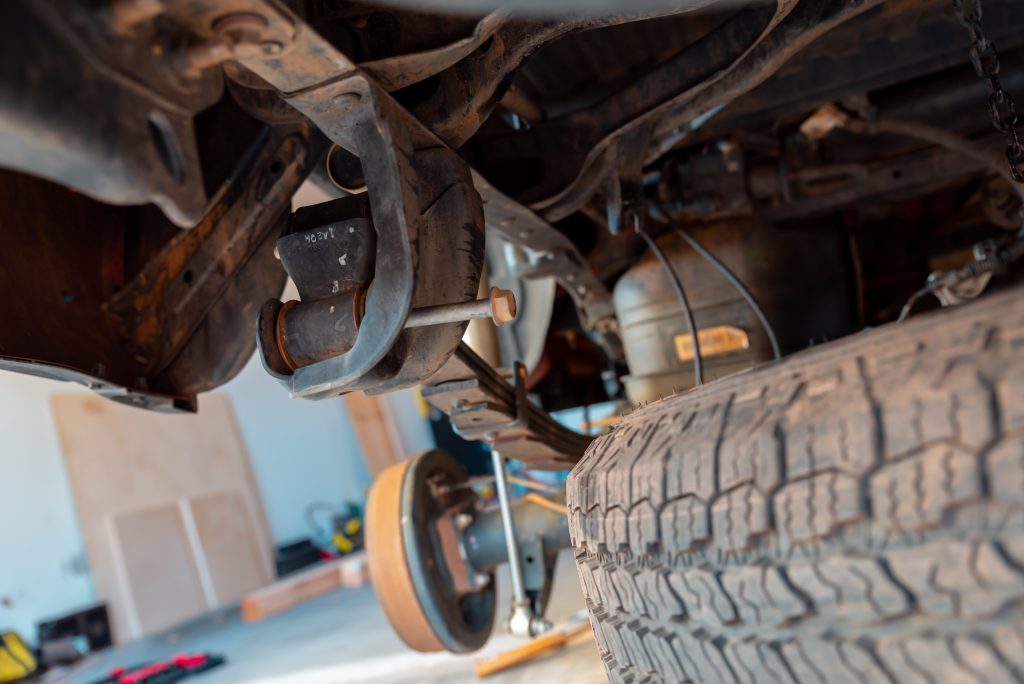
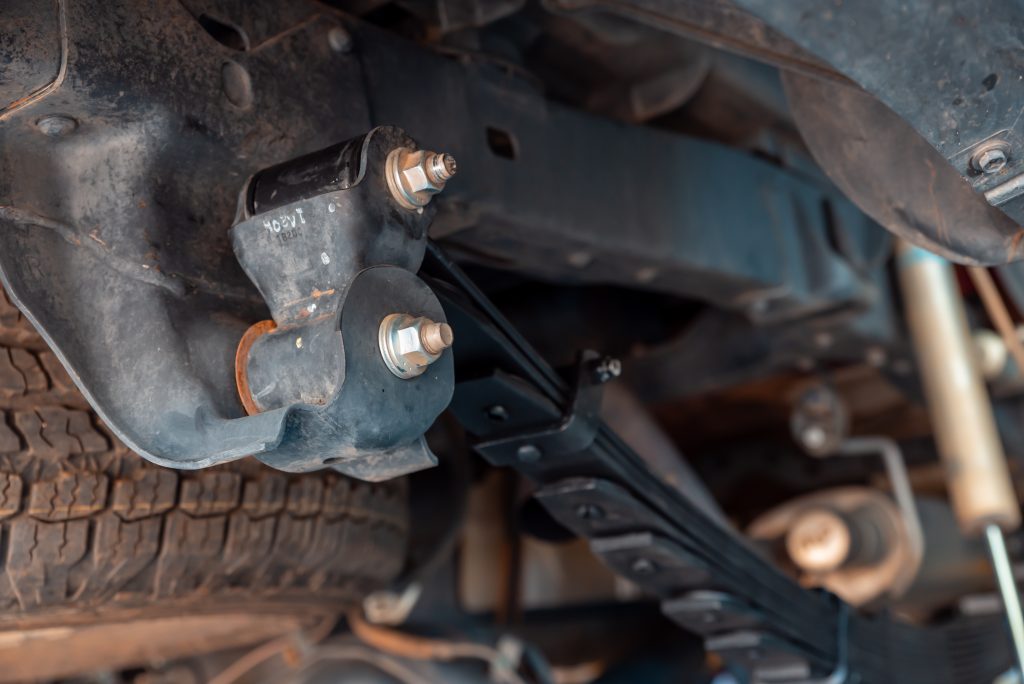
Step 4. Loosen 19mm Nuts
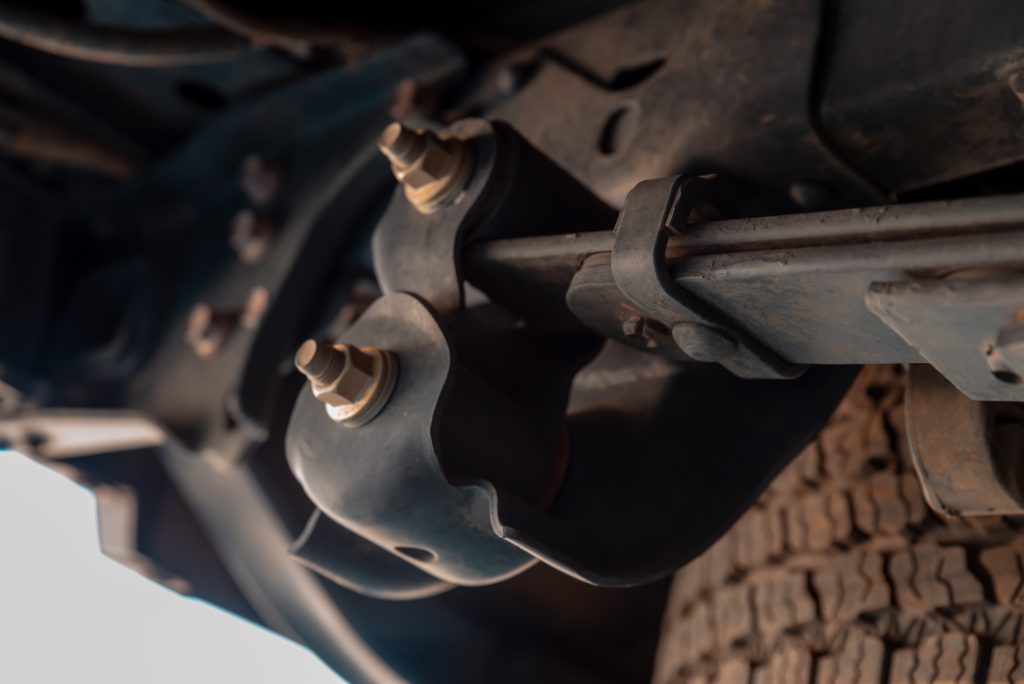
It’s time to remove the 19mm nuts securing the bolts of the mounts. On the rear end of the springs, you will see the factory hanger (pictured above). The hanger consists of one bolt on the top, which connects the leaf spring to the hanger swivel, and a lower bolt that attaches the hanger swivel to the hanger on the frame of the truck.
I ended up removing just the nuts and leaving the bolts alone to keep the springs in place until I was ready to pull them out. With both nuts on the rear hanger removed, you can now move on to the front end of the springs.
After you remove the nuts from the rear end of the leaf springs, there will be one 19mm nut left to remove from the front.
Step 5. Drop Axle To Remove Load
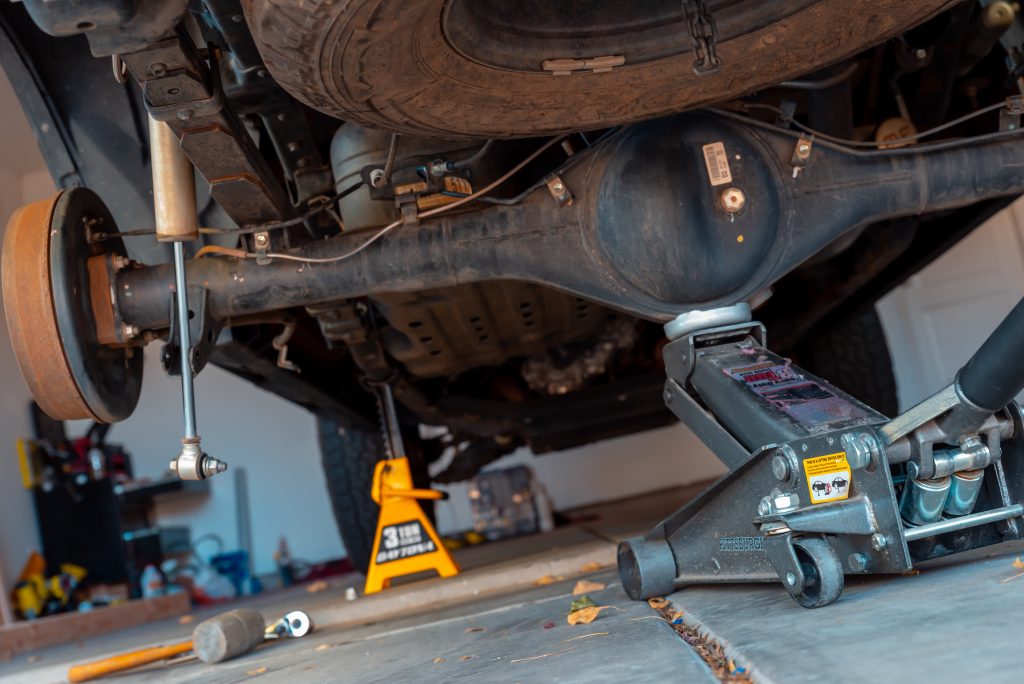
Important: Keep in mind that the leaf springs are compressed when your axle is in its normal position. Before you completely remove them, you must release the tension on the springs before you can pull them off the truck.
I used a floor jack and jack stand to help articulate the rear end. With the truck jacked up as high as I could, I placed a jack stand under the frame of the truck in front of the rear axle. Then, I began to lower the floor jack holding the rear axle up. As you slowly lower the rear axle, the leaf springs will lose tension. Continue dropping the axle until the spring and axle separate.
Step 6. Remove Bolts & Springs
After your leaf springs are not under tension and safe to remove, you can pull out all three bolts holding the springs in the truck. Then, you can pull them out. Due to their long size and weight, it might be helpful to have a second set of hands for this step.
I found it easier to tip the springs onto their side to maneuver them out of the truck, just expect to have to wiggle them around a bit.
Step 7. Prepare Bushing Ends
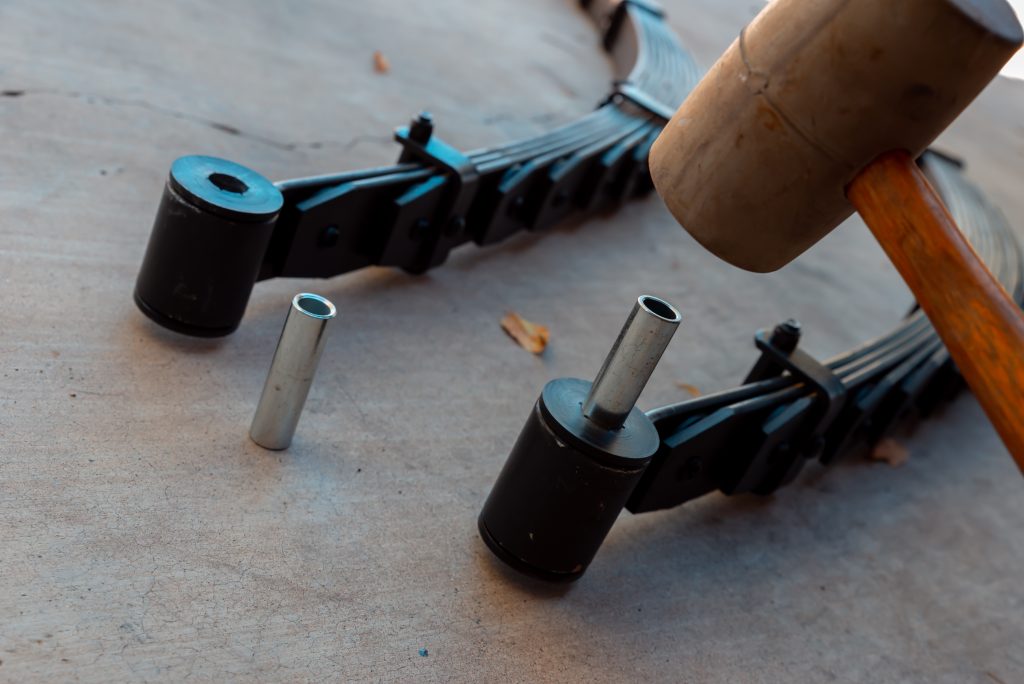
Included are eight polyurethane bushings and four bushing sleeves. Each end of the springs will require pressing two bushings into them and one sleeve.
You can easily press the polyurethane bushings into the leaf springs by hand, then using a rubber mallet. Once you have all ends of your springs prepared with the bushings, it’s time to install them. This is a good time to grease all the parts, which will help to reduce noise over time.
Step 8. Install New Springs
Once you get the new leaf springs back into the truck, insert the front bolt first. You might have to wiggle them around to get the bolt to slide through. Then, take the nut and hand thread it to hold the front end in position while you attach the rest of the bolts.
Next, similarly, install the two rear bolts to the front bolt and hand thread the nuts.
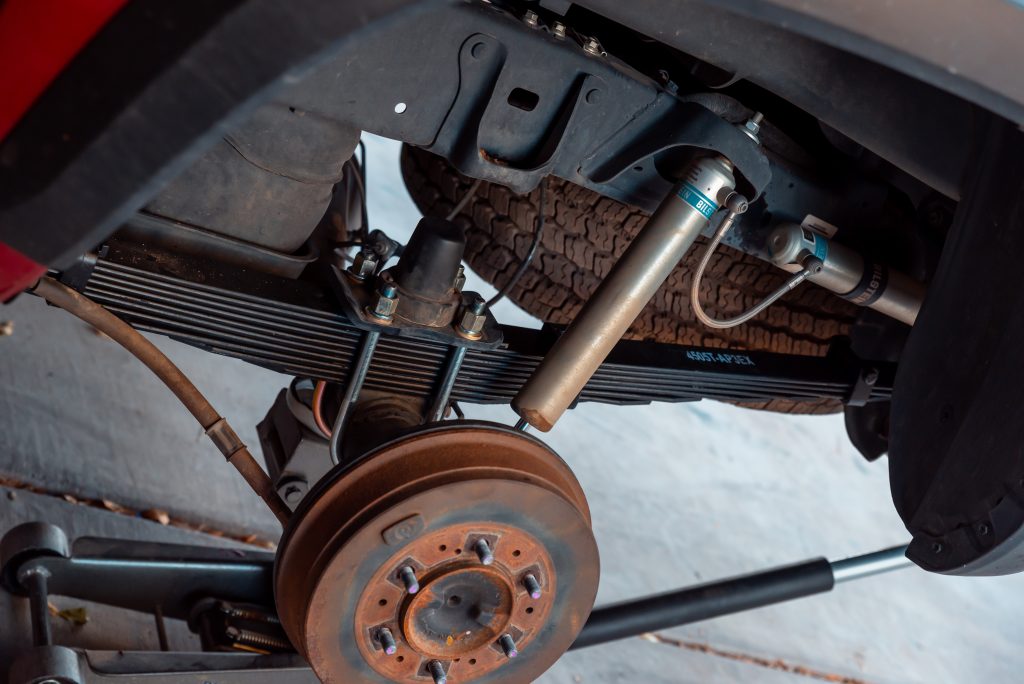
The springs have a centering pin on the bottom that will mate to a hole on the axle. Make sure they are properly seated.
After the leaf springs are firmly attached to the truck, reinstall your U-bolts and bump stops. I had a little trouble with the axle shifting and not lining up. So, I used a ratchet strap to pull the axle back into place before reinstalling the bump stops.
Once everything is in place, fully tighten all of the bolts and nuts. Finally, reinstall the 17mm bolt and nut that connects your rear shock to the axle.
Final Thoughts
I won’t lie, upgrading the leaf springs was a challenge and took me pretty much a whole day. However, it was well worth it. Now, I have more confidence in my truck’s abilities off-road and payload capacity.
I also have plans to add more gear to the bed of the truck such as a bed rack and RTT. With these upgraded leaf springs, I know my truck will be able to handle the weight and perform as expected both on and off-road.
The rear end of my truck was lifted an additional 2″ after installation. As a result, the ride is a little more rigid, but as they break in and I add weight, everything should get way smoother. Many options only allow for 2″ of lift (since there is a factory rake) but All Pro stands out with a full 3″ version.
Drop questions and comments below!